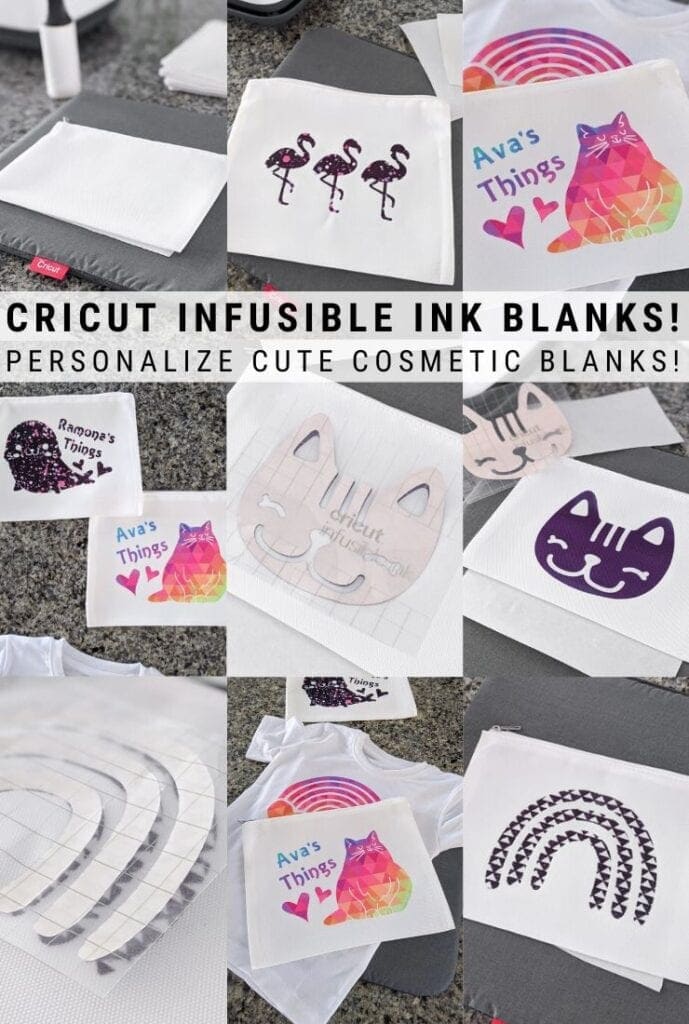
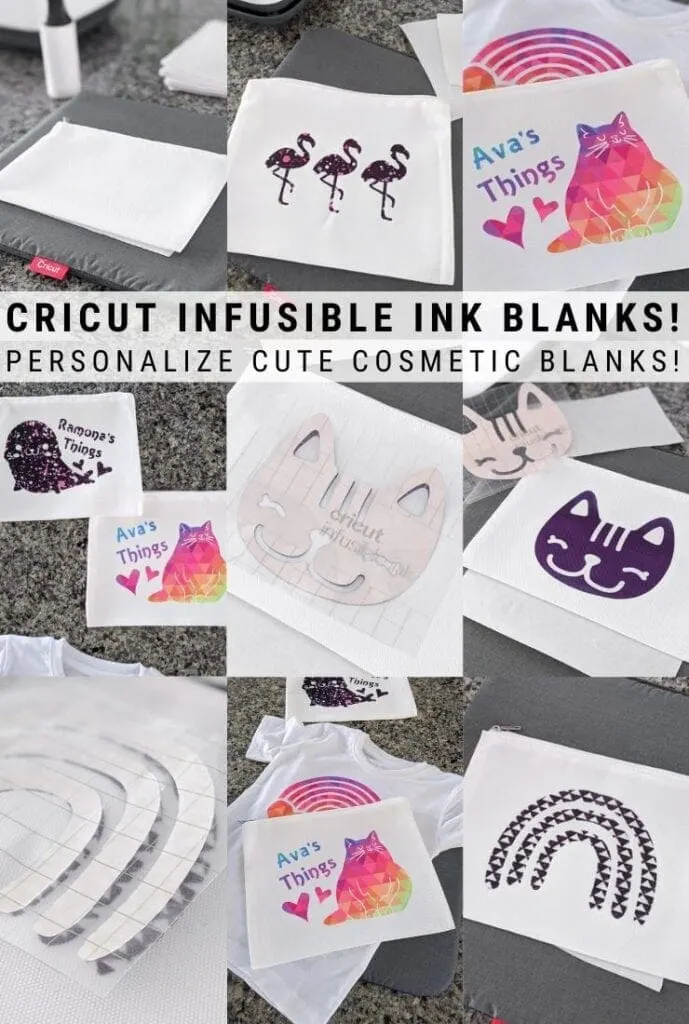
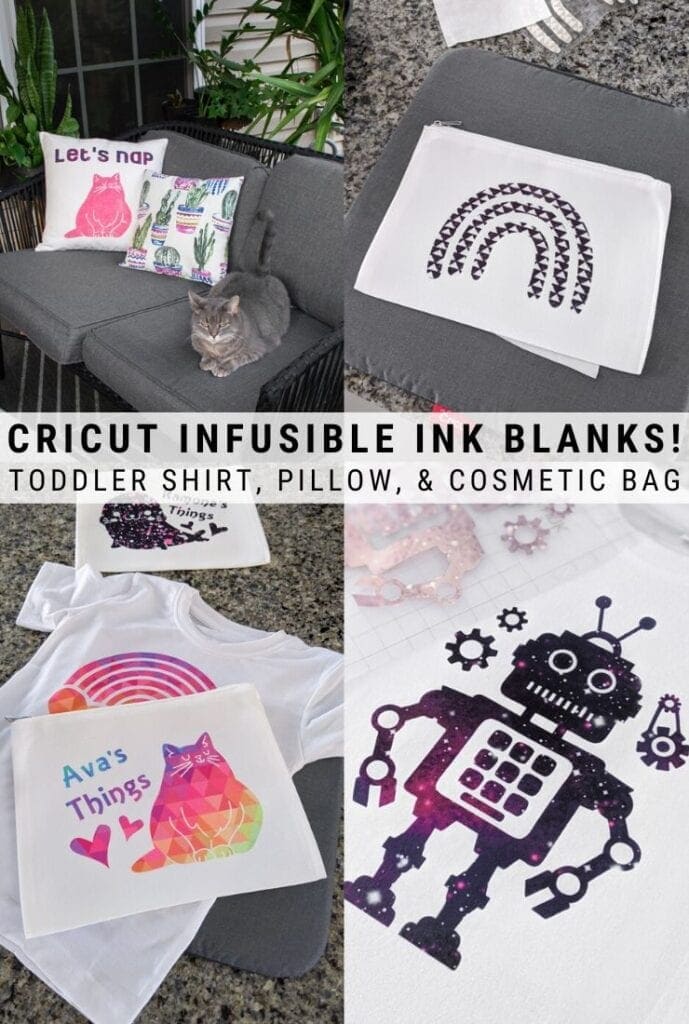
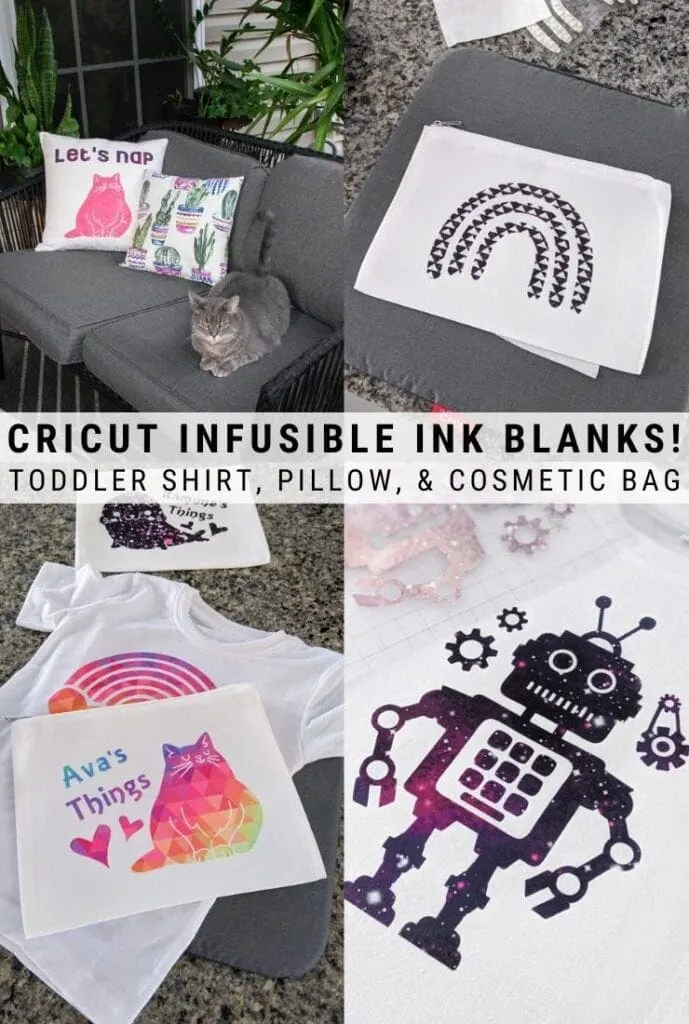
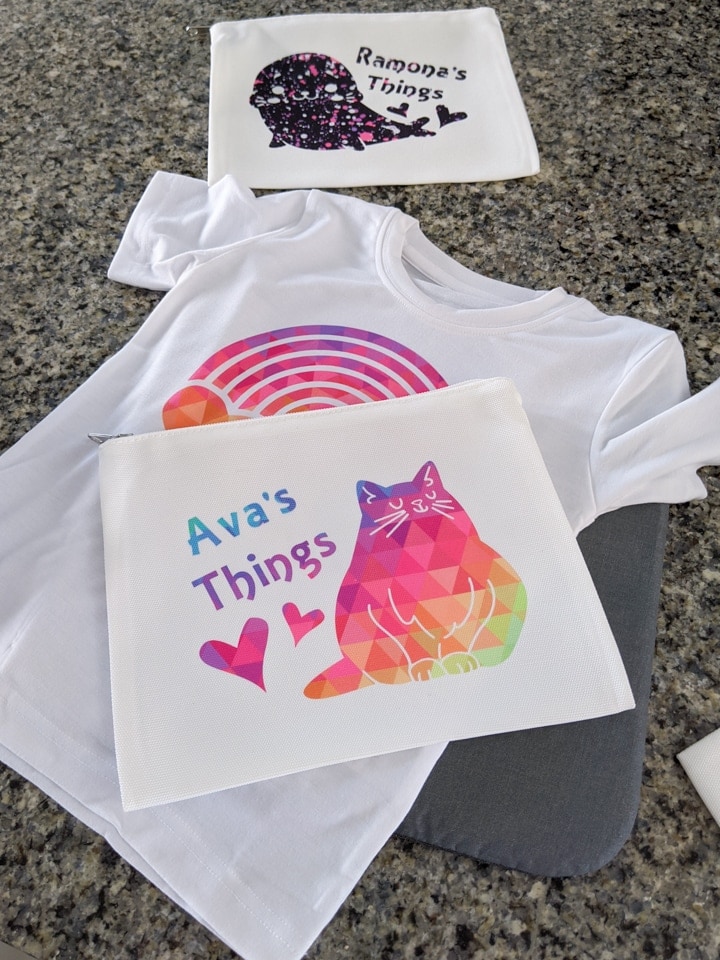
I’m sharing three great projects using the new Cricut Infusible Ink blanks, including a toddler t-shirt, a cosmetic bag, and a throw pillow case! Learn how to create professional-quality heat transfer products at home using these fool-proof blanks. Cricut sent me the products for this project free of charge.
New Cricut Infusible Ink Blanks!
I am here with some exciting news, folks! If you’re one of my crafty readers, you know I love Cricut’s Infusible Ink. I have done quite a few posts about the Infusible Ink line, and I’ve mentioned that Cricut was planning to roll out some new Infusible Ink blanks this year.
Well, that time has come, and I’m sharing three projects today to showcase a few of the new blanks. But if I’m speaking in a different language to you—you might need a quick refresher. If you already know what “Cricut,” “Infusible Ink,” and “blanks” mean, scroll on down to the project section. But if not, have a read through an overview below.

Cricut Infusible Ink: A recap
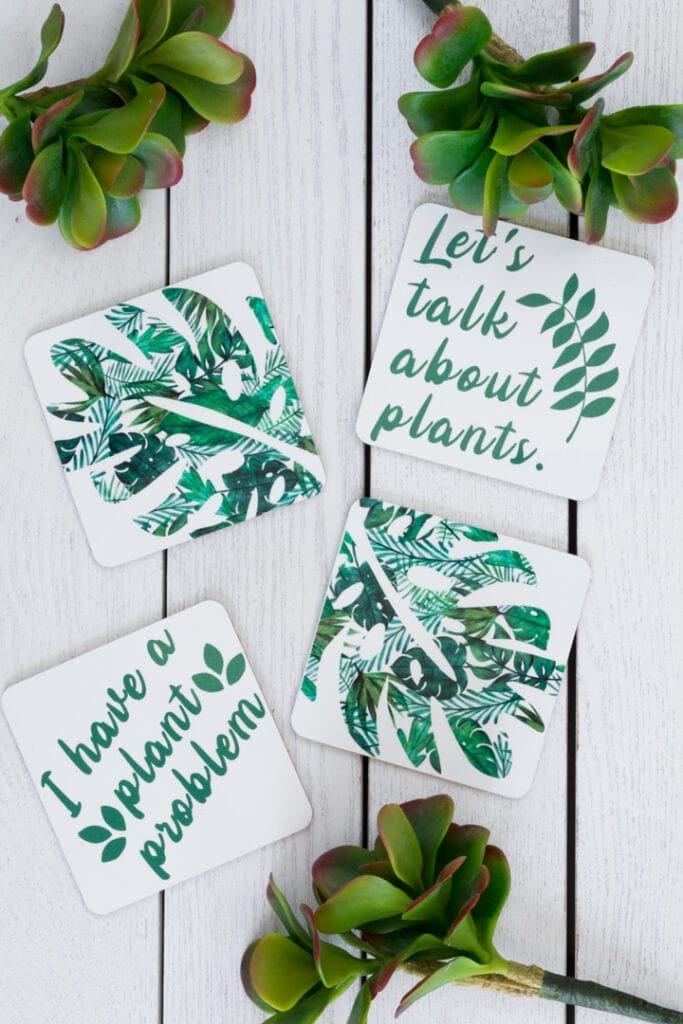
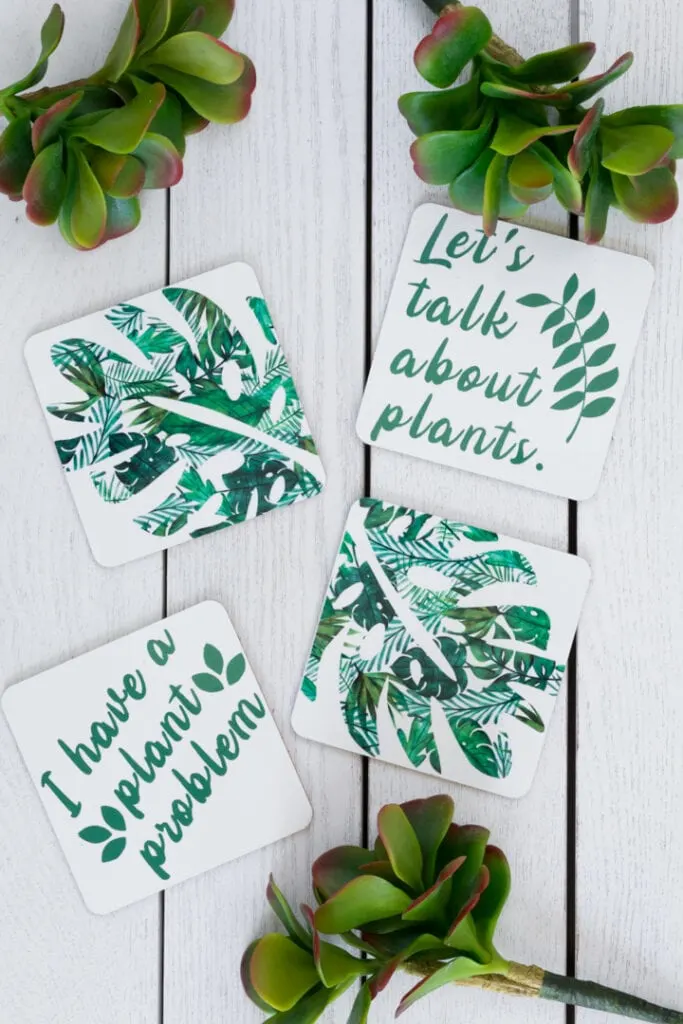
I talked in detail about Cricut’s Infusible Ink product line in my post about how to make custom Infusible Ink coasters. But if you’re new to Infusible Ink, I want to give you guys a quick recap. Infusible Ink is a fab product that gives you vibrant, permanent, and pro-quality heat press transfers at home.
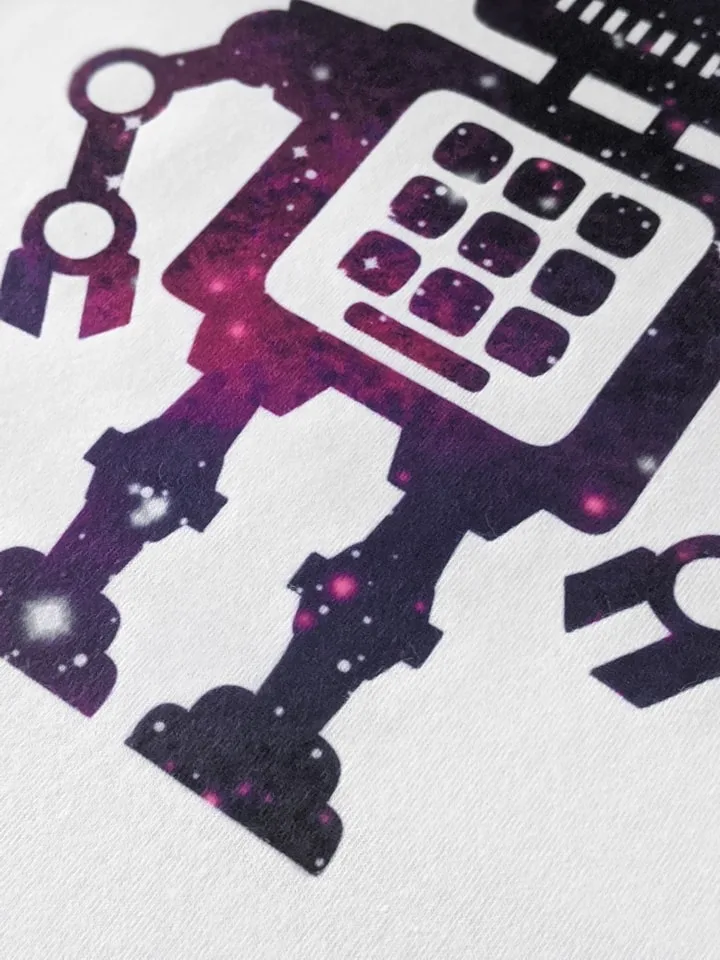
Unlike iron-on transfers or vinyl applications where your artwork is attached on top of a compatible material using adhesive, an Infusible Ink transfer results in no edges or seams. The art work becomes one with the blank’s material! The results are bright, beautiful, and seamlessly smooth transfers that are flake-proof, peel-proof, and wash-proof. And let me emphasize: they are permanent!
Infusible Ink gives you really gorgeous professional-quality ink-based heat transfers. And just to clarify, the word “ink” is a bit misleading. The transfer sheets come in a solid state; they just look like paper with a pattern on it. After you apply heat at the right temperature, the ink turns into gas, becomes solid again on your blank material, and is immediately dry. Pretty amazing. There are also Infusible Ink pens for creating your own designs by hand.

Infusible Ink vs. Iron-on or Heat Transfer Vinyl
So why would you ever choose traditional iron-on again? Well, they both have their pros, and choosing one or the other can depend on the project you’re doing. And the look you’re going for.
- Iron-on material can be applied to lots of different surfaces (including wood). Infusible Ink should be used only with compatible blanks.
- Iron-on material has more flexibility with colors. For example, you could do white iron-on with a black shirt. Infusible Ink should be used only with compatible light-colored fabric.
- For best results with Infusible Ink, you should use an Easy Press because they can get to a certain heat level. You can use a household iron with traditional iron-on material (though you’ll always get better results with a heat press).
- Iron-on comes in decorative finishes like glitter, holographic, and shimmer. Infusible Ink doesn’t come in finishes like that because it’s ink so it doesn’t have a surface texture, but the colors and prints are incredibly vibrant and gorgeous.
Above all, the biggest difference between the two is that Infusible Ink is permanent. It’s professional and polished. It never cracks, peels, or flakes like iron-on/HTV can when it begins to wear. You can count in Infusible Ink. 🙂

You mentioned compatible blanks. What are they?
When I first wrote about Cricut’s Infusible Ink, they had just released it along with their first line of blanks. Those included tote bags, coasters, baby bodysuits, and men’s, women’s, and kids’ shirts. I tried out each of them if you want to check out my review and projects:


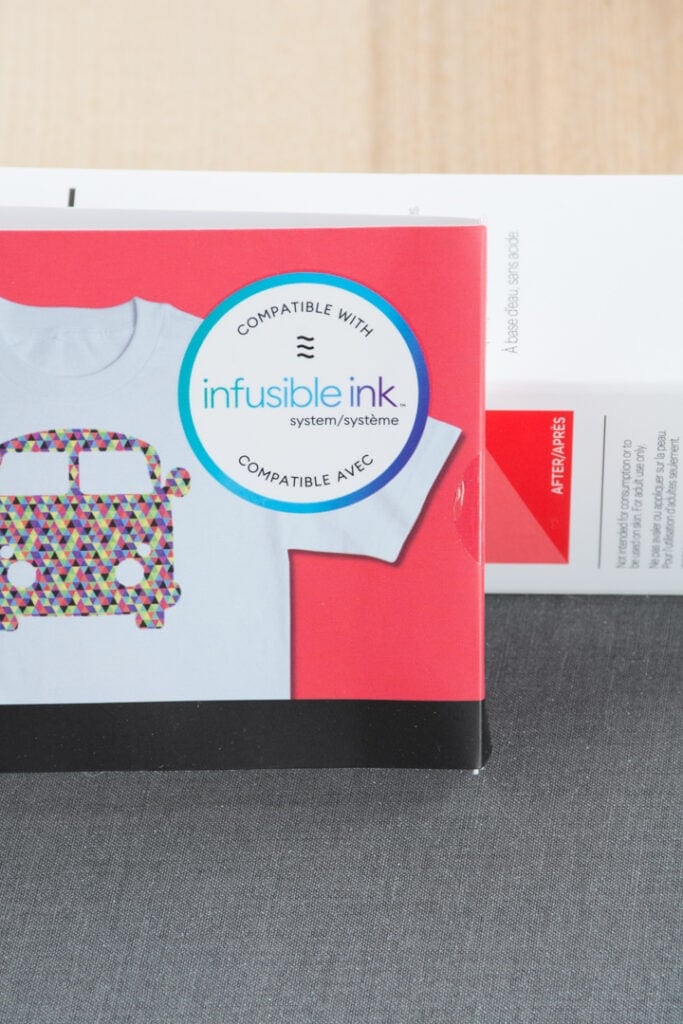
As I mentioned, Infusible Ink works by infusing the solid-state ink directly into the material of the blank. Because of that, the material needs to be a certain type to infuse properly. Polymer or polyester-based blanks enable proper transfer and a permanent bond. Cricut guarantees best results only when using Cricut-brand blanks designed for Infusible Ink.
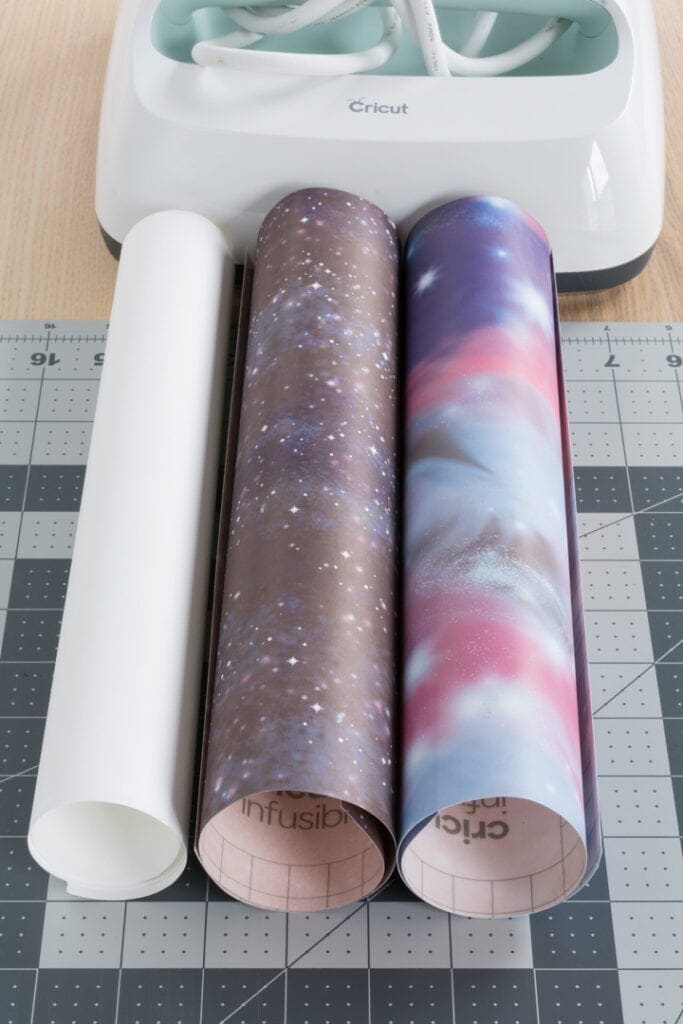
At first, the only blanks they had were the ones listed above. But I’m sharing some exciting projects in this post with some of the brand new blanks! Here are all of the new blanks:
- Gray t-shirt in unisex and v-neck fitted
- Toddler t-shirt sizes (yay!)
- Cosmetic bags
- Wine bags
- Throw pillow cases

Do I have to use a heat press with Infusible Ink?
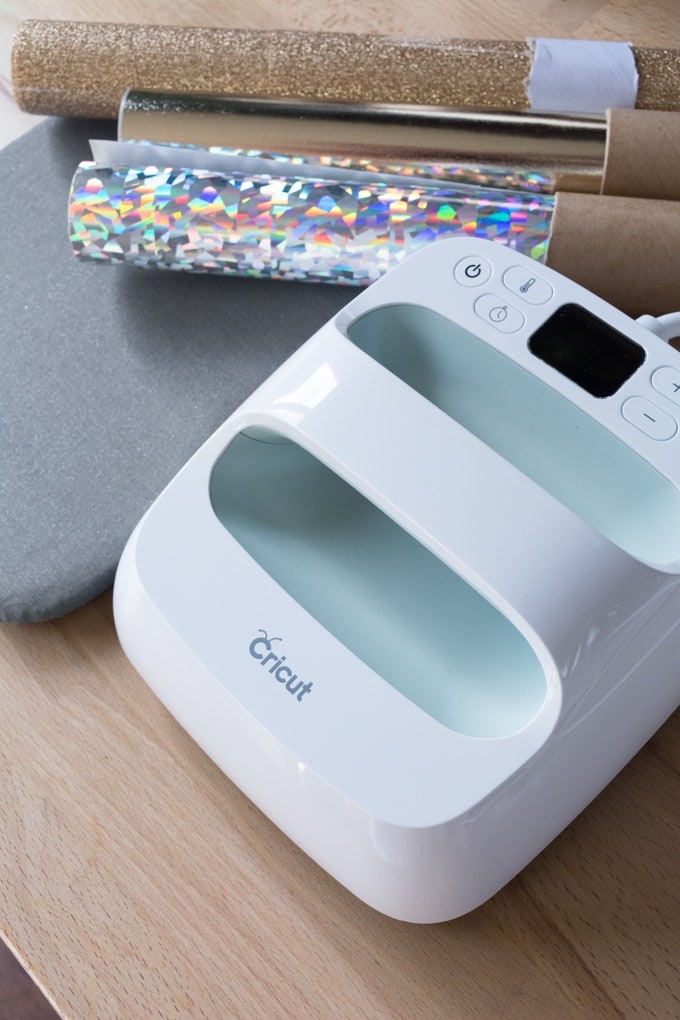
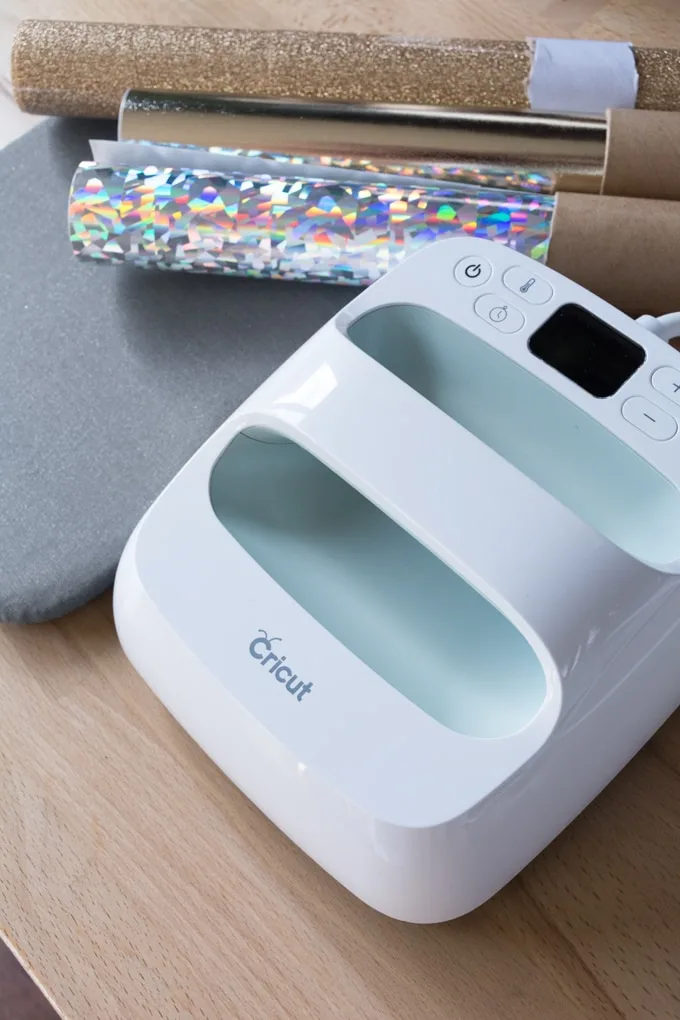
Long story short? You should. Infusible Ink projects are optimized for use with Cricut’s EasyPress 2. If you have access to a heat press that reaches 400 degrees Fahrenheit, you can use that. You unfortunately might get varied results using Cricut’s original EasyPress.
Using the EasyPress 2 and Cricut’s Heat Transfer Guide gets you the best transfers because it tells you exactly what time and temperature your project needs. As with all EasyPress projects, Cricut recommends the EasyPress mat. Honestly, if you’re going to invest in an EasyPress, I wouldn’t cheap out on the mat. They are pretty cheap and very handy.
New Cricut Infusible Ink Blanks: Toddler T-Shirt Tutorial
I was super excited to see that Cricut was rolling out a toddler t-shirt blank. My daughter is 2, and she was a ways off from fitting into even the smallest size of the kids t-shirt line. Here’s my tutorial for how to customize a toddler t-shirt blank with Infusible Ink.
Supplies:
- Toddler t-shirt blank
- Cricut Explore Air 2
- StandardGrip green mat
- Infusible Ink sheets
- Butcher paper (comes with sheets, buy more here)
- White cardstock
- Lint roller
- EasyPress 2
- EasyPress mat
- Scissors and tweezers
And here’s how to customize a toddler t-shirt blank with Cricut Infusible Ink!
Step 1: Create, cut, and weed design
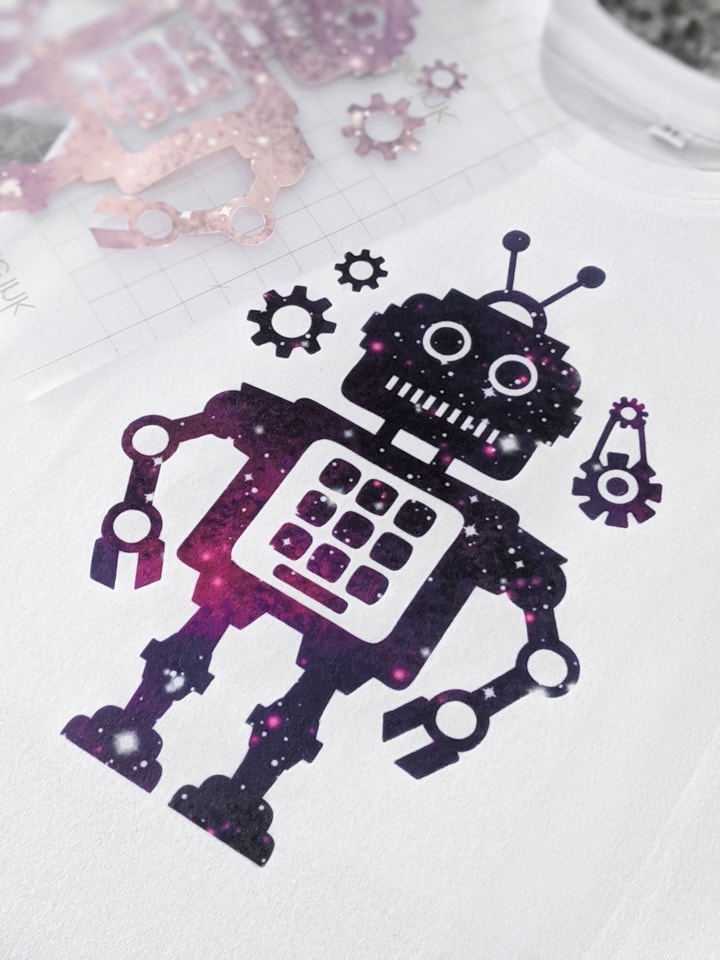
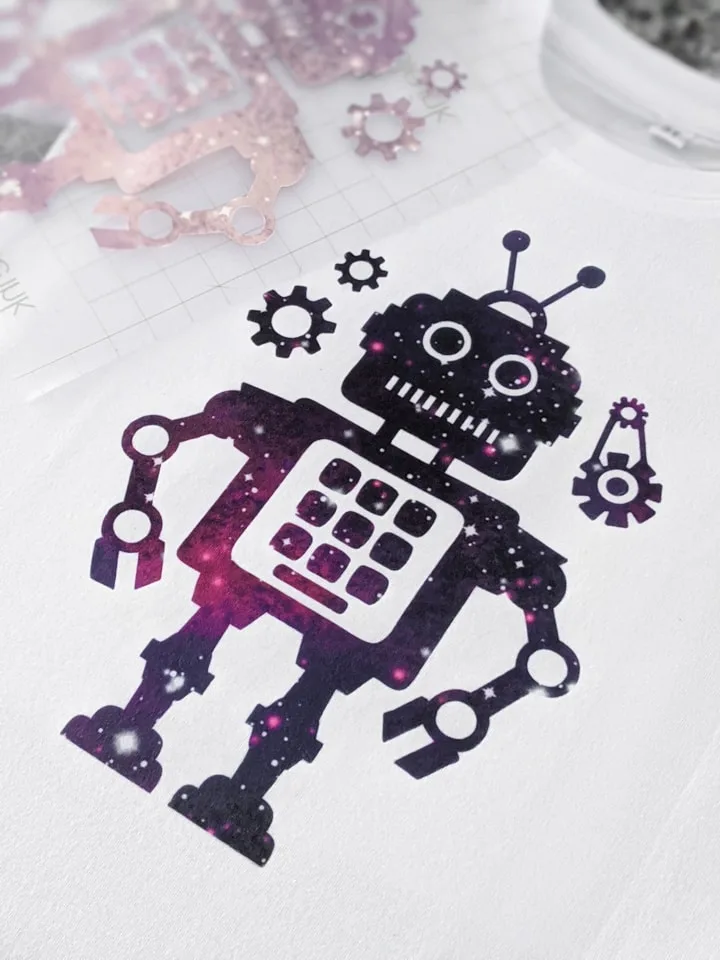
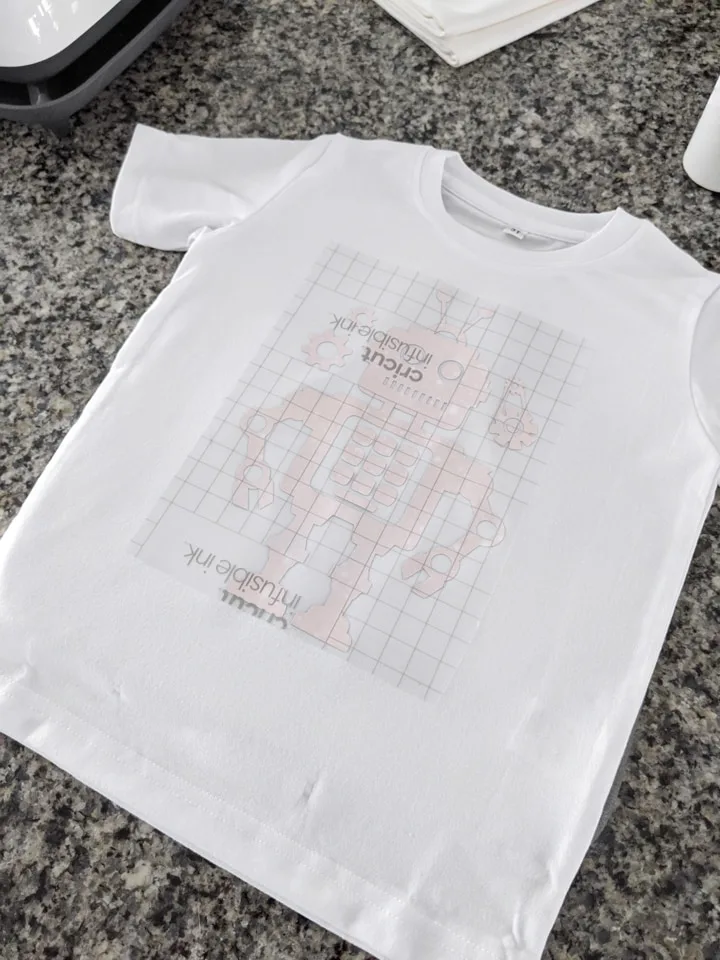
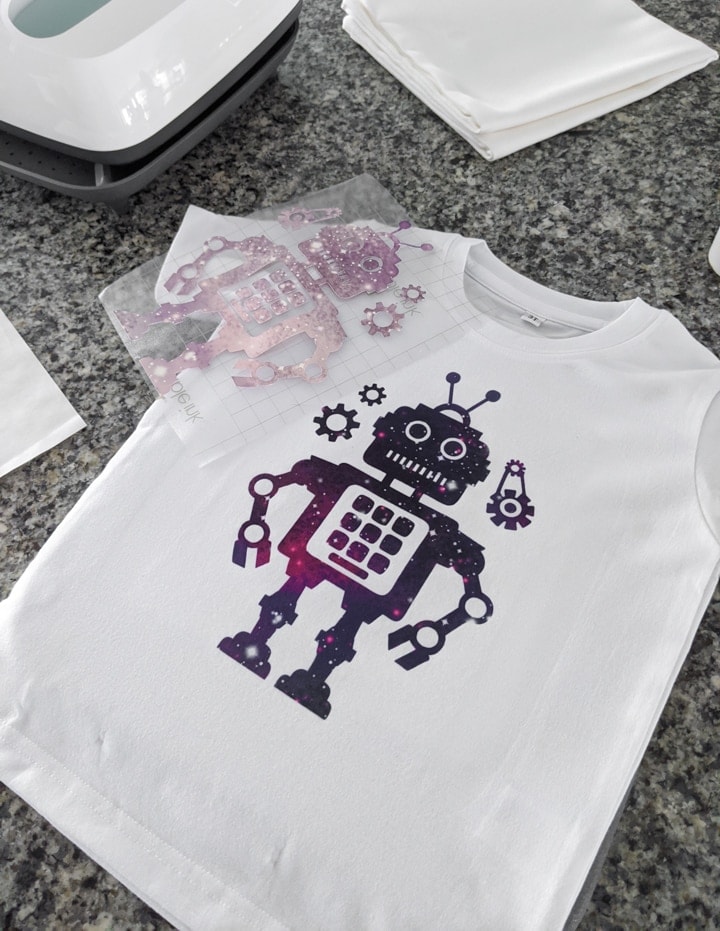
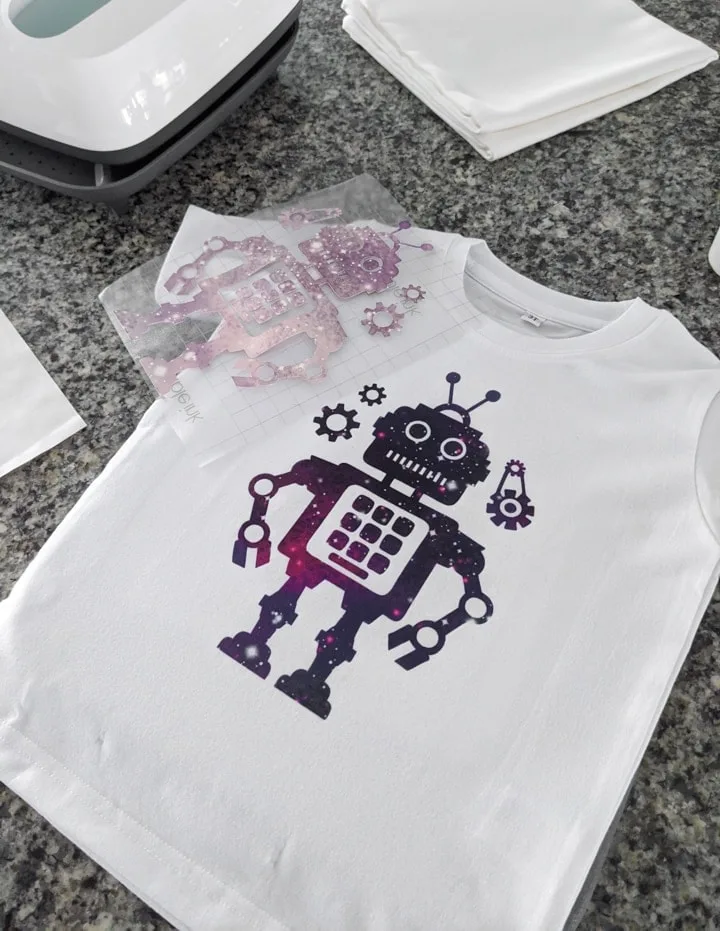
Create your design in Design Space and size it appropriately for the size toddler t-shirt you’re making. Then place your Infusible Ink transfer sheet liner side down onto a StandardGrip green mat. Make sure to mirror your design before cutting! There is nothing worse than forgetting to mirror a design and wasting material.
If you’re cutting on an Explore machine like I am, turn the dial to Custom on the machine. Then select Infusible Ink in Design Space. If you’re cutting on a Maker, just select Infusible Ink Transfer Sheet in Design Space
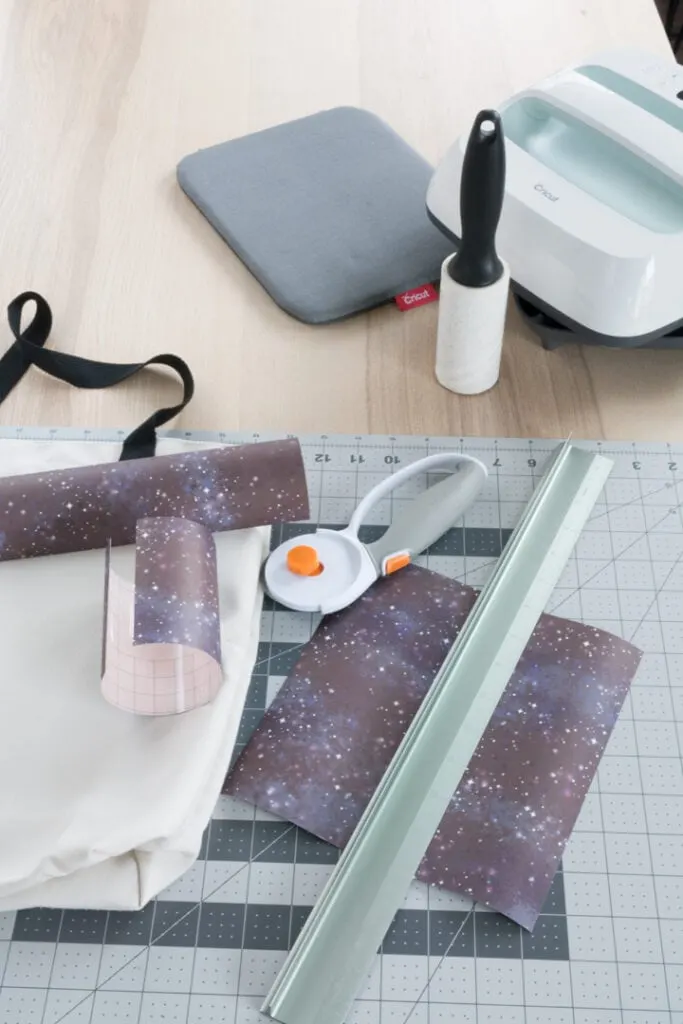
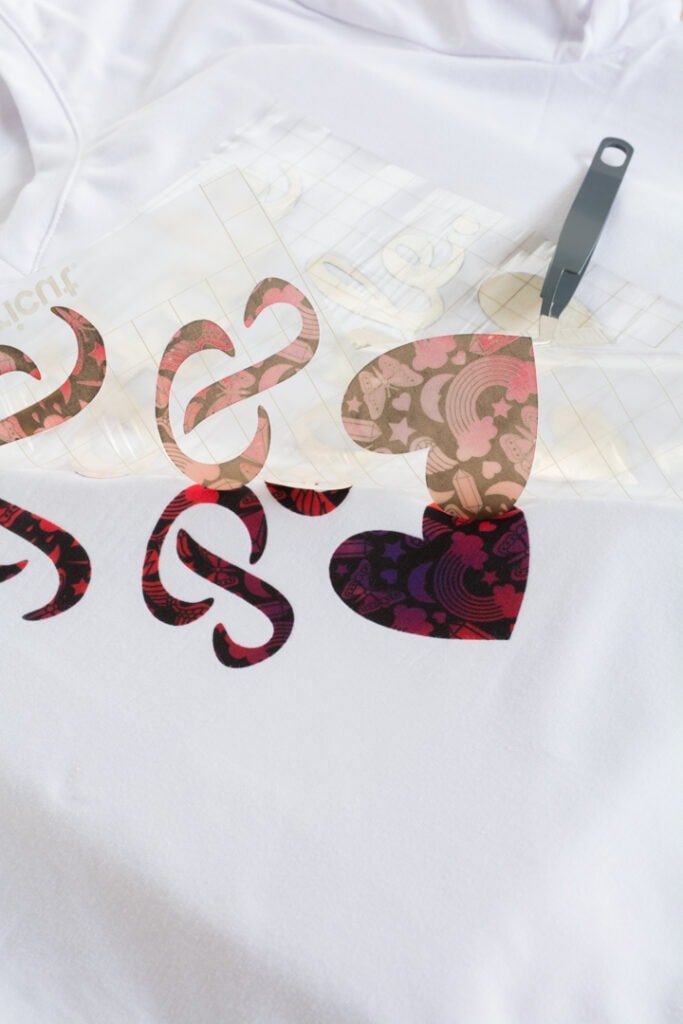
After you cut your design, weed out the negative space. Weeding Infusible Ink transfer sheets is much easier than weeding vinyl. You can roll the sheet to “crack” the cut lines. Then just remove the negative material with tweezers and your fingers. Make sure your fingers are totally dry.
You can also use scissors to cut off any extra space. Make sure to cut down the clear liners so that it does not extend beyond your EasyPress’s heat plate!
Step 2: Prep toddler t-shirt blank
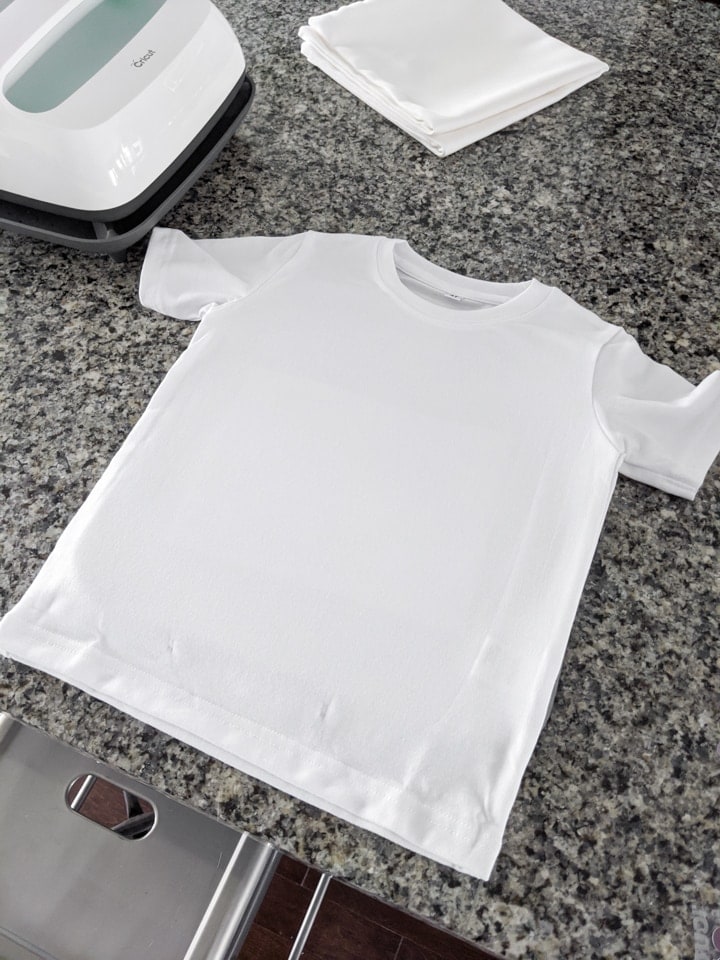
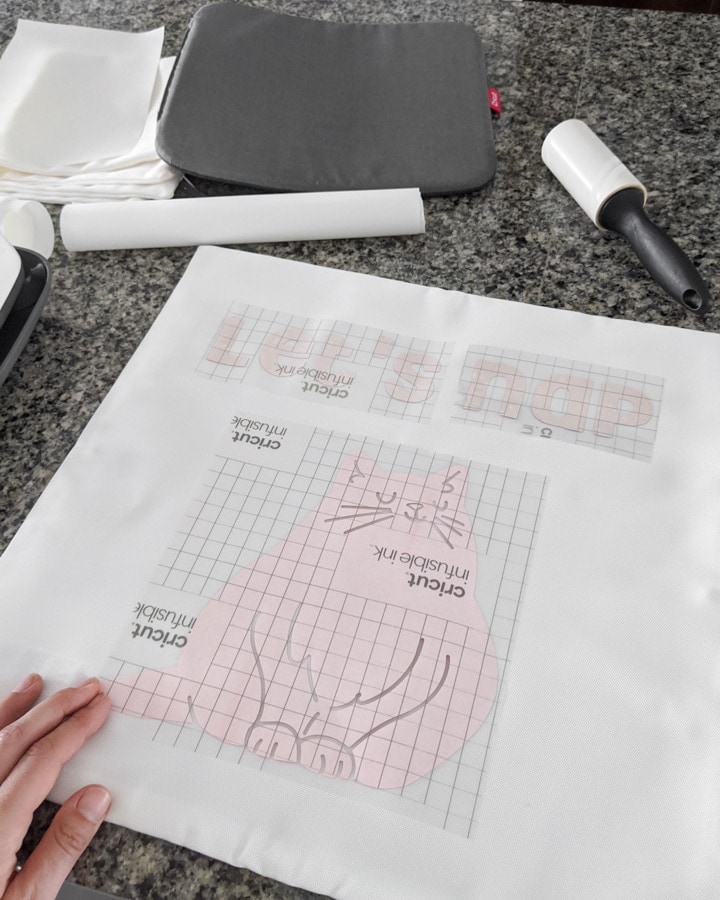
As I’ve explained in past posts on Infusible Ink, prepping your blank is one of the keys to success. First place the blank on top of your EasyPress mat and slide a piece of white or light-colored card stock into the inside of the shirt. This protects the back of your blank and your mat from any bleed through.
Next use a lint roller to clean off the application area on the blank. This is essential because even small specks of lint that you cannot see can cause discoloration in your transfer. Don’t skip this step—it’s easy! Once clean, cover with butcher paper and preheat application area to remove moisture and wrinkles. Let cool completely.

Note: For precise temperatures, preheat times, and transfer times, check out Cricut’s Heat Transfer Guide!
Step 3: Transfer design!
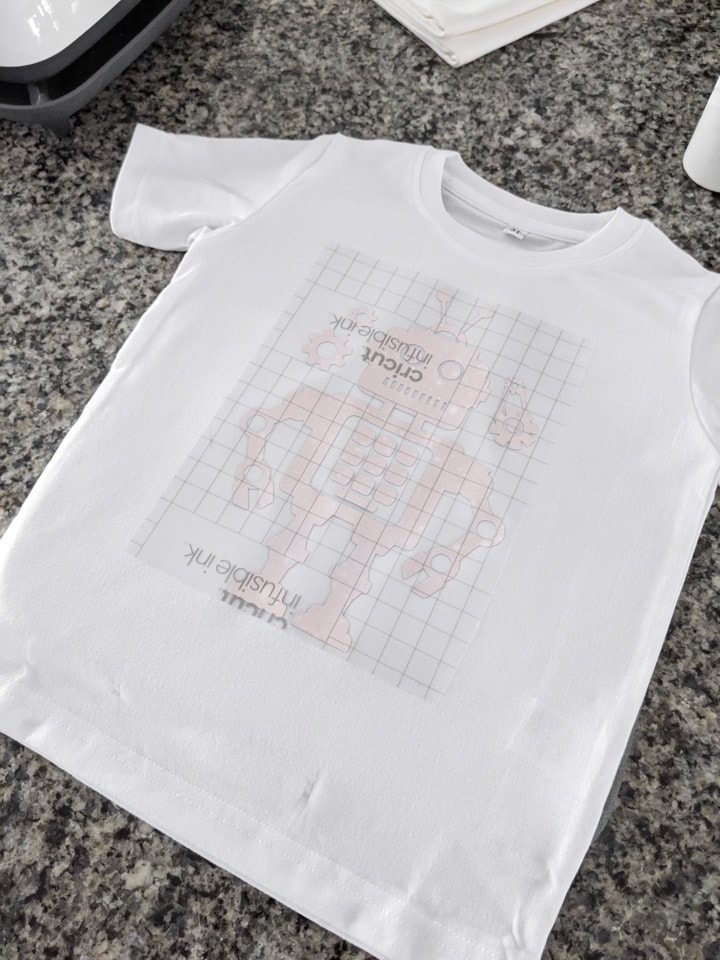
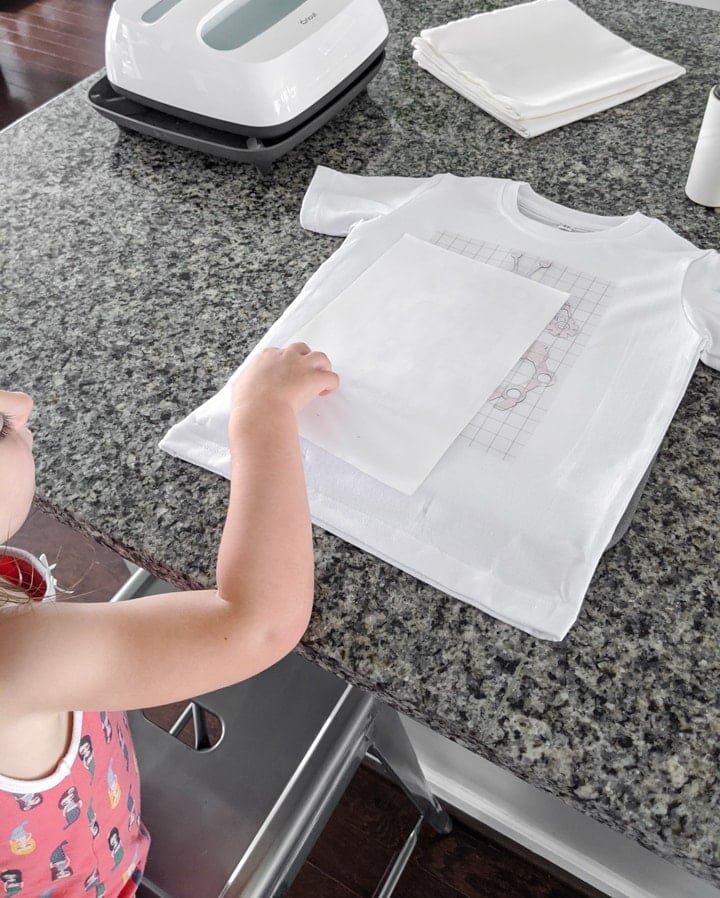
Next is the fun part. Place your design onto the toddler t-shirt and cover with butcher paper. The butcher paper should be larger than the EasyPress heat plate. Apply heat at 385 degrees Fahrenheit for 40 seconds using light to medium pressure as outlined in the heat guide linked above.
Make sure to avoid seams. If your EasyPress’s heat plate covers seams, the design will not receive even heat and it could mess with your transfer. Also make sure to stay very still while you’re applying pressure! Sliding the EasyPress even a tiny amount can lead to smudges or “ghosting” of the ink.
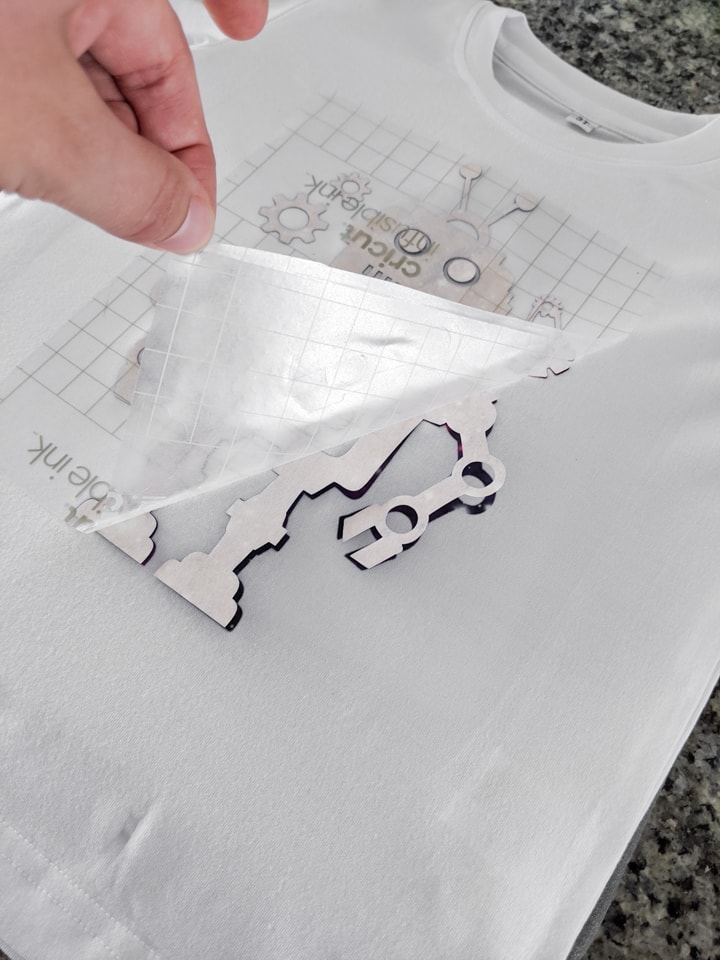
When you’re done transferring the design, let it cool and remove any extra material with tweezers. Chuck the butcher paper so you remember not to reuse it! And your custom toddler shirt is done. Machine wash inside out with cold water and mild detergent; dryer use is ok. Don’t use fabric softener, dryer sheets, or bleach when washing.


Want more Cricut? See my DIY personalized door knob hanger, my EasyPress 2 guide, and my “Which Cricut Should I Buy?” detailed comparison of the Cricut Joy, Explore Air 2, and Maker!
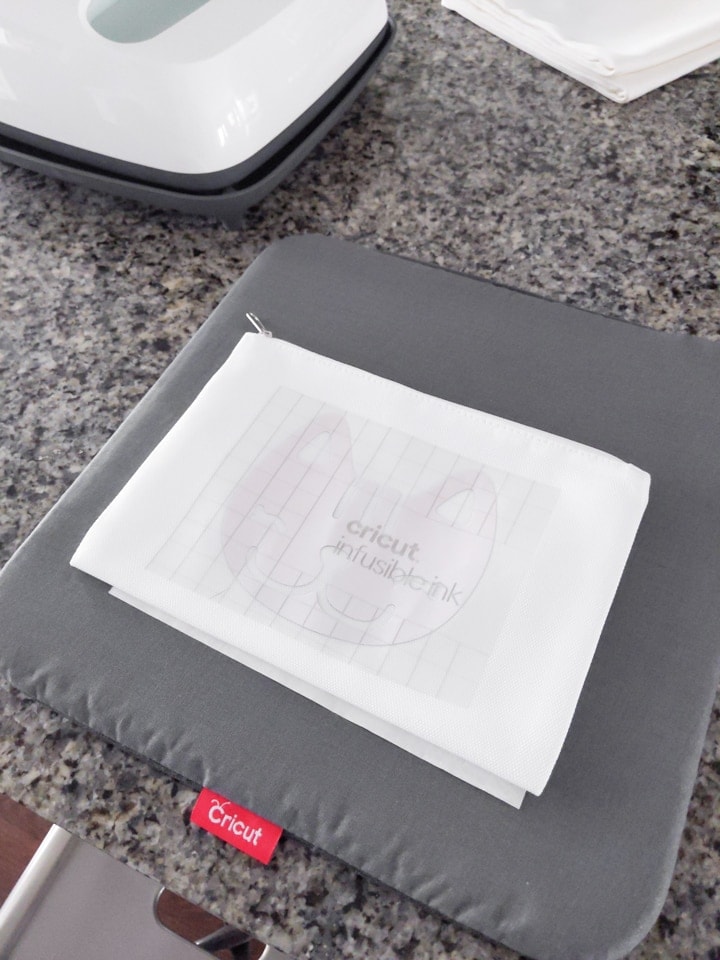
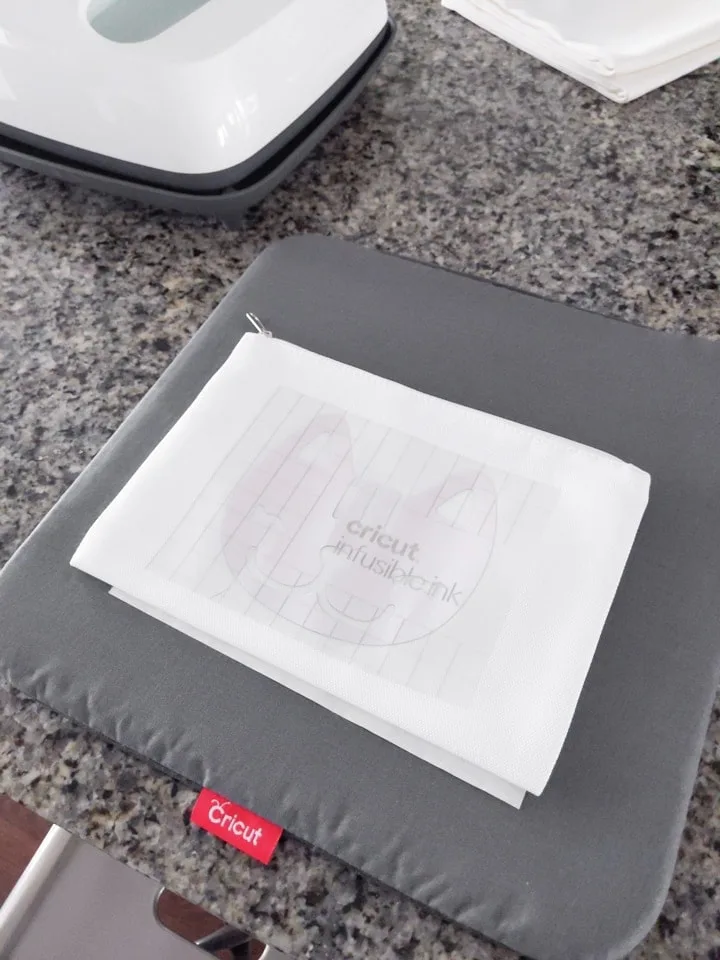
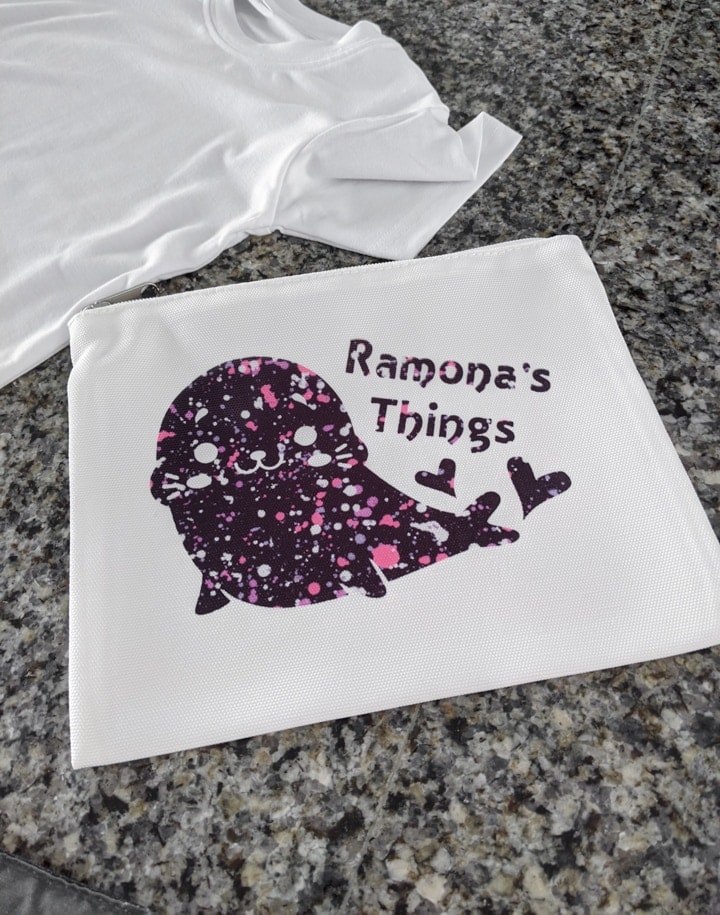
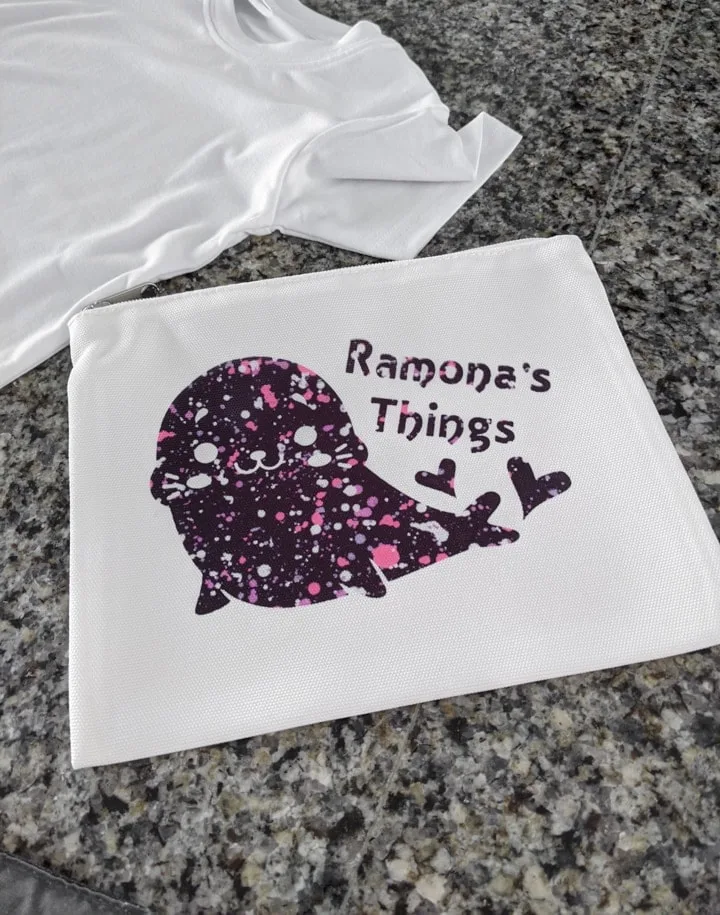
New Cricut Infusible Ink Blanks: Customized Cosmetic Bag Blank Tutorial
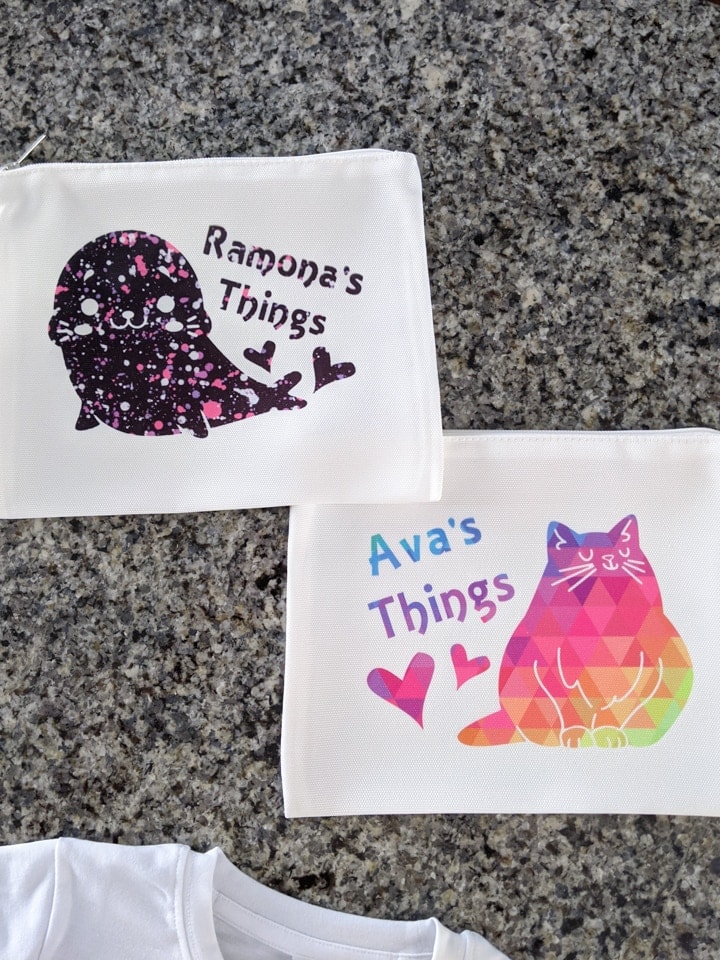
Next up: a tutorial for customizing a cosmetic bag blank! This is a cute project that you could really use for anything. I’m going to use one of these bags for some of R’s art supplies. They are currently scattered around in a drawer. And she’s 2, so she LOVES anything with a zipper.
Supplies:
- Cosmetic bag blank
- Cricut Explore Air 2
- StandardGrip green mat
- Infusible Ink sheets
- Butcher paper (comes with sheets, buy more here)
- White cardstock
- Lint roller
- EasyPress 2
- EasyPress mat
- Scissors and tweezers


And here’s how to customize a cosmetic bag blank with Cricut Infusible Ink!
Step 1: Create, cut, and weed design
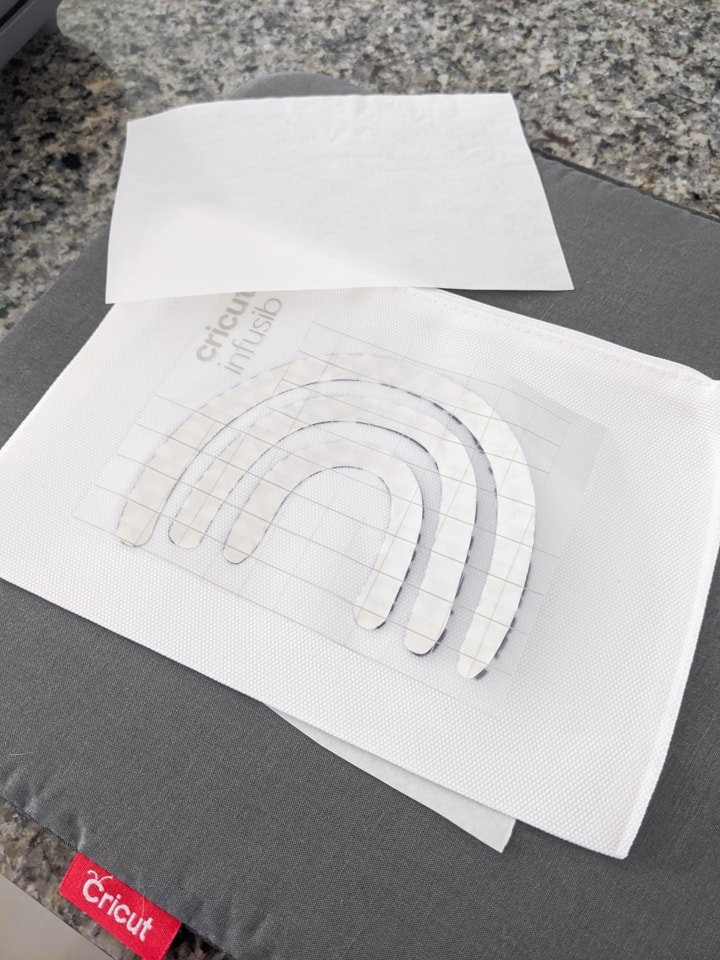
Follow all instructions for creating, cutting, and weeding a design. One note, though. Since the cosmetic bag is smaller, think about seam placement when sizing your design. For example, don’t make the design so large that it comes right up to the edges/seams of the bag. This can create issues with transfer.
Don’t forget to mirror before cutting! Select Infusible Ink as your material before cutting. Weed out the negative space using your fingers and tweezers. Cut off extra space, and make sure to cut down the clear liners so that it does not extend beyond your EasyPress’s heat plate.
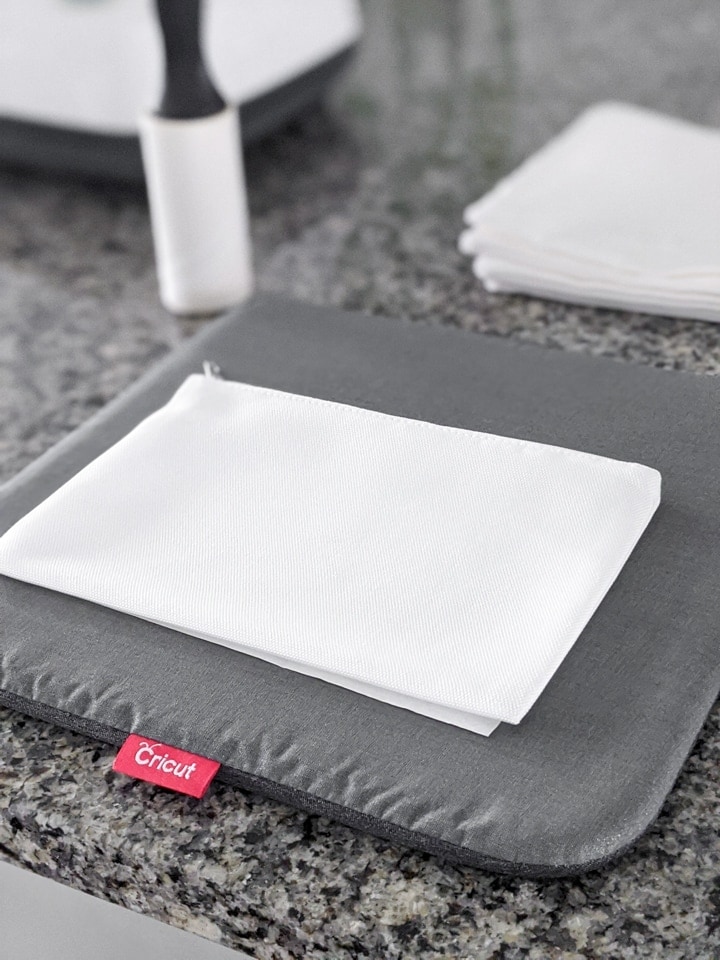
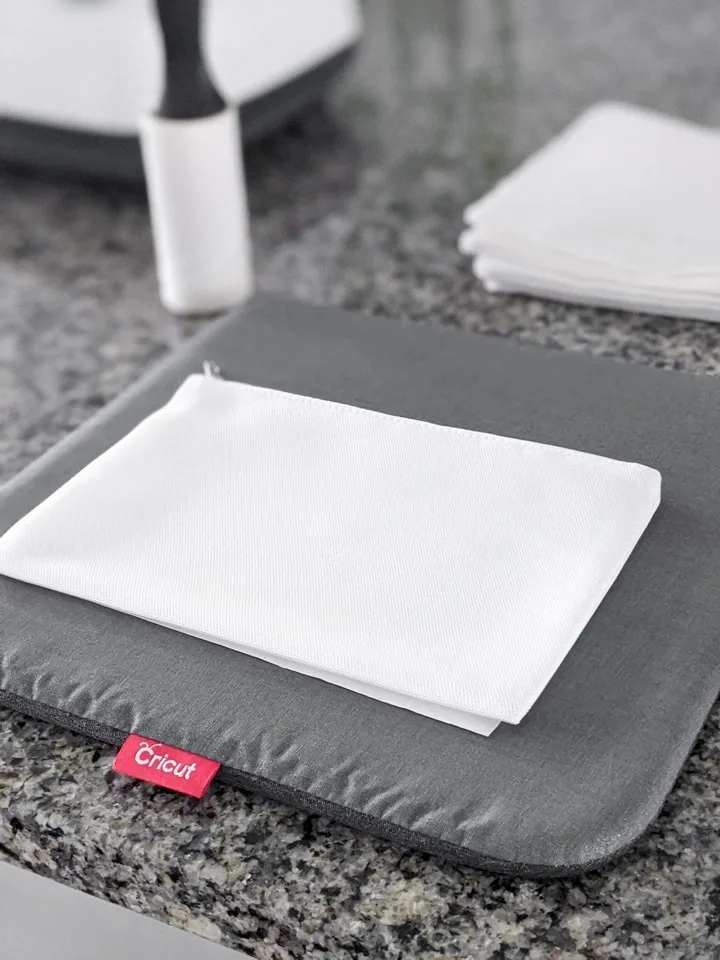
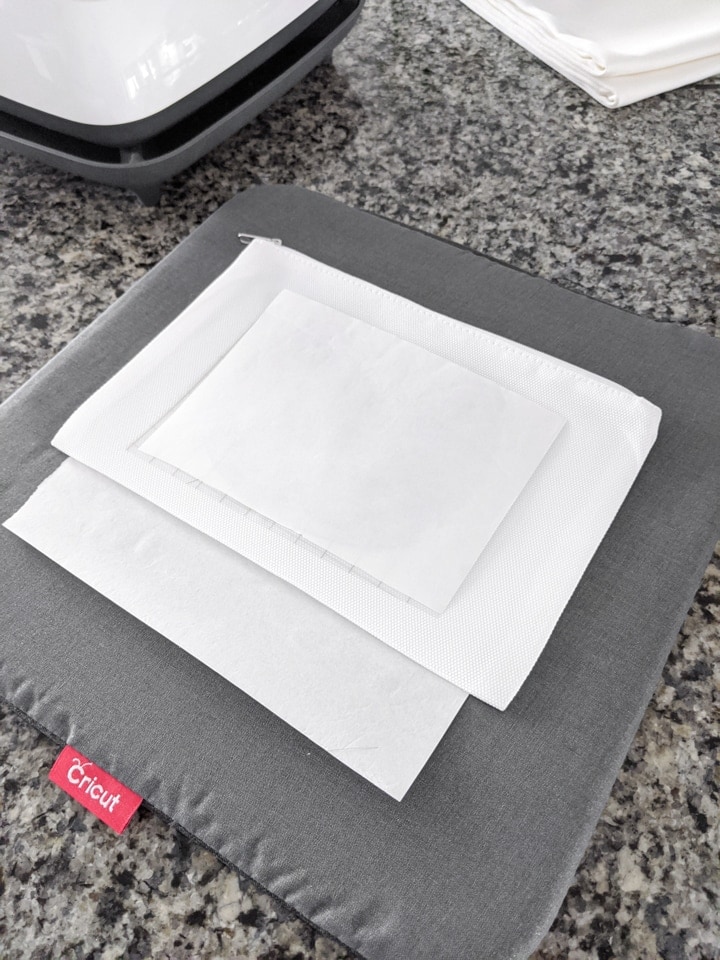
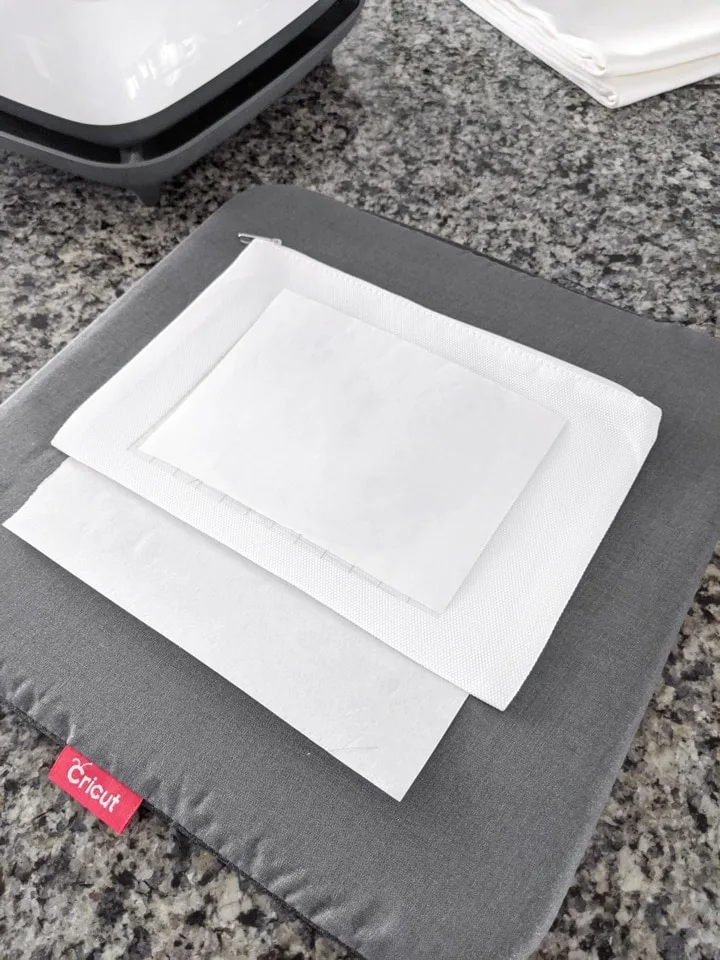
Step 2: Prep cosmetic bag blank
As with the toddler t-shirt, prep is really important. Set your bag on your EasyPress mat. Slide white or light-colored card stock into the inside of the bag, and use a lint roller to clean off the application area on the blank. Preheat to remove moisture and wrinkles and let cool.
Note: For precise temperatures, preheat times, and transfer times, check out Cricut’s Heat Transfer Guide!
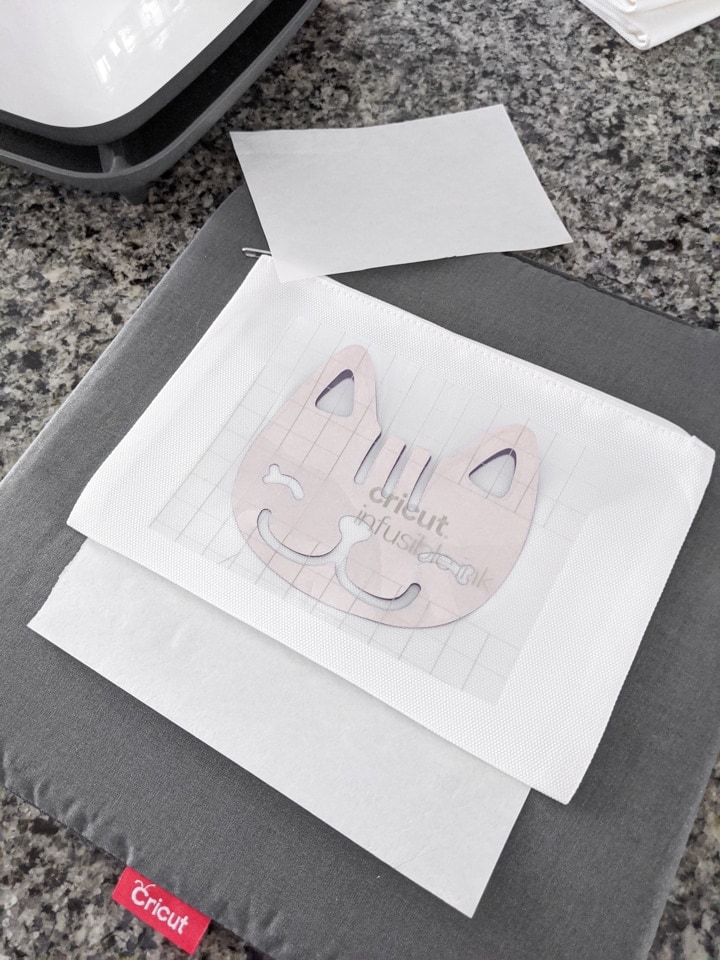
Step 3: Transfer design!
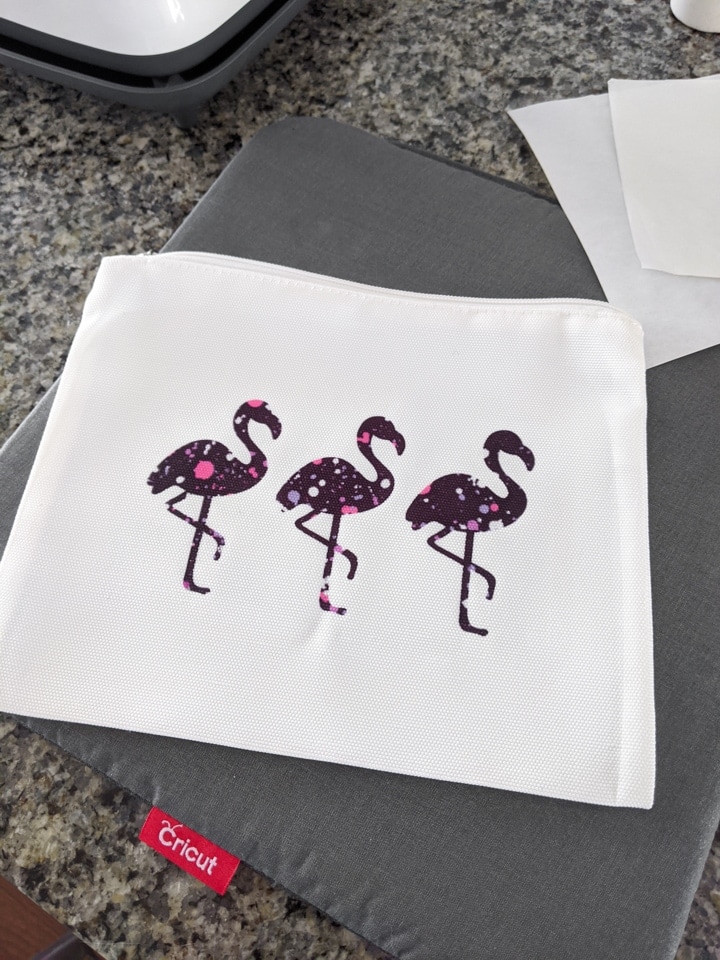
Set design onto the toddler t-shirt and cover with butcher paper. The butcher paper should be larger than the EasyPress heat plate. Apply heat as outlined in the heat guide linked above. Make sure to avoid seams, which I know is hard with an item that is this small. Cricut has a great video for elevating your blank material to help get an even transfer.
After transferring, let everything cool and remove any extra material with tweezers. And your nifty customized cosmetic bag is done! Machine wash inside out with cold water, no bleach—tumble drying is fine.
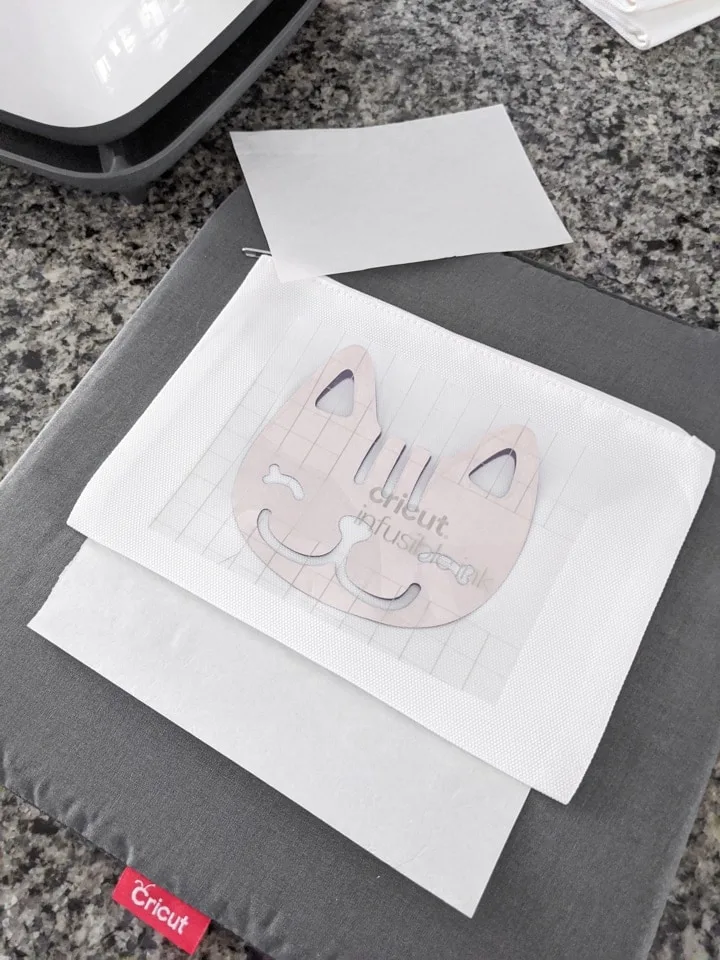

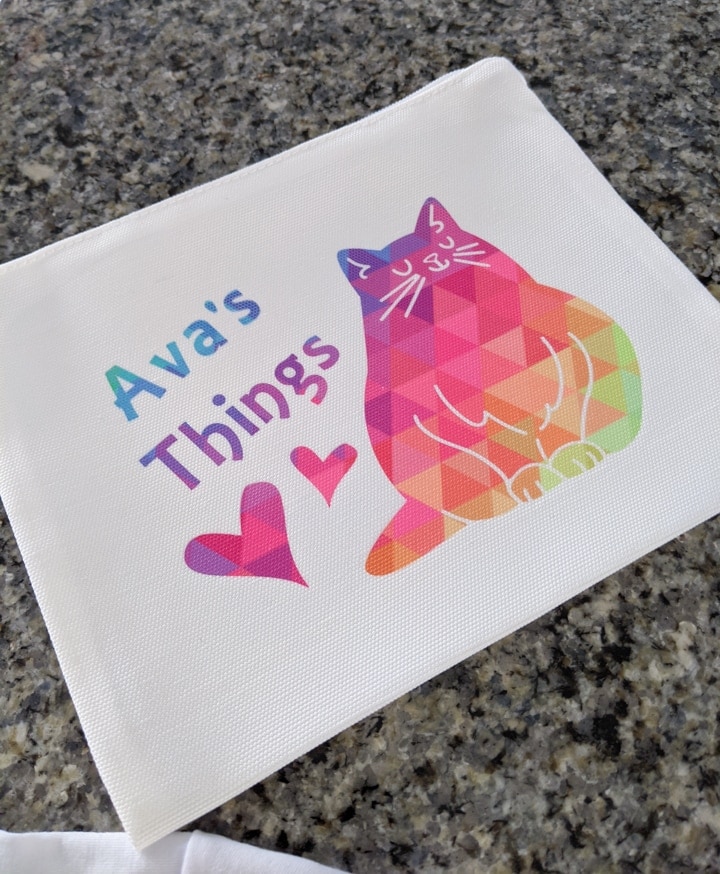

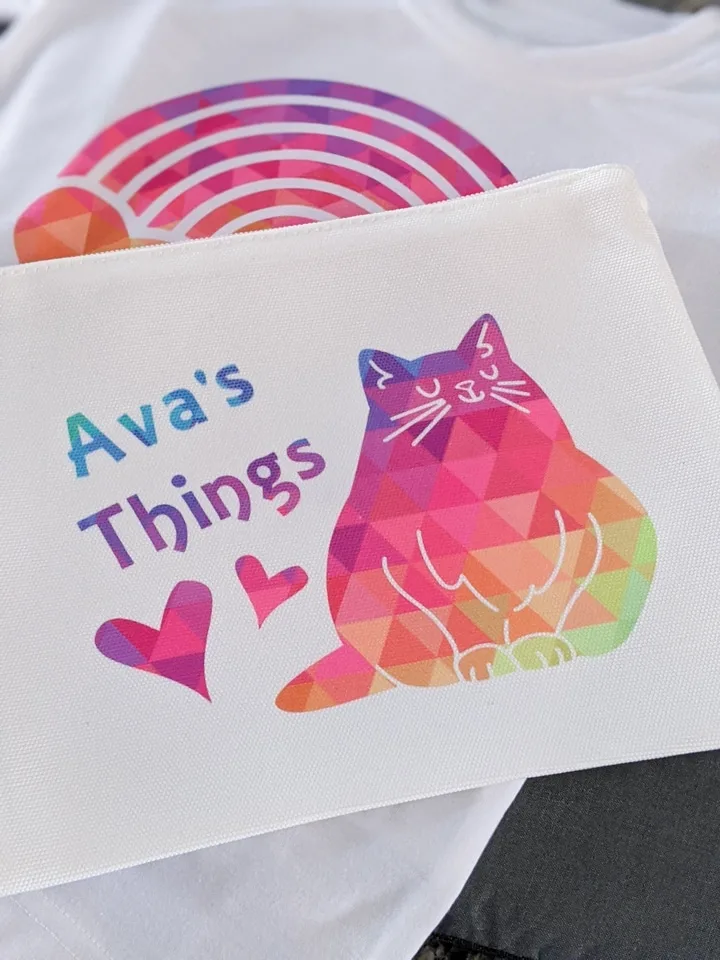
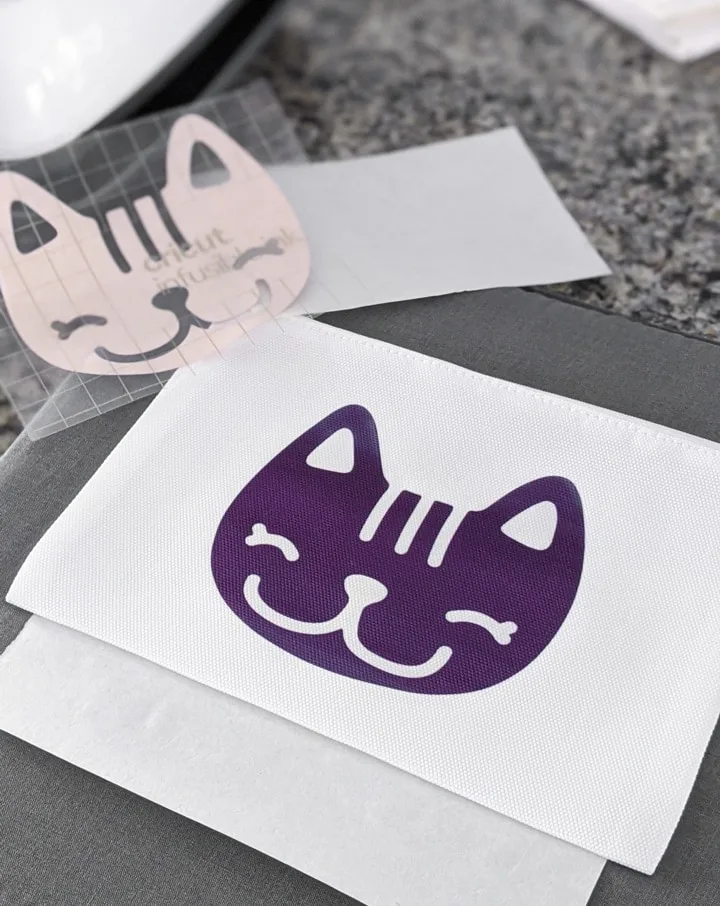
You can see a bit of what I’m talking about with how the seams can mess with the transfer. The very tops of the kitty’s ears below are slightly more faint. That’s because the EasyPress was on the zipper area, and I didn’t elevate the pouch by putting anything inside of it. Oops!

For more cute kids projects using Cricut, check out my DIY matching/memory game, my DIY wall decals using the Cricut Explore Air 2, the DIY dollhouse miniatures I made using my Maker, and my roundup of 25 Cricut projects to make for babies and kids!
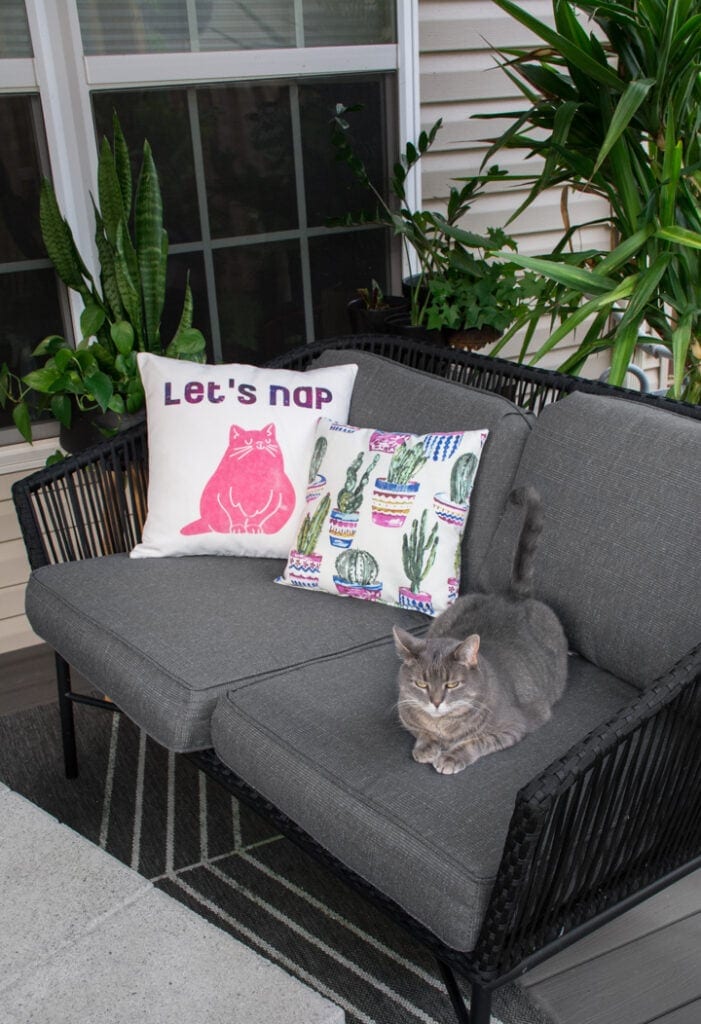
New Cricut Infusible Ink Blanks: Personalized Pillow Case Blank
Next up, and the one I’m the most excited about: personalized a pillow case blank. Like any other red-blooded basic 30-something-year-old woman, I love throw pillows. I was amped to see Cricut was rolling out a pillow case blank!
Supplies:
- Pillow case blank
- Cricut Explore Air 2
- StandardGrip green mat
- Infusible Ink sheets
- Butcher paper (comes with sheets, buy more here)
- White cardstock
- Lint roller
- EasyPress 2
- EasyPress mat
- Scissors and tweezers
And here’s how to personalize a pillow case blank with Cricut Infusible Ink!
Step 1: Create, cut, and weed design
Follow all instructions for creating, cutting, and weeding a design. One note about seams, though. Cricut has this to say:
Given the seam allowance inside pillow cases, we do not recommend pressing a design that comes right up to the seam or edge of the case. Even if you place cardstock on top of the seam allowance inside the case, it can still cause enough unevenness to affect the transfer. Make sure to size your design with this in mind.
-Cricut’s website
Don’t forget to mirror before cutting. Weed negative space and trim down the clear liner as necessary. Remember—you do not want your liner to extend beyond your heat plate.
Step 2: Prep pillow case blank
Set your cosmetic bag on your EasyPress mat, insert card stock into the pillowcase, and use a lint roller to clean off the application area. Preheat to remove moisture and wrinkles and let cool.
Note: For precise temperatures, preheat times, and transfer times, check out Cricut’s Heat Transfer Guide!

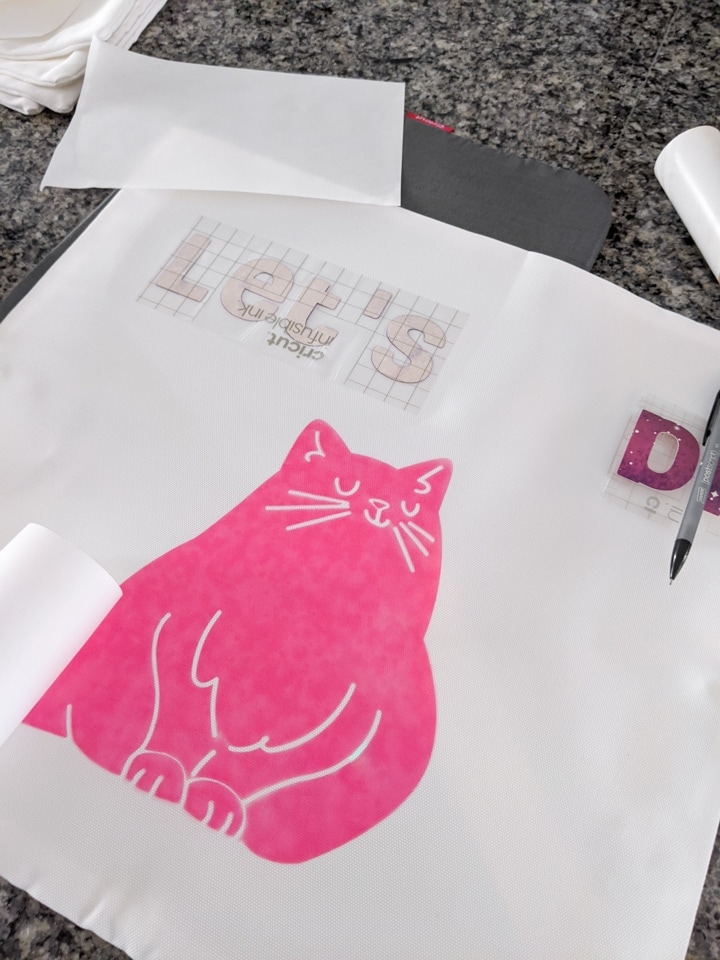
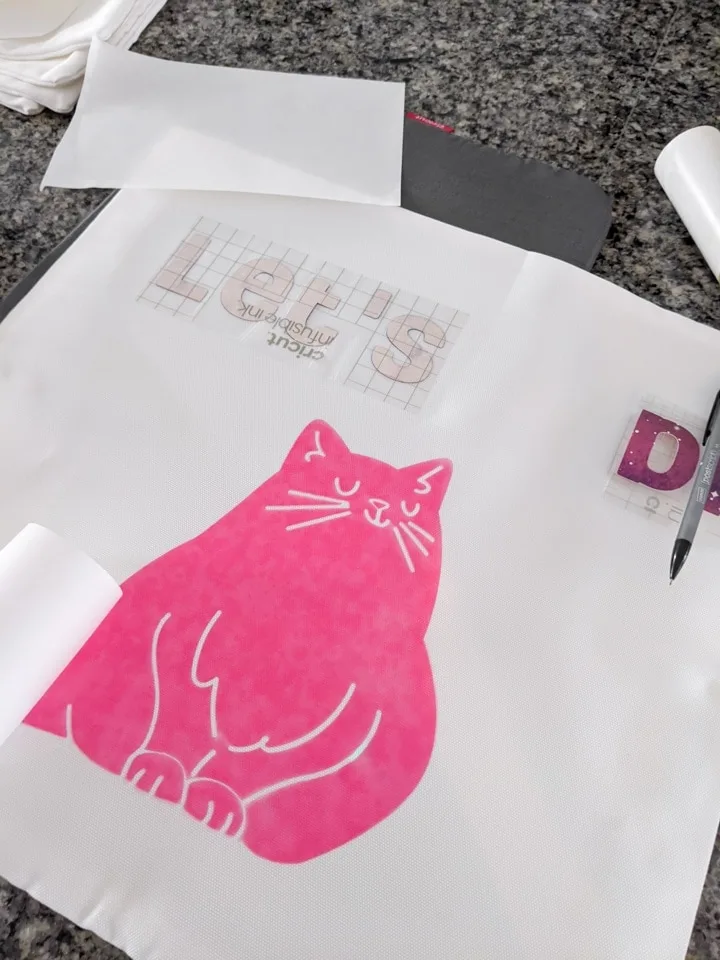
Step 3: Transfer design!
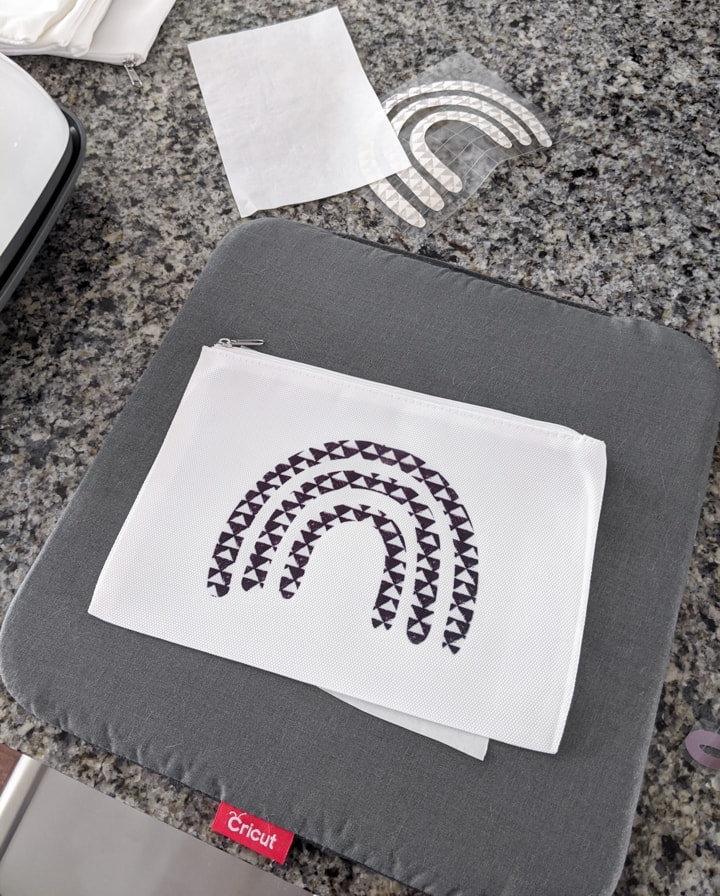
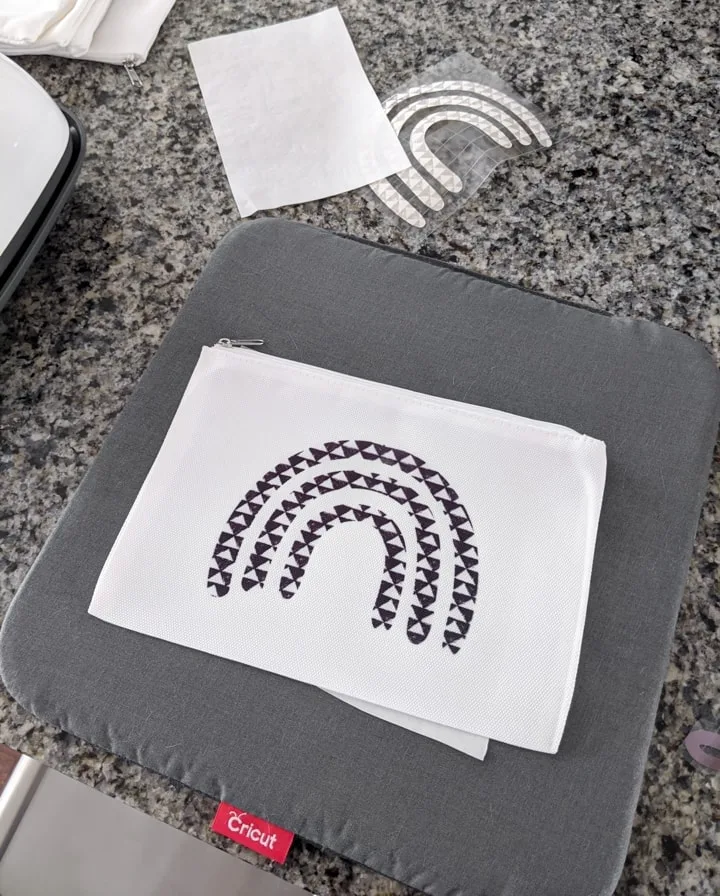
Set design onto the pillow case blank and cover with butcher paper. The butcher paper should be larger than the EasyPress heat plate. Apply heat as outlined in the heat guide linked above.
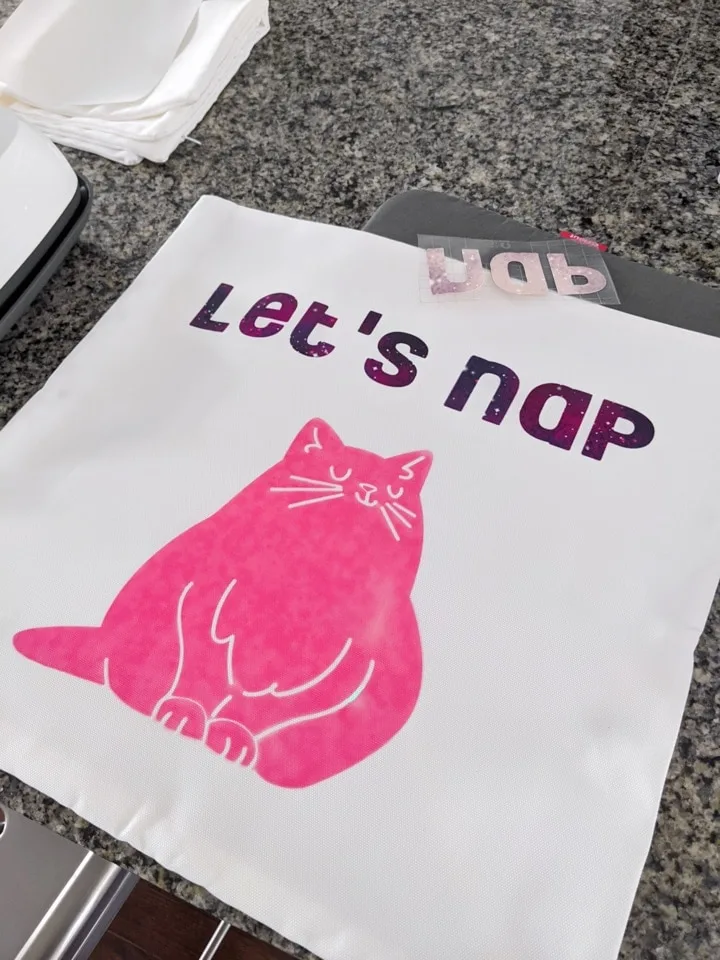
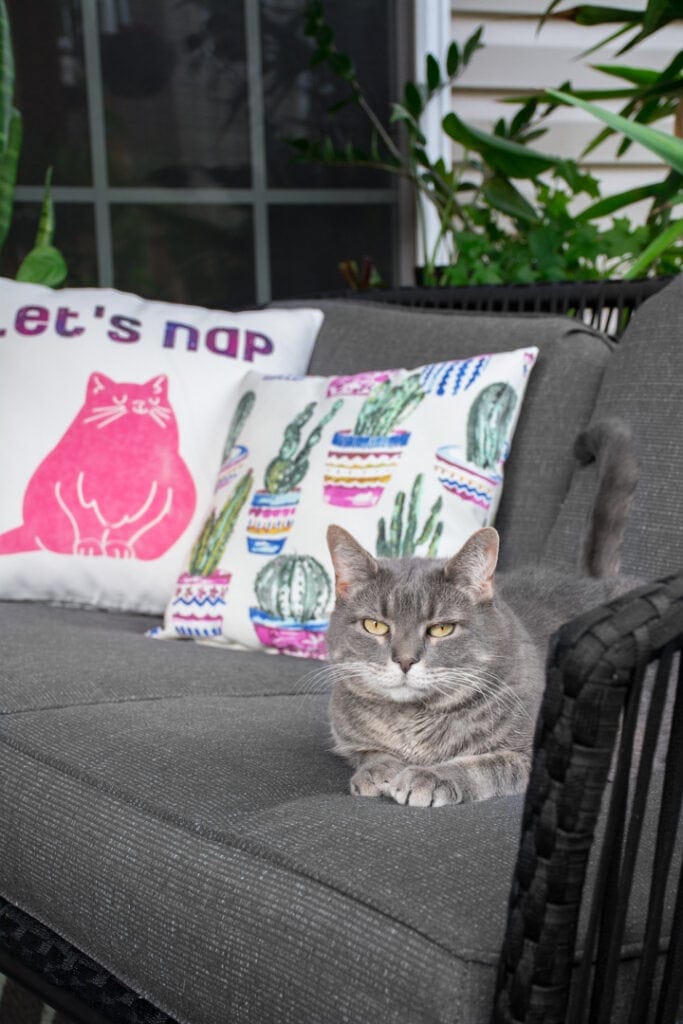
When you’re done, let the pillow case cool. Then remove the butcher paper and any extra material with tweezers. And your beautiful personalized pillow case is done! Machine wash with cold water, no bleach—tumble drying is fine. Who’s ready for a nap?


Pin my tutorials for the new Cricut Infusible Ink blanks!