This content may contain affiliate links. See my full disclosure here.
Are you a crafty person looking for a good indoor activity for kids? Check out my tutorial on how to make a matching game using your Cricut machine. It’s the perfect activity for toddlers and little ones. This post is sponsored by Cricut and originally appeared on bybrittanygoldwyn.com.
How to make a matching game with Cricut—a great indoor activity for kids!
Hey all! Like everyone else with small children, I am always looking for fun indoor activities for my daughter to do during the winter. And this past year it hasn’t just been the winter. With so much time indoors away from normal activities, I am not going to lie. I have gotten a bit desperate. 🙂
Over the past year, I have made homemade sidewalk chalk paint, resin play jewelry, a personalized craft caddy, and a dollhouse from scratch (including a bunch of miniatures I made using my Cricut machine and some dollhouse wallpaper), among other things.
And although I didn’t make it, one of the most worthwhile purchases we made at the beginning of quarantine was a life-size colorable cardboard playhouse. Man did we get some serious use out of that thing!
Today’s post continues that theme—I am going to show you how to make a matching game for kids with my Cricut Explore Air 2. I have made a toddler-sized apron, a door knob hanger, and rainbow wall decals for R with my Cricut. This is the first game I’ve made.

I originally wanted to make a memory game for R. I loved playing memory when I was little. But she just turned 3 years old, which is a little on the young end for memory. So I decided to make a game that can be used as a matching game for the little ones and eventually a memory game as well.
I saw these animal cut files in Cricut’s Design Space and thought, how cute are they? They have animal fronts and backs, but we’re calling it “the fronts and butts game.” Mike walked by my computer and said “why don’t you make a matching game with those?” So I did what any normal person would do—I cut out 18 different animals and their matching butts 🙂
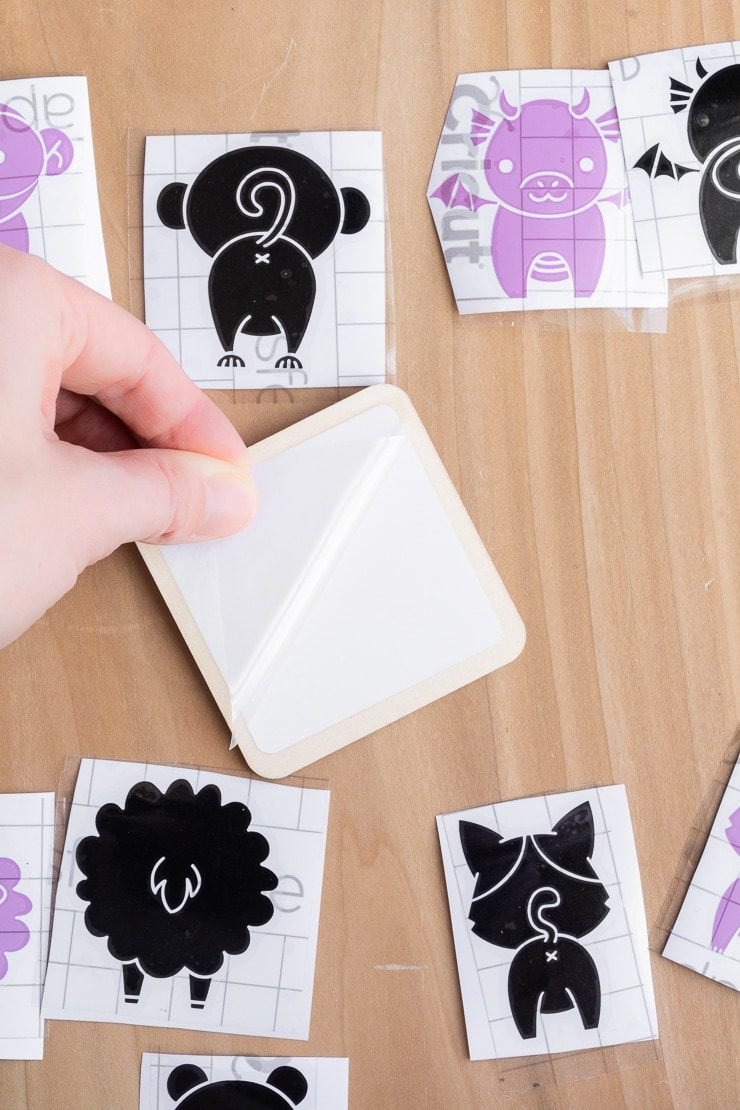
I sized a square to be the background on each coaster and decided to use white for this. You can use white adhesive vinyl, but I’m generally a fan of using what you’ve got. And I had a bunch of white iron-on vinyl. Did you know could do that—use iron-on vinyl on wood? I wrote a whole post about it.
As a bonus, using iron-on vinyl with wood gives you a very strong bond. If wood is unfinished, it can sometimes be hard to get regular vinyl to stick to it for long periods of time. If you’re using regular adhesive vinyl, make sure to use permanent—not removable.
I used my EasyPress Mini to apply heat for about 30 seconds (set to the medium heat level). You can always use the Cricut Heat Guide to set your press, material, and base for the perfect settings. The backgrounds adhered very well to the little tiles.


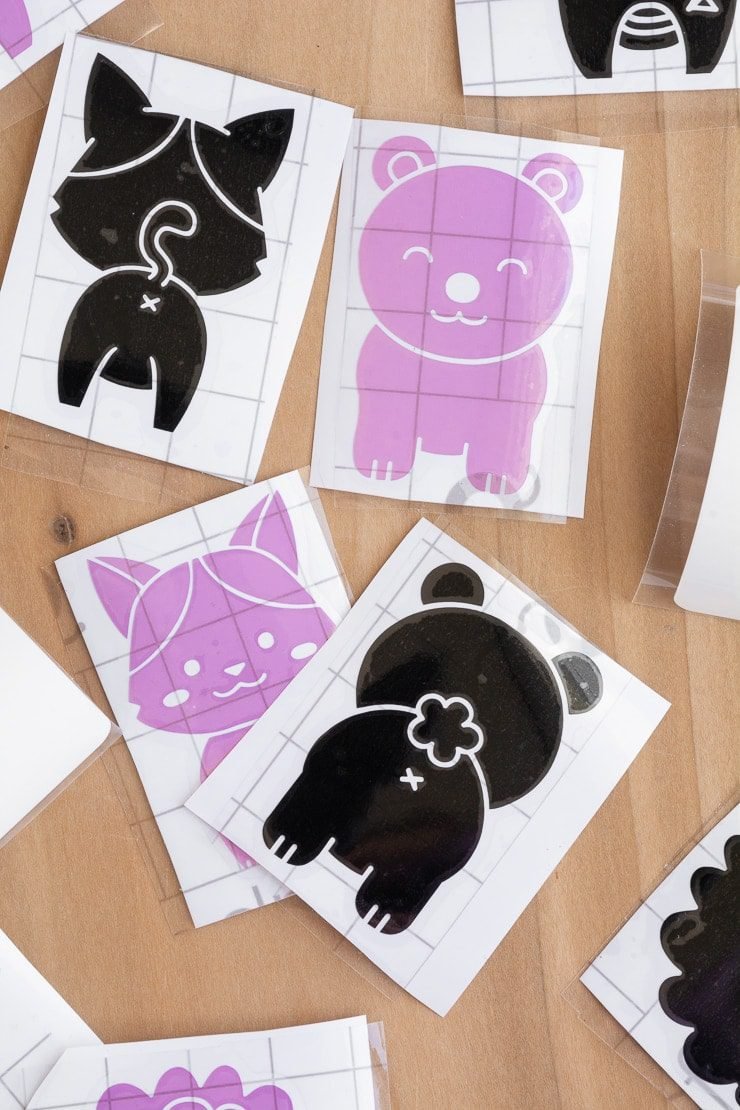
Next I cut out the animals. After waffling back and forth for a while, I finally decided to do all of the fronts in pink lavender and all of the butts in black. I love the contrast of these two colors together and used them a lot in her little dollhouse project’s wallpaper.
I also thought the difference in colors would help R a bit. She immediately learned that the fronts are pink and the butts are black, so she started matching pretty quickly. Maybe we’ll move onto using this as a memory game soon—that will be much harder!
This step was by far the most time-consuming part of the project. I did it while watching Netflix. Cutting is fast, but weeding, on the other hand…you either love it or you hate it. With so many tiny pieces in this project, I had to do the weeding slowly so I didn’t mess up and lose a piece.
When I was finished weeding the animal images, I cut little pieces of transfer tape and pressed them onto all of the designs. On projects like this, I like to work in bulk: cut all at once, weed all at once, tape all at once, and then transfer all at once.
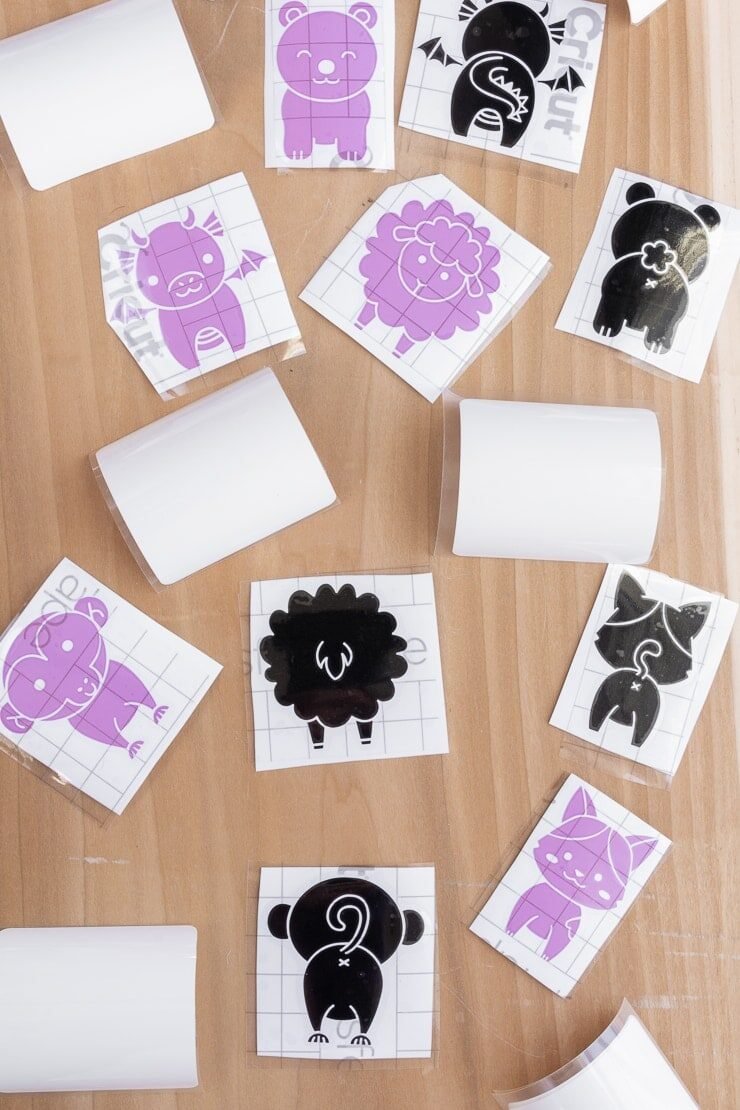
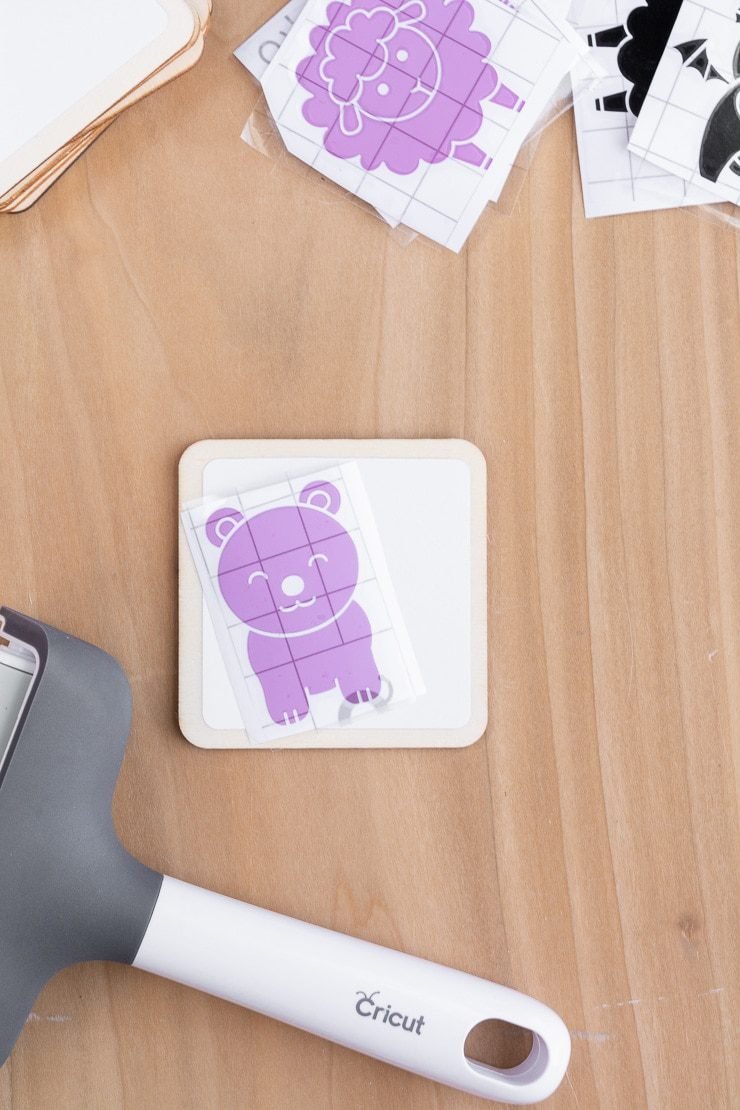
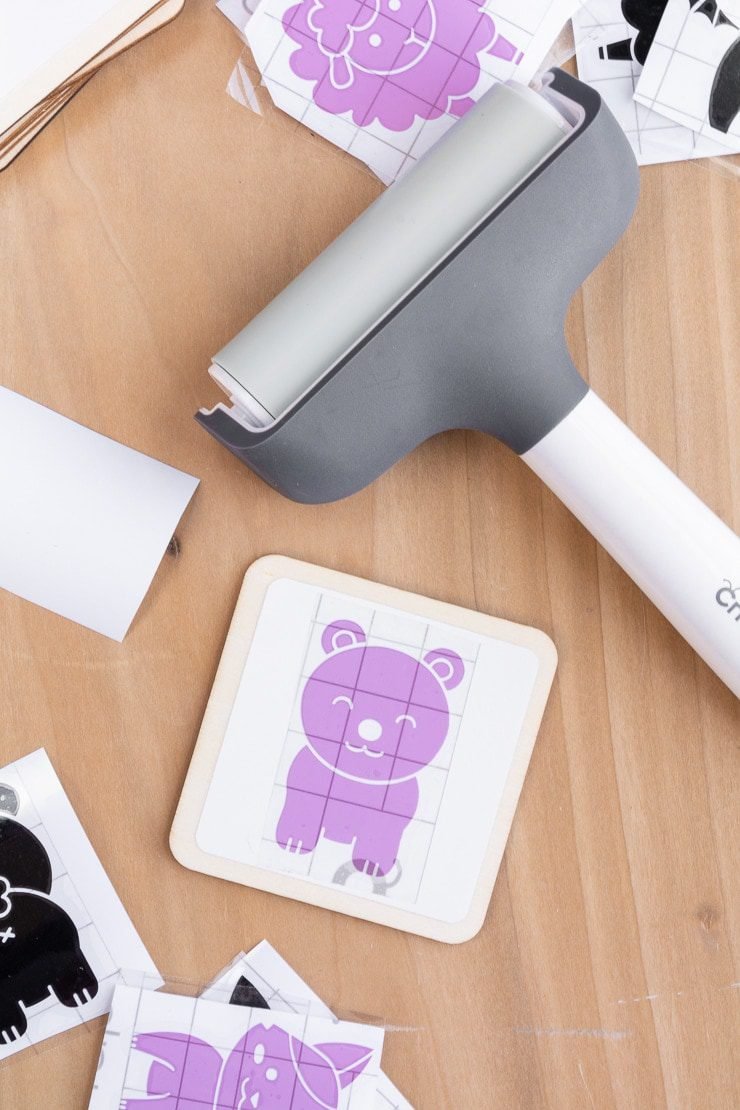
After applying transfer tape to each animal, I started peeling the designs off of the vinyl backing and applying them to the tiles one by one. I used my Cricut brayer to roll over the designs to ensure a firm bond. I thought I wouldn’t use this little tool a lot when I first got it, but I use it a ton. It’s really handy.
You don’t have to worry about the wood interfering with the bond since there is a layer of vinyl between them. Vinyl sticks GREAT to other vinyl. I didn’t have any problems while slowly removing the transfer tape from each design.


How cute are they? R loves it already. I mean, I’m sure it will lose her attention in a day or so because she’s 3 and everything loses her attention in a day or so. But then I just hide it away and cycle out something else. It’s all about cycling the toys and games!


Pin my post about how to make a matching game!


0 Comments