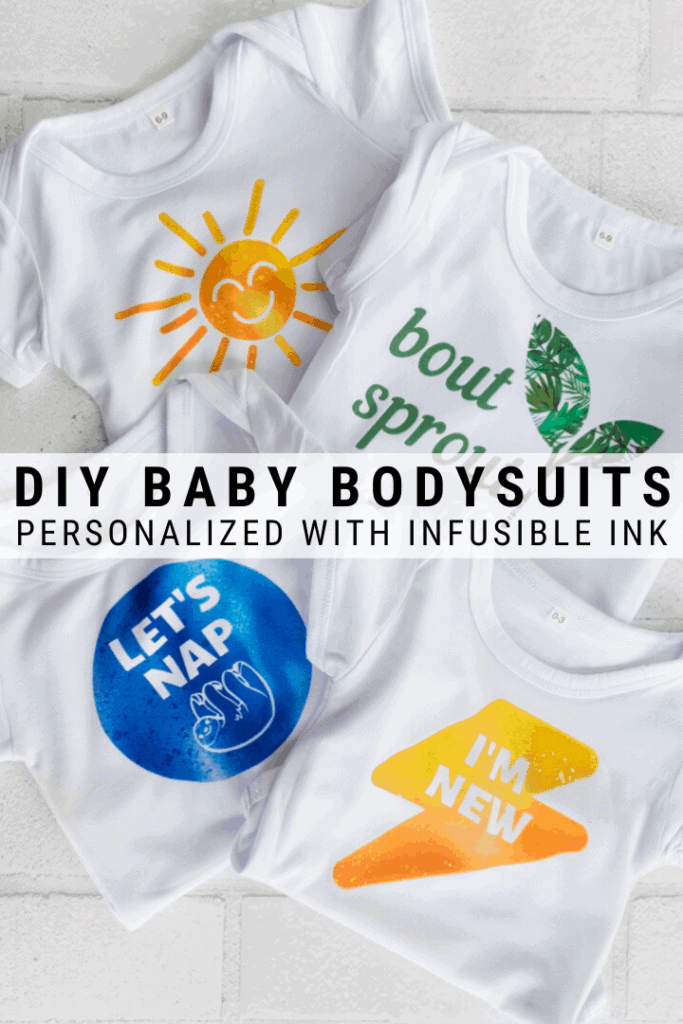
This post shares how to make personalized Cricut Infusible Ink bodysuits for a baby boy using their custom baby bodysuit blanks! Infusible Ink is a great idea for customizing baby clothing because it is permanent and stands up to heavy washing. Learn how.
Hey guys! Today I am sharing a post about how to make personalized bodysuits for a baby boy using Cricut’s Infusible Ink. The baby boy on the receiving end of these gifts is my cousin’s baby boy. They are getting TONS of our hand-me-downs, but I couldn’t resist doing a little personalized Cricut project for her.
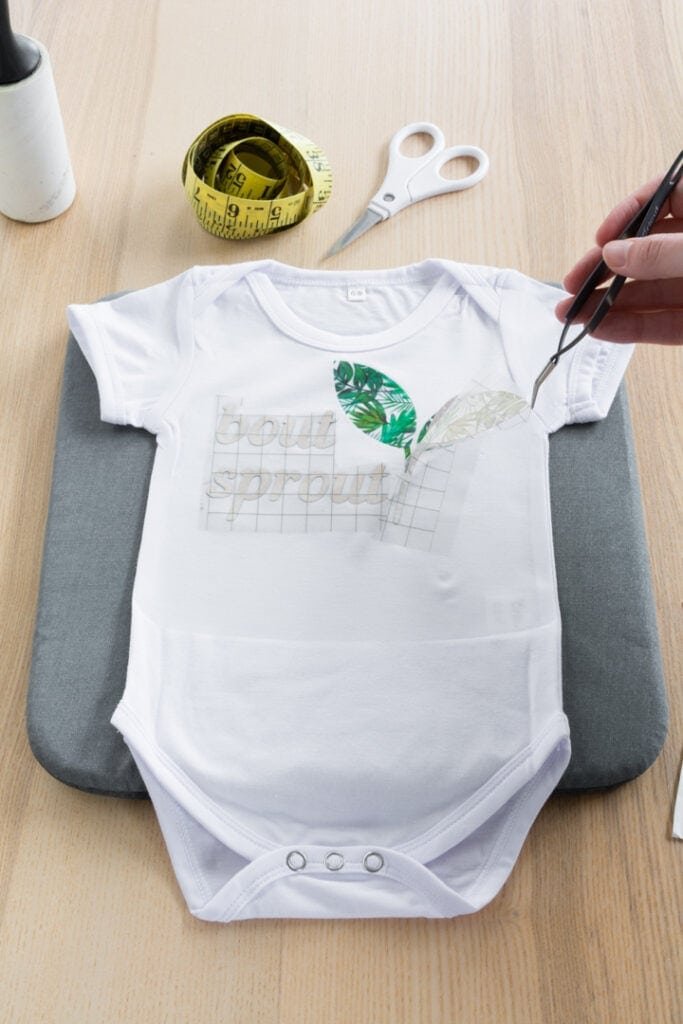
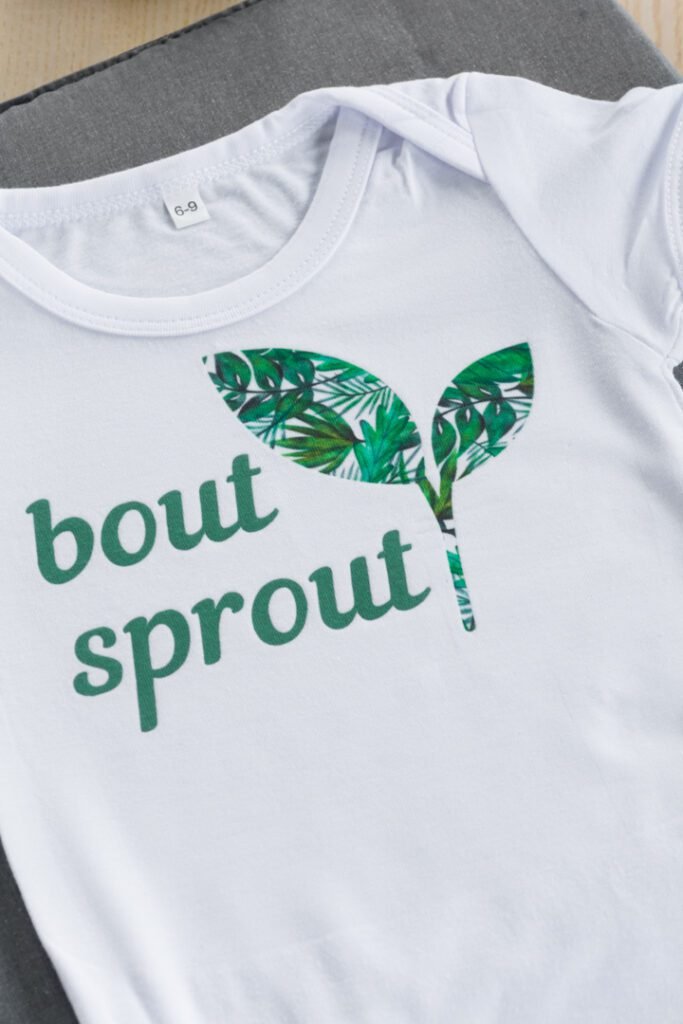
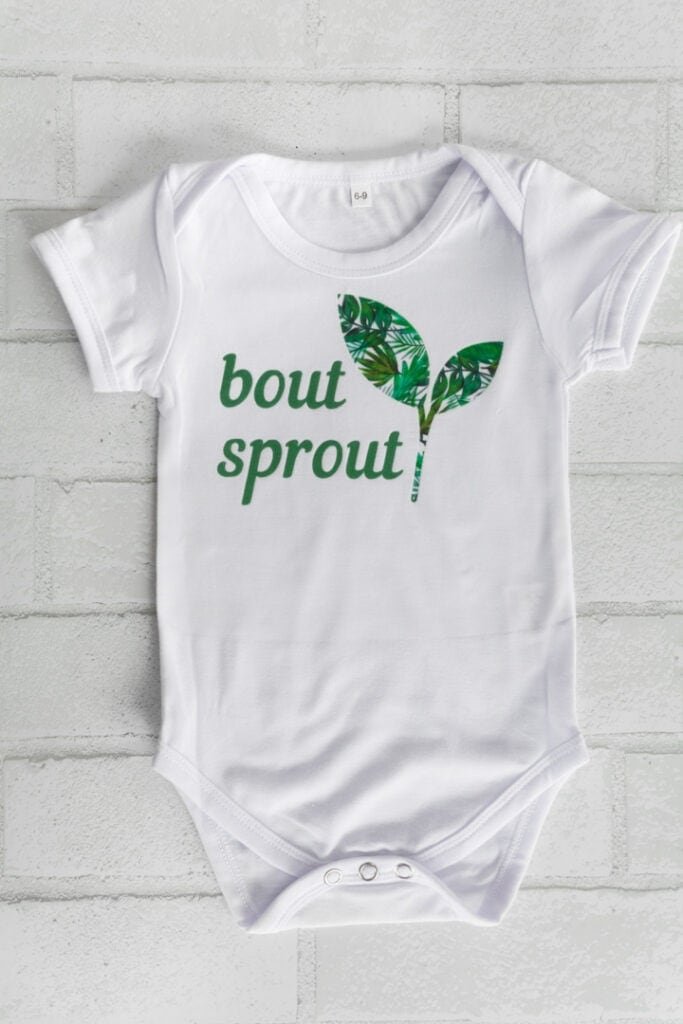
I had some Infusible Ink scraps left over from previous projects, and since the baby bodysuit blanks are so small, they were the perfect size. I’m also sharing a few of the cut files I used for these baby bodysuits, so enjoy those! (The one that says “Bout Sprout” is generalized to say “Little Sprout” for the free download! I know your last name probably isn’t Bout.)

If you don’t want to or need to delve deep into what Infusible Ink is, here’s the skinny: In a nutshell, it’s an ink-based heat transfer product. The ink comes in a solid state on a paper sheet (in stunning colors and patterns). You then use a heat press to transfer a design you cut out of the paper sheet to a blank material (baby bodysuit, for example).
The heat turns the solid-state ink into a gas and infuses it into the material. So, unlike iron-on or heat transfer vinyl, which sits on top of a material using adhesive, Infusible Ink becomes part of the base material. Cricut recommends using their custom blanks for best results. I’m using the Cricut Bodysuit blanks for this post.

For more Infusible Ink projects, check out my tutorial on how to use Infusible Ink transfer sheets on coasters; how to personalize a cosmetic bag, toddler t-shirt, and pillowcase blank; and how to mix and match Infusible Ink sheet pieces on a kids t-shirt.
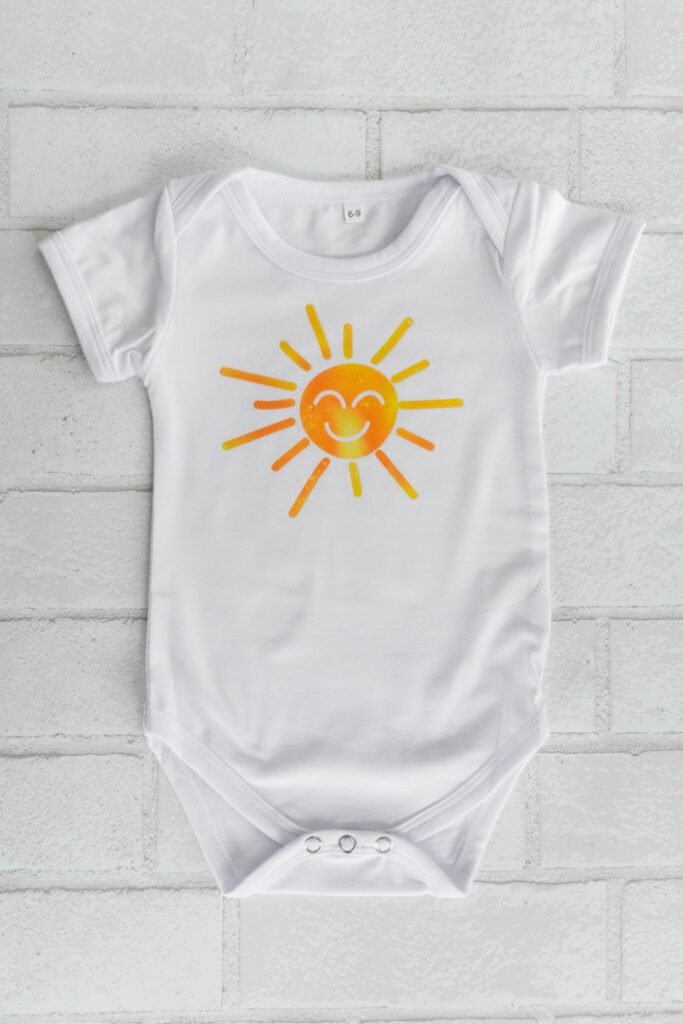
The first step is to choose the Infusible Ink sheets you’ll use and cut your designs. You can download a few of the designs I used by signing up for my mailing list below! The sunshine one you can grab for free on Canva—just search “sunshine,” and you’ll find it. 🙂
Infusible Ink is expensive, so treat it like a precious commodity. Size your design in Design Space; then cut a slightly larger piece of Infusible Ink transfer sheets and roll the rest up for another project. No need to waste! I also like to do this because it means I can cut multiple different designs into different colors and patterns on one mat. Time saver.
Weed your design’s negative space out by gently rolling and folding the sheet to reveal the cut lines. Infusible Ink transfer sheets are incredibly easy to weed; you don’t even need to use a weeding tool.
Note: If you’re on an Explore machine like I am, make sure to turn your machine’s dial to “custom” first. Then select Infusible Ink Transfer Sheet in Design Space and cut.
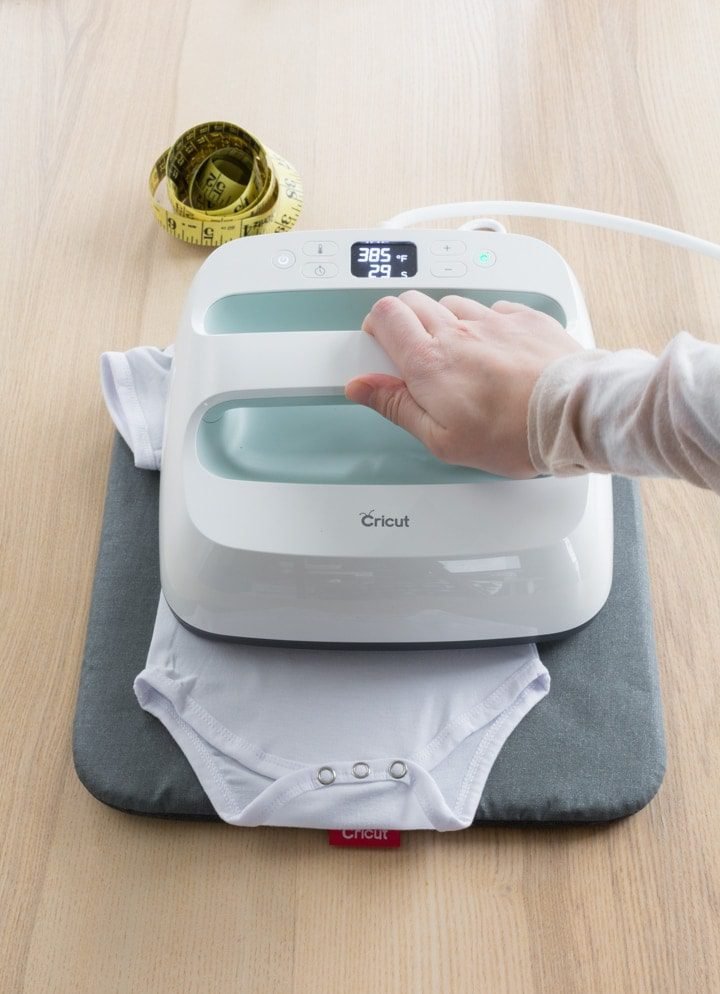
Use the Cricut Heat Guide to figure out the settings you’ll need. For Infusible Ink, a Cricut Bodysuit, and an EasyPress mat, you’ll use 385 degrees F for 40 seconds. However, there is some preheating and other prep required.
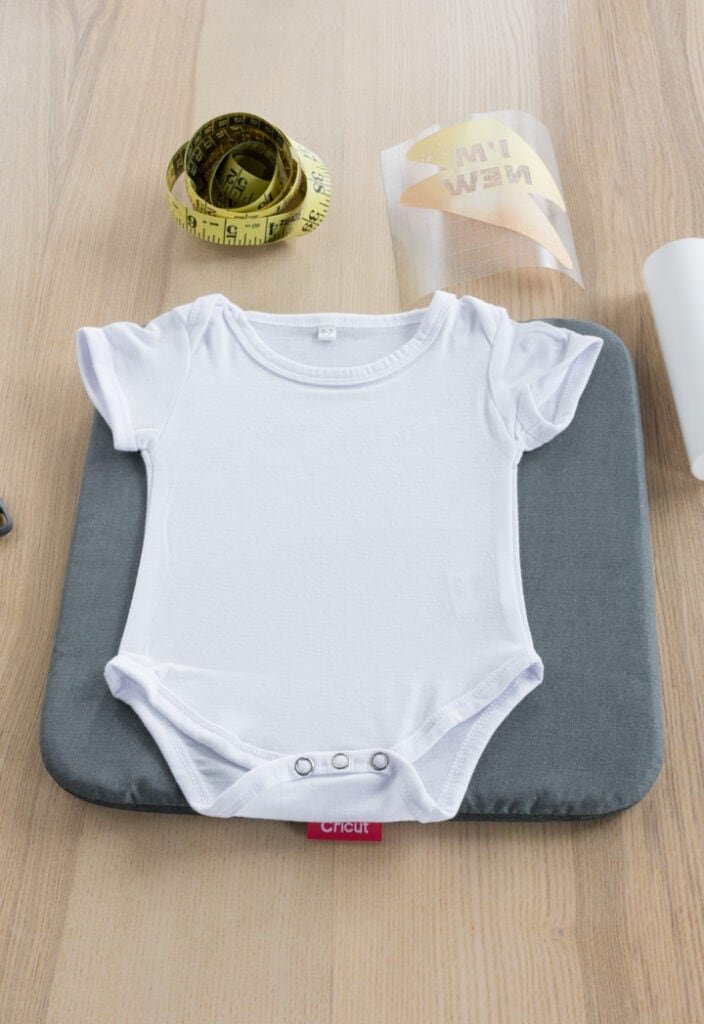
To prep your baby bodysuit, lay it out over an EasyPress mat and use a lint roller to clean off the area you’ll apply the design to. Even if you don’t see anything. There could be tiny pieces of lint of hair that could interfere with your transfer. Then preheat the bodysuit for 15 seconds and let cool completely.
Note that Cricut recommends sliding a piece of white card stock into the inside of the baby bodysuit, but I didn’t have any, so I skipped that. It’s just to block any bleed through should it occur, but I’ve never had it happen. Look at me being a risk taker!

New to using the EasyPress? Check out my ultimate guide for using the EasyPress 2, as well as my tips for working with the EasyPress Mini!
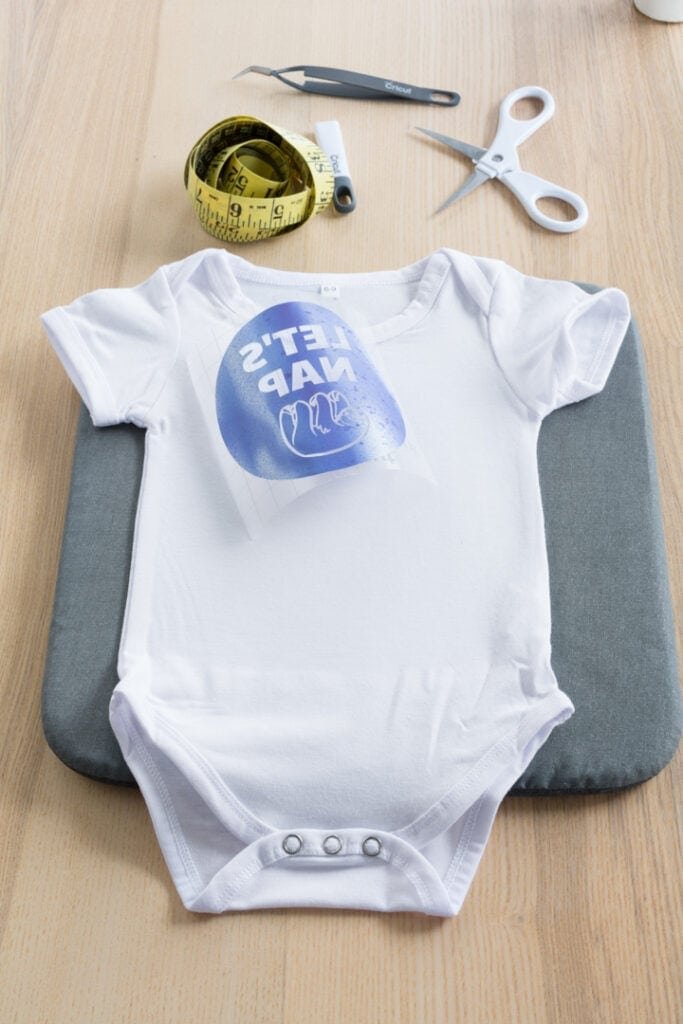
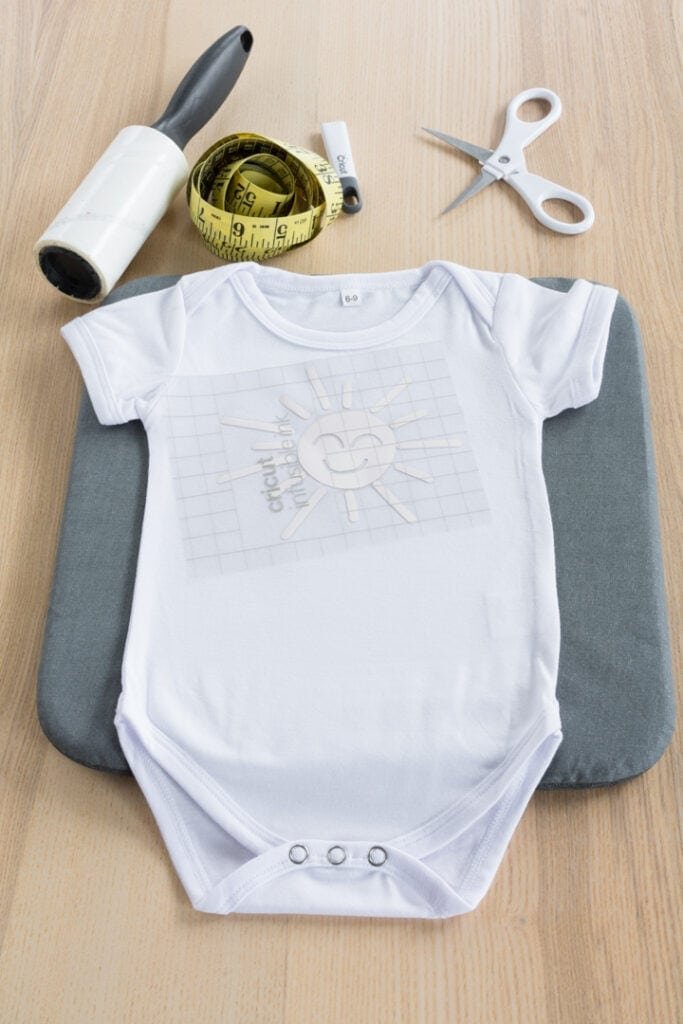
After the bodysuit has cooled completed, place your design. Cut a piece of butcher paper that will completely cover the design and put it on top. With your EasyPress 2 at 385 degrees F, apply pressure to the design for 40 seconds.
It is very important that you not slide the EasyPress around at all. Doing so will lead to a “ghosting” or “smudged” effect that ruins your transfer. Instead, place the EasyPress 2 directly down onto the design and hold very still until you remove the EasyPress.
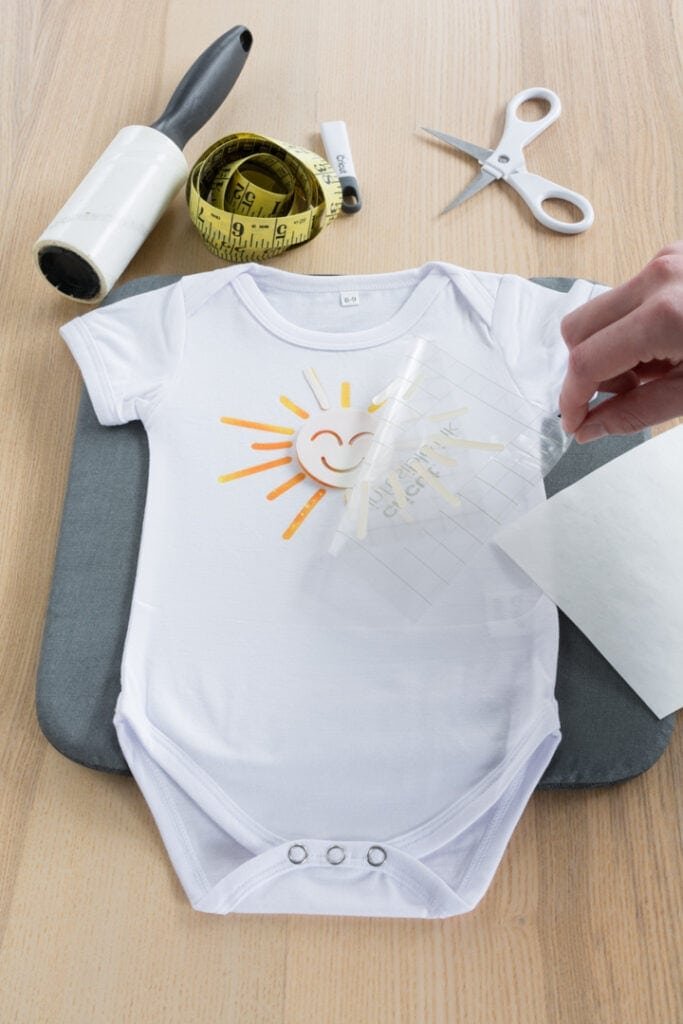
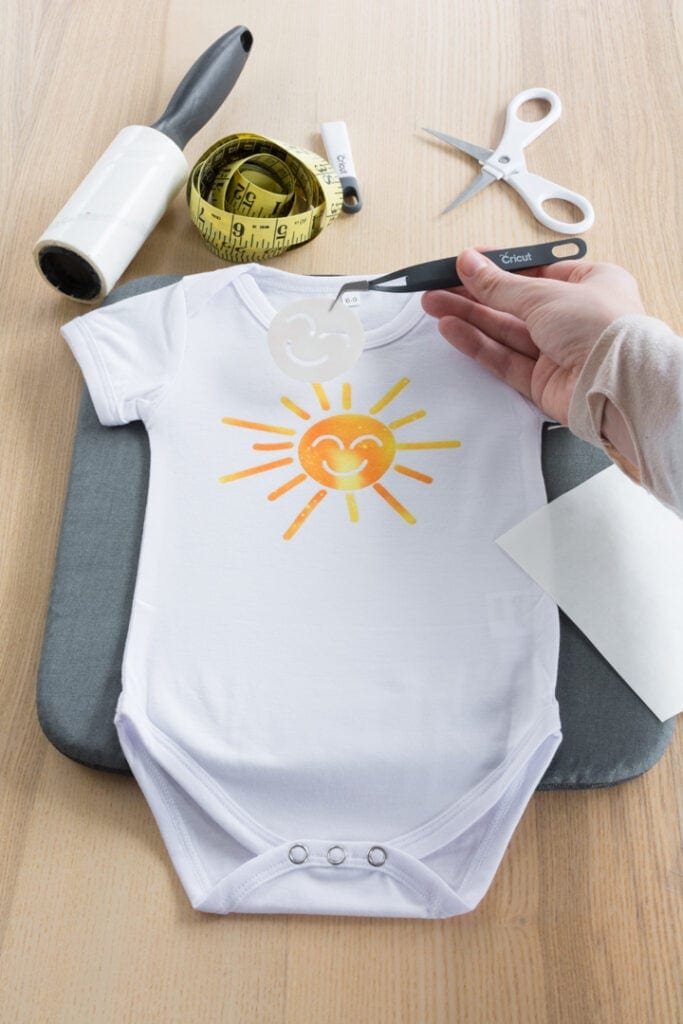
Once 40 seconds is up, remove the EasyPress. The butcher paper might stay in place, or it might fly off. Gently remove the butcher paper and the cut design. If any pieces of the design remain on your bodysuit blank, use tweezers to carefully remove them. This happens when you have smaller pieces.
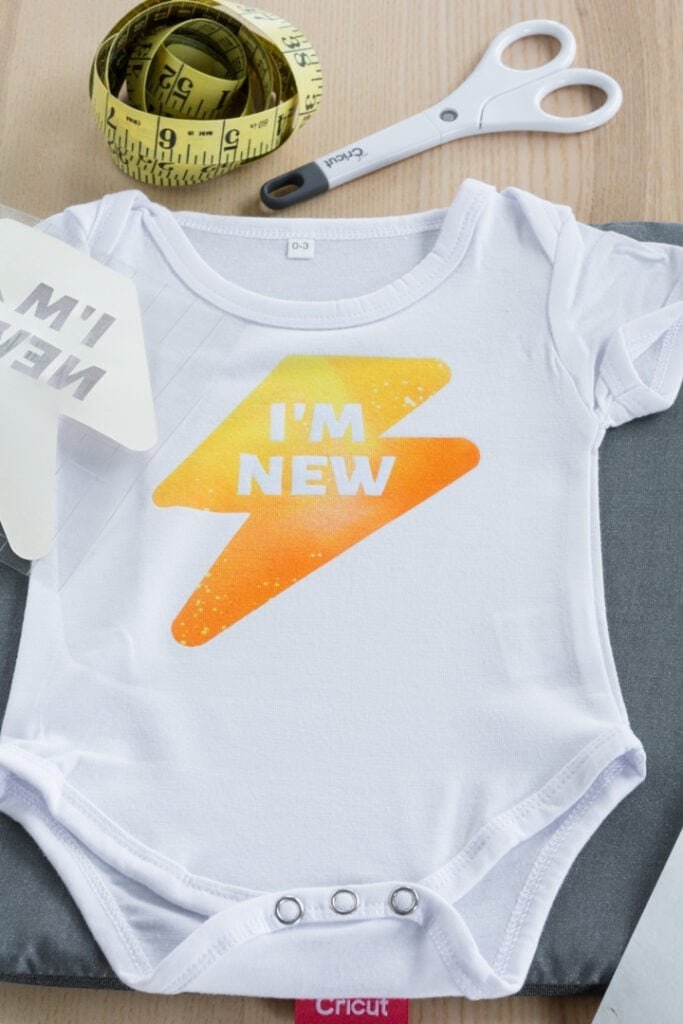

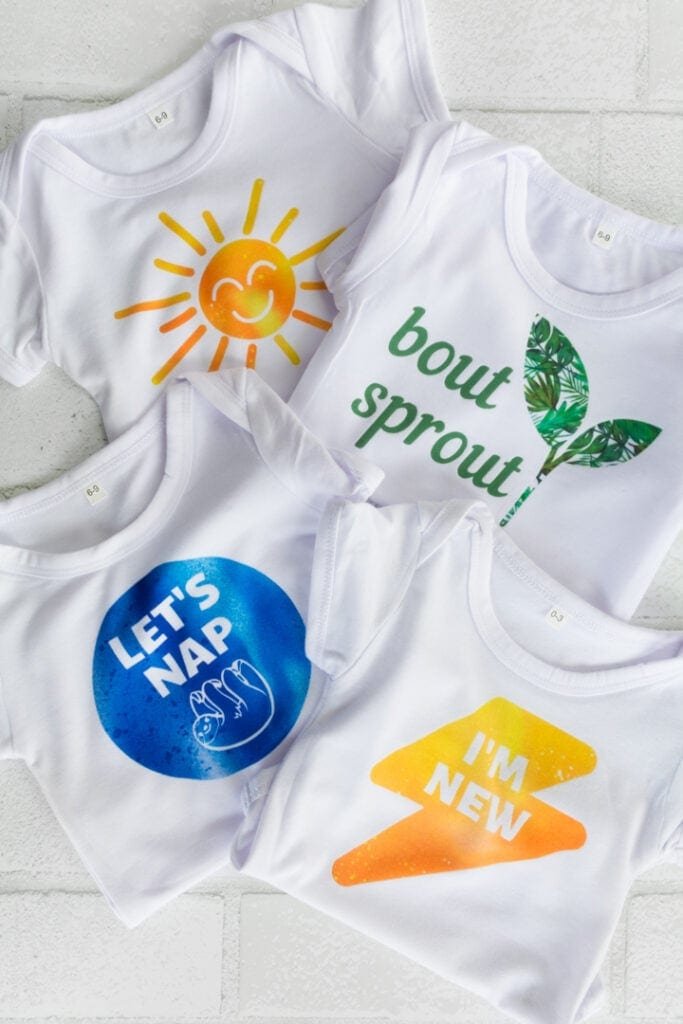
Finished Personalized Bodysuits for a Baby Boy Using Infusible Ink
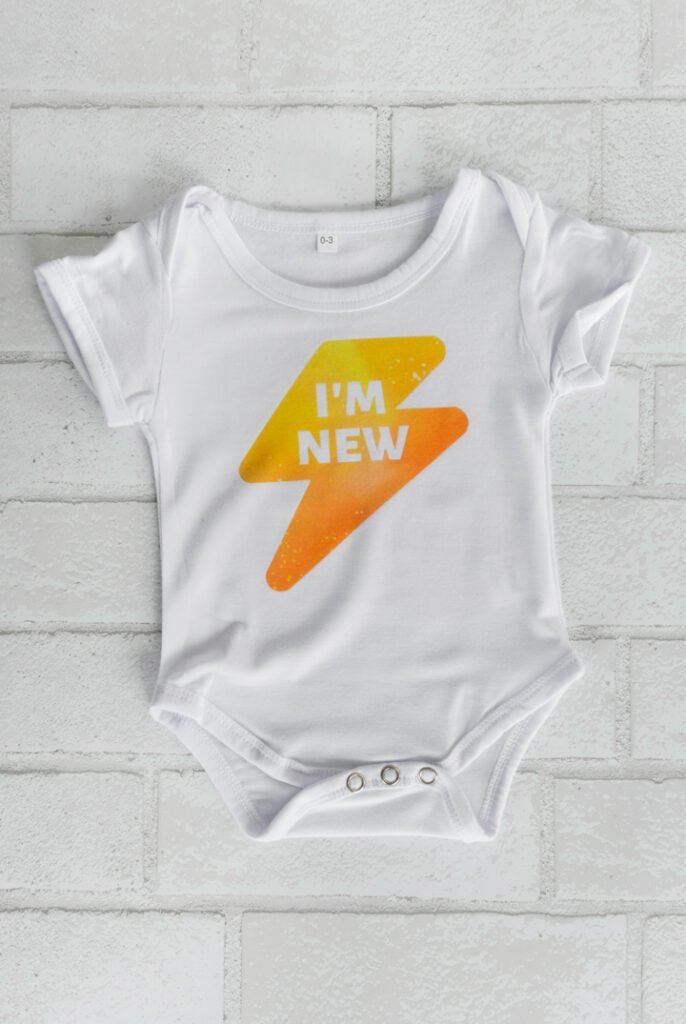
Aren’t the finished designs beautiful? I really do love how vibrant the colors and patterns on these are. I do think Infusible Ink is very easy to work with if you take the necessary prep steps and do not move the EasyPress at ALL during the transfer. Also make sure to apply enough pressure during the transfer. Check out the finished bodysuits!

Pin my Cricut Infusible Ink bodysuits tutorial!


0 Comments