
Learn how to make a tutu with tulle! It’s an easy project that you can do at home, even if you don’t have a sewing machine or sewing skills!
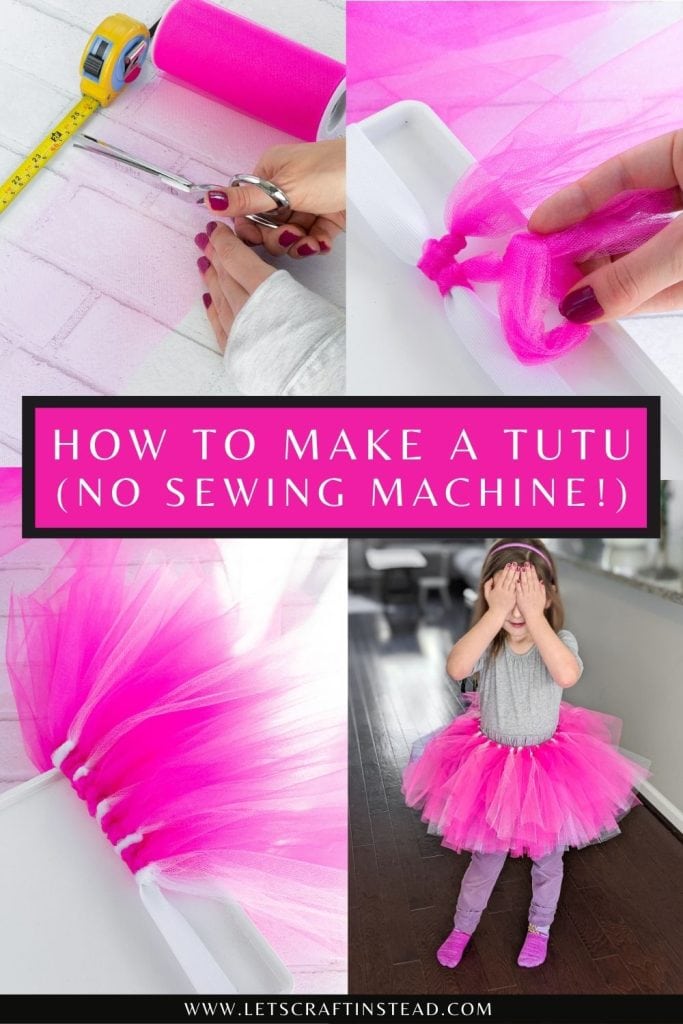
How to make a tutu with tulle (and no sewing machine!)
We have been working our way through my list of indoor crafts and projects to get us through winter. It’s only mid-January and we’ve already made some great progress on it! We tested a bunch of homemade playdough recipes, did an easy intro to acrylic painting project, and made a bunch of stickers using our Cricut machine.
We haven’t done many sewing of fabric-related projects recently, though. And my daughter has been really into the idea of ballerinas and ballet lately, so we decided to make a hot pink tutu for her! The great thing about this project is that it requires very minimal sewing skills.
I can’t say it’s totally no-sew, but there is just one step that requires sewing by hand using a needle and thread. And I can also give you some no-sew options to tackle this step if you really don’t want to deal with any sewing. So let’s take a look at the supplies you need.
Supplies I used:
- 1″ elastic
- Measuring tape
- Needle and thread
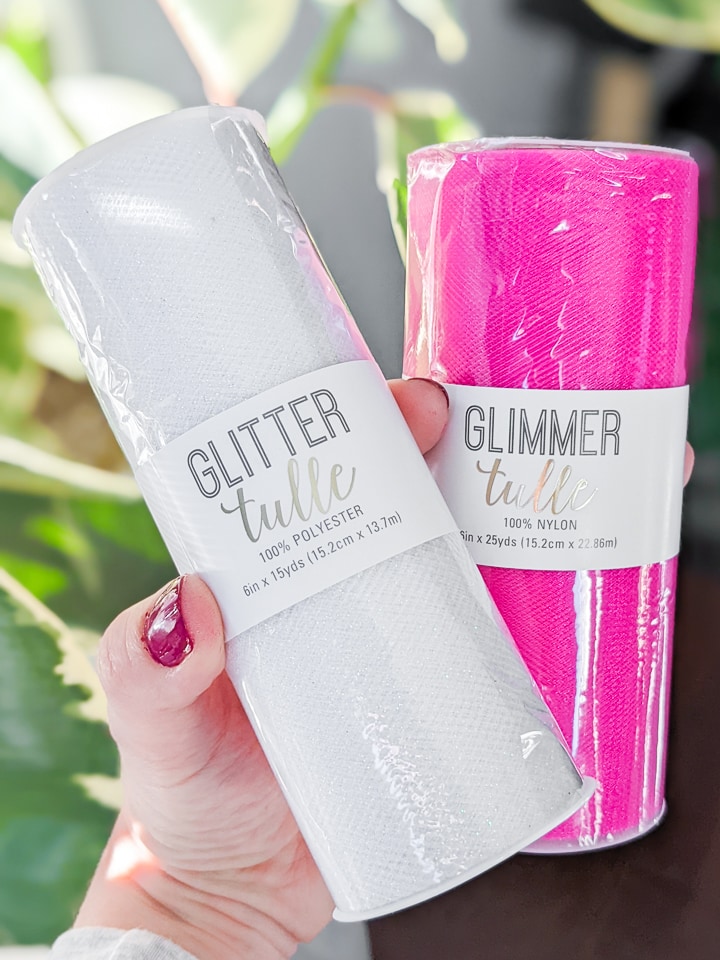
- 6″ rolls of tulle—more on tulle selection below
- Box, chair, or anything to hold the elastic while you’re tying
What kind of tulle should I use?
There are a lot of different ways you can approach measuring and cutting the tulle. Tulle is very cheap, especially if you but it by the yard off of a big bolt at the fabric store. If you use this method, you can also choose what width to cut.
And you can also fold the tulle in such a way that will allow you to cut multiple strips at once. While saving time is always tempting, I felt like this approach was overthinking things.
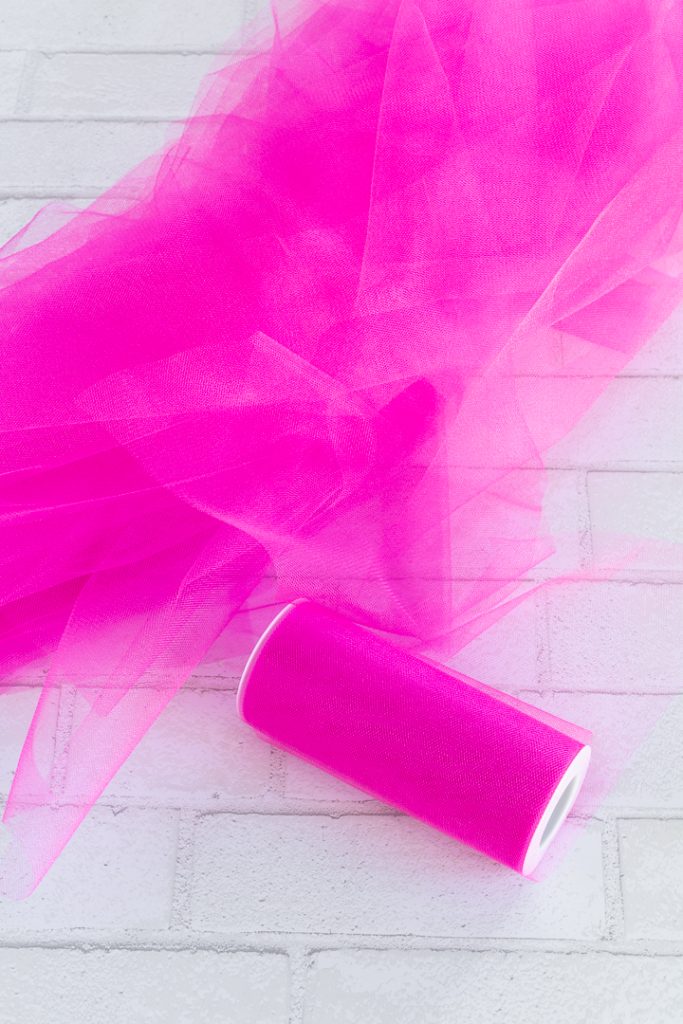
So I decided to use 6″ rolls of tulle instead. This width seemed like the perfect width for the tutu strips. And it meant that I didn’t have to worry about messing up the cut measurements.
While the pre-cut 6″ rolls of tulle are a bit more expensive, they aren’t that bad. You can use craft store coupons, and I happened to buy mine on a day when Joann was running a buy two get one free sale. So I think it was around $10 for all of the tulle I needed.

How much tulle do I need to make a tutu?
I wasn’t sure how much tulle I needed and actually thought I’d have leftovers to make a matching one for R’s doll. However, I ended up using all of the tulle I bought! Here’s what I got:
- (2) 25-yard rolls of hot pink tulle
- (1) 15-yard roll of white glitter
HUGE heads up here—I didn’t realize that glitter tulle sheds EVERYWHERE. Don’t get glitter tulle unless you’re okay with glitter…literally everywhere. 🙂
This amount of tulle was perfect to make a tutu for a 4-year-old. Keep in mind that I made my tutu very full, too—so the amount of fullness you want will impact the amount of tulle you use.

And here’s how to make a tutu!
These are the steps I took to make my tutu. I will give you tips for how to adapt the instructions for your child’s size—it’s not difficult!
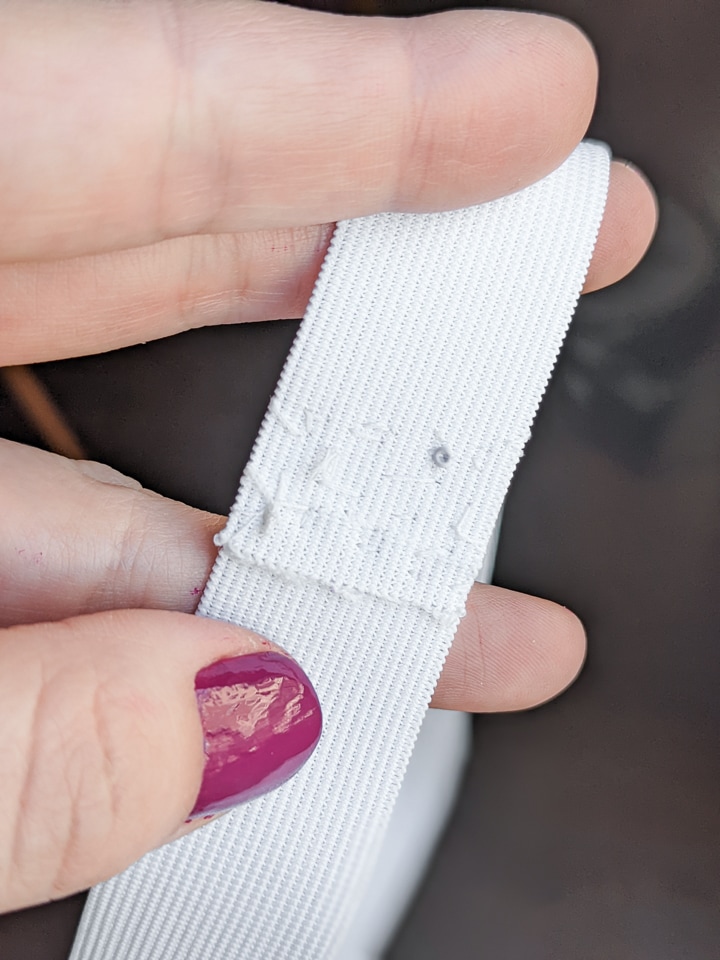
Step 1: Measure and create your tutu waistband
You can use many different sizes of elastic. I chose 1-inch elastic because I already had some in my sewing drawer left over from a previous project.
To determine the length to cut, I measured my daughter’s waste and subtracted 2 inches from that. The I cut a piece of elastic, folded the ends over one another about an inch, and sewed them together.
So essentially the waist measurement minus 3 inches. My elastic stretched a bit more as I was tying the tulle on, so I do recommend doing 3 inches so the finished skirt stays tight enough to stay up.
To sew the edges of the elastic together, I just went back and forth a few times by hand using a needle and thread. This took me a few minutes to do while watching TV. Make sure to tie off the thread with several knots to ensure it stays put!


How to make a tutu with absolutely no sewing
If you don’t even want to sew by hand, there are a few different options. When I was looking around at the fabric store, I noticed some elastic headbands that would work for small waists, too. This would be very easy but would depend if it fits your child.
You can also use a piece of ribbon. Instead of tying the tulle pieces on elastic, you’d tie them on a ribbon. Then, to put the tutu on your child, you’d tie the ribbon off behind their back.
If you choose this option, definitely choose a pretty piece of thicker ribbon so it’s sturdy. And it will show, so be mindful of the color and finish!
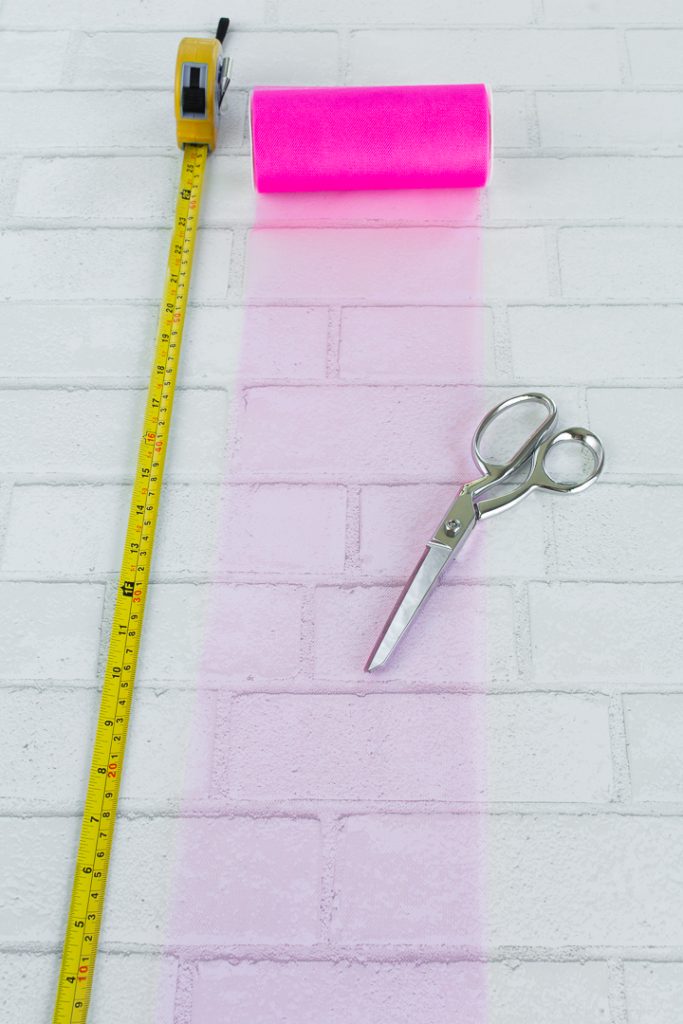
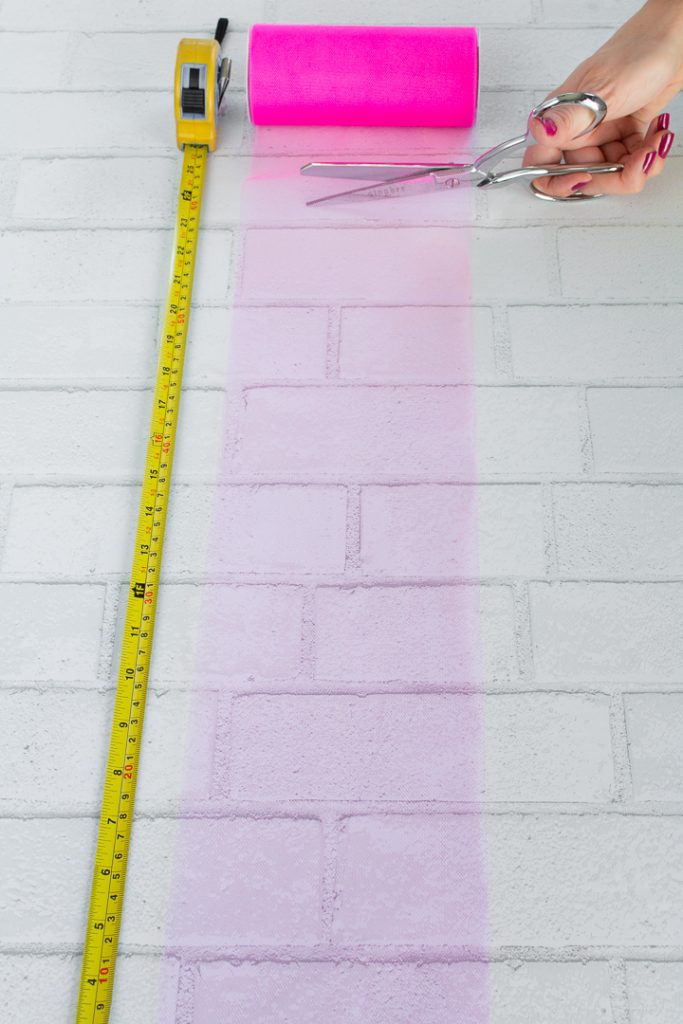
Step 2: Cut pieces of tulle
Next it’s time to cut tulle! First you have to decide how long you want your tutu to be. I decided this length by holding the tulle up to my daughter, understanding that the finished tutu would be fluffier and appear shorter.
My 4-year-old is very tall for her age, so keep that in mind. Ultimately I decided to cut 24″ strips of tulle. Once I folded each in half—then looped and knotted them—this was the perfect length!
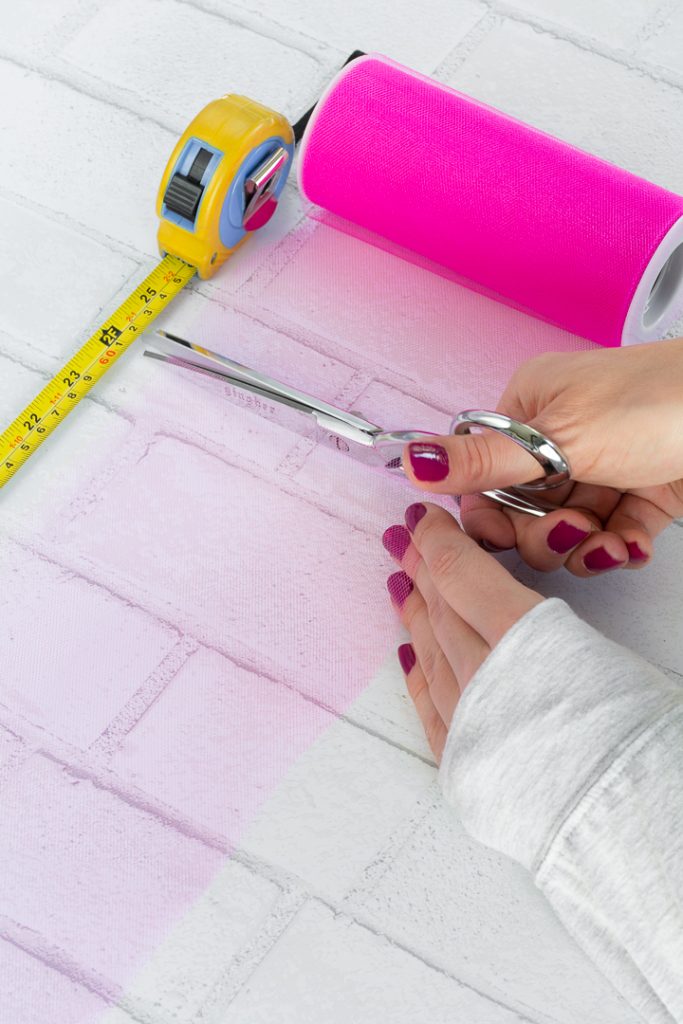
Since I had to make more individual cuts using the 6″ rolls of tulle, I used a tape measure to measure everything. I simply pulled the tape out and locked it just over 24 inches. Then I rolled the tulle out and used my super sharp sewing scissors to cut each piece.
This went pretty quickly because the pieces don’t have to be exact as they do with other clothing projects. Each piece can be a bit over or a bit under 24 inches. Just make sure they are as close as possible!


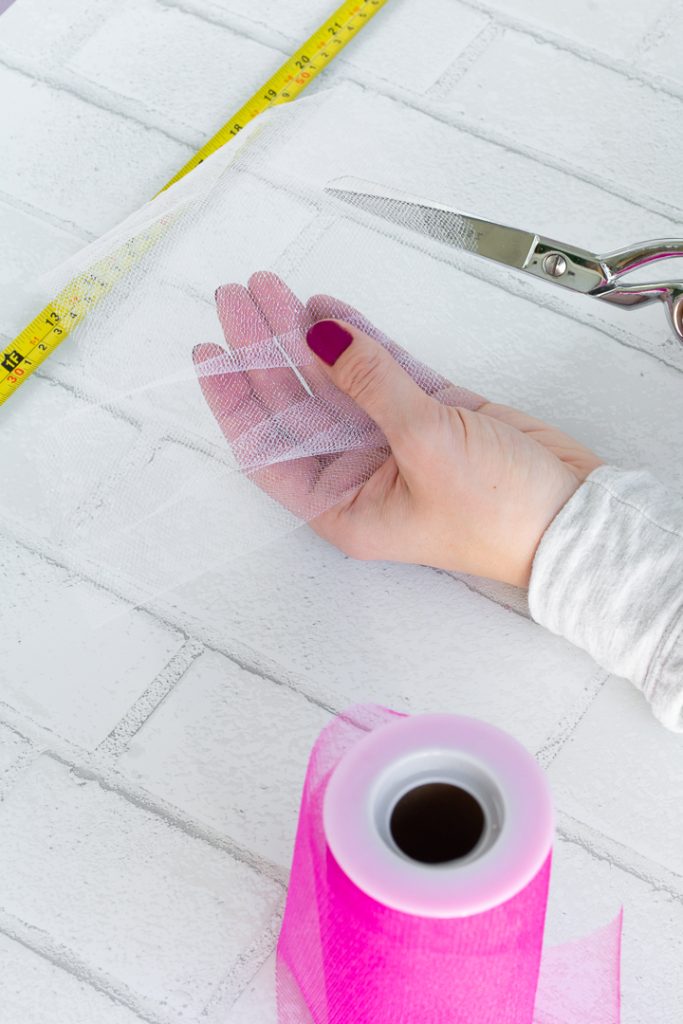

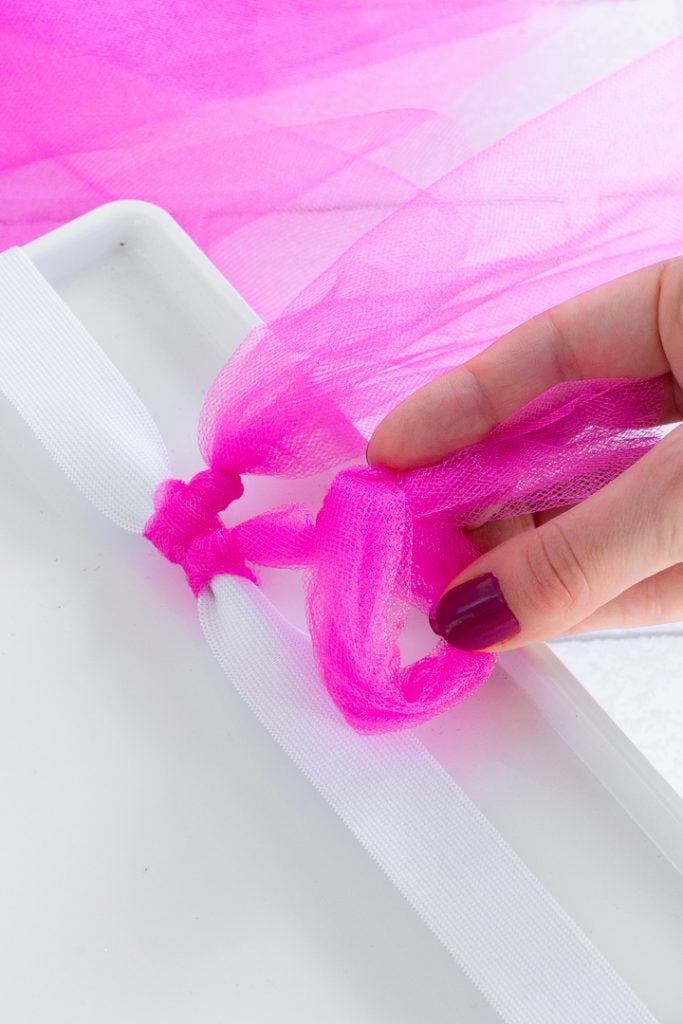
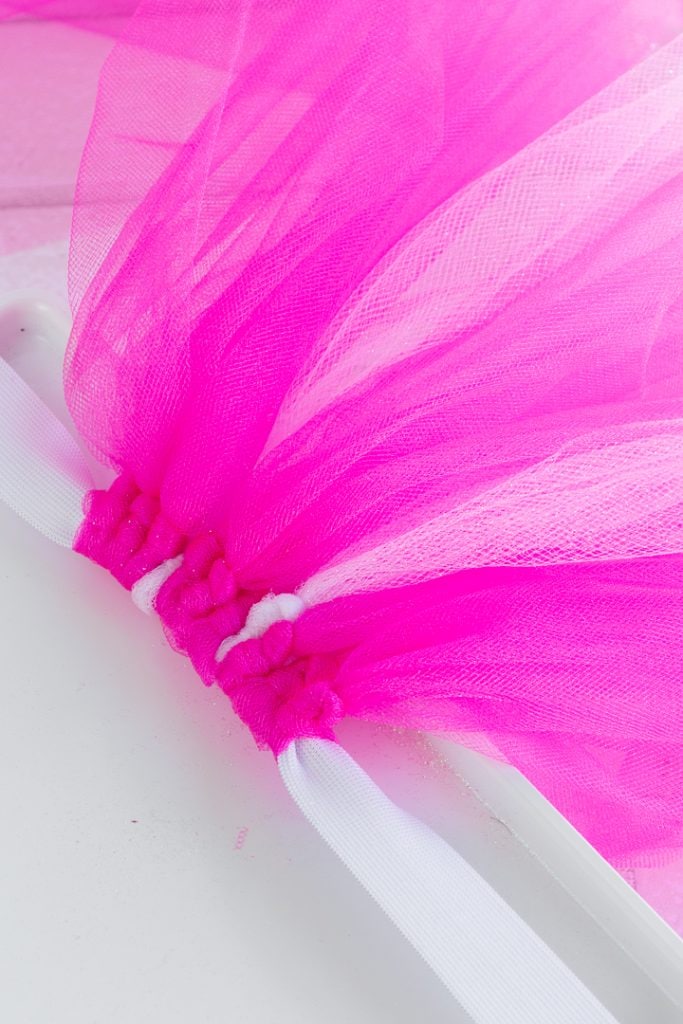
Step 3: Loop and tie each tulle piece to make the tutu
Once you cut everything, you’ll have a big mountain of tulle! (And a ton of glitter everywhere if you used glitter tulle.) The next step is to actually make the tutu by looping and tying each individual piece of tulle on.
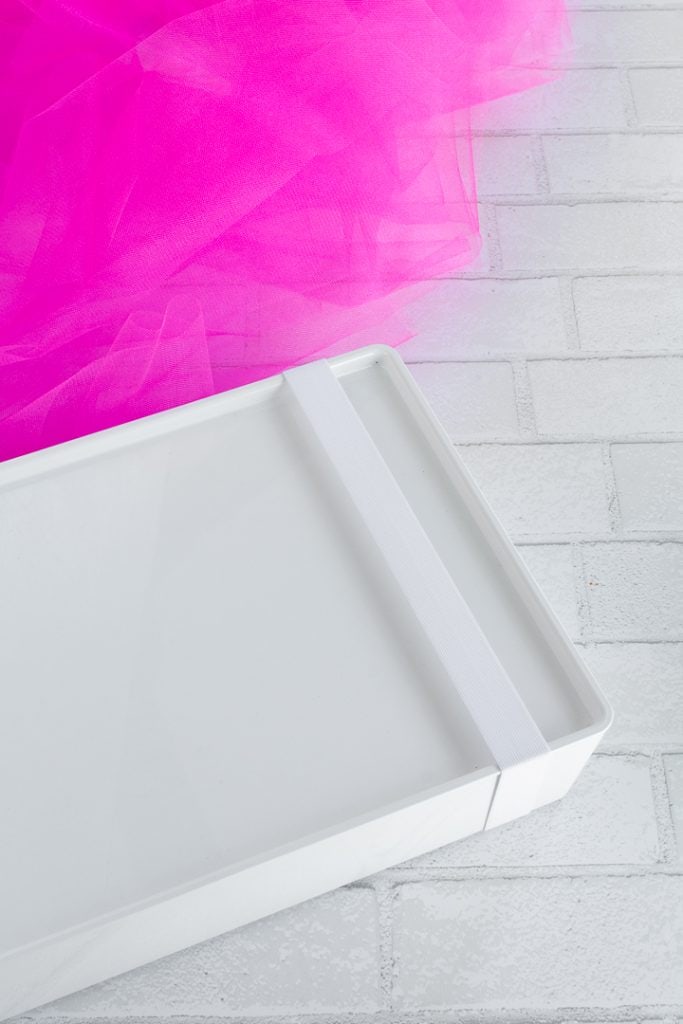
The easiest way to do this is to put your elastic waistband on something to hold it in place while you tie. I grabbed a plastic Kuggis storage bin from our playroom storage and wrapped the elastic waistband around that. You can use anything, though.
Just make sure whatever you use isn’t too much bigger than the waistband’s size. If you stretch it out too much and tie all of the tulle pieces on a stretched-out waistband, it might be too big for your kid’s waist.
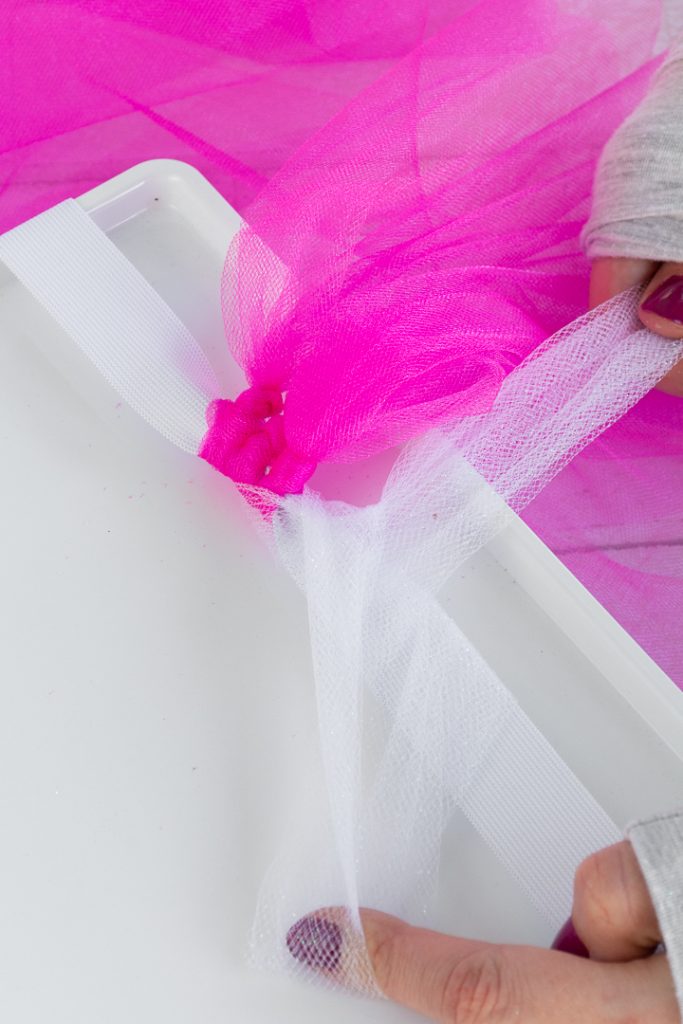
Because I had a total of 50 yards of hot pink tulle and 15 yards of white glitter tulle, I decided to do a pattern. I looped and tied three pink tulle pieces for everyone one white glitter tulle piece. So that pattern was 3 // 1 // 3 // 3 etc.
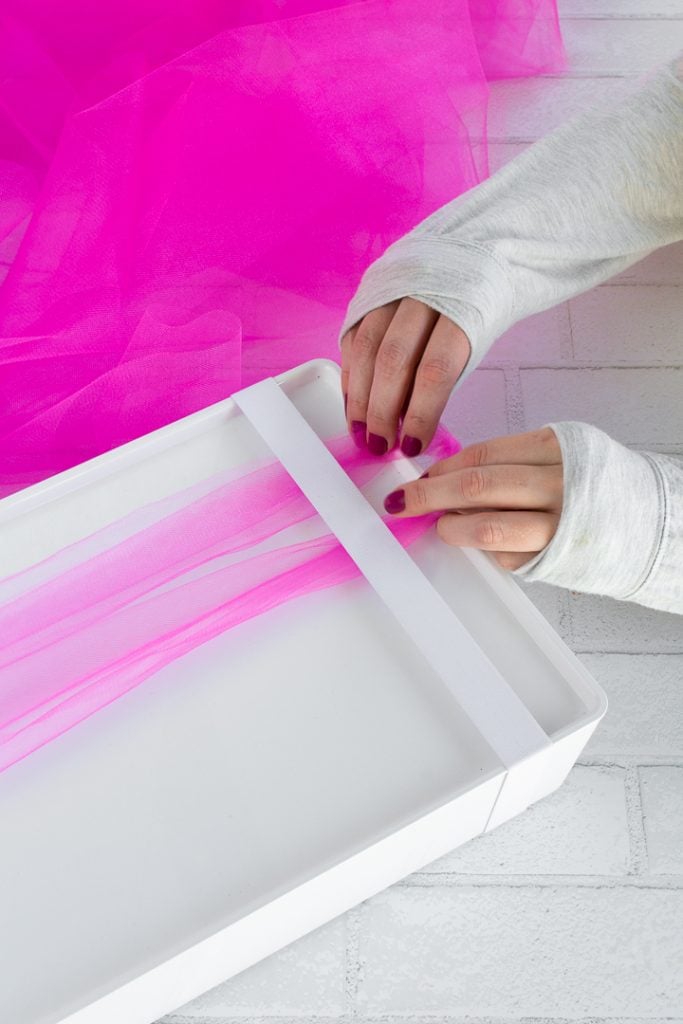
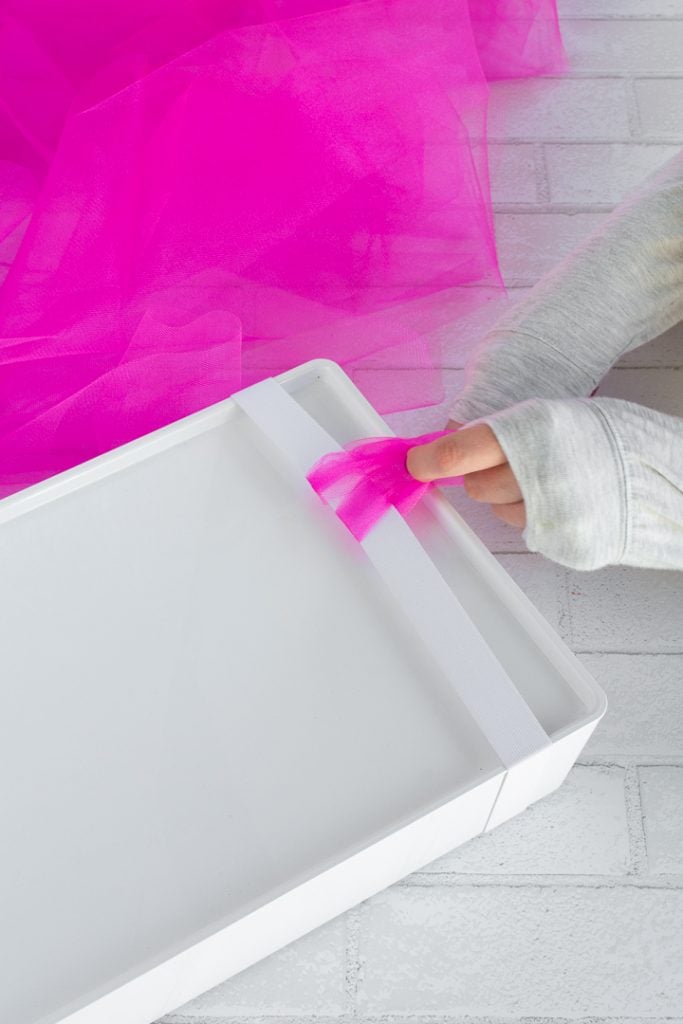
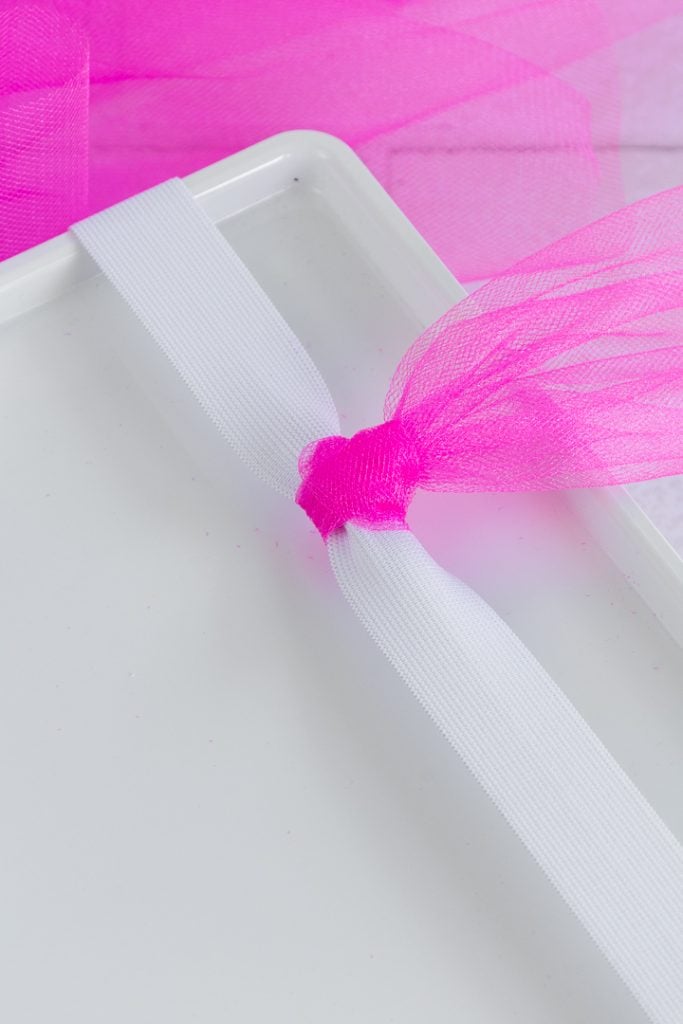
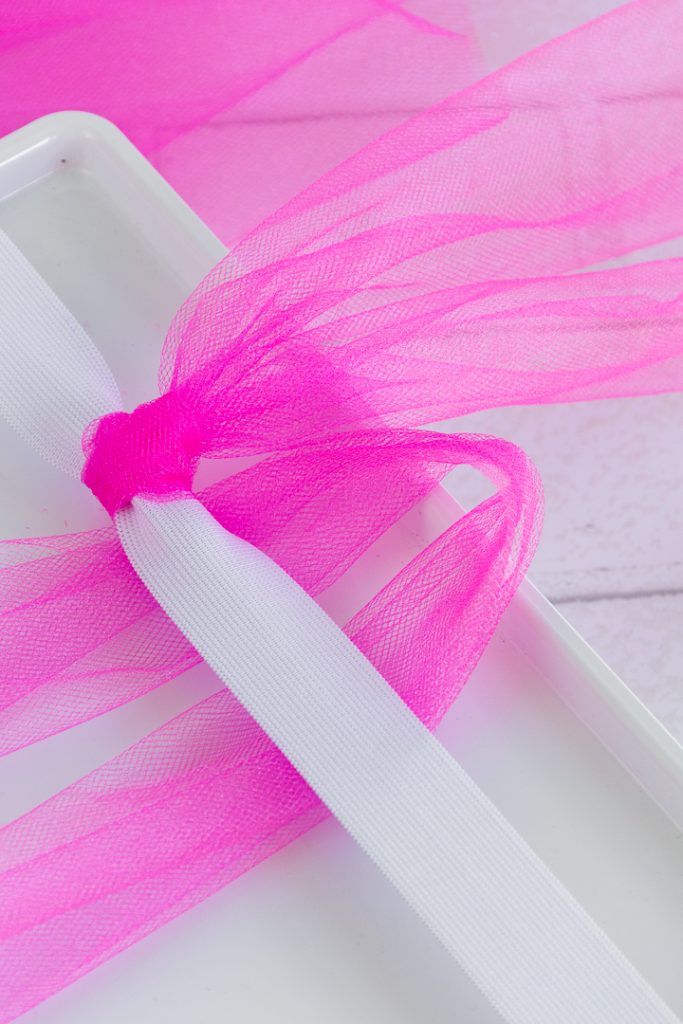
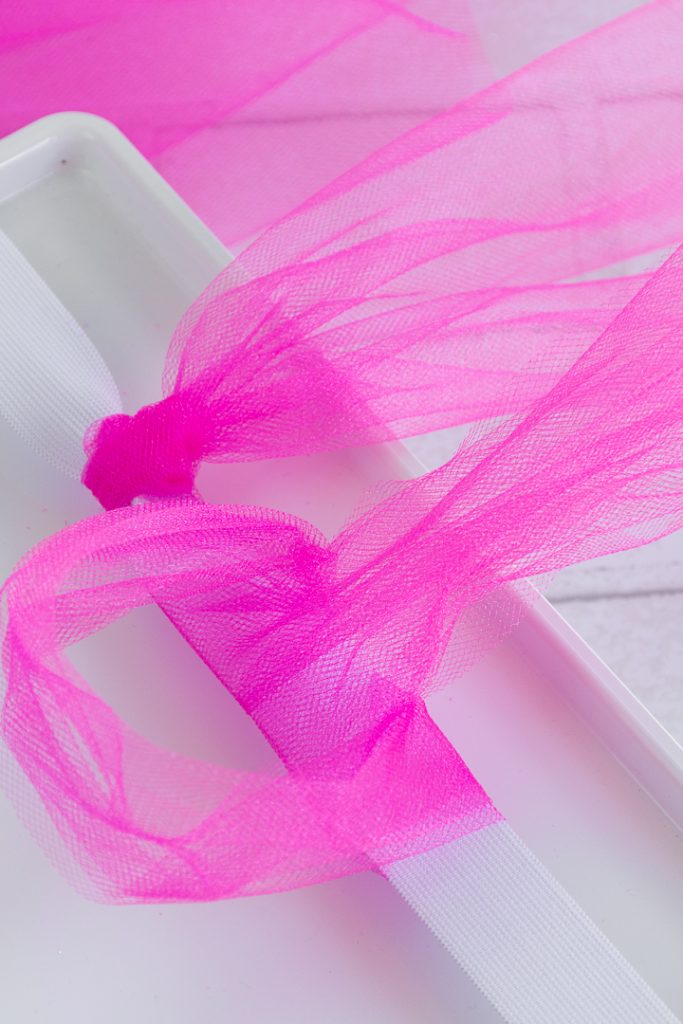
This ensured the skirt was mostly hot pink but had lovely white glitter accents. Below is an illustration of how I tied each piece on. I looped each one around the elastic waistband, and then I tied a knot below the loop to secure it in place.


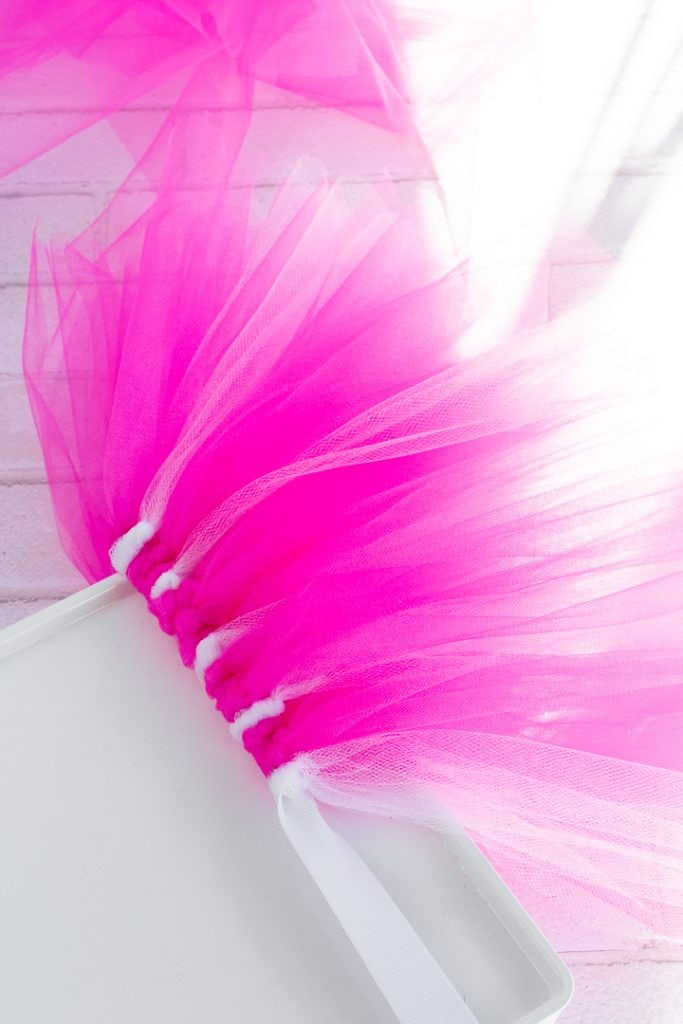
Step 4: Finish tying all of the tulle pieces!
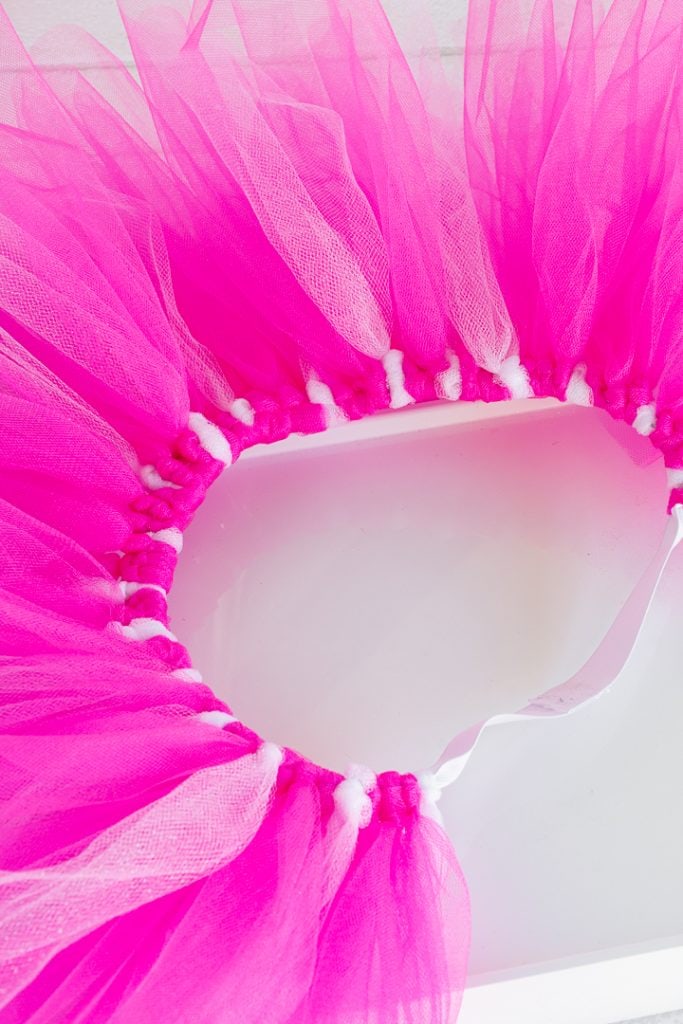
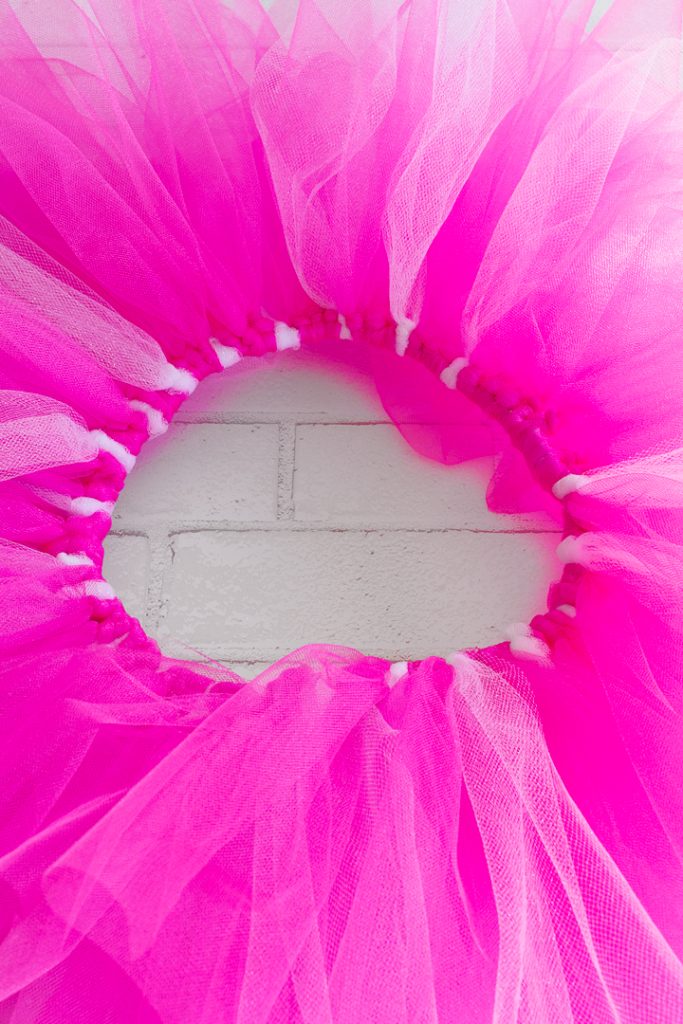
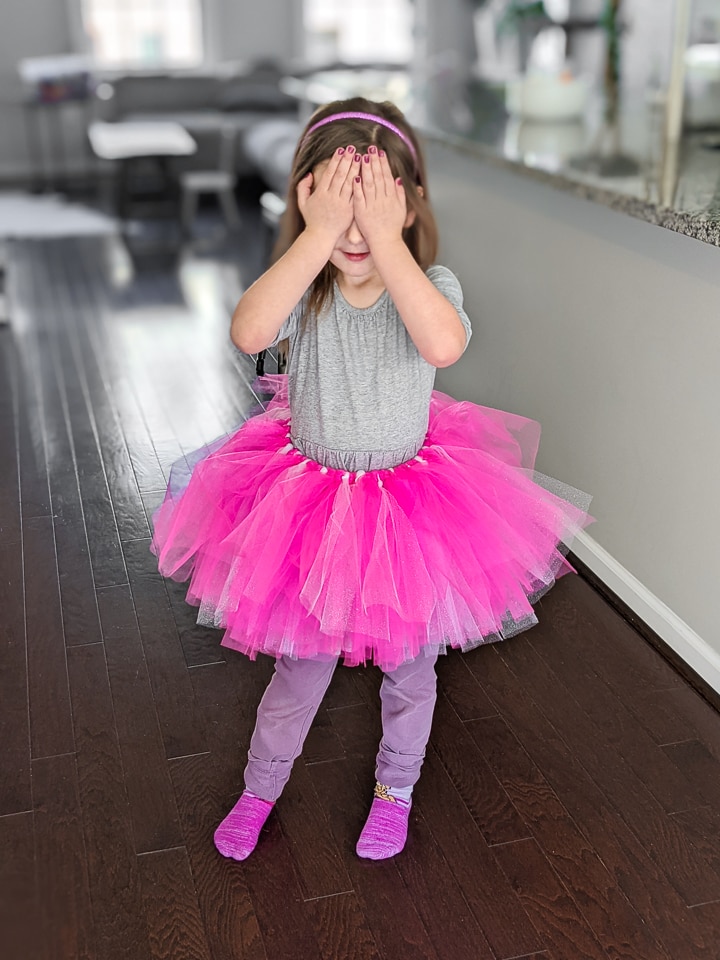
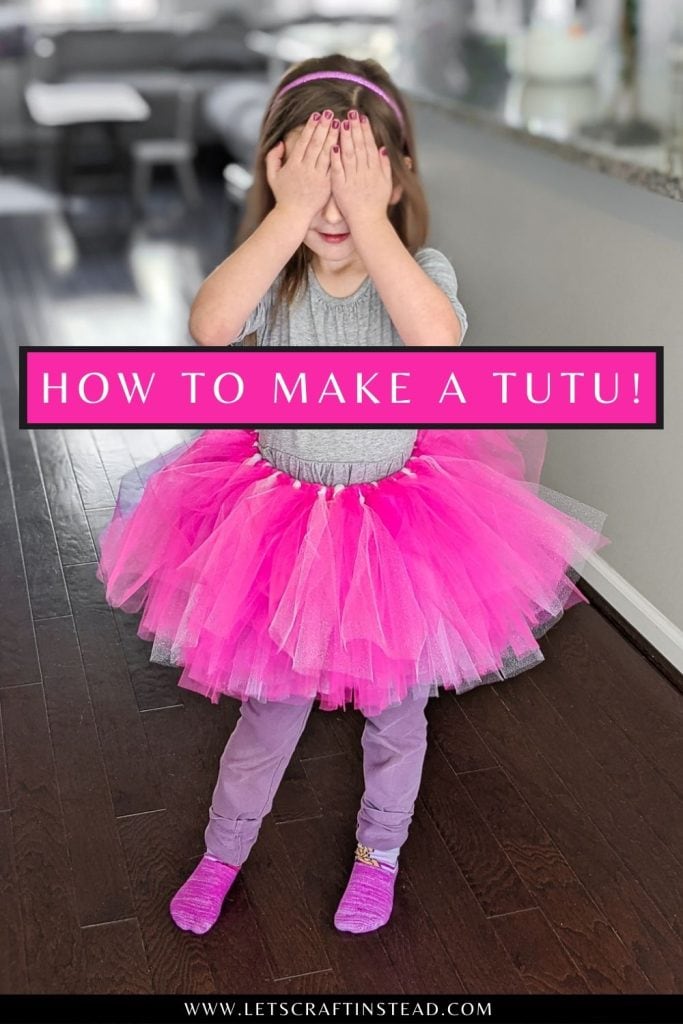
Keep looping and tying each of the tulle pieces around the waistband. The more you scrunch them together, the larger and pouffier the tutu will be. You’ll see what our finished tutu looks like using a total of 65 yards of tulle with the strips cut to 24 inches each.
You can adjust as necessary if you want it to be more like a skirt and less like a tutu. Ours is a bit excessively poofy, but that’s what we wanted!


Pin my post about how to make a tutu!


Sirle Fratucci
Monday 11th of March 2024
Obrigada. Ajudou muito.
Brittany
Tuesday 12th of March 2024
De nada!