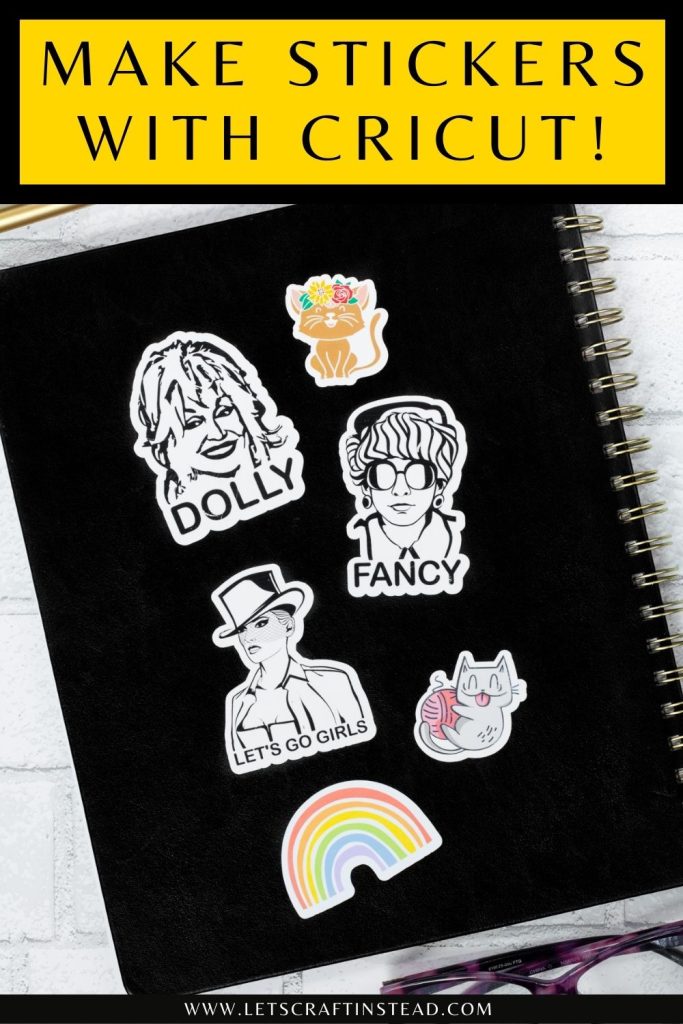
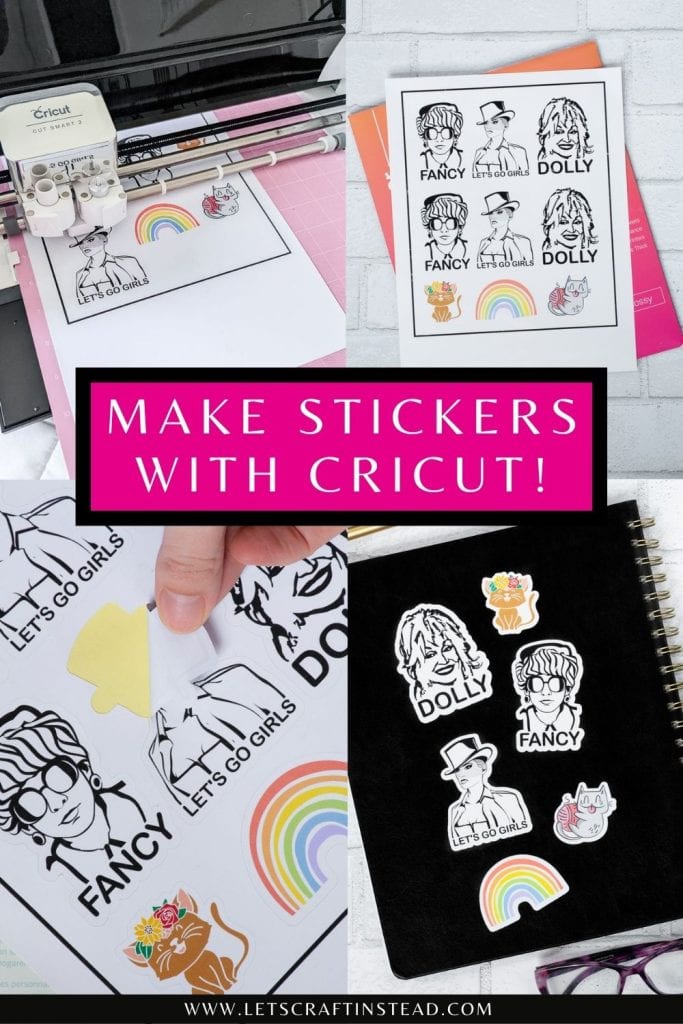
This post will share a tutorial for how to make stickers with Cricut, including how to do it on a normal home printer! I will discuss 5 different types of vinyl that I tested, including their durability and ease of use with a smaller home printer. Finally, I’ll address how to make Cricut stickers waterproof to help enhance their life.
How to make stickers with Cricut…a guide for people with basic home printers!
It has been a while since I’ve done a print-then-cut project. Print-then-cut projects really expand what you can do with your Cricut machine…you can essentially put any image on something with the print-then-cut feature!
So why don’t I do more of it? Well, I didn’t have a printer for a long time. When I finally got one, I didn’t feel like I could justify buying a big expensive printer because of the cost and the amount of space it would take up.
I just wanted to use the print-then-cut feature for my own personal projects—not to make things to sell. And it is possible! You don’t need to use a super nice printer to take advantage of Cricut’s print-then-cut feature.
And you don’t even need to use Cricut paper. That’s right—I’ll also test out 5 printable vinyl products and let you know which ones work with my piddly printer.

Wait—what is “print-then-cut” on a Cricut machine?
Print-then-cut is a cool Cricut feature that lets you print things out on your home printer—then after printing, you can put the printed sheet on your adhesive mat and run them through the machine to cut them out. This is an amazing feature for making decals, stickers, and other things.
You can print anything you want. Grab something from Design Space, or upload something else from your own collection. You can even use photos.
Print-then-cut works by printing a cut sensor marking (the rectangle outline) around your printed images. That way, when you feed the printed pages into the machine, your Cricut can scan for the sensor marking and know where to cut.

You might find my guide on how to convert an image to an SVG helpful!
What Cricut Machine am I using?
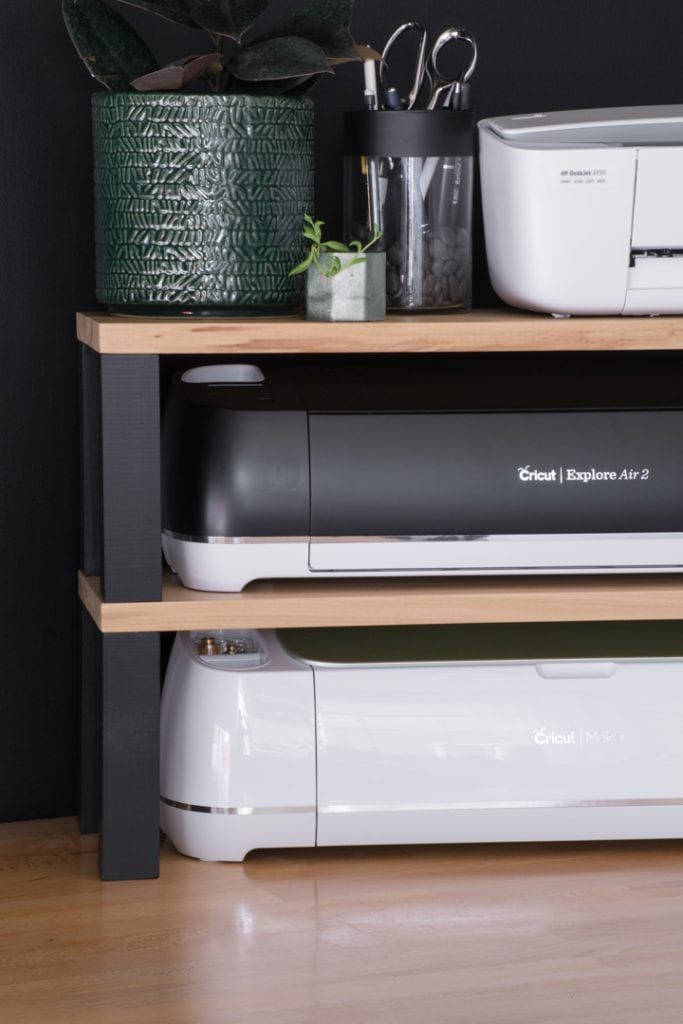
I am using my favorite machine—my Cricut Explore Air 2. However, Makers can do print-then-cut, too! And the newer Explore 3 can do print-then-cut. The Cricut Joy cannot do print-then-cut (only draw and cut).

How to make stickers with Cricut in Design Space
There are a zillion Cricut sticker tutorials out there, so I’m just going to provide a brief overview of how to make stickers with Cricut. I will address a few things that stumped me at first to hopefully save you the time. The process for making stickers in Cricut’s design space is the same no matter what printer you have.
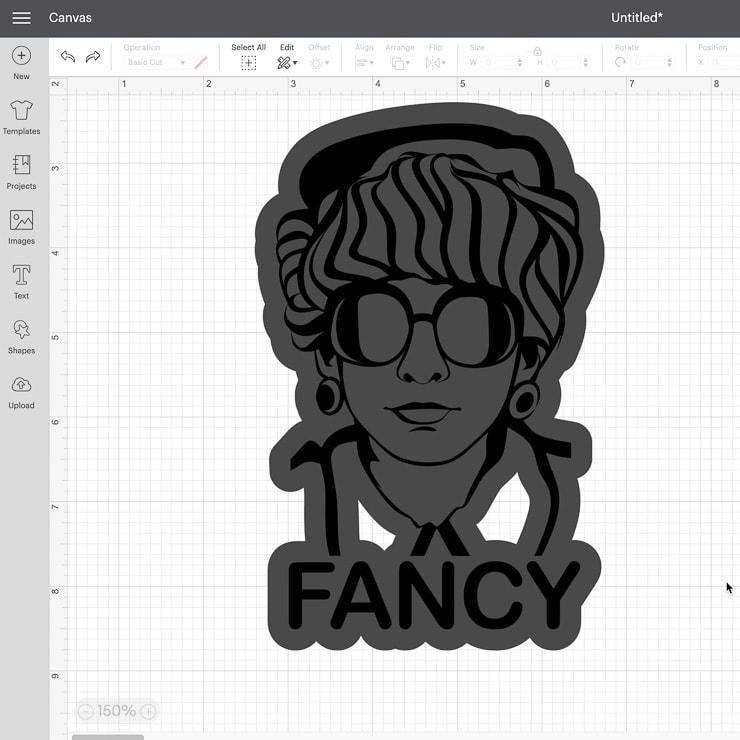
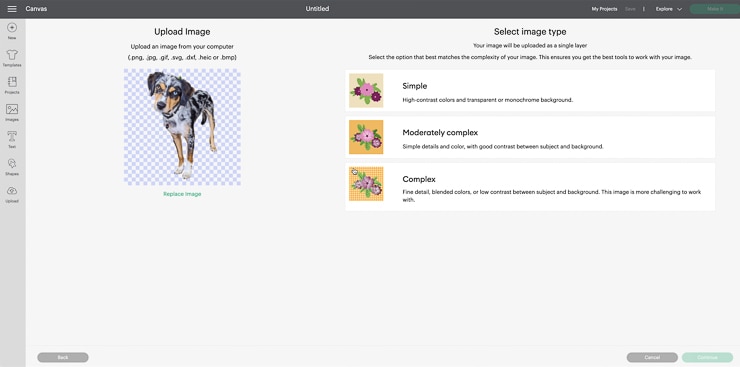
Step 1: Put your design onto a blank canvas in Design Space
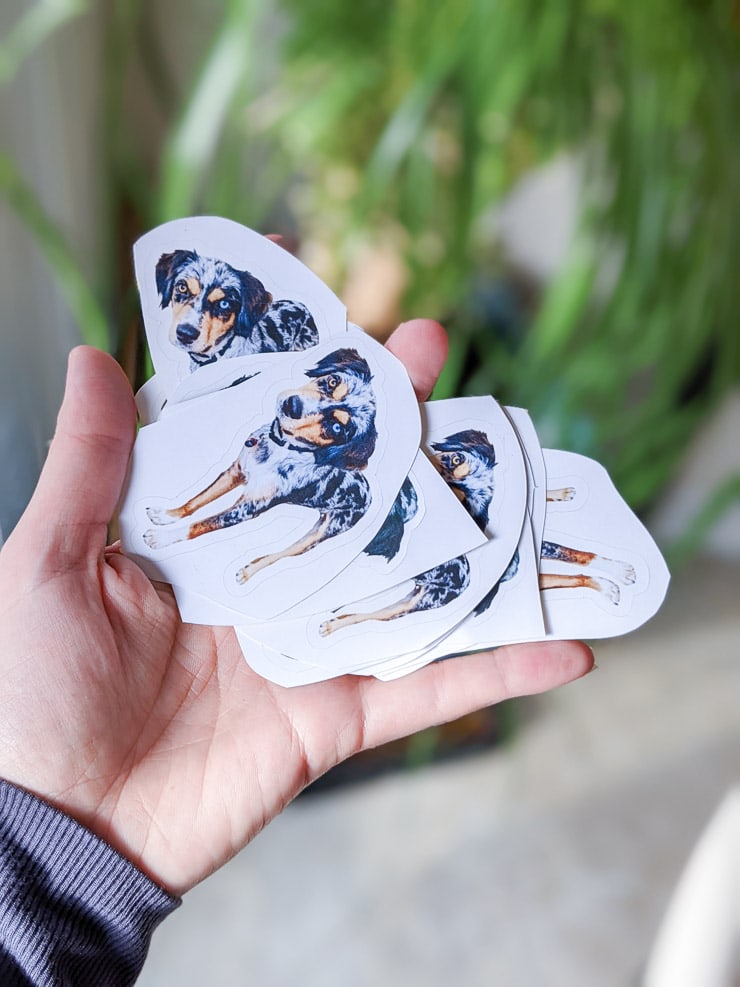
You can use clip art, things from Design Space, your own files you uploaded, and even photos. A tip for photos—run them through a free background remover tool online (like this one) if you want to make stickers or just a face or something like that. We did that with my brother’s dog, and they turned out really cute!
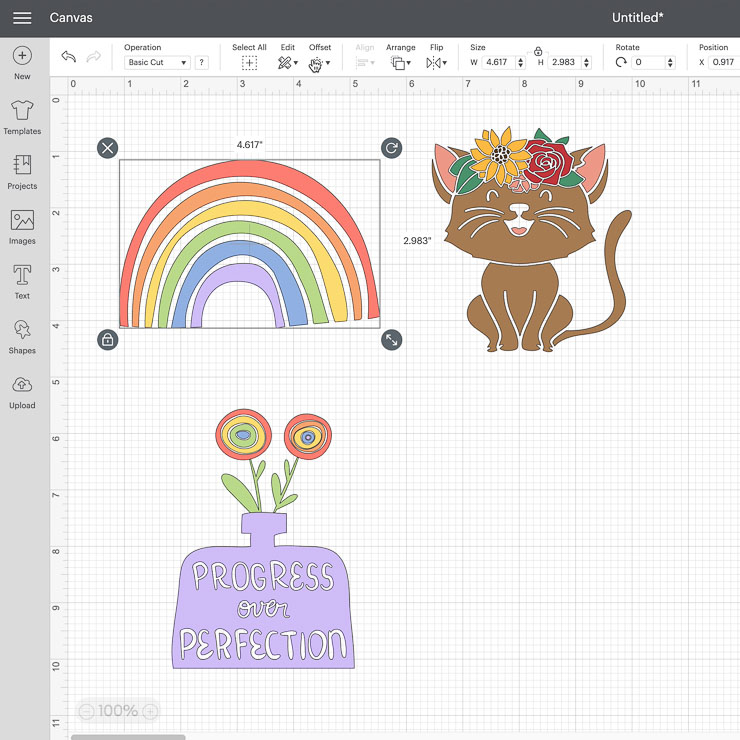

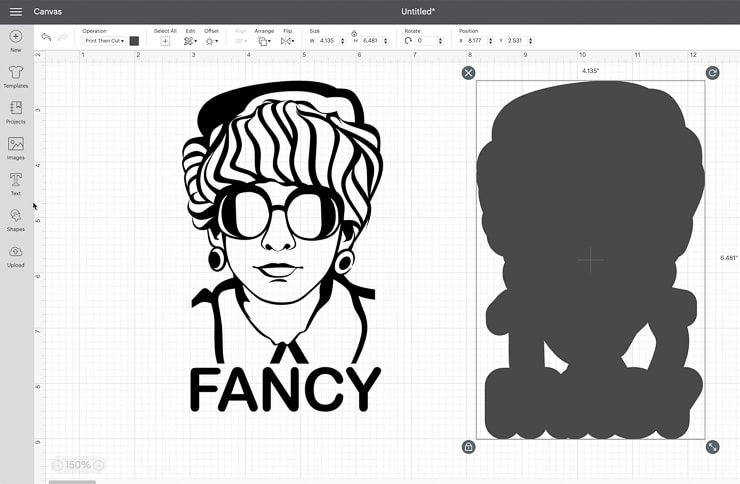
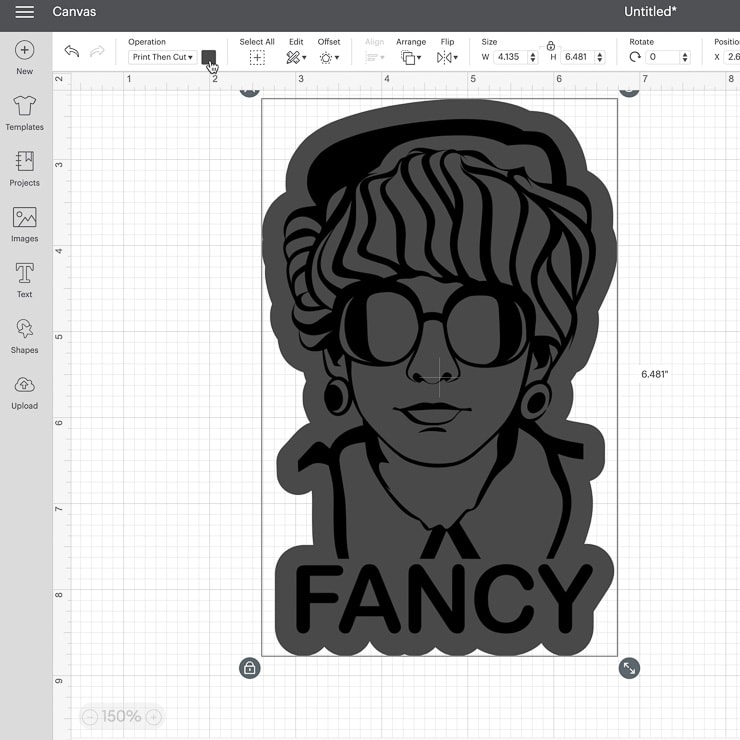
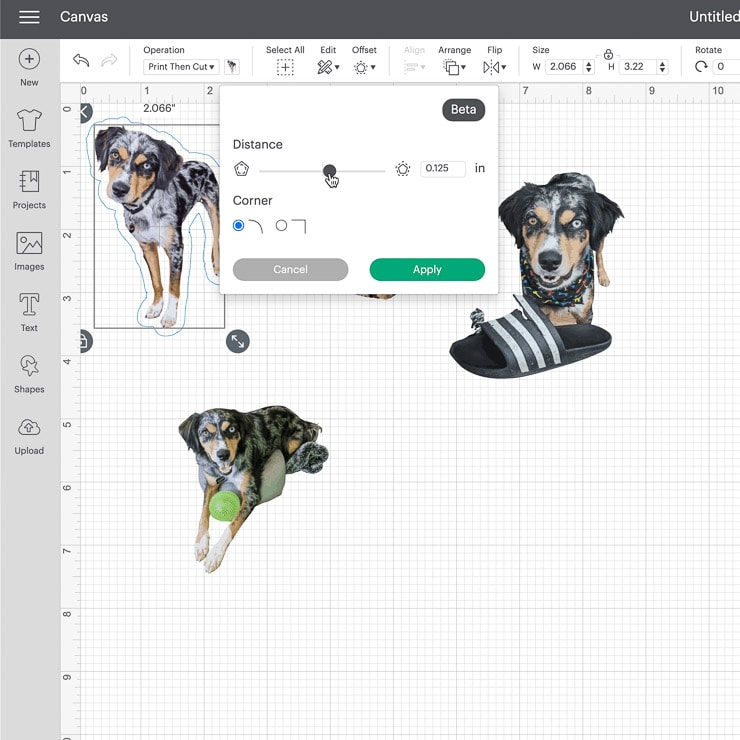
Step 2: Add the offset
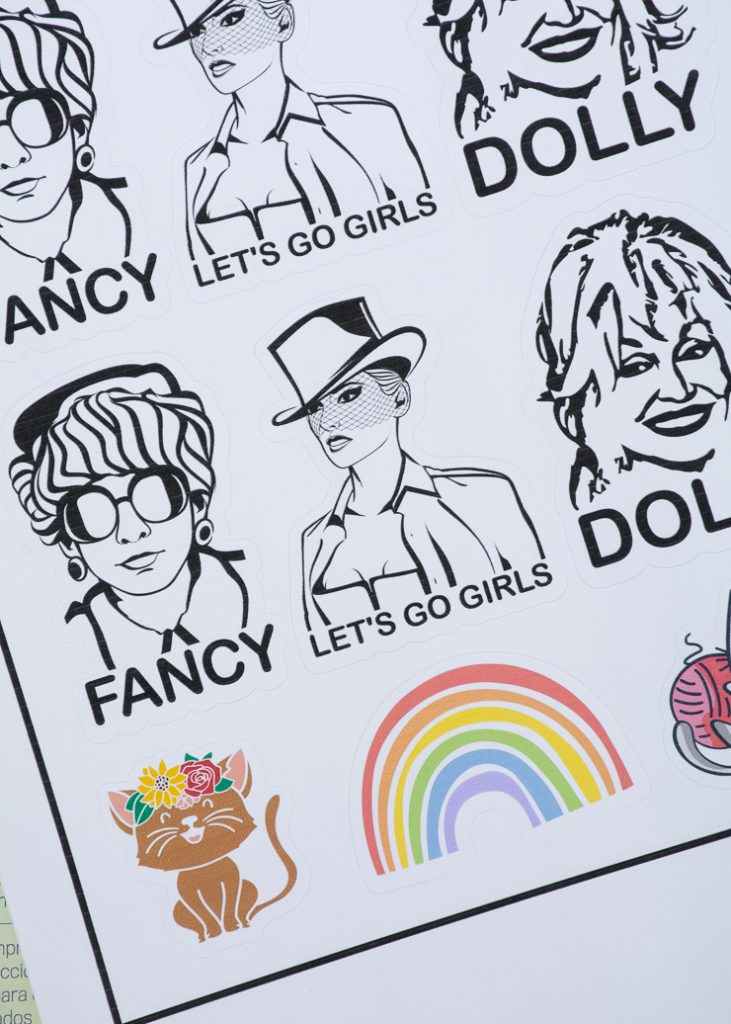
The offset feature in Design Space is a newer feature—and it’s still in beta. But I had no problems working with it. Simply highlight the image you’d like to offset and click the offset button.
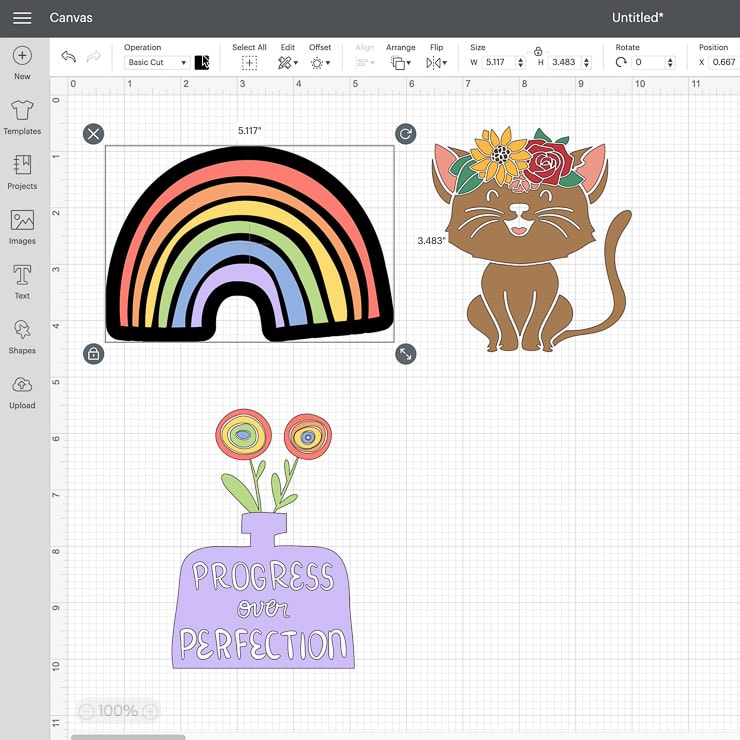
Then you can adjust the width of the offset. The offset is what gives you the polished sticker look! The offset defaults to a dark gray, which is kind of weird.
I think Cricut might change that in the future, because white is the color most people want to use. To turn your offset white, just click it and revise the color from dark gray to white.


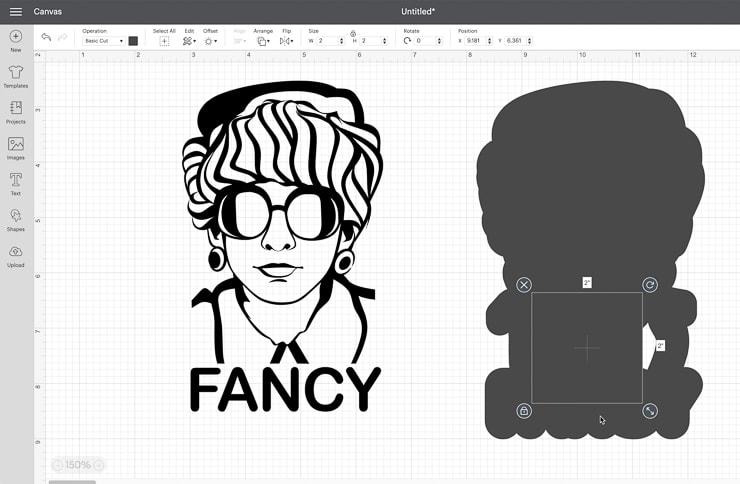
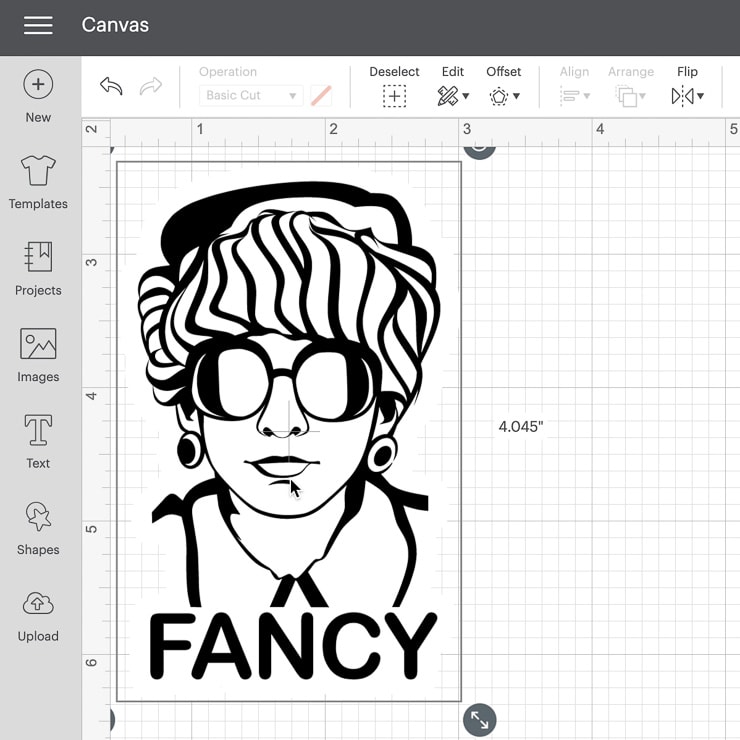
Step 3: Fill in any gaps in the offset using shapes and the weld tool
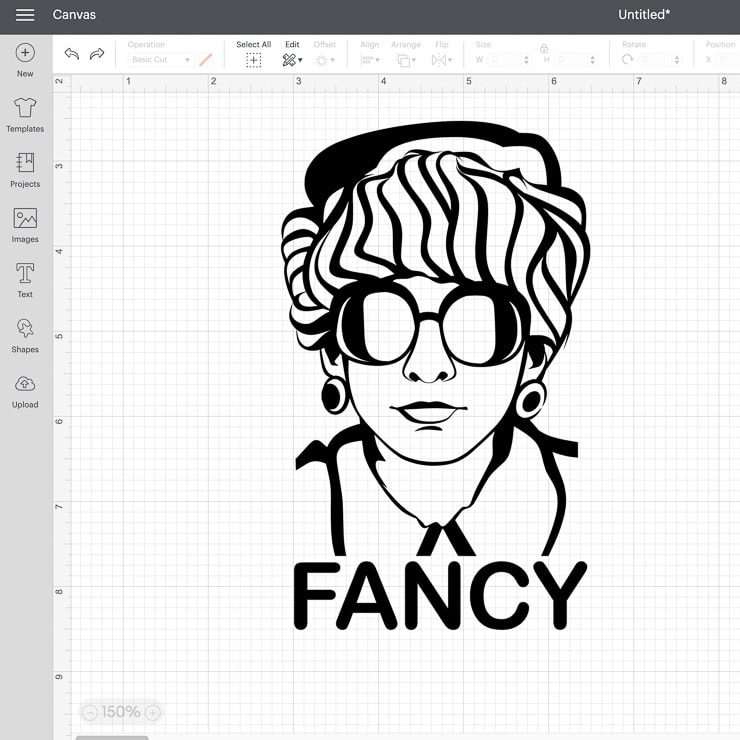
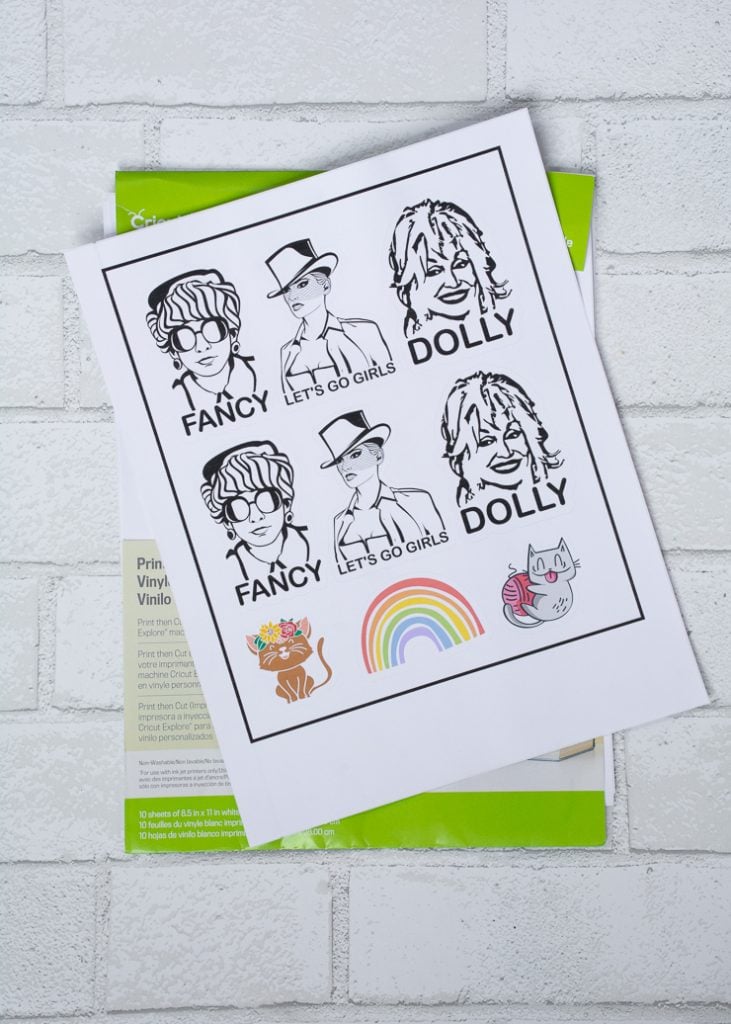
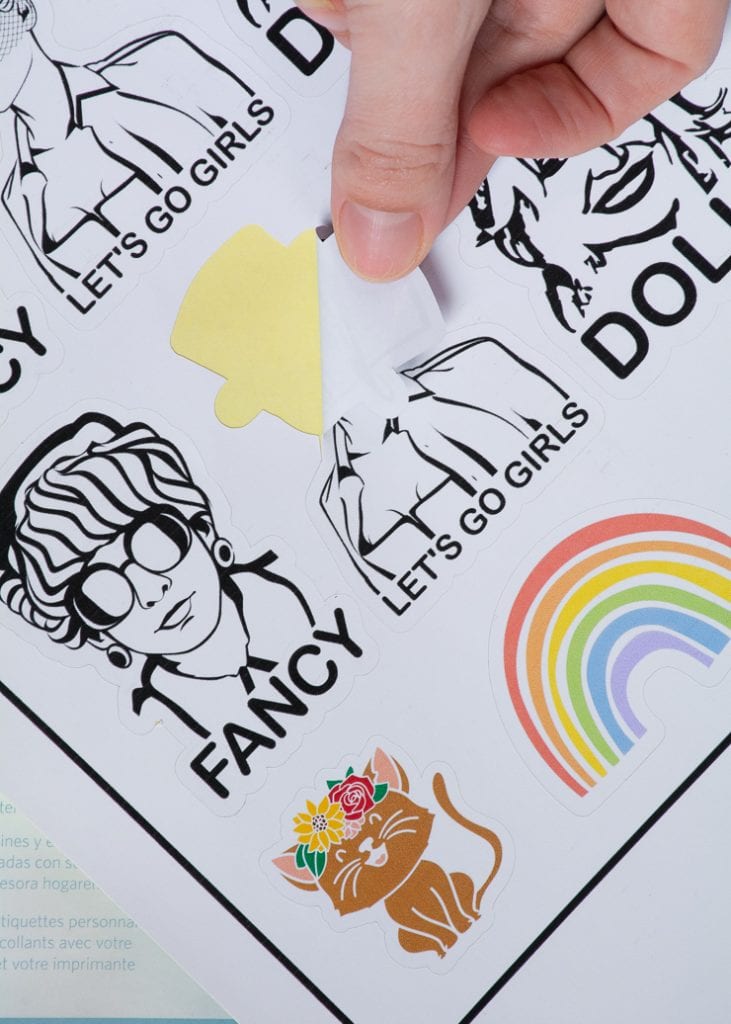
I used some of my country queens SVG files for this project. And since those are SVG files with no background and intricate lines, the offset feature didn’t work 100%.
As you can see, there were some gaps in the offset. But there is an easy fix! Simply grab a simple shape from the shapes option in Design Space. I used squares, but you can use anything.
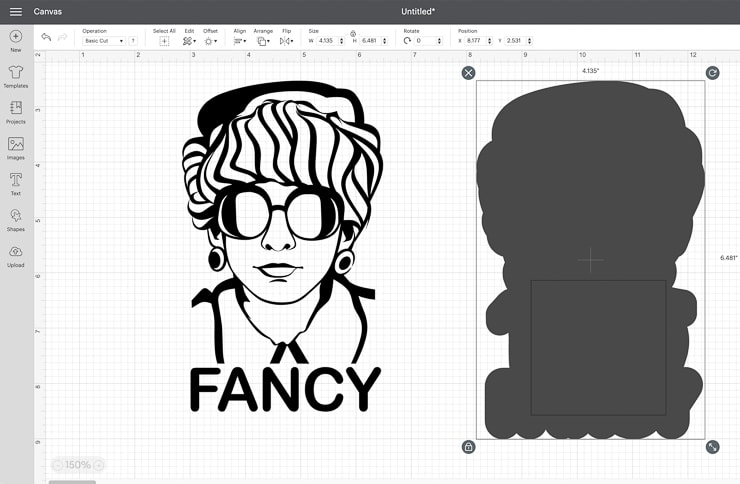
Next size the shapes to cover the bare spots without extending over the border of the offset. Once you’ve covered everything, highlight the offset and all of then shapes and click “weld.”
What is the weld tool in Design Space?
This is important—you have to do weld to make all of the shapes merge into one shape. The weld tool allows you to join shapes to create a single image by removing any overlapping cut lines. Attach or flatten won’t work. After you weld all of the shapes together, you can see that the offset has no gaps. Wahoo!


Step 4: Center and flatten the image and offset
Now that the offset is finished, put the image back over the offset. You can place it manually, or you can select the image and offset and select “Align” from the top menu in Design Space. Selecting “center” will align the image both vertically and horizontally over the offset.
Next select the offset and the image together and click “flatten.” This is also important. “Attach” or “weld” won’t work. I first tried to make stickers by attaching the image to the offset—but if you only attach them, Cricut will cut out around the image and the offset. You only want Cricut to cut out around the offset.
What is the flatten tool in Design Space?
The flatten tool allows you to turn any image into a printable image. It merges all selected layers into a single layer. After you flatten an image, you can unflatten them, so it isn’t permanent. Read all about the flatten tool and what is does here!
For more on Design Space tools, check out my tutorial for how to use the slice tool in Design Space!


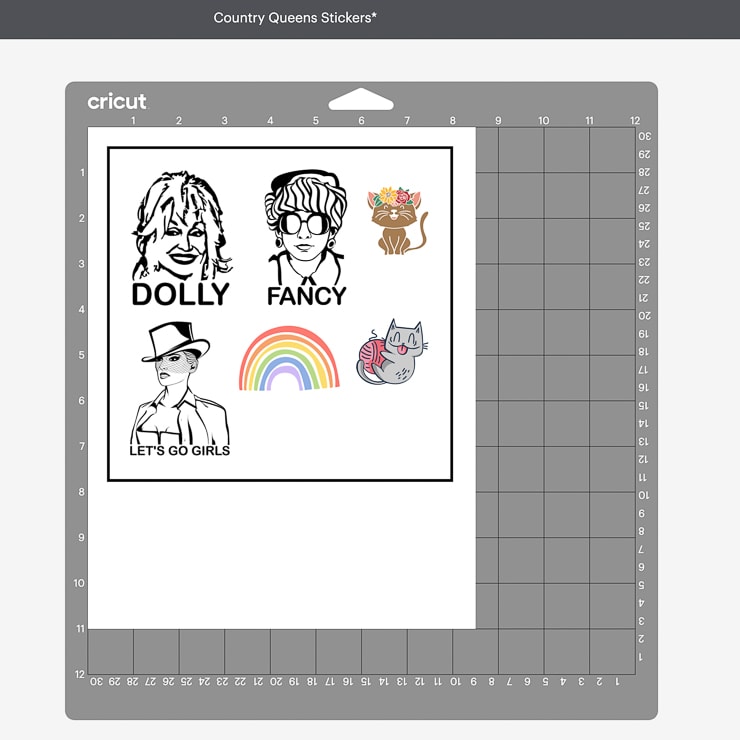
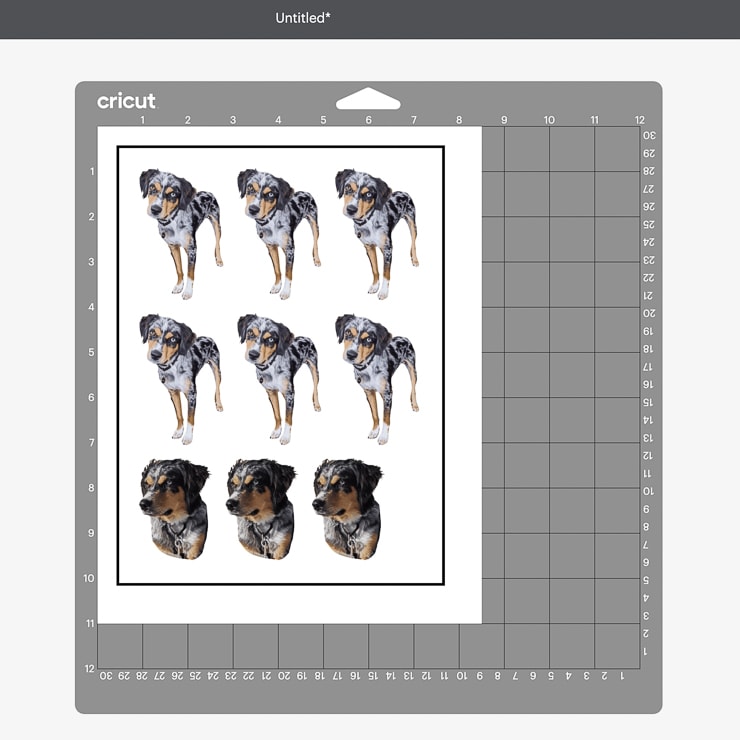
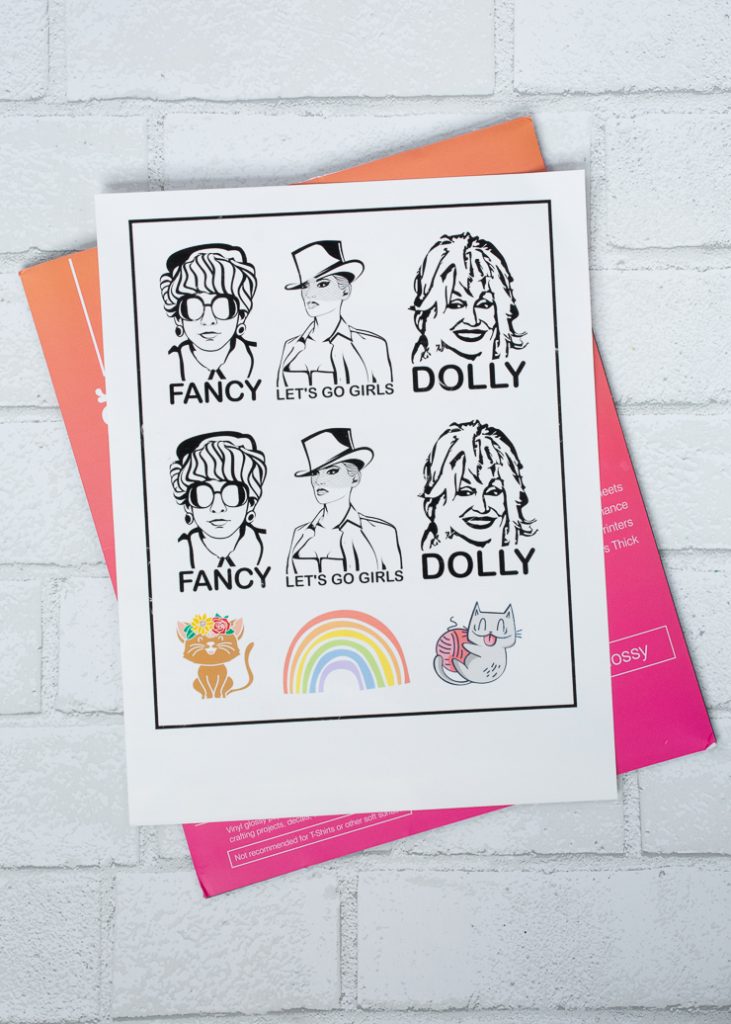
Step 5: Arrange the stickers on your canvas and print
To maximize the use of your sticker paper, you can arrange the stickers however you want on your canvas. If you select them all and press “attach,” they won’t rearrange when you go to make the project. Then follow the Design Space prompts to send it to your printer.

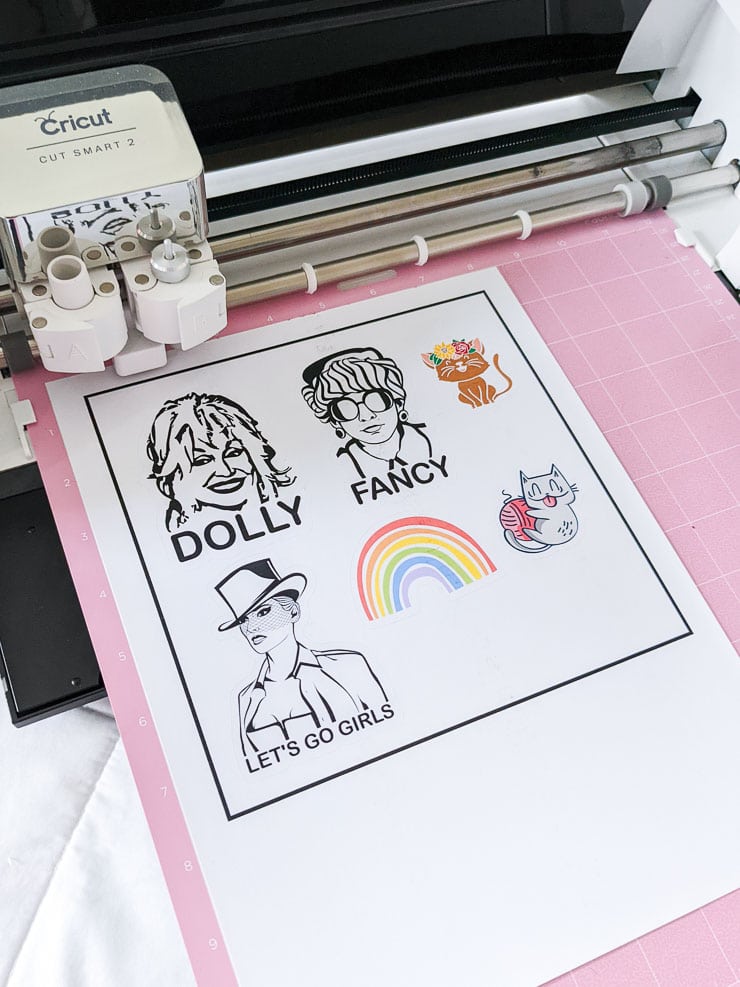
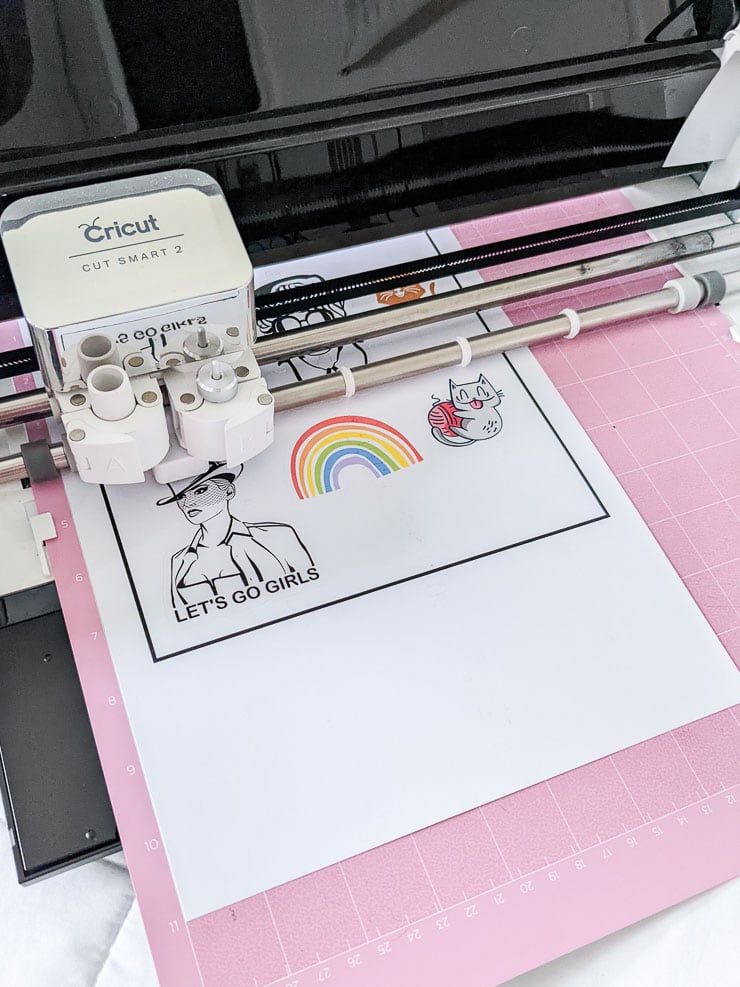
Step 6: Cut!
Once your printer is done printing, Design Space will prompt you to load the sheet into your machine on a mat. I used a pink FabricGrip mat only because it’s what I had upstairs—and it worked fine! You can probably use a blue or green mat, too.
The machine will cut automatically based on the sensor marks your printer included on the sheet. Once it is done cutting, simply offload the mat. You can use a straight edge and your True Control knife to cut the stickers out if you’d like—or leave them on one sheet.


Like Cricut? Check out my other tutorials on How to Use the Cricut Mug Press, the Best Cricut for Making Shirts, and my DIY Wall Decals Using Cricut!
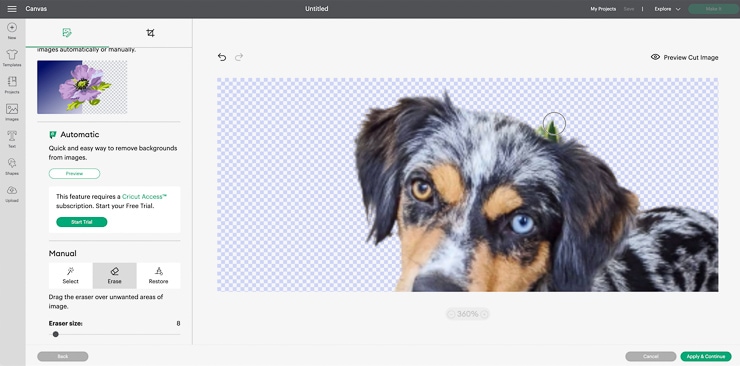
How to remove backgrounds from photos to make stickers
To remove backgrounds from photos to make stickers, just run them through a free background remover online like this one. They typically do a really good job!
You can clean them up using the erase tool in Design Space, too. (You do that when you upload the image, before adding it to your canvas.)
Here is the first image I ran through a background remover. You can see it left a tiny bit of a plant leaf up at the top of Ozzy’s head behind his ear. I nixed that in Design Space using the erase tool!
Once you’re happy with the image, simply follow the same steps I outlined above. Add the offset, make it white, fill in any gaps with shapes and weld them, and then select the image and offset and “flatten.” Puppy stickers!


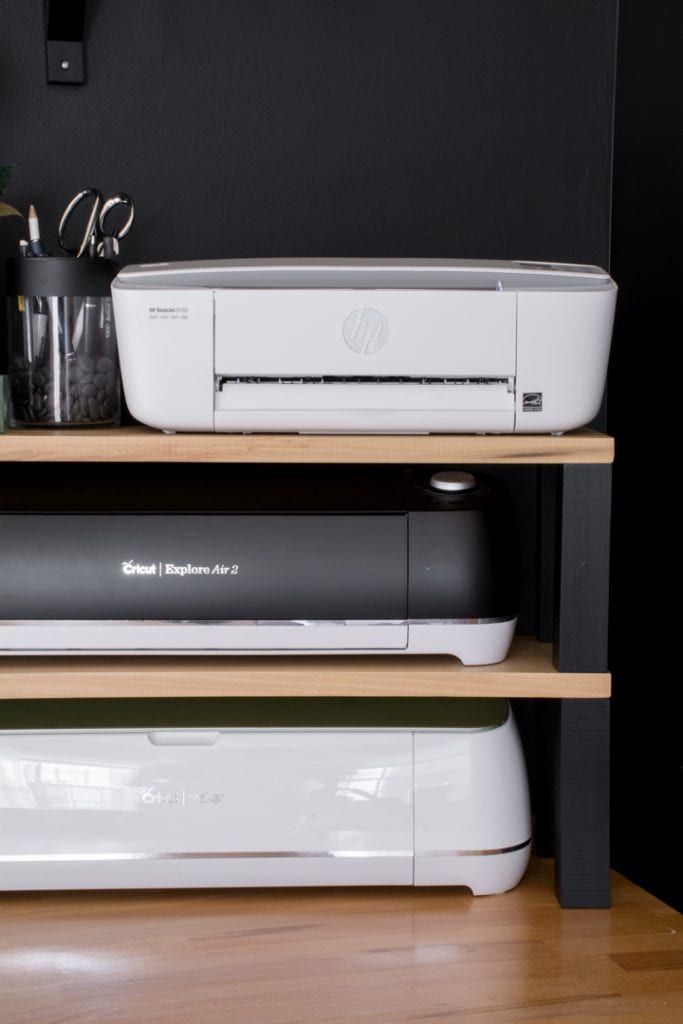
What printer am I using to make stickers with my Cricut?
As I mentioned, this is a Cricut sticker-making tutorial for people with normal printers. AKA, not super expensive printers. I have an HP DeskJet 3755. It’s a small, compact desktop printers that can scan, print, and copy. And it’s wireless.
It’s mostly for printing on regular paper—but in the description for the product, it says it can print on plain paper matte and glossy brochure paper, photo paper, envelopes, and other specialty inkjet papers. It prints great on regular paper, but how does it hold up on sticker paper? Let’s find out!

Psst…looking for a planner? Here’s the one I had for 2021 and have for 2022 as well!
What vinyl do you use to make stickers with Cricut?
I am going to review 5 different sticker paper and printable vinyl options to let you know which one my favorite is. I’ll consider things like quality, price, and of course whether or not it works on my baby printer 🙂 First up, let’s look at Cricut products.
1. Cricut Printable Sticker Paper
The first paper I tried was the Cricut Printable Sticker Paper in white. Right off the bat I was nervous about this paper because it has terrible reviews online. Seriously, like every website it is for sale on has awful reviews. But I wanted to give it a try myself.
Cricut says this paper is designed for use with inkjet printers and then the Print-Then-Cut feature on Cricut Explore machines. Exactly what I want! Perfect. This paper adheres very well and you cannot reposition it once you apply it.
But I can’t recommend this paper because I never even got to try it! I’m sad to say that all of the reviews are right. It is noticeably thicker when you hold it. And my printer couldn’t take it. It instantly jammed, even when I tried to help it through.
If you have a nicer printer that can handle this paper, I’m confident that it will work well. Since it is thicker, it seems like it would be a more durable base product. But for regular printers? Nah. Didn’t work for me.
Is Cricut Printable Sticker Paper waterproof?
I’m going to go with no. Not only because it just doesn’t look and feel waterproof, but Cricut’s own website says “keep printed images dry to preserve longevity.” To make it waterproof, you’ll need to put a few coats of an aerosol acrylic or poly sealant.


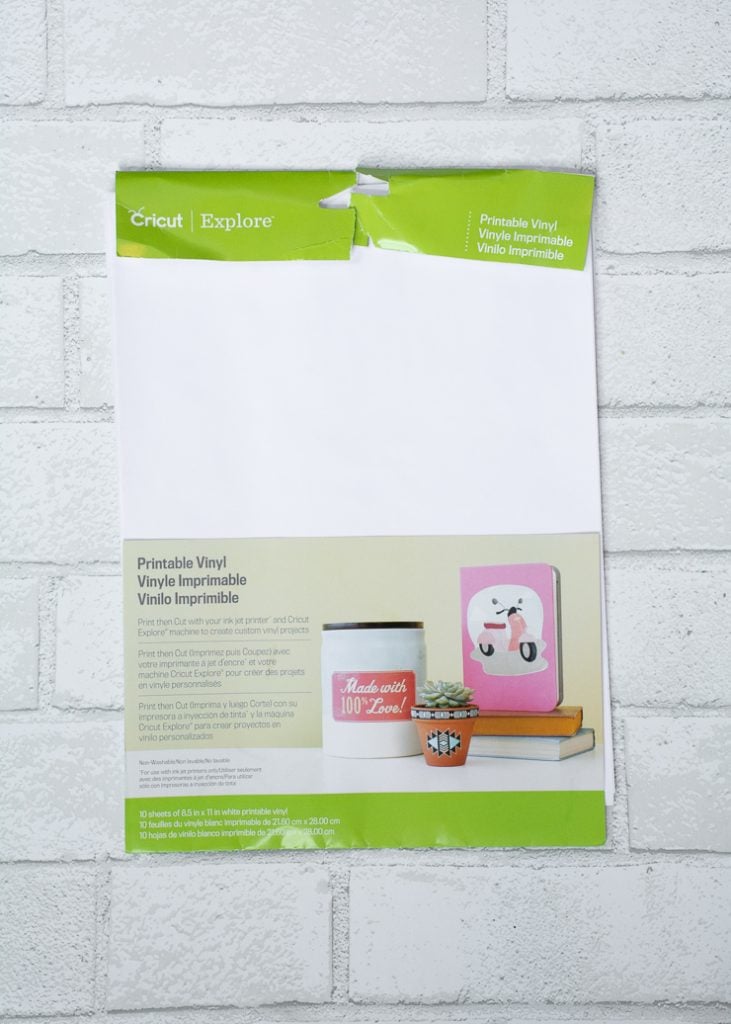
2. Cricut Printable Vinyl
The good news is that Cricut does make a printable vinyl, which can be an effective substitute for their sticker paper. And it worked on my printer!
But, keep in mind that this is a slightly different product. It is much thinner and is designed for, well, vinyl projects. Think decals and whatnot. But if you’re making stickers to put on the front of a notebook or planner, I see no reason why you couldn’t substitute printable vinyl!
Note the Cricut says it has a smooth matte surface and that it removes cleanly, leaving no sticky residue. (But obviously it won’t remove from paper cleanly—they mean hard surfaces like tumblers, I’d imagine.)
Since this paper is a bit thinner, it did buckle a bit after the wet ink went on. However, it didn’t affect the quality of the decals, and they transfer flat to whatever surface you’re putting them on.
Is Cricut Printable Vinyl waterproof?
I also have to say no for this one. And for the same reason. It buckled a bit with the wet ink, so I can’t image it would be super water-resistant. Cricut says “keep printed images dry to preserve longevity.” You can lengthen printable vinyl’s life by adding of an aerosol acrylic or poly sealant.


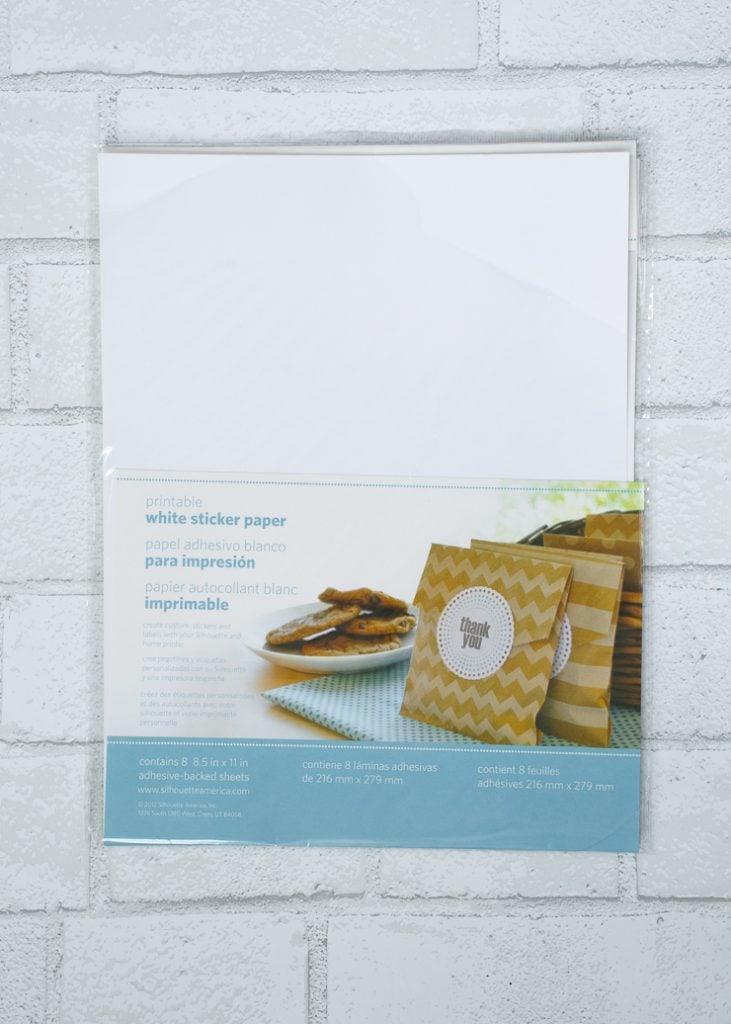
3. Silhouette Printable Sticker Paper
Next I wanted to see if another brand’s sticker paper would work. There wasn’t a ton of information about the white Silhouette Printable Sticker Paper online. Only this—”Use the Silhouette Printable White Sticker Paper to make custom labels of designs and text of your choice.
This sticker paper, compatible with Silhouette electronic cutting tools, has a self-adhesive back that makes it perfect for various surfaces.”
Right off the bat, it was clear that the white Silhouette Printable Sticker Paper is much thinner than the Cricut white sticker paper. That gave me higher hopes for how it would do in my baby printer. It has the same matte finish that the Cricut paper has.
And it worked! The HP DeskJet 3755 baby printer took it just fine. I printed several sheets, and none jammed. The ink didn’t bleed or smear once I let it dry completely. And my Cricut Explore Air 2 cut it perfectly.
Is Silhouette Printable Sticker Paper waterproof?
I couldn’t find anything online from Silhouette to speak to how durable or waterproof this paper is. But I have to be honest, it doesn’t feel like it would be super waterproof. I’d also recommend giving it a few coats of an aerosol sealant just like the Cricut papers.


4. Zicoto Premium Printable Vinyl Sticker Paper in Matte
Next I wanted to try out a few off-brand options. You get more paper for about the same price, so it is much more cost-effective. I chose Zicoto premium printable vinyl sticker paper based on the price and reviews. It says it is compatible with most inkjet printers, and it’s thick without being too beefy.
Use this paper for wall murals, vinyl decals for cars, bumper stickers, vinyl stickers for laptops, stickers for coffee tumblers, etc. Make sure to let the ink dry thoroughly before handling or it will smear. Zicoto says 5 minutes, and I found that to be accurate.
Is Zicoto Premium Printable Vinyl Sticker Paper in Matte waterproof?
Zicoto Premium Printable Vinyl Sticker Paper in matte is marketed as a water-resistant vinyl sticker paper. Zicoto says, “With the Zicoto printable vinyl sheets you can create gorgeous water-resistant labels for multi-purpose use both indoors & outdoors; simply add a clear layer of UV resistant sealer spray to boost waterproofness & durability.”
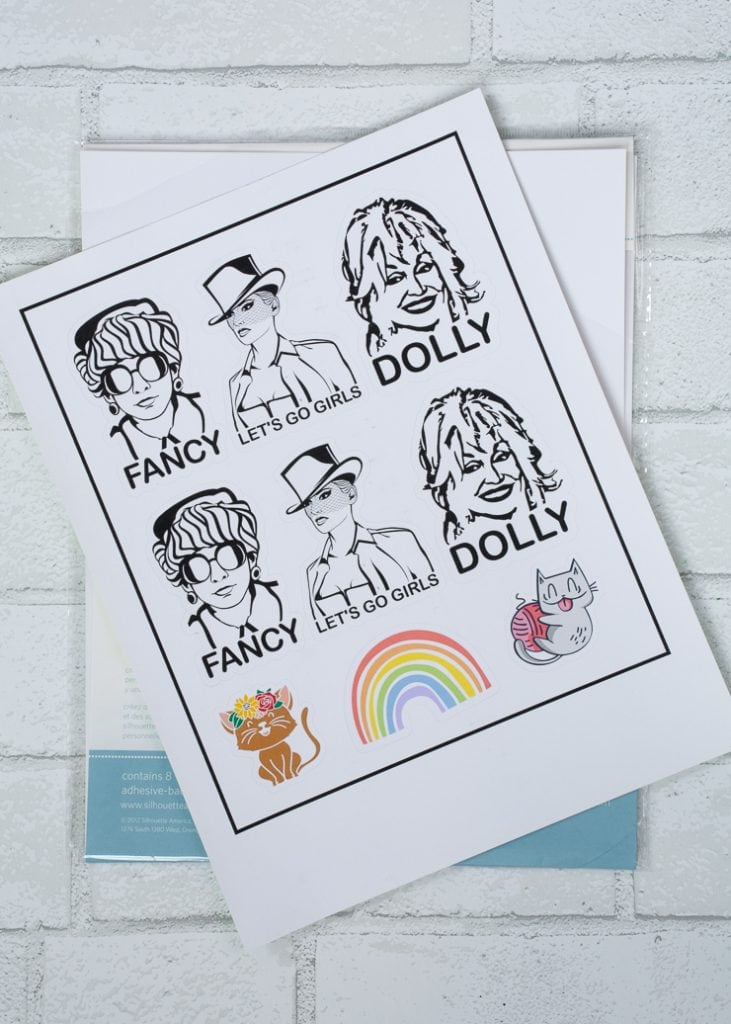
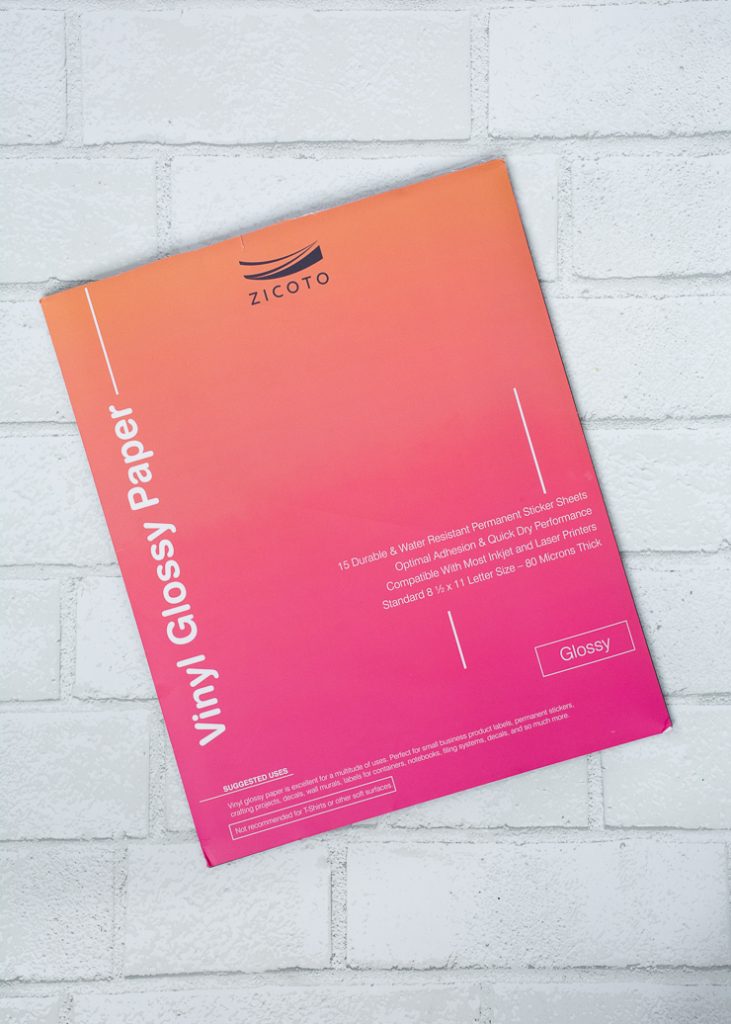
5. Zicoto Premium Printable Vinyl Sticker Paper in Glossy
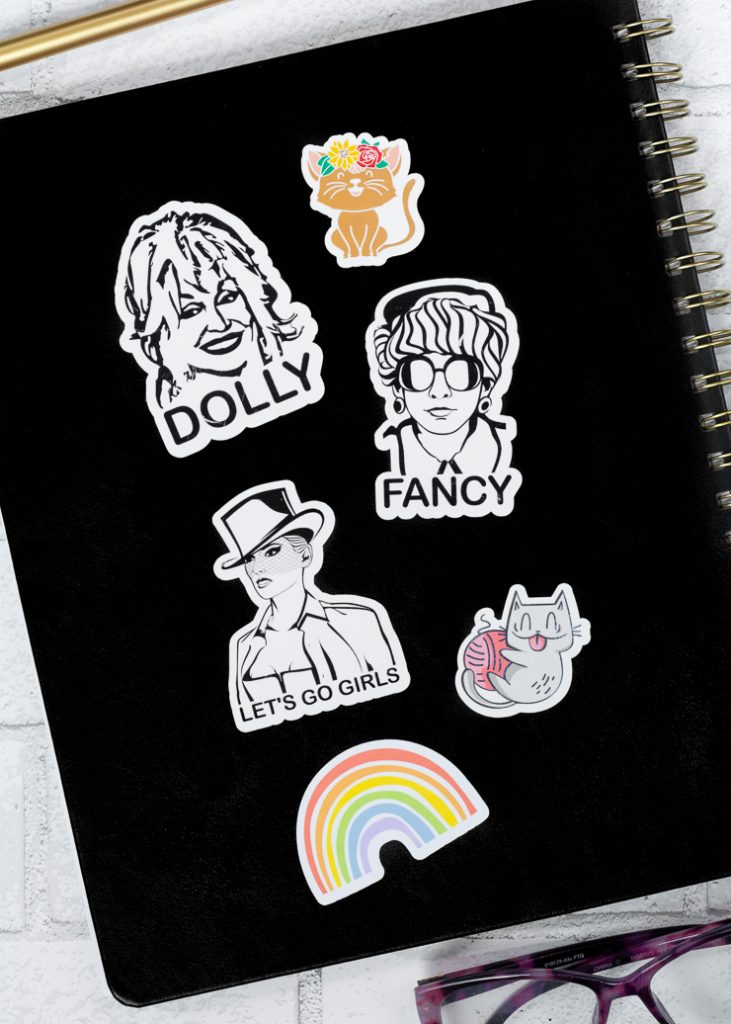
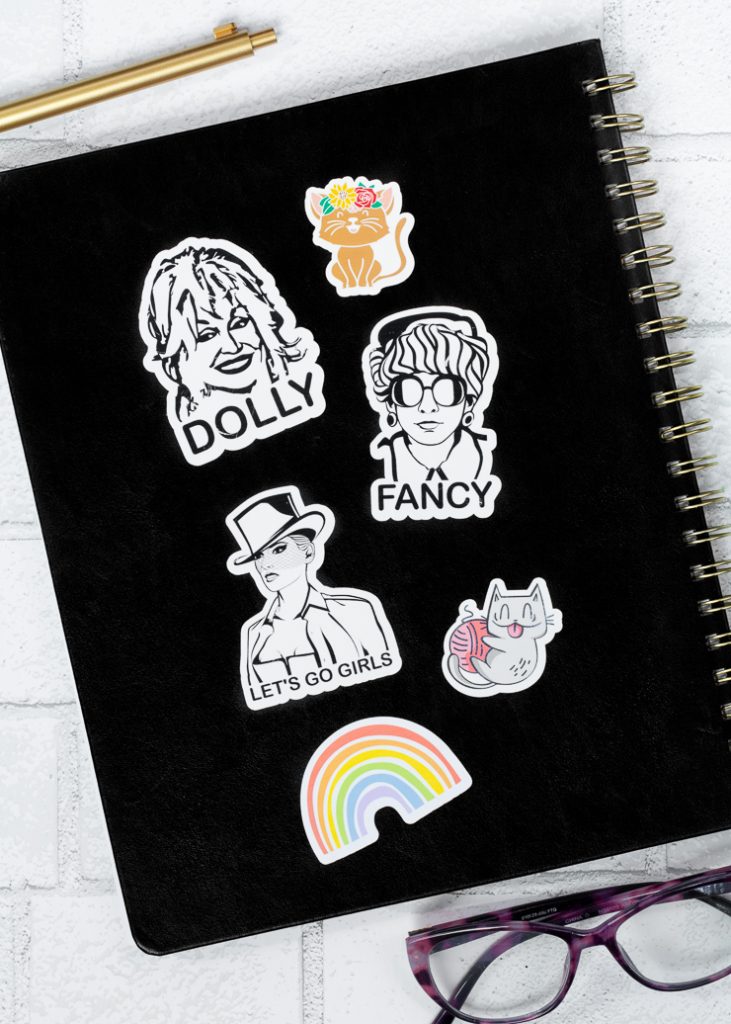
And I’m saving my favorite for last. The Zicoto Premium Printable Vinyl Sticker Paper in a glossy finish is my winner. Why? Well I just like the glossy finish for the projects I did!
I feel like it looks more polished, especially with the black and white stickers. The product specs for this paper are about the same as the specs for the matte version.
Is Zicoto Premium Printable Vinyl Sticker Paper in Glossy waterproof?
It’s the same instructions as the matte finish Zicoto paper—the sheets are “water-resistant” and suitable for indoor and outdoor use. However, add a UV-resistant sealant spray to boost waterproofness and durability. Also…I feel like the glossy finish helps boost water resistance, too!


Pin my post about how to make stickers with Cricut!