Are you wondering how to get started with acrylic painting for kids? Keep it easy with an abstract painting technique on canvas. Learn how.
Abstract acrylic painting for kids using a vinyl stencil!
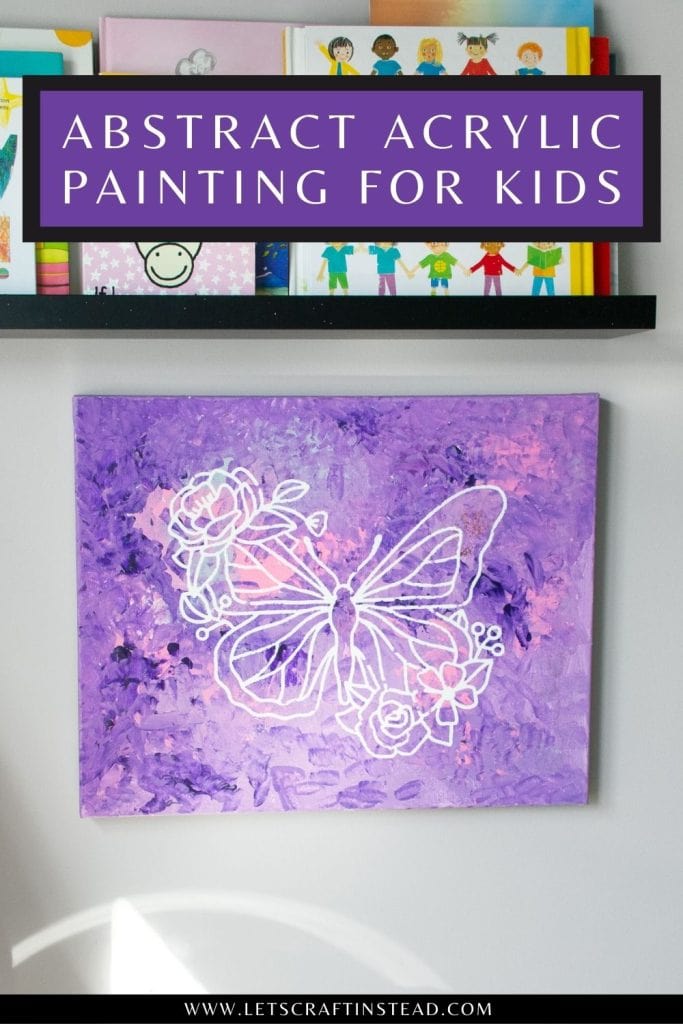
Hi all! Today I’m sharing a project I did with my four-year-old daughter. I decided to let her experiment with my “big girl” acrylic paints on a real canvas, and she was very excited about it! The colors and finishes are so much more vibrant than the washable kids paints.
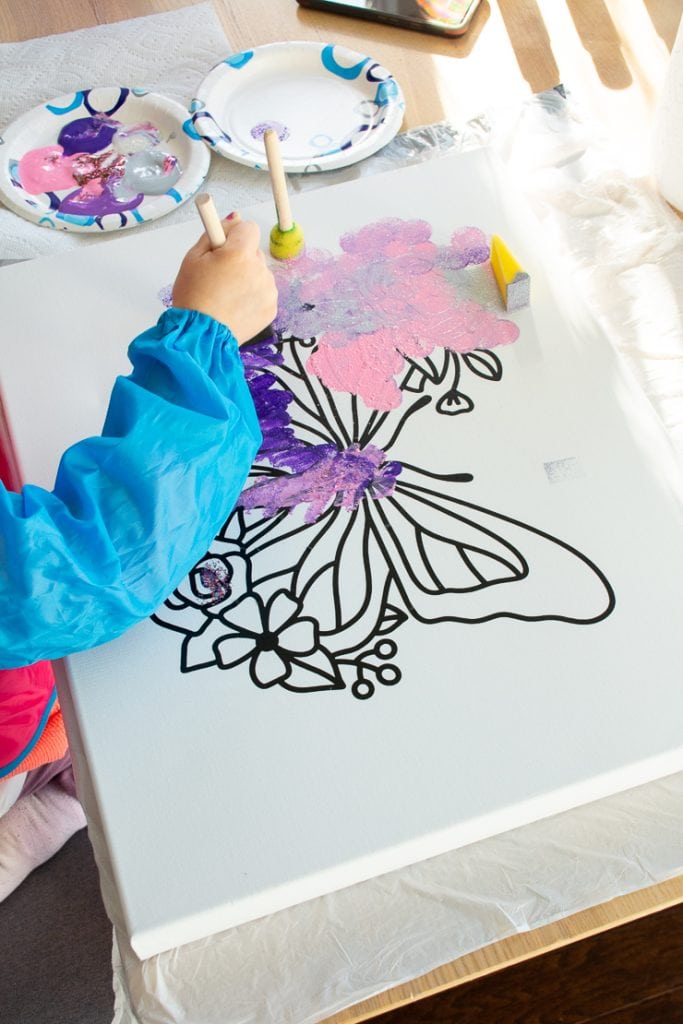
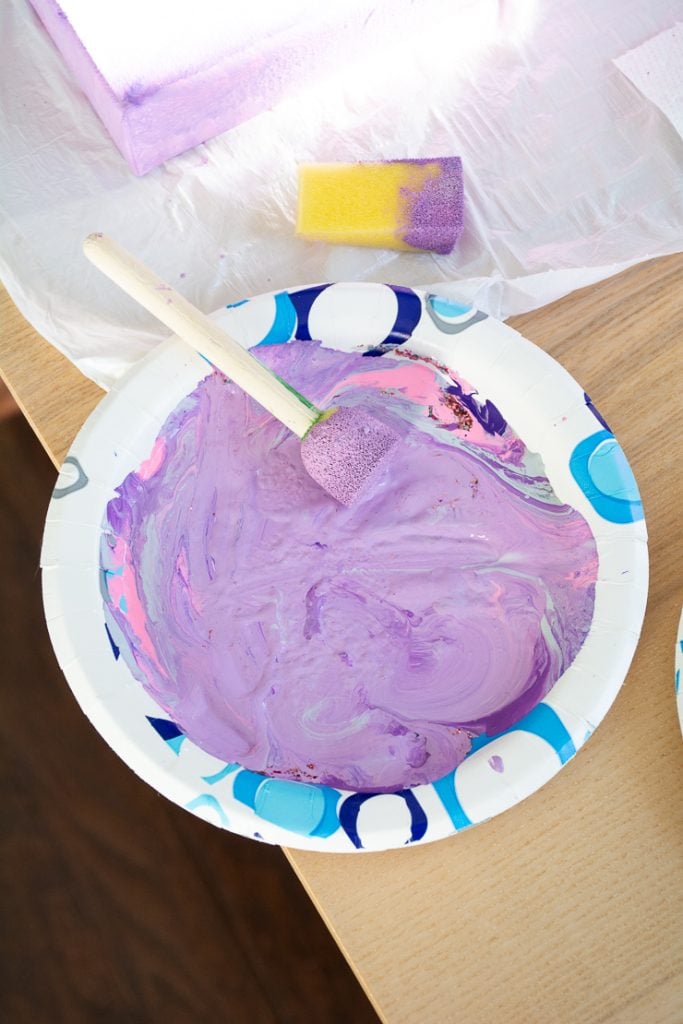
Acrylic painting for kids doesn’t have to be anything special. I set her up with a blank canvas with an adhesive vinyl decal on it. Then I let her go to town with some foam brushes and different shades of purple, pink, and gray acrylic paint!
You can skip the stencil and just do sponge painting on a blank canvas, but adding the vinyl decal is an easy way to create a cool design that looks like something created by someone with skills way beyond a four-year-olds 🙂 I’m going to walk you through how to do it.

Is acrylic paint safe for kids?
Yes! Acrylic paint is safe for kids to use. No paint is meant to be ingested, and the paints I let her use are not labeled as non-toxic. However, she is now four, and I trust her not to eat them. I explained to her that they are paints for big people and that she needed to use a brush.
I would not use acrylic paints with younger children or toddlers because they cannot be trusted as much. Also, they are a lot harder to clean up! Although these are water-based, they stain much more and are harder to wash off. For that reason, I put a garbage bag under her canvas to protect the table.
I also put a smock on her to protect her clothes and explained that she should be super careful not to get it on her hands. But that if she did, it wasn’t a big deal—we could scrub it off.
Here’s what we used for this project:
- 16″ by 20″ blank white canvas
- Purple, pink, and gray acrylic paints
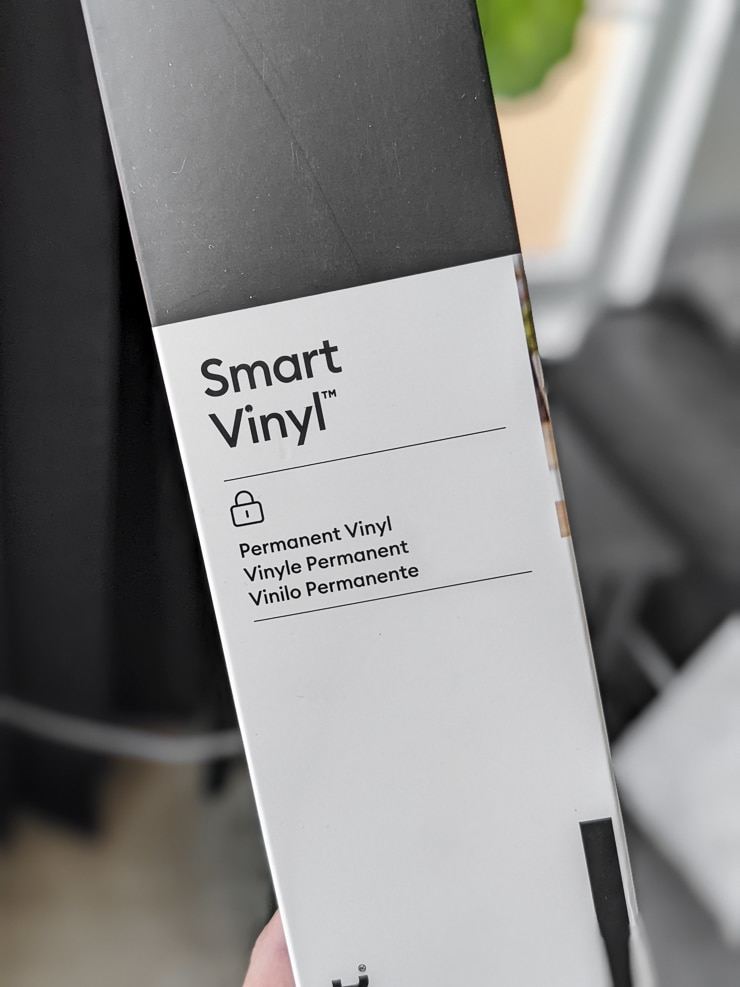
- Cricut Explore 3, vinyl, weeding tool, and transfer tape
- Garbage bag, smock, and paper towels
- Different shapes and sizes of foam brushes
And here is the abstract acrylic painting we did!
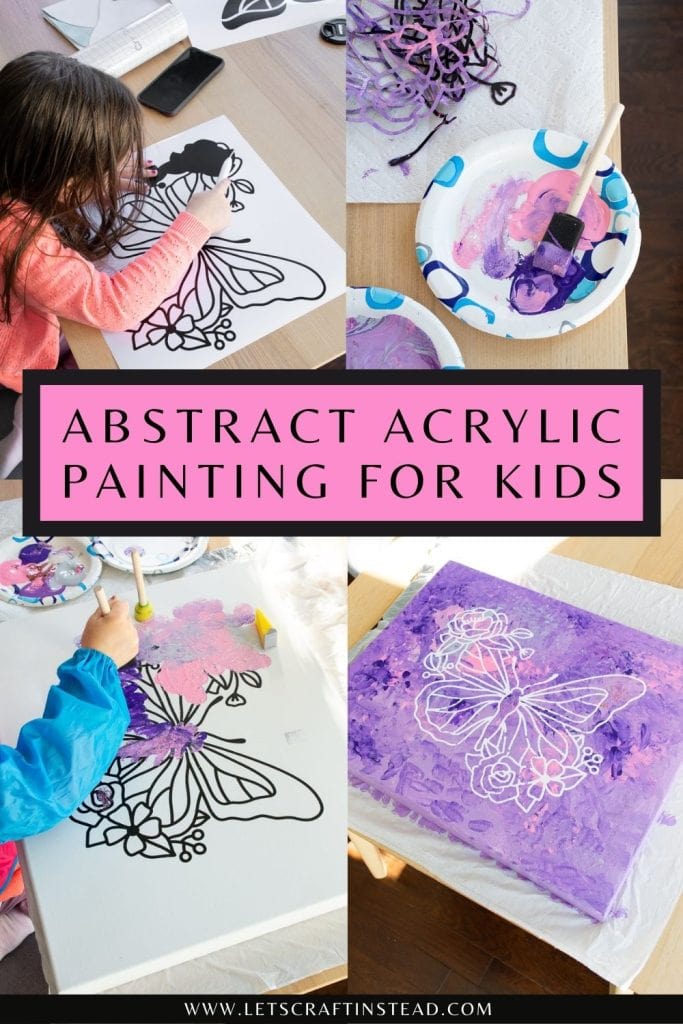
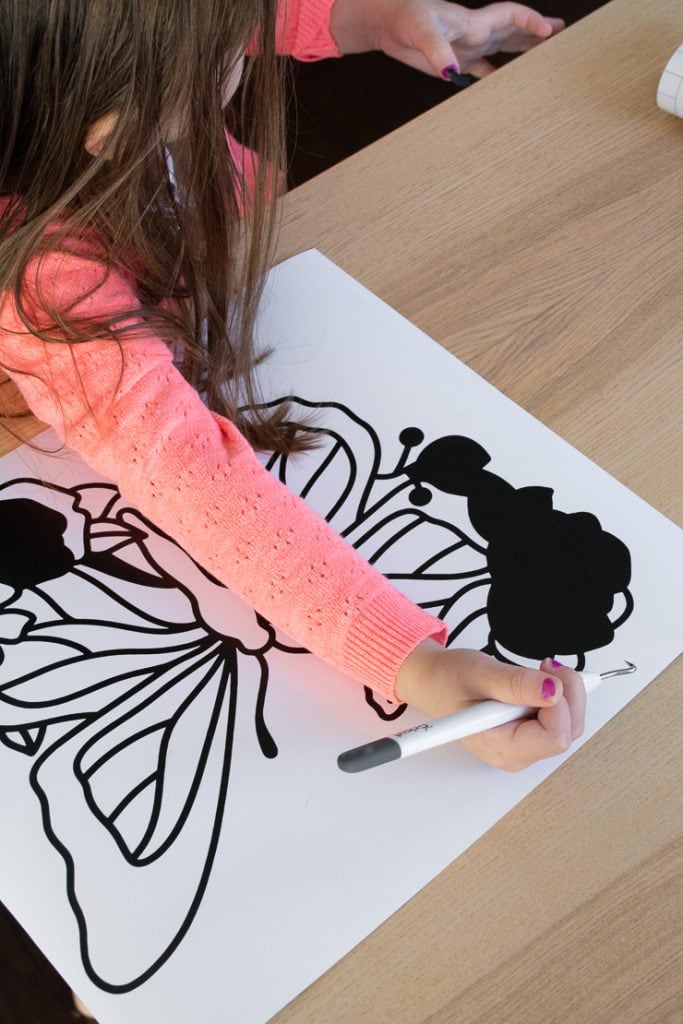
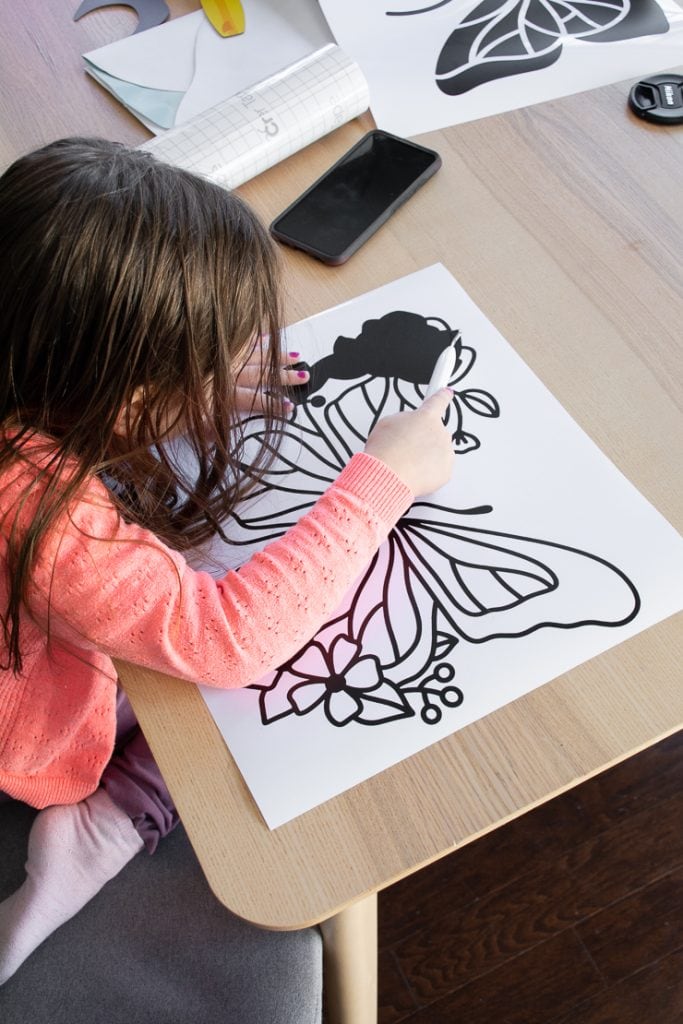
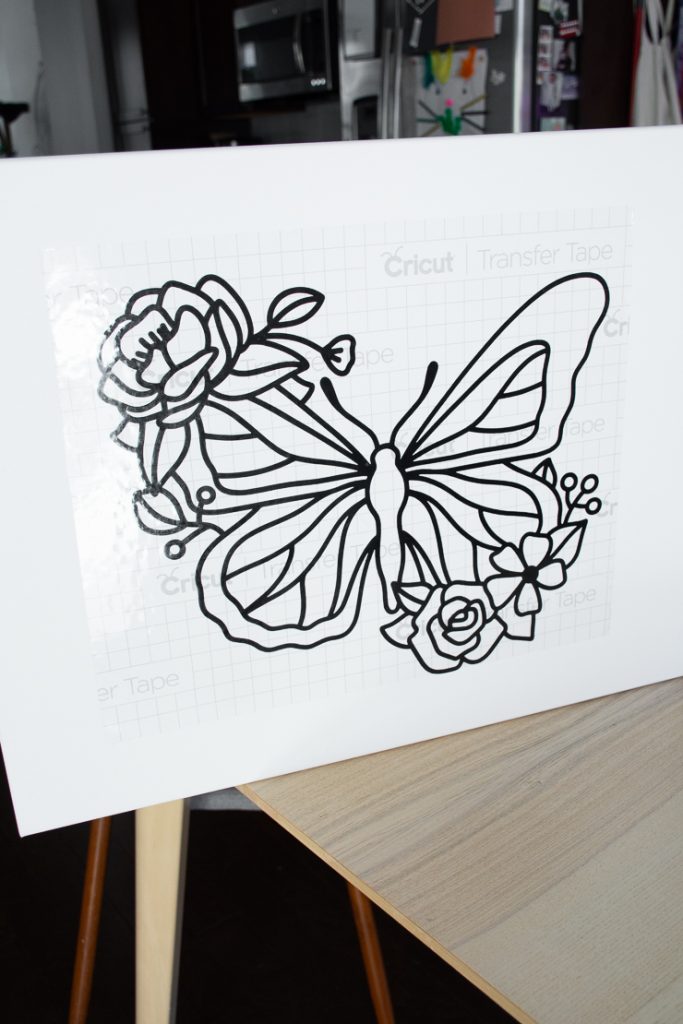
Step 1: Cut and weed the butterfly decal
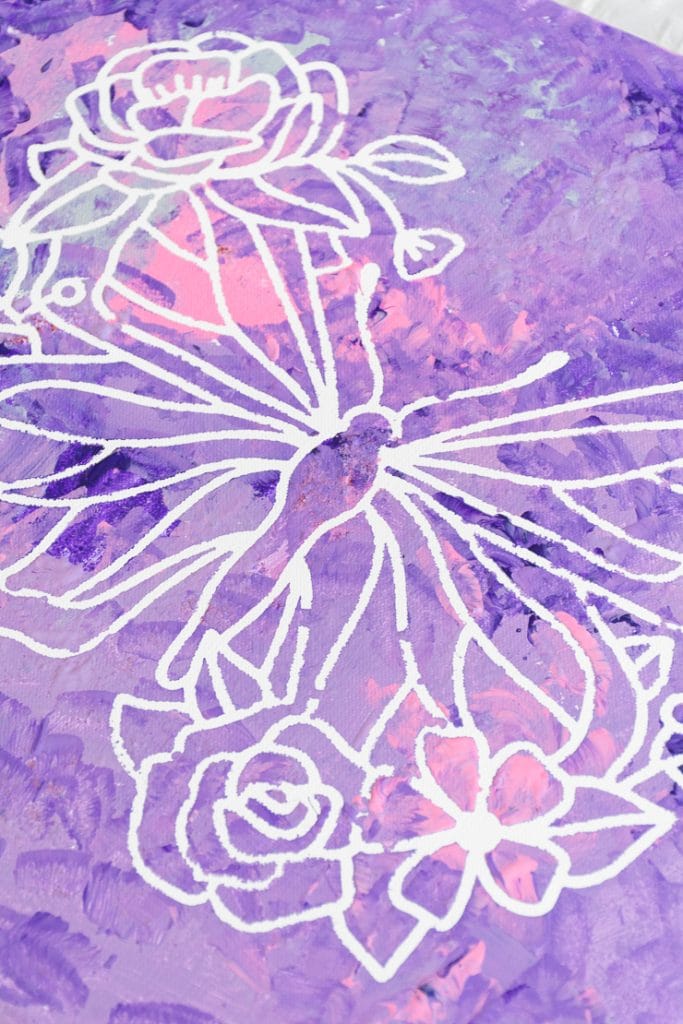
Using a decal is an easy way to create a design on the canvas without really creating a design on the canvas. That’s because you apply it, paint over it, and then remove the vinyl to reveal the unpainted white space of the design. Perfect for kids!
R chose her design and picked a pretty butterfly with flowers around it in Cricut’s Design Space. I cut this out on my Explore 3 and just black permanent smart vinyl. The color doesn’t matter since you’ll just paint over it and remove it afterward.
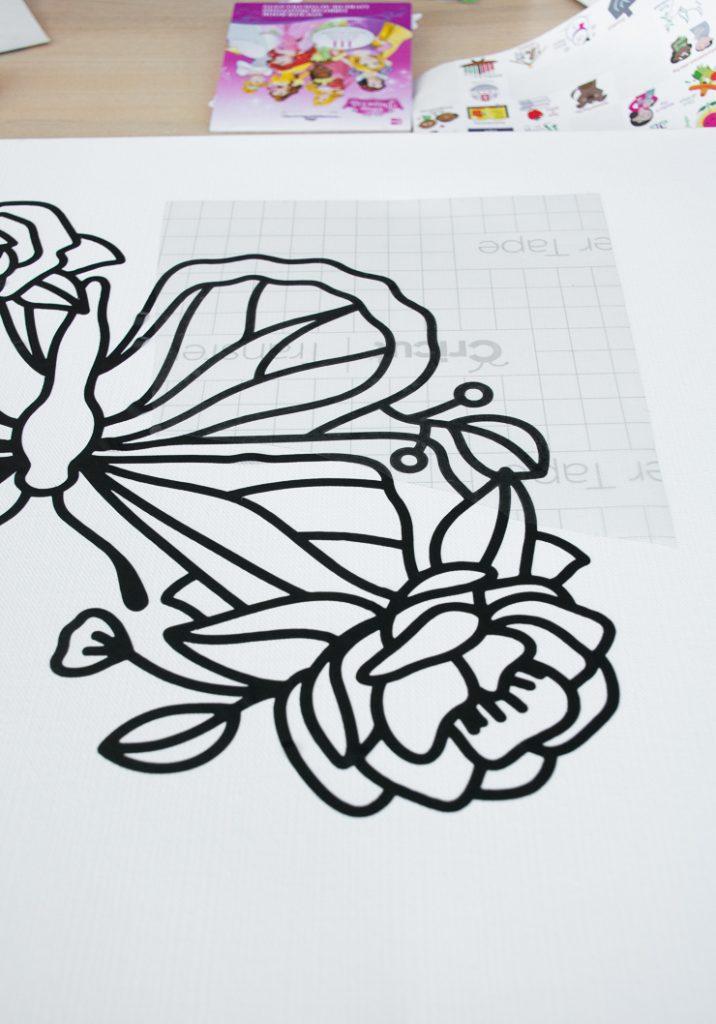
I also used this opportunity to teach R how to weed vinyl! Surprisingly, she actually enjoyed it and was pretty good at it! We slowly weeded out all of the negative space until the butterfly was totally done.


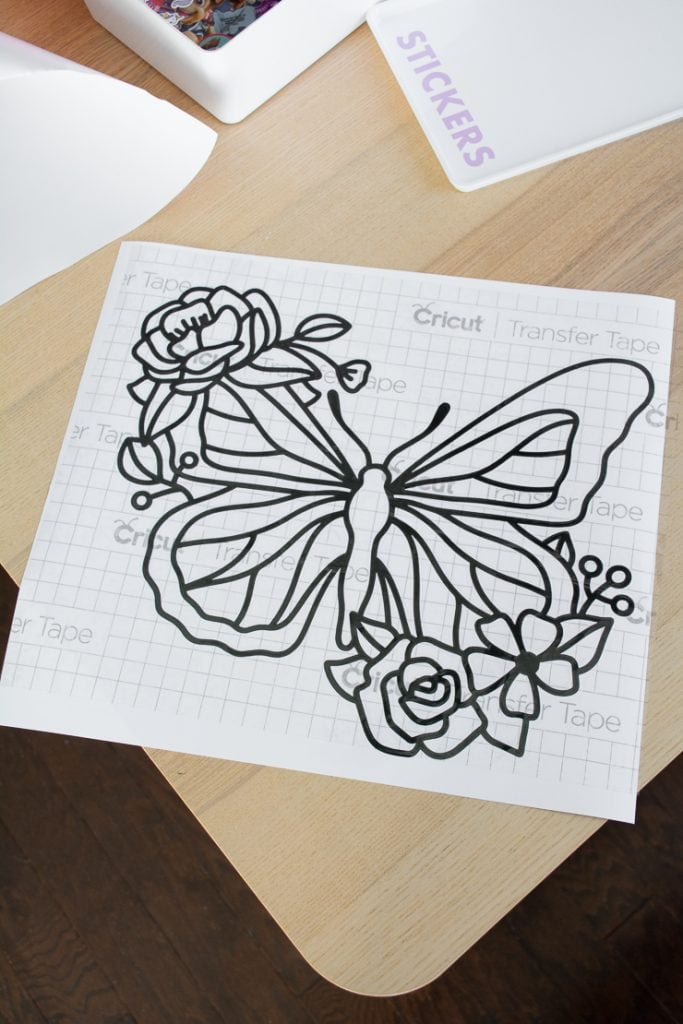
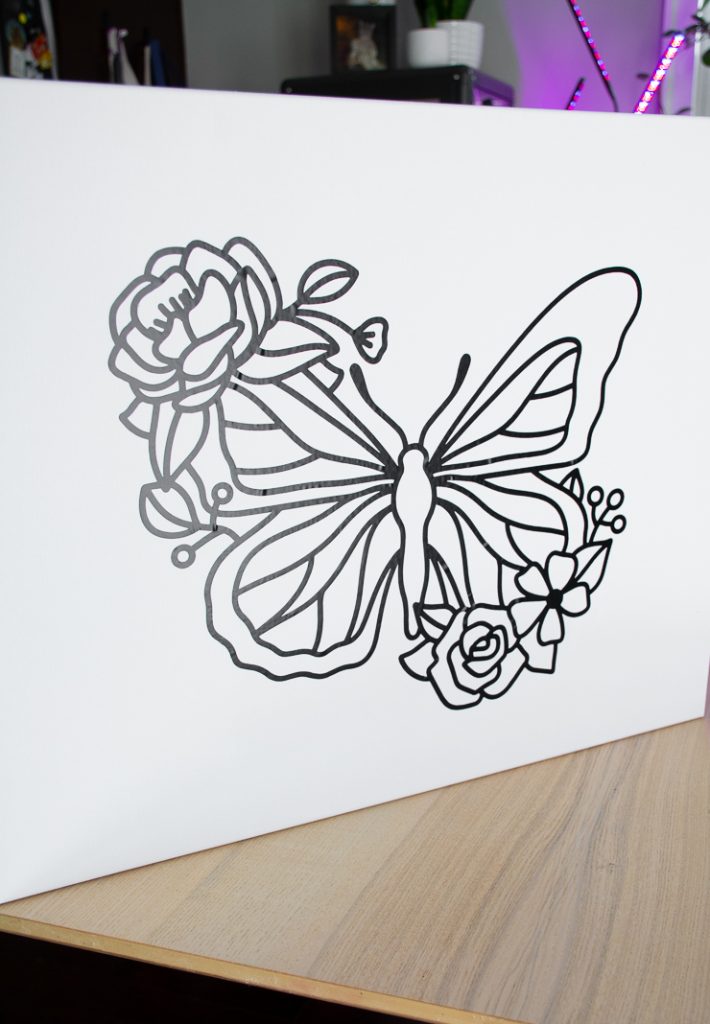
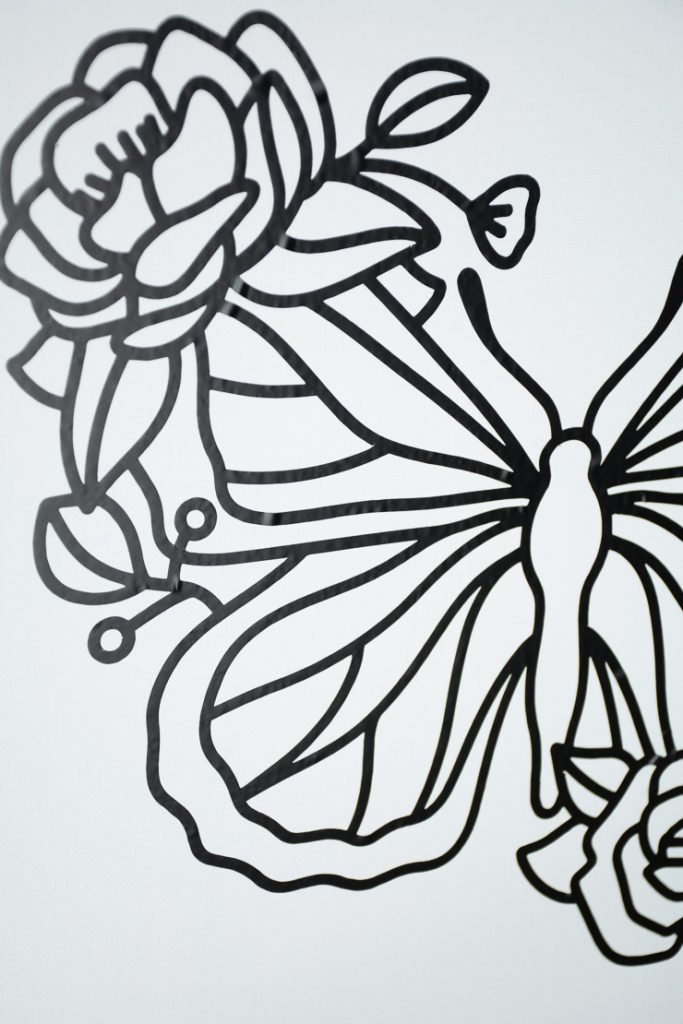
Step 2: Transfer the design to the canvas
This is the tricky part! Even permanent vinyl, which is very sticky, doesn’t stick well to blank canvas material. I used transfer tape to transfer the design as evenly as I could. But you can’t just quickly peel off the transfer tape and expect the design to stick.
You have to peel it off sloooowwwlllyyyyyyyyy. And put your other hand down on the vinyl area you’ve just pulled the transfer tape off of to reinforce it as you continue to pull. Also—I like to trim off the transfer tape as I pull it so that it doesn’t accidentally restick as I’m working it off.


For more kid projects, check out my post about How to Infuse a Drawing onto a Mug, my Rainbow Quotes for Kids + 21 Free Printables, and my post reviewing 5 DIY Slime Recipes to pick the best!
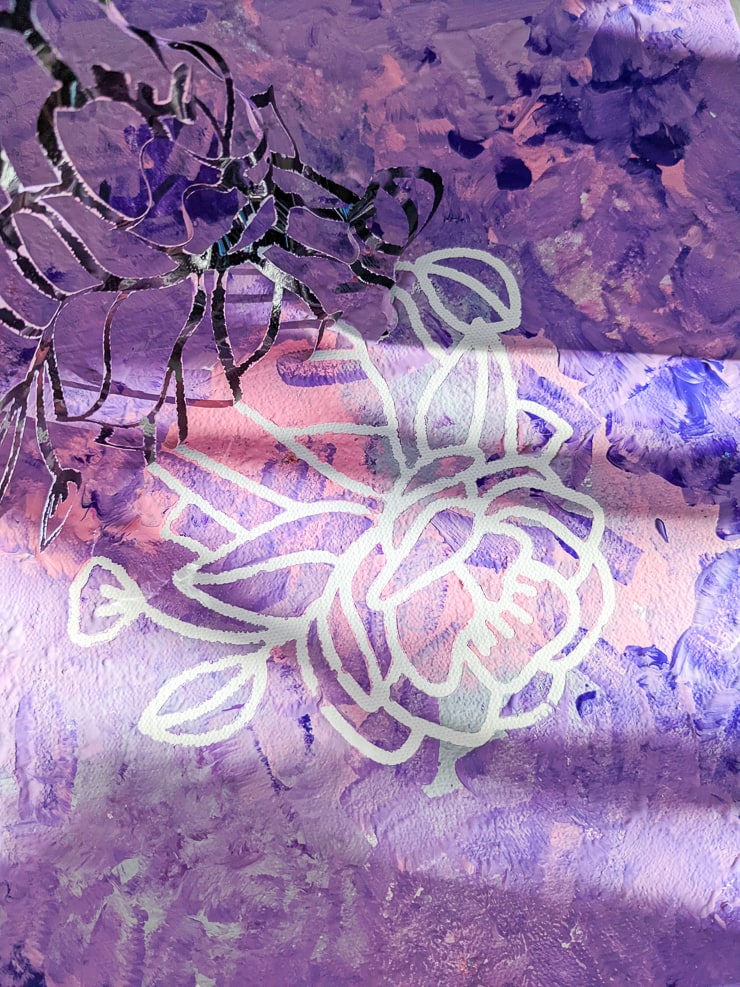
You’ll notice that the finished product isn’t 100% perfect. That’s because this material isn’t designed for canvas. There are some wrinkles and some uneven parts, but I wasn’t too worried about that.
I knew that the sponge painting technique would help hide any minor errors I made during the transfer. And I also knew that we’d be removing it as soon as we were done painting, so I called this good enough!


What if I don’t have a Cricut machine?
Well, if you don’t have a Cricut machine, you have a few other options. You definitely do NOT need a Cricut machine to do this project! Here are some other ideas:
- Order a pre-cut decal online. Etsy has pretty much every decal you could want, and most come with transfer tape.
- If you’re doing a simple design like a heart or a flower, you can buy some adhesive vinyl at the craft store and hand cut it.
- Consider using paper and double-sided tape to tape the design in place while you’re painting.
- Painter’s tape is also an awesome choice. You can use it to make geometric or striped designs, and it removes beautifully. I used painter’s tape on this DIY Kate Spade–inspired canvas art!
- Or just skip the design all together and just do a sponge-painted abstract piece! Honestly, the acrylic colors mix really beautifully, and this is still a great option.
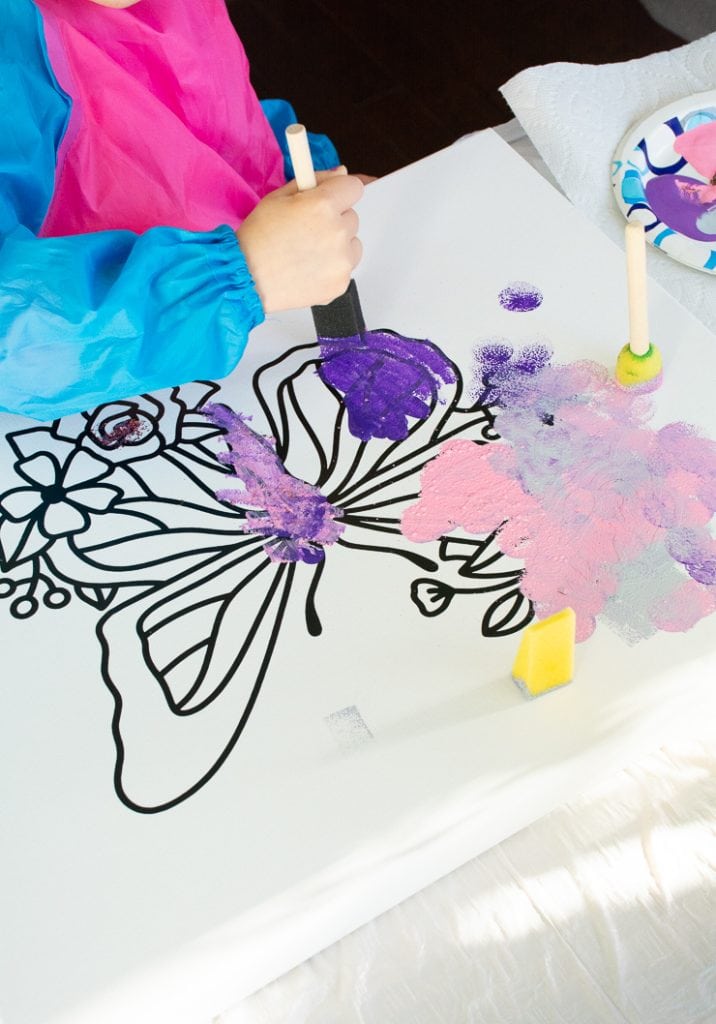
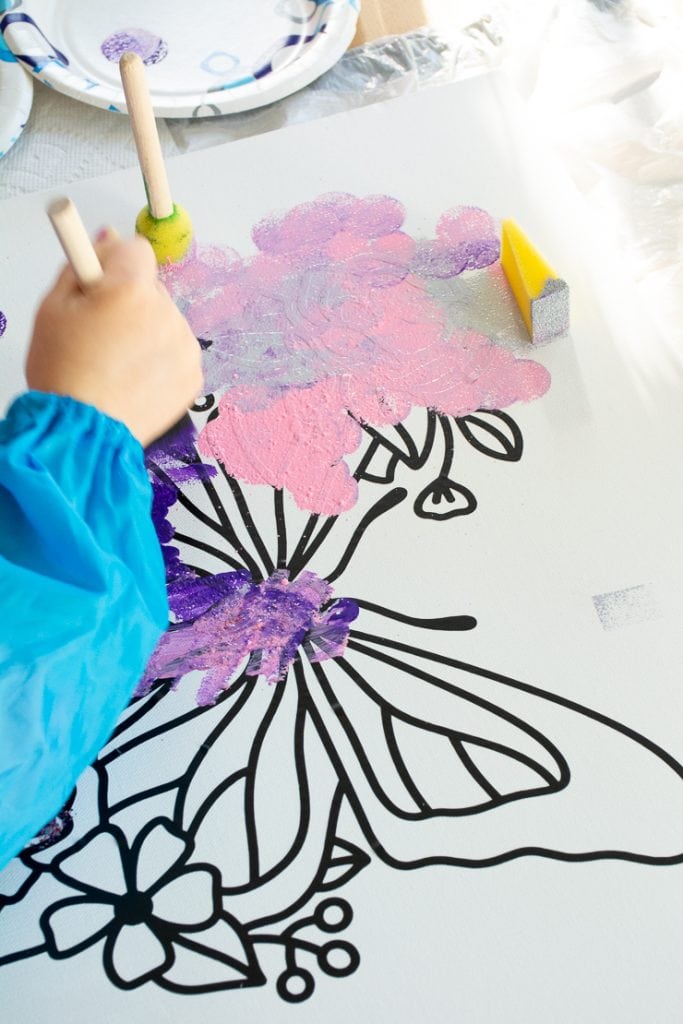
Step 3: Time to paint!
Next is the fun part! I had to remind R several times to dab her foam brush, not paint up and down like with a typical paint brush. As I mentioned earlier, the vinyl wasn’t super secure, so rough kid painting can pull it up.
I also wanted to teach her a bit about color mixing, and this was perfect for that. For the brushes, I gave her three sponges in different shapes and let her mix to her heart’s desire. I showed her how to dab the paint on, and she took right to it!


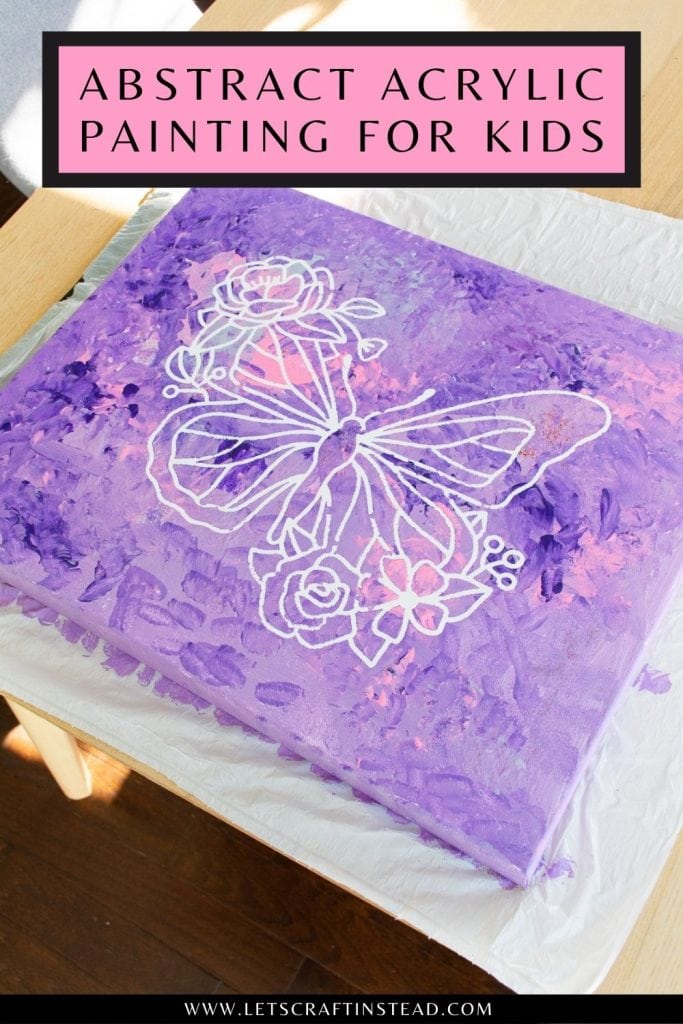
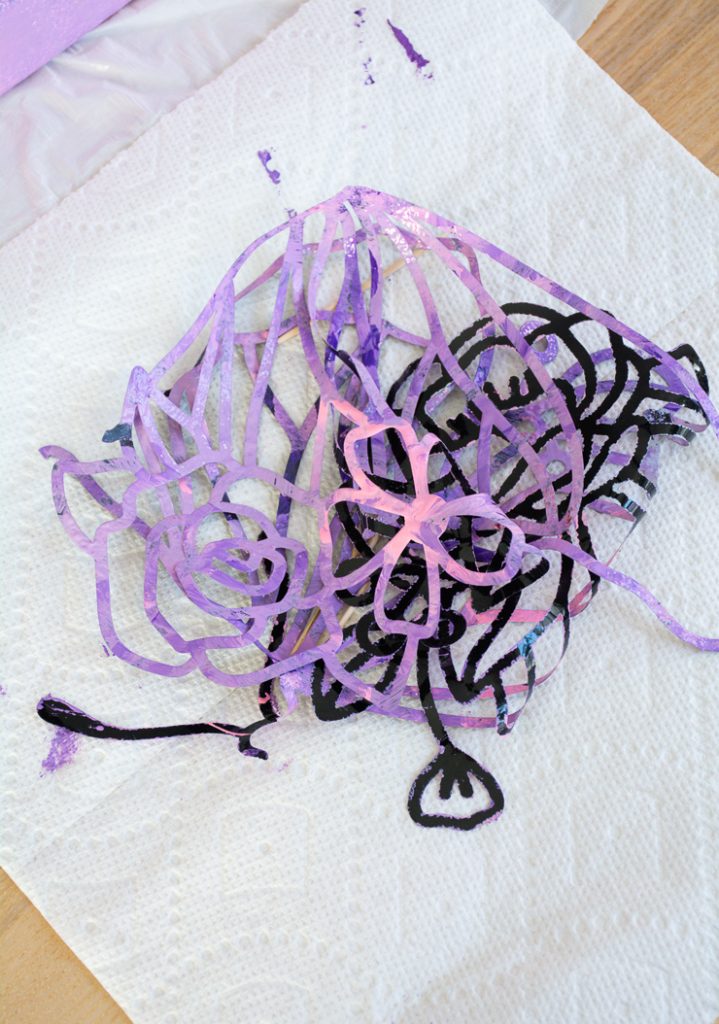
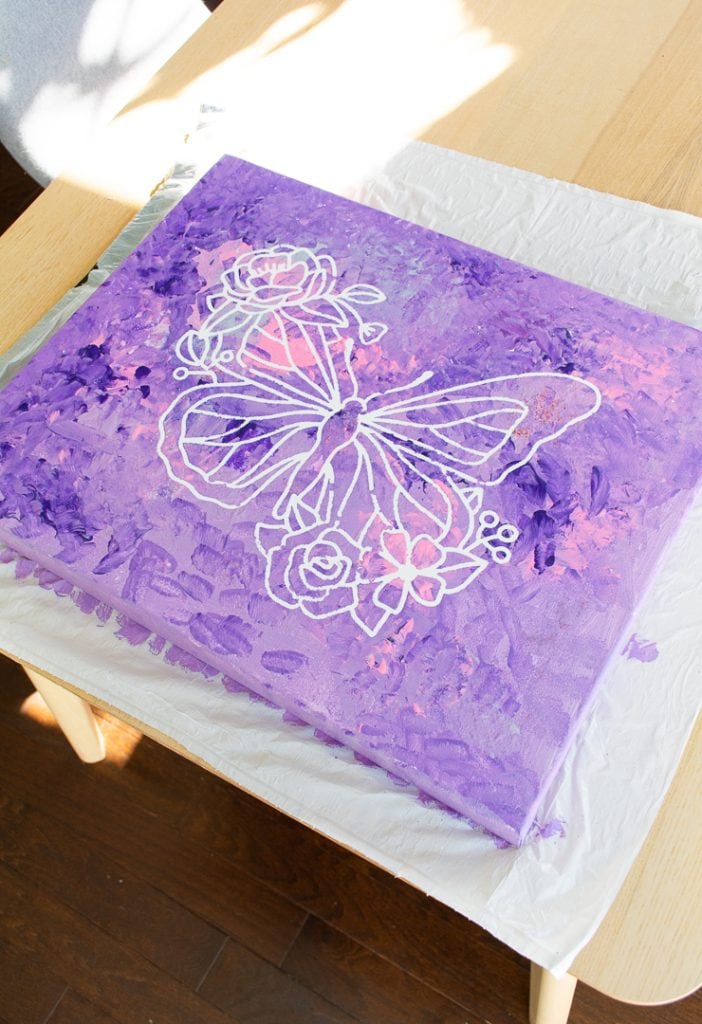
Step 4: Remove the decal and let the acrylic paint dry!
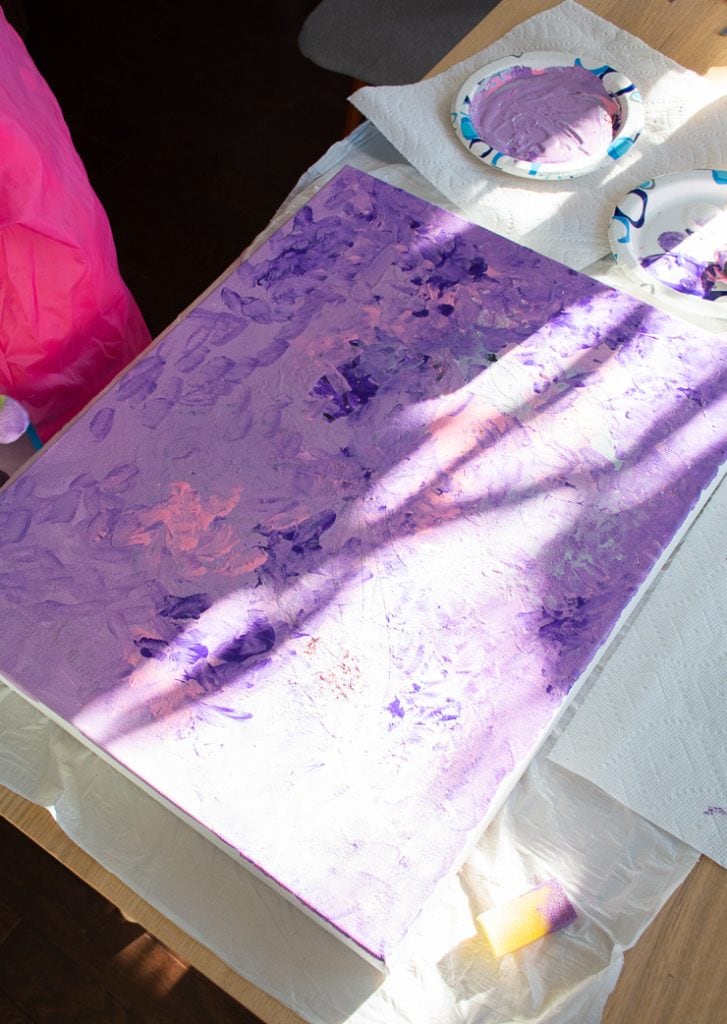
Immediately after we were done painting, I removed the decal. I like to remove painter’s tape when the paint is still wet to get super crisp lines, so I figured this would be similar. It removed really easily and with very little mess. I was able to remove it with one slow pull.
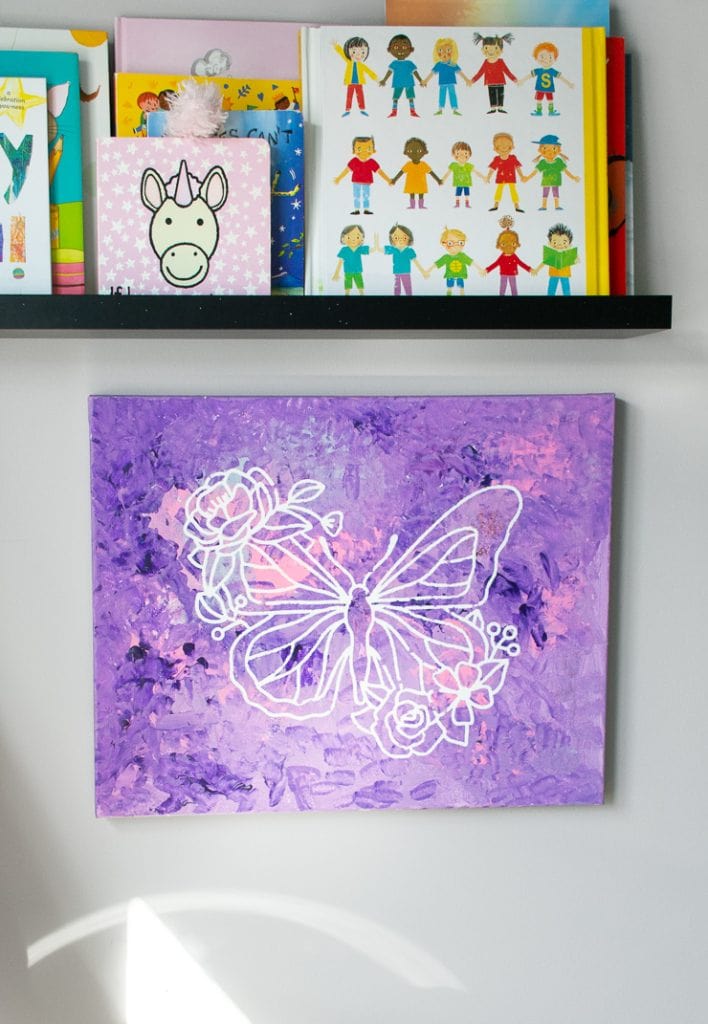
The lines between the blank white canvas and the painted areas aren’t 100% crisp, but I actually think it looks really good! The color blending actually turned out really lovely, and the butterfly really pops.
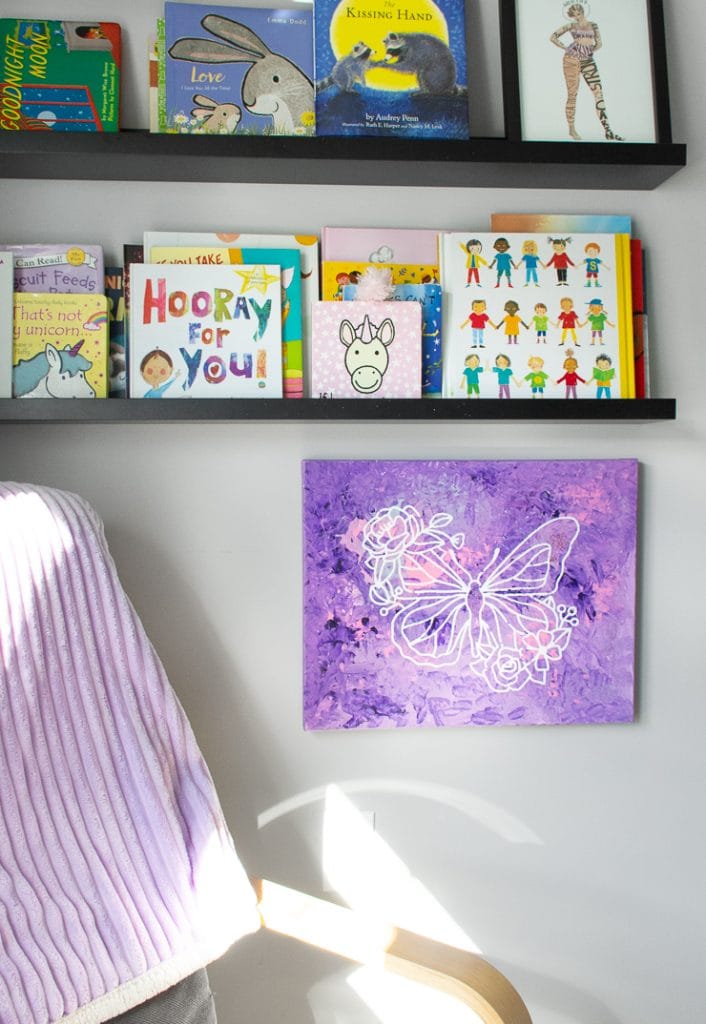
While R was straying away to the next activity, I used a foam brush to quickly dab paint around the sides of the canvas so it would look more finished. Then I kept it on the table under a ceiling fan to dry. It only took about 2 hours to dry, and R was SO happy to hang it!Pin


Pin my post about acrylic painting for kids!