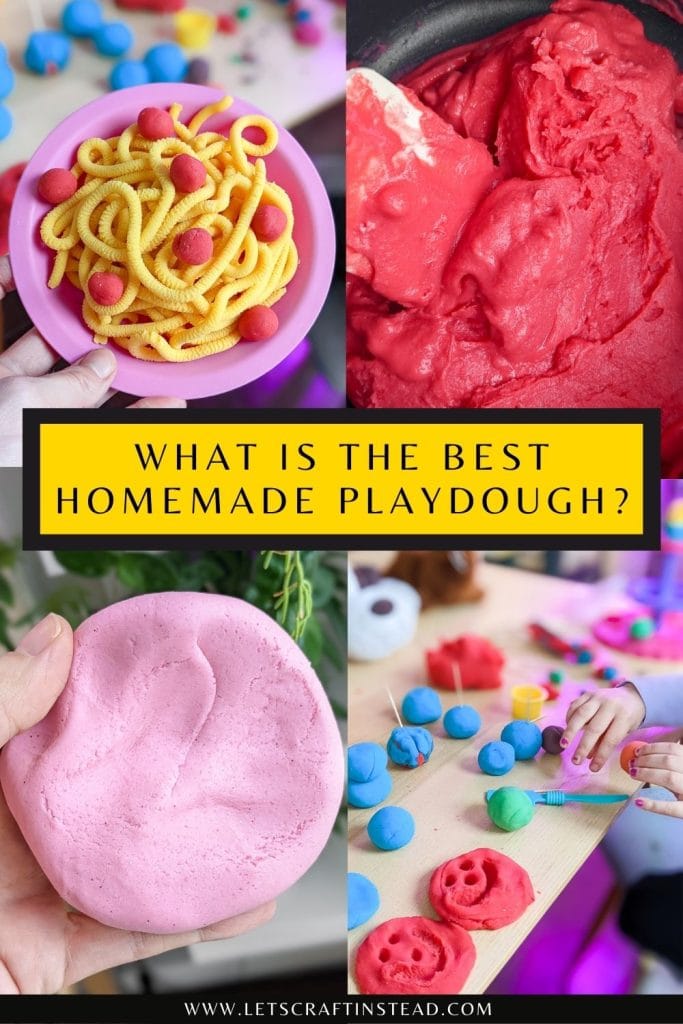
There are a bunch of different homemade playdough recipes out there, but which one is the best? We tried 5 different recipes, including both stovetop and no-cook options. Learn the pros and cons of each, as well as our favorite!
We tried 5 popular homemade playdough recipes…here’s what we found!
Time for another review post! I did a post a few months ago where R and I tested 5 different homemade slime recipes and chose our favorite. And that post has done super well! So I decided to do one for playdough, too.
Because I’ve done enough tutorials from websites over the years to know that they aren’t all good, and even slight differences in recipes can make a big difference. So we picked 5 popular homemade playdough recipes to try out. Check out our reviews of each one below!

RECIPE #1: I Heart Naptime’s Homemade Playdough
First we tried I Heart Naptime’s recipe. This website is lovely and has great activities and recipes, so her homemade playdough recipe was high on my list.
This method uses a stove to cook the playdough and allows you to make multiple colors at once by providing a method to mix coloring in after you make the plain dough. This is a time saver, and I definitely wanted to do more colors.
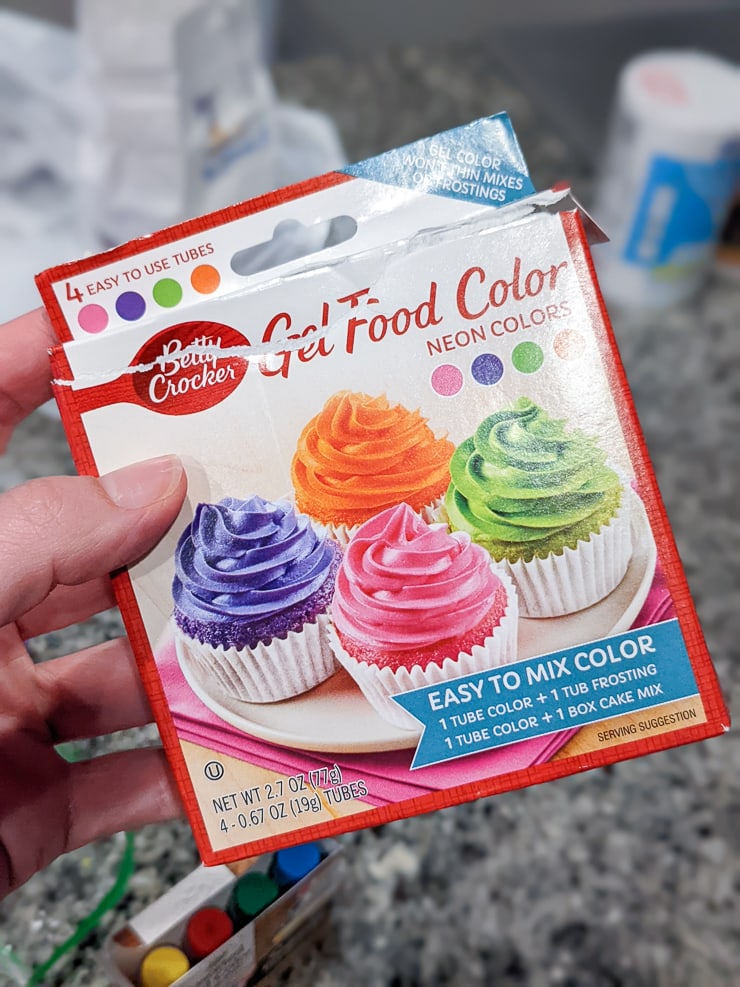
For the exact recipe and measurements, check out Jamielyn’s website. Here’s a peek at the process. We used Betty Crocker Gel Food Coloring because she recommended that for more intense colors. (Plus I liked that these came premixed in non-primary colors.)


The verdict on this playdough
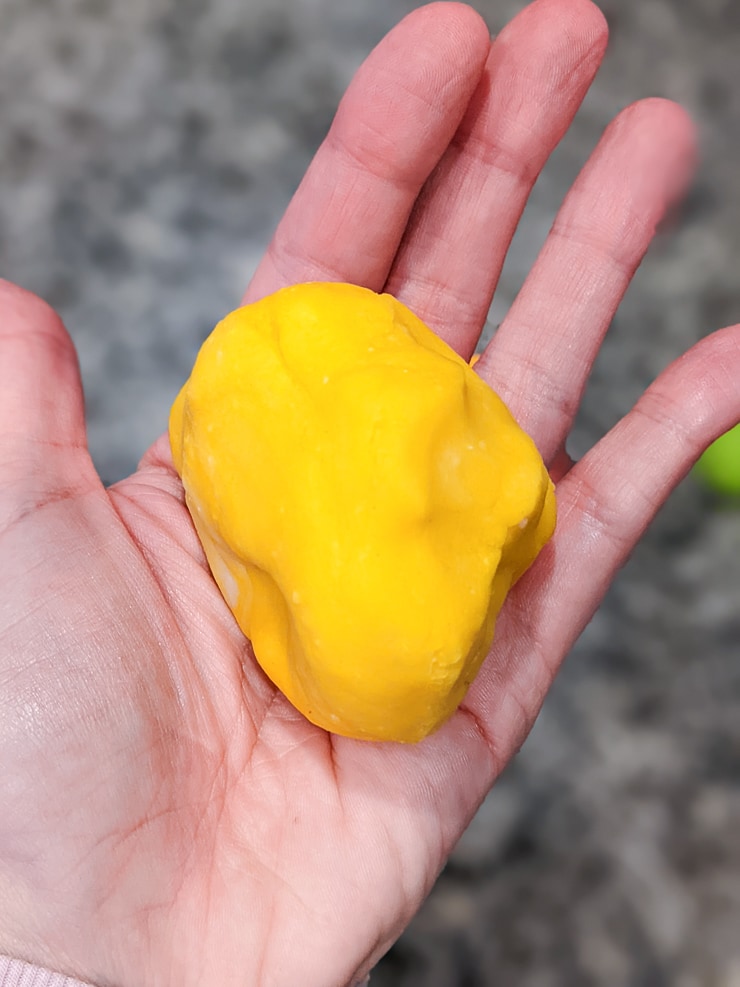
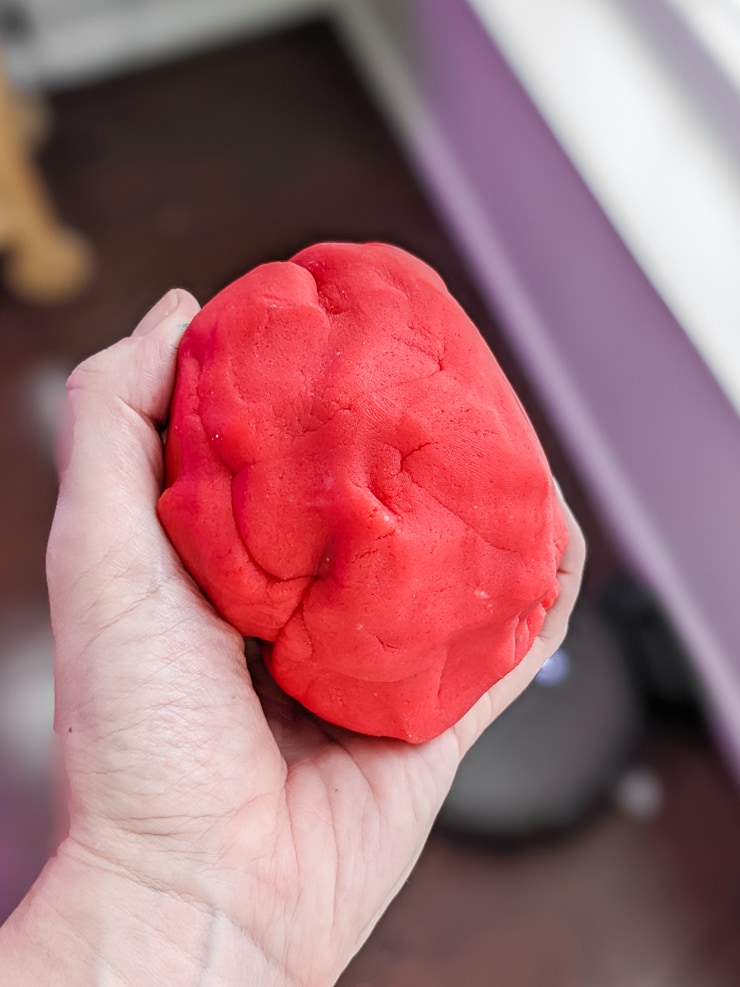
Great recipe! Here’s what I liked about it—her recipe, if you follow it exactly, gives you the measurements necessary to make one big batch of plain playdough. Then, she provides a method to mix in colors individually.
The mixing individually method wasn’t for us, though. My daughter was too young to help, and she just kept ripping the bags open. If you have older kids who want to mix and mash, this will probably work better for you.
I also found it hard to get super vibrant colors, even with gel food coloring, when mixing the colors after cooking the plain dough. Once I’d mixed everything myself, R had a great time playing with it, though!

Want more kid activities? Check out my Easy Acrylic Painting for Kids tutorial, my review of a Colorable Cardboard Playhouse Review, and my tutorial for How to Use Air Dry Clay!
RECIPE #2: The Best Playdough Recipe by KidActivities.com
KidsActivities.com also has a nice playdough recipe. This is actually the same as the recipe R’s school uses for their monthly playdough club. And if you’re looking for a recipe that doesn’t use a stovetop, this is it.
Well, kind of. That’s because this one does require you to boil water, so you can do that either in a tea kettle on the stove or on an electric boiler. Or, honestly, you could probably just get the water super hot in the microwave. But I haven’t tried that method.
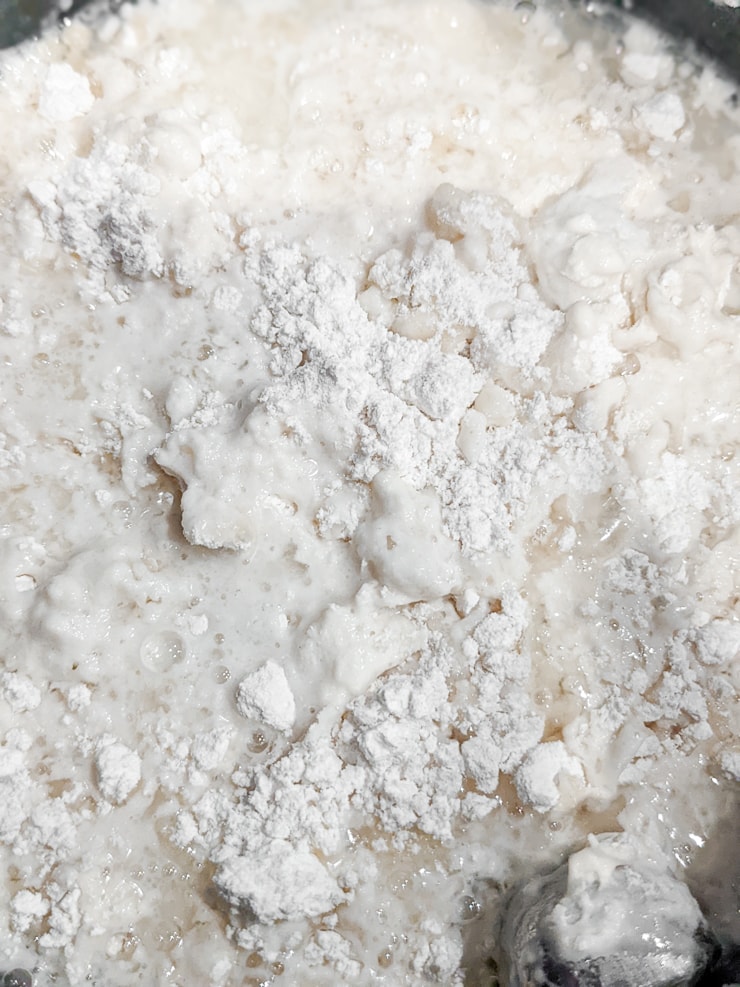
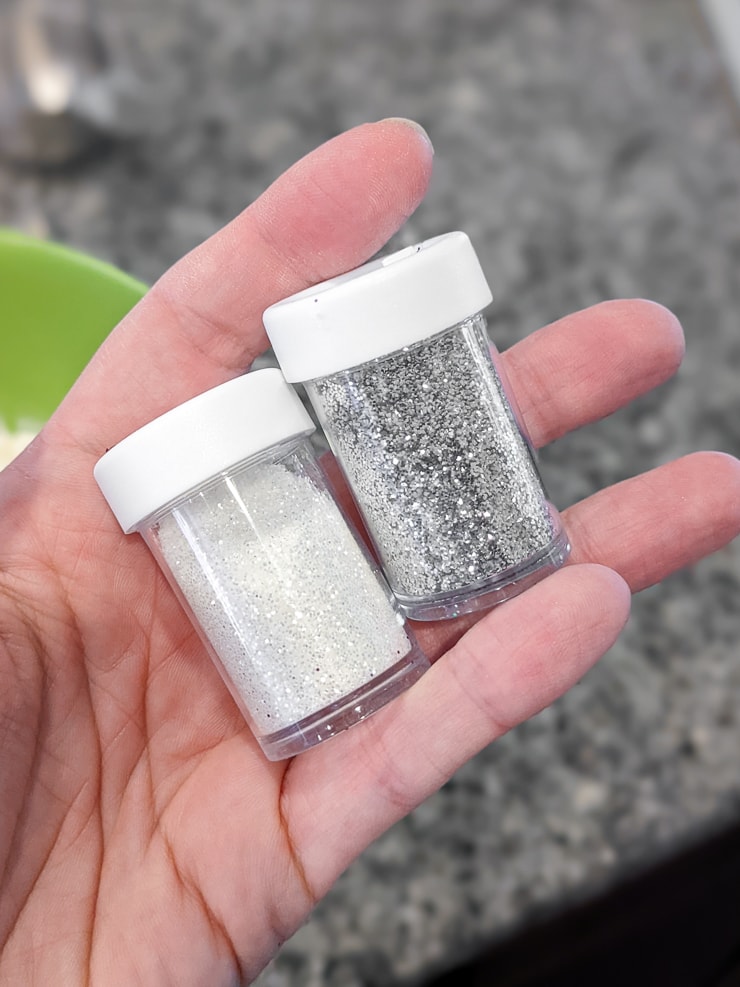
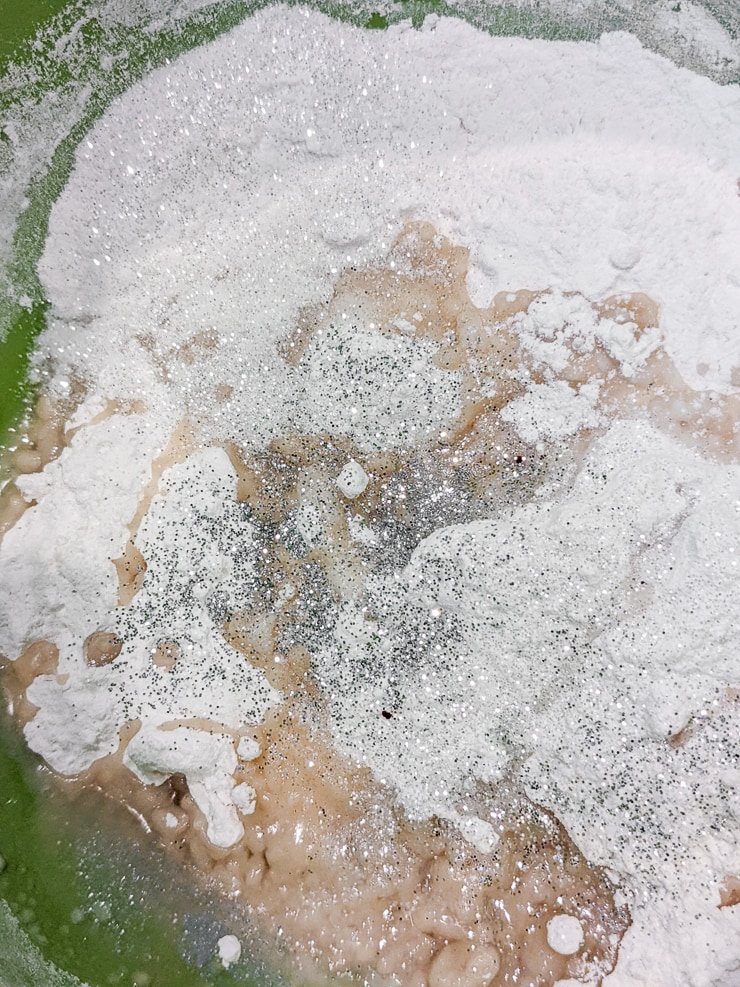
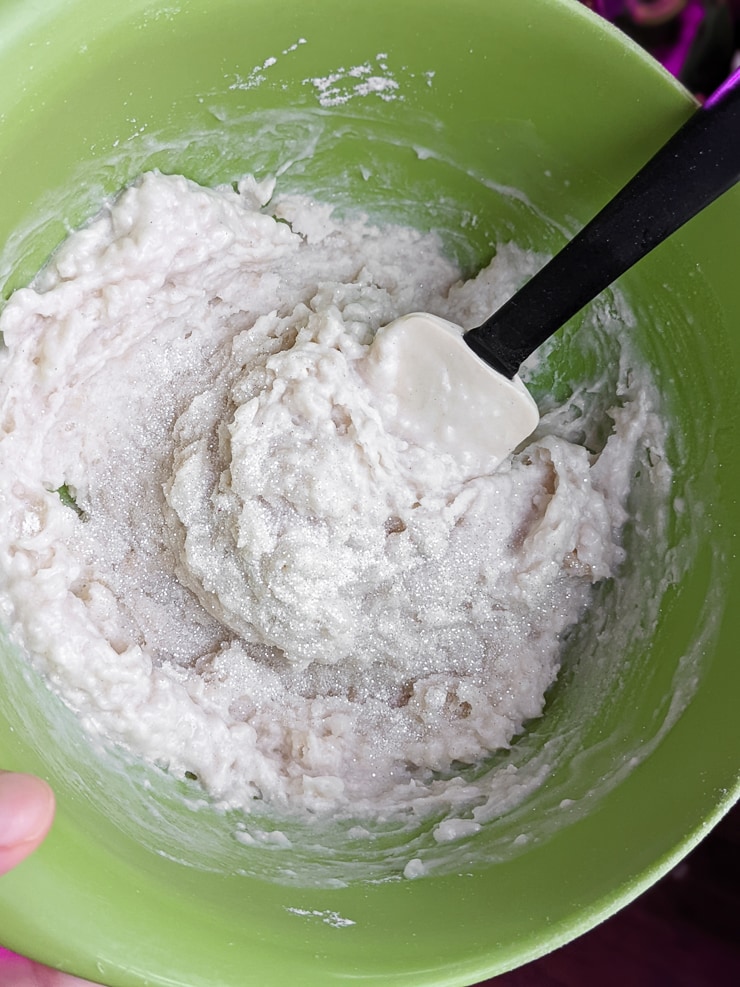
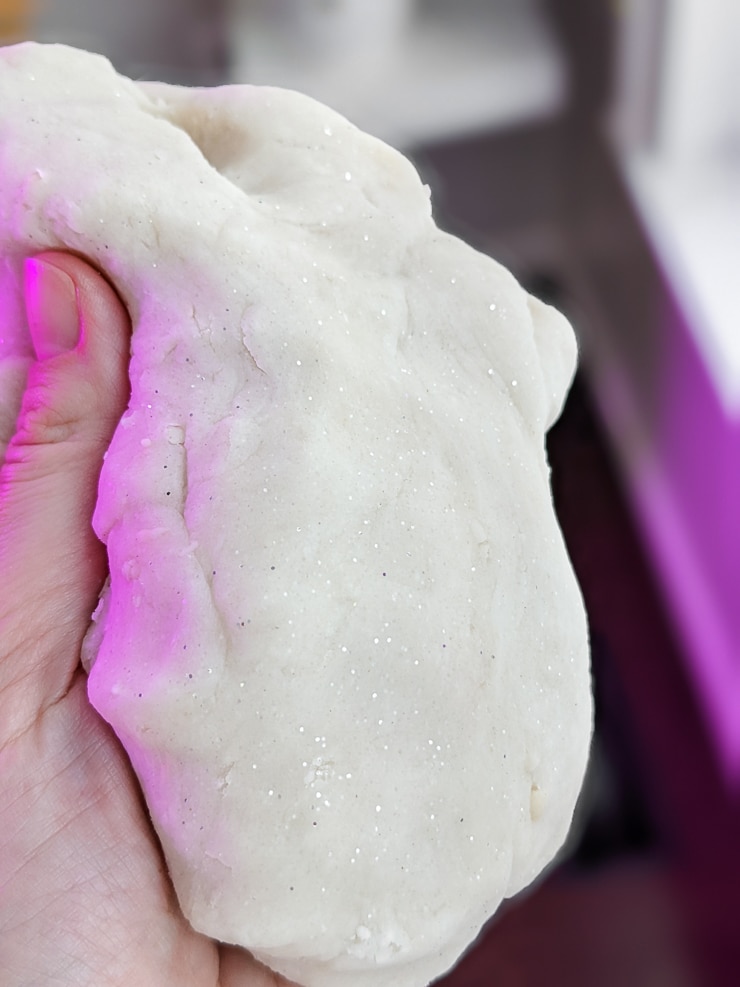
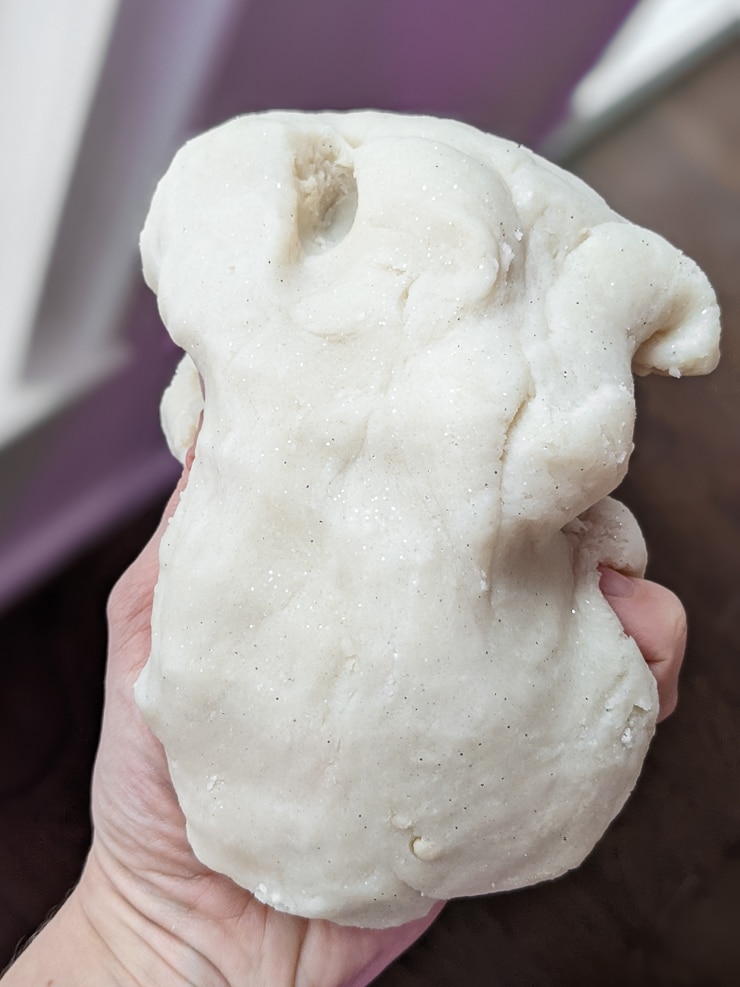
We didn’t use any colors for this recipe because we actually made this homemade playdough for R’s school, and we were assigned “snow” playdough. That meant we kept it white and added white and silver glitter to it. It’s really pretty and doesn’t seem to shed too much glitter, either!


The verdict on this playdough
So this is probably the most reproduced playdough recipe in existence. I’m pretty sure this is the same one we made when I was little. And there’s a good reason for that—it works great!
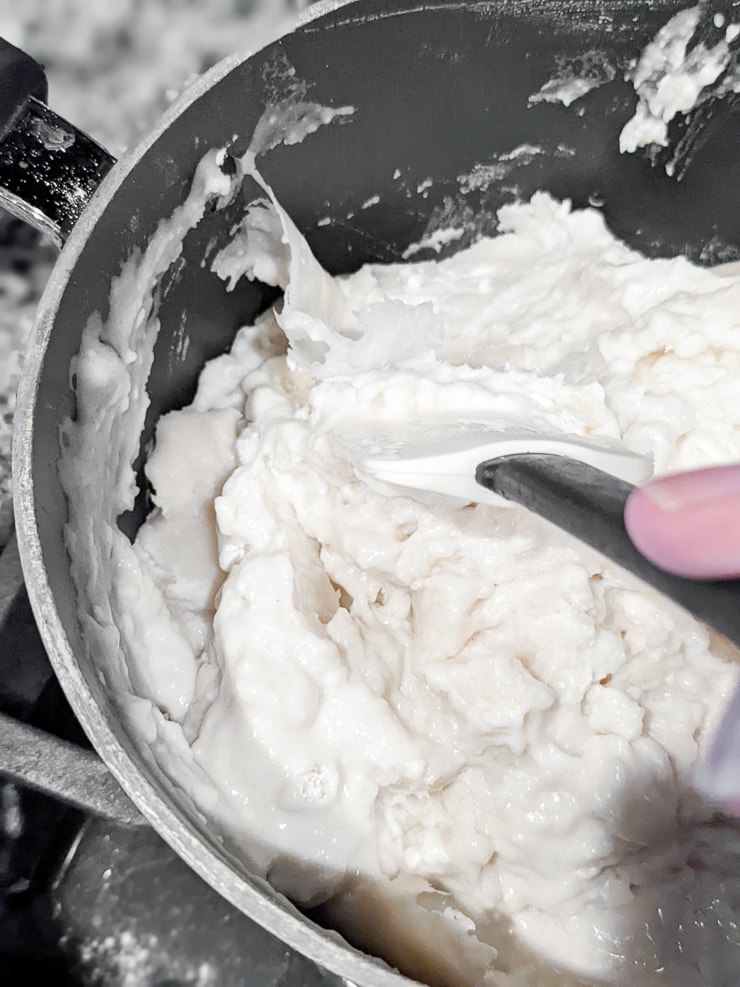
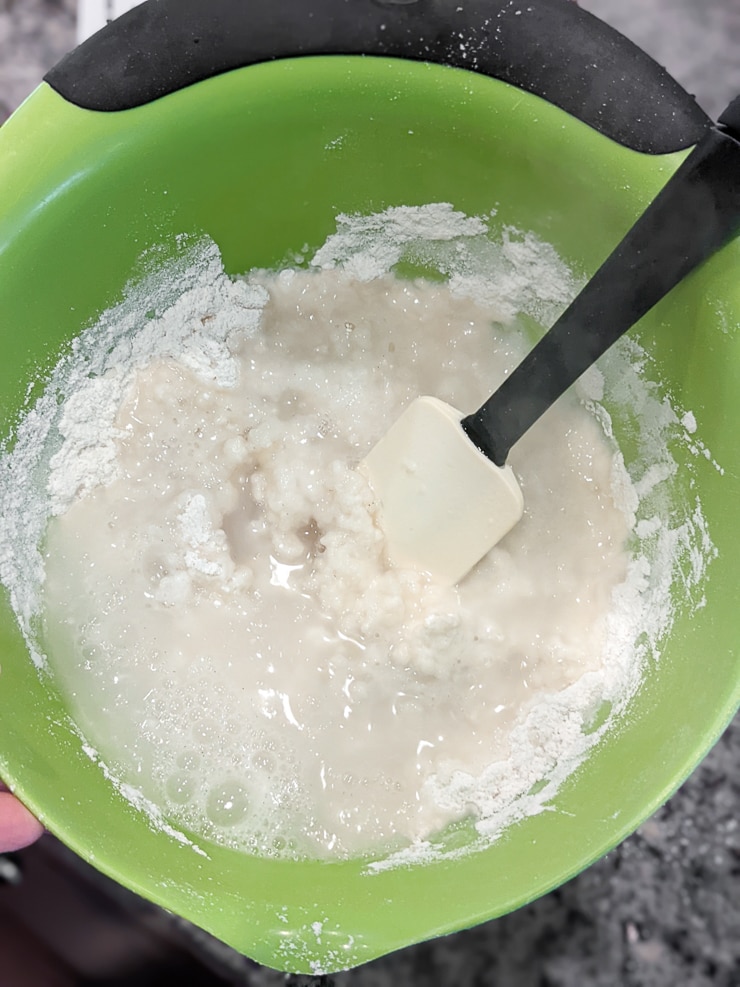
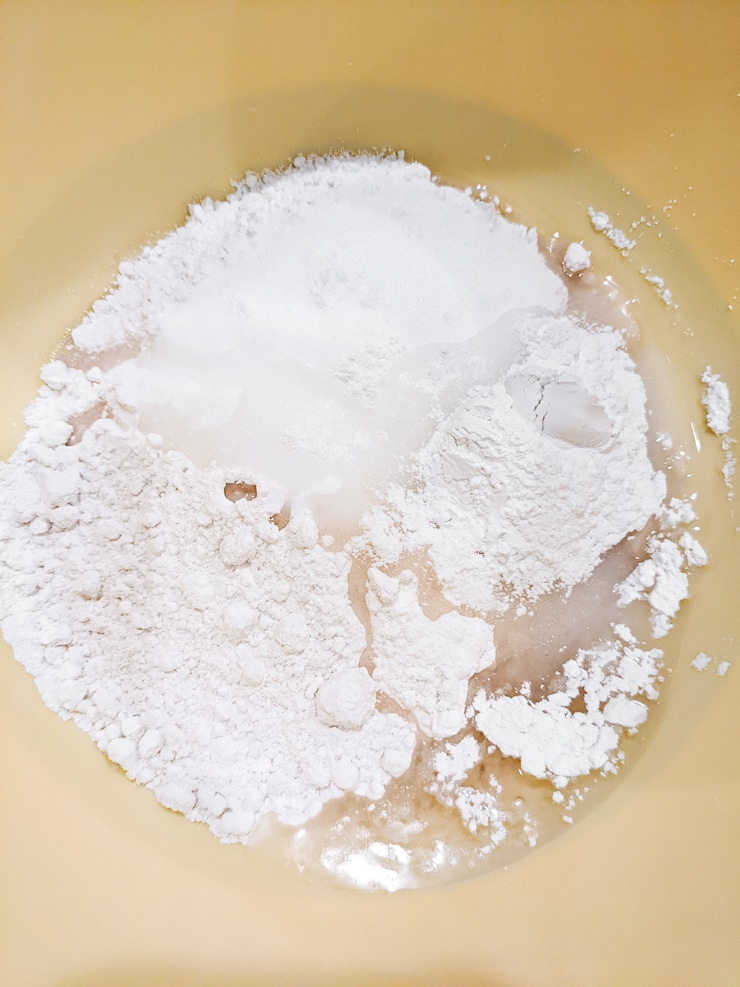
I was a bit worried about how well the dough would mix without the stove. Would it be lumpy and gross since I was mixing by hand with boiling water in a bowl? No, it mixed great.
And while I wouldn’t recommend having little ones nearby while you’re pouring boiling water in and stirring, the water did cool down surprisingly fast. I poured the water in, stirred a bit, and then let it sit for a few minutes.
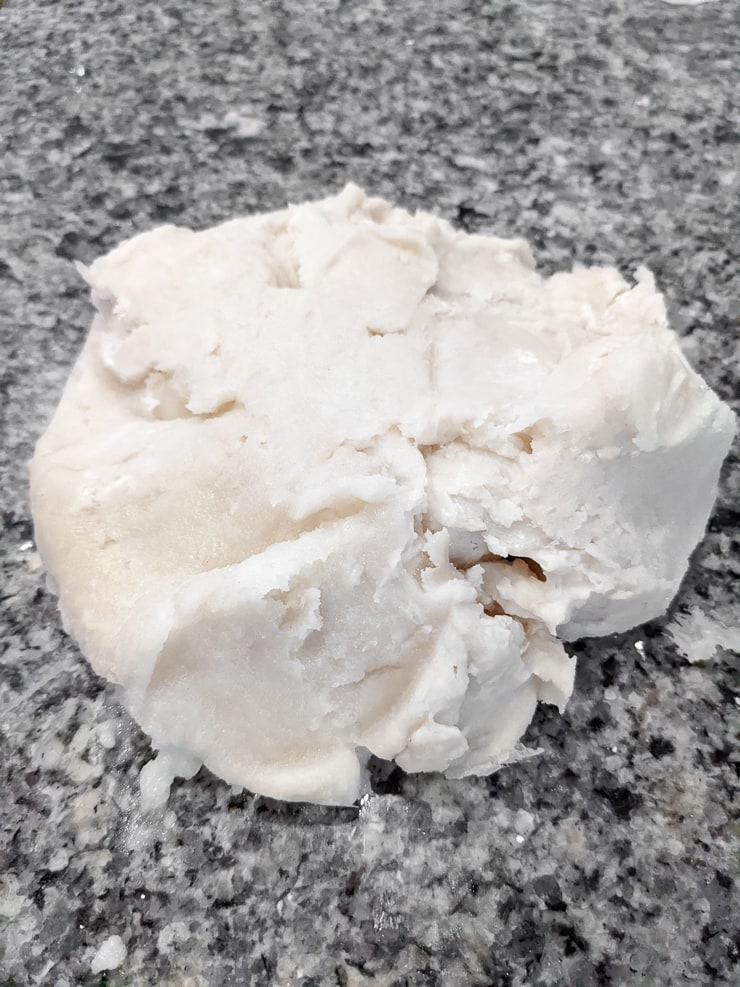
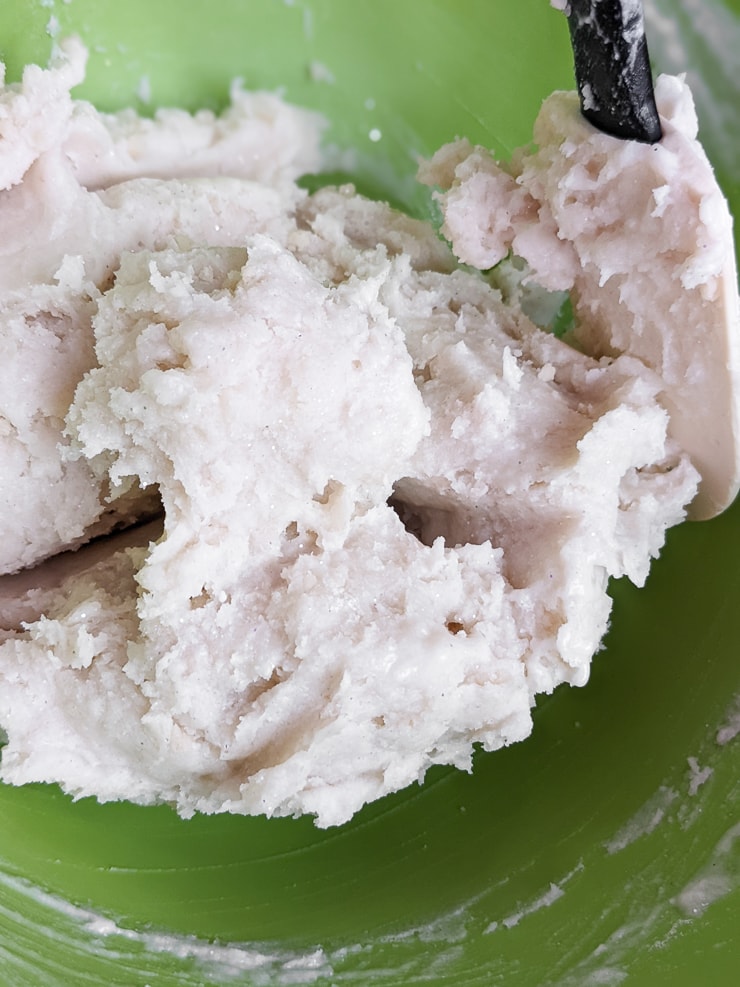
Then I took it out and it was just warm. I finished mixing it by kneading it on a clean countertop. And the consistency ended up being perfect! We didn’t play too much with this one since it is headed into school, but I imagine it holds up well since the school uses this recipe month after month.
A con of this recipe is that I can’t tell you how well the colors mix in. Since I didn’t have a great experience mixing in coloring to already-made dough, I’d recommend adding food coloring to the boiling water before you dump it in.


RECIPE #3: The Best Ideas for Kids homemade playdough recipe
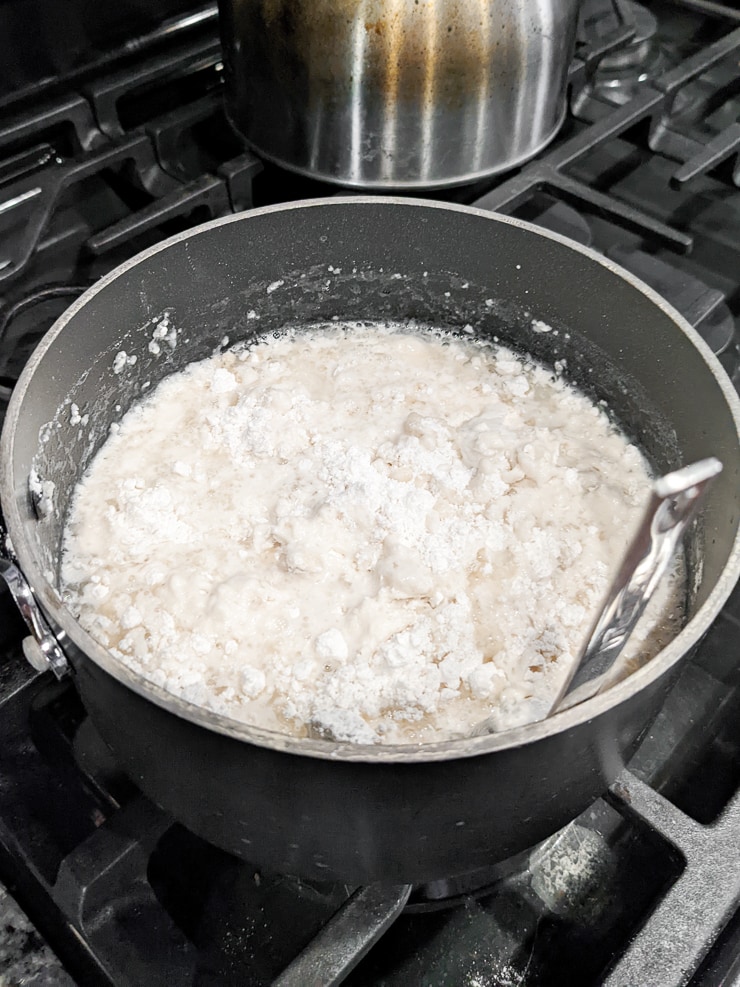
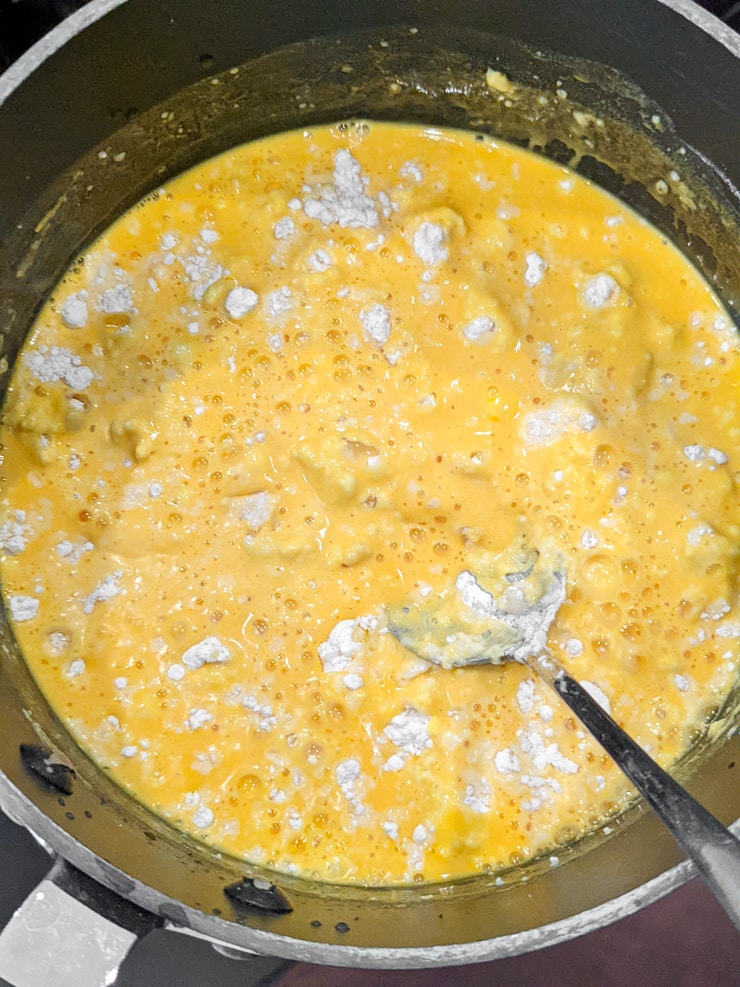
The third recipe we tried was by the website The Best Ideas for Kids, and you can check out the full recipe on their site here. This one I thought was going to be a disaster once I started mixing it, but it turned out to be amazing.
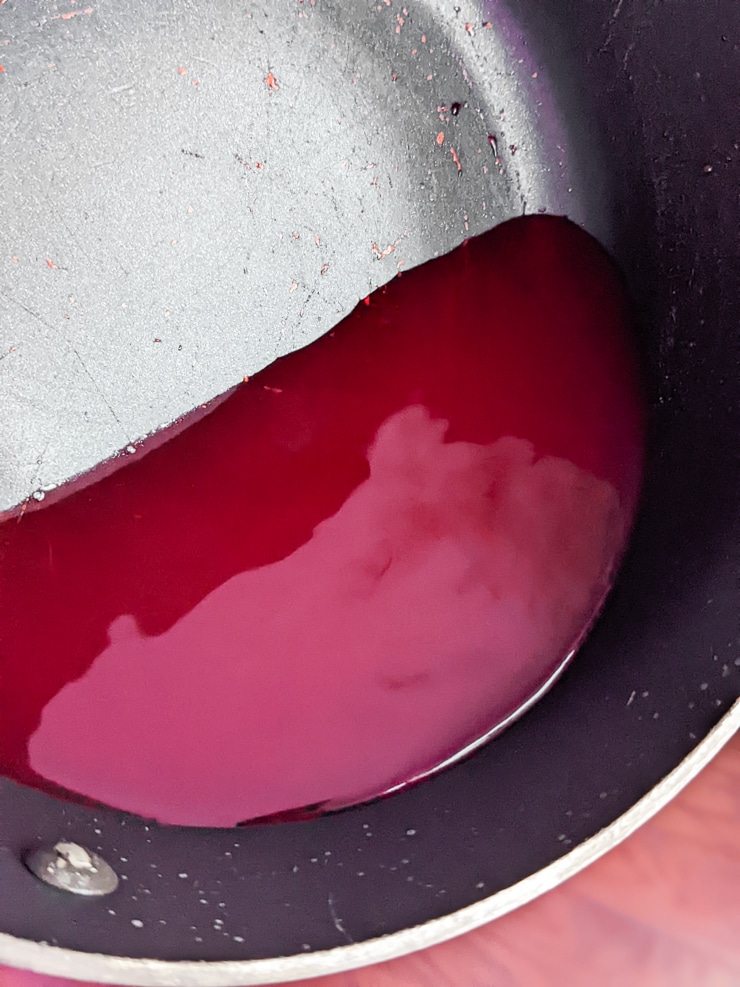
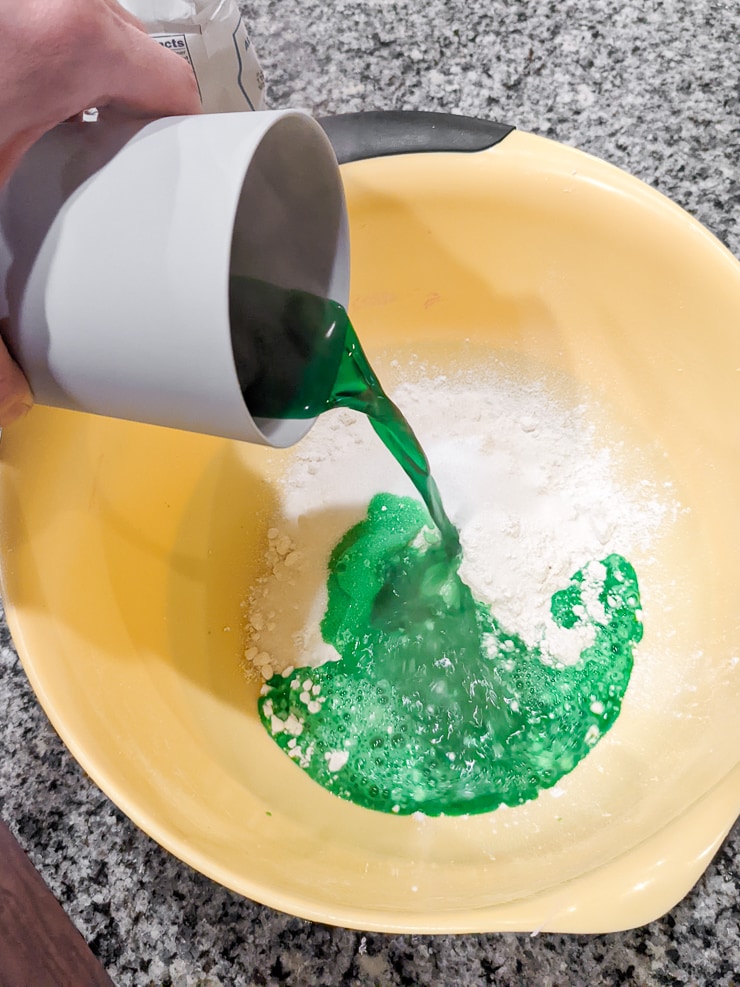
This one involves a slow simmer on the stove, so even though it is a bit more work and makes some more dishes…I think it makes a huge difference! It might look really soupy at first, but the slow simmer does the trick.
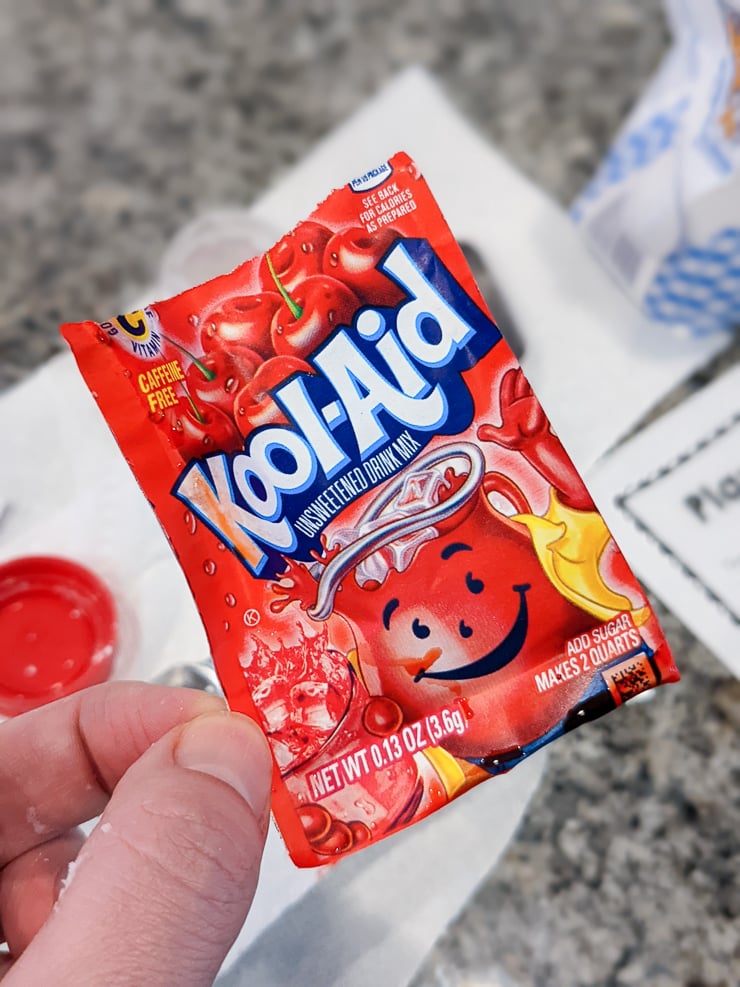
Also, we added both Kool-Aid and food coloring into the water mix to add both scents and gorgeous vivid colors. 100% recommend! They didn’t stain hands or the table at all, which surprised me.


The verdict on this playdough
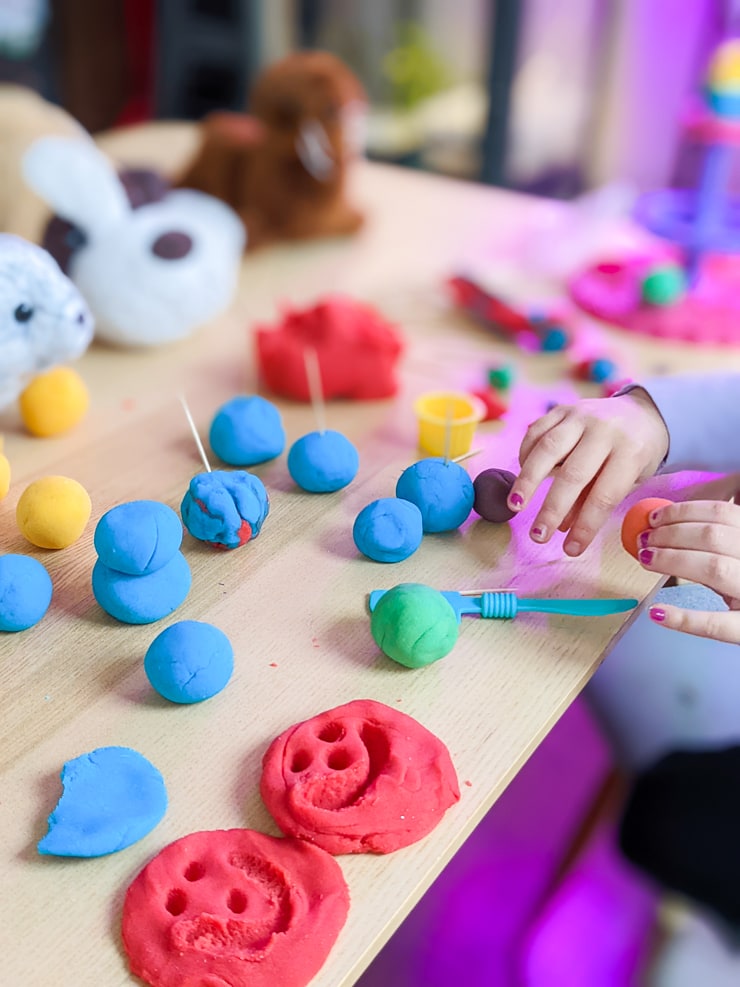
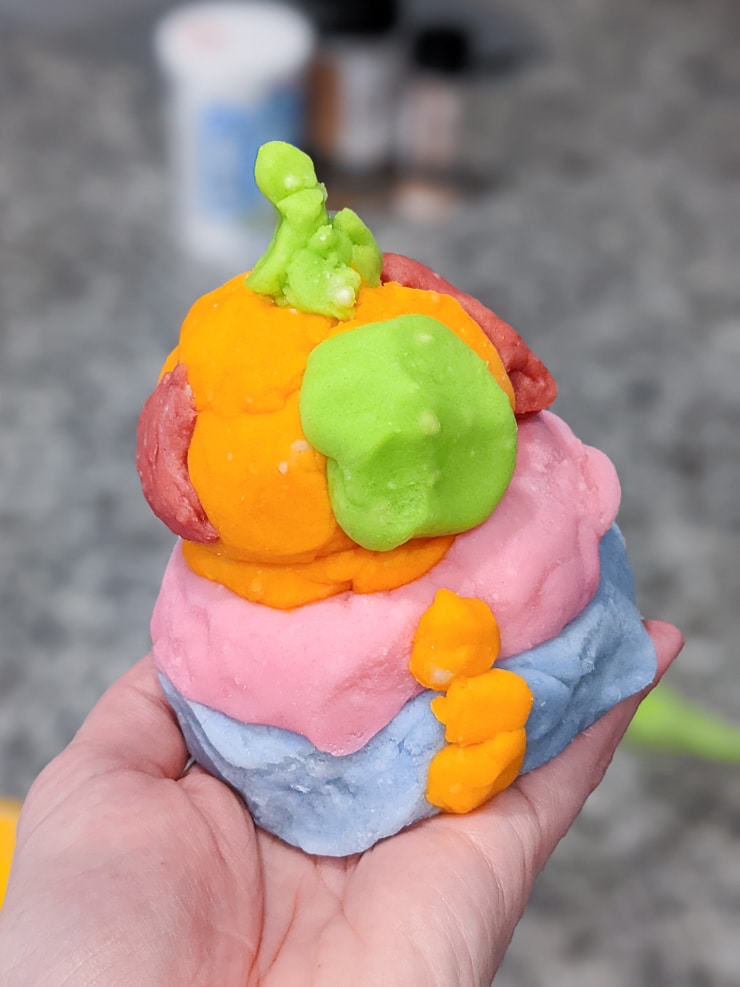
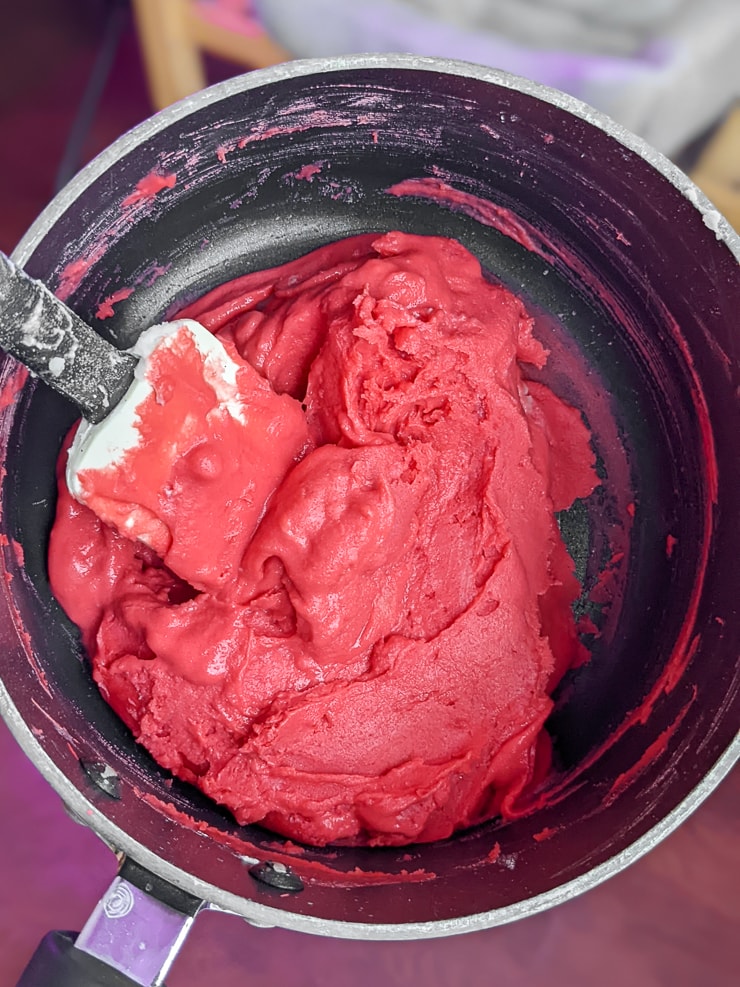
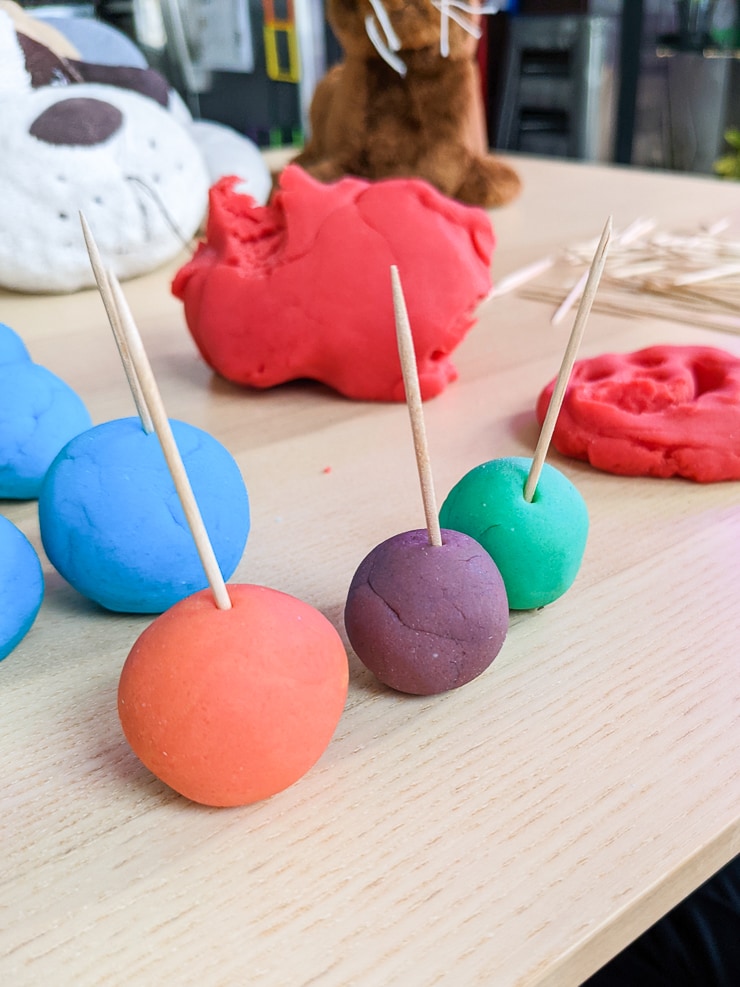
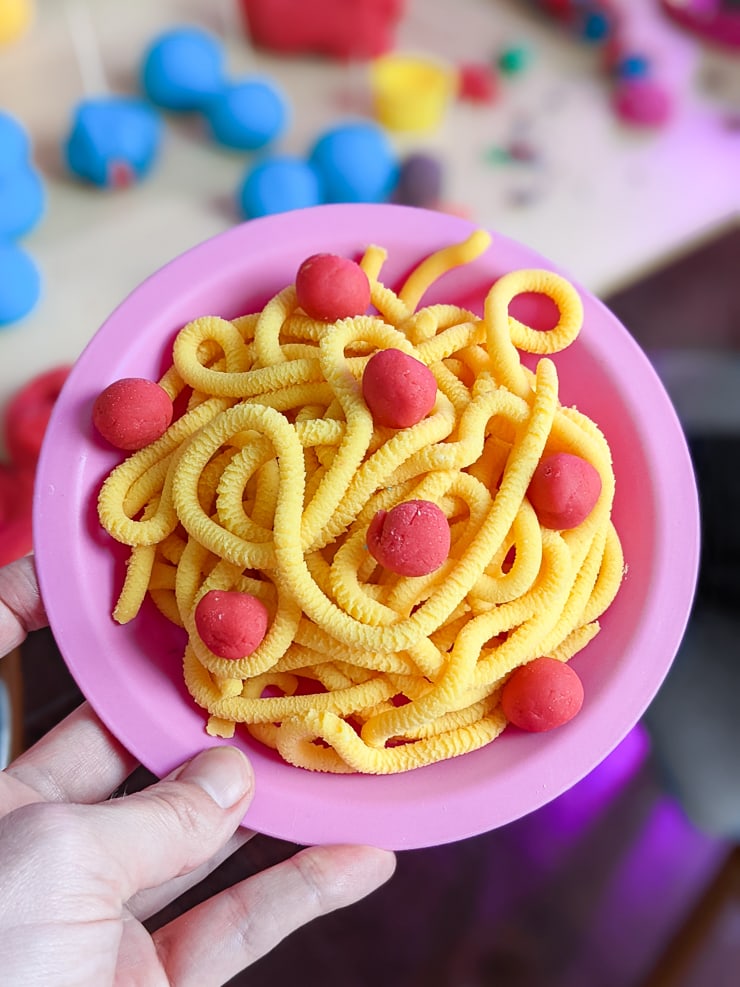
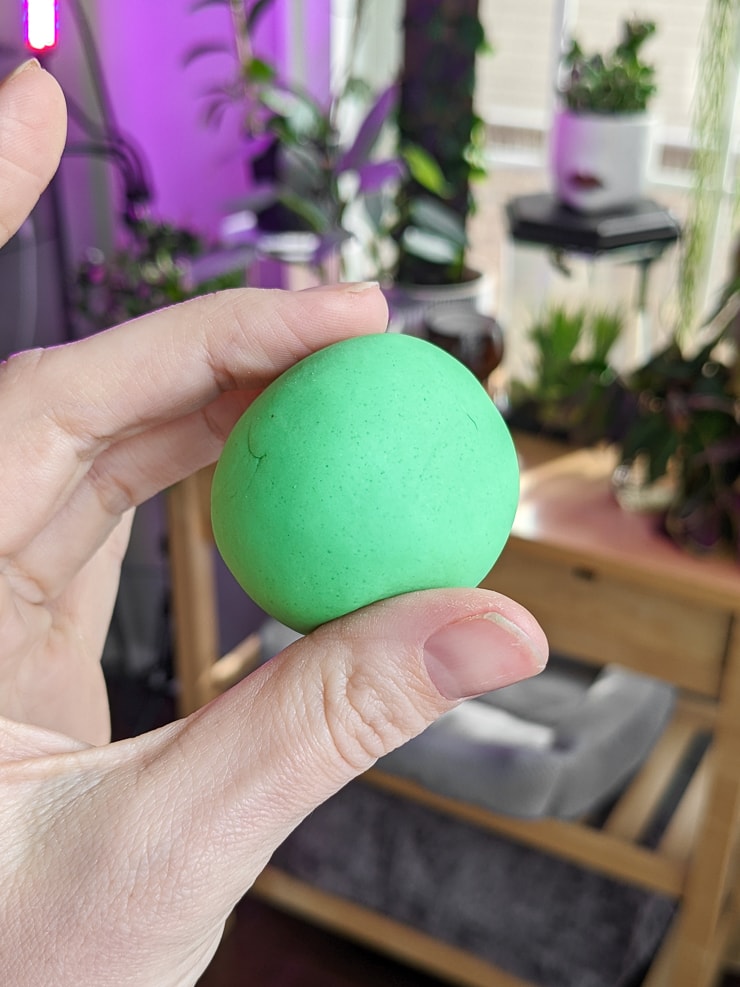
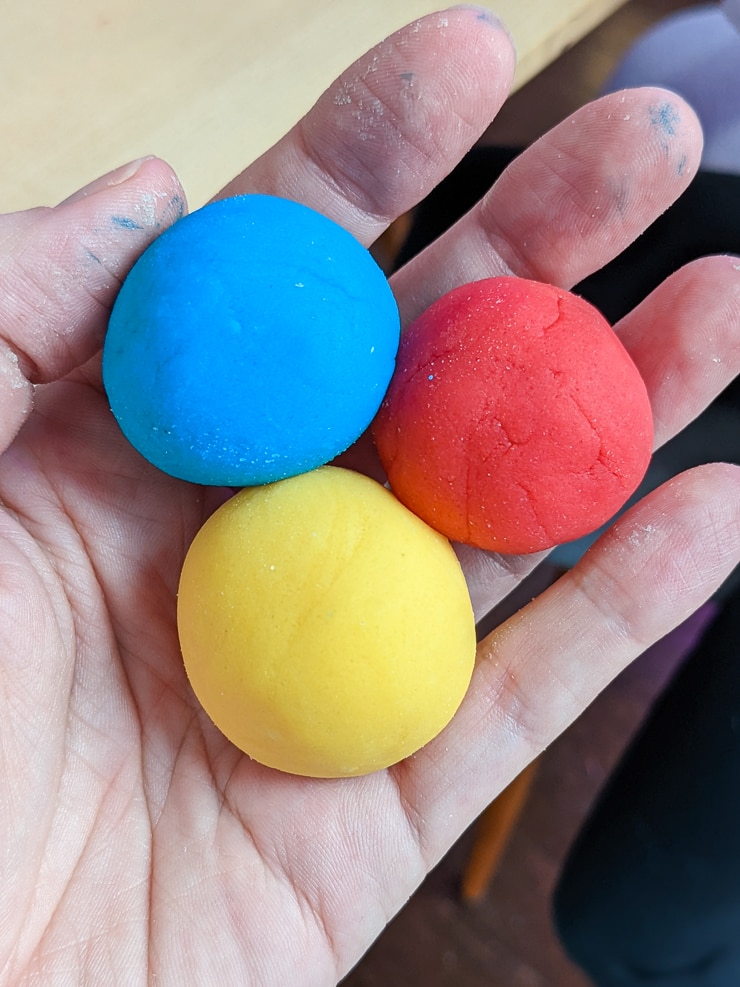
Umm…we LOVED it! The slow simmer made really high-quality playdough, and the consistency after cooking was really lovely. The only negative is that you can make only one color at once, though I was able to get 3 pots going and make three different colors pretty quickly.
As you can see in these pics, the colors also mixed really well, even after the playdough had cool! We mixed to make purple, orange, and green. It was also a soft-enough consistency to run it through a little noodle-maker we have from an older playdough set.


RECIPE #4: Just a Taste’s easy homemade no-cook playdough
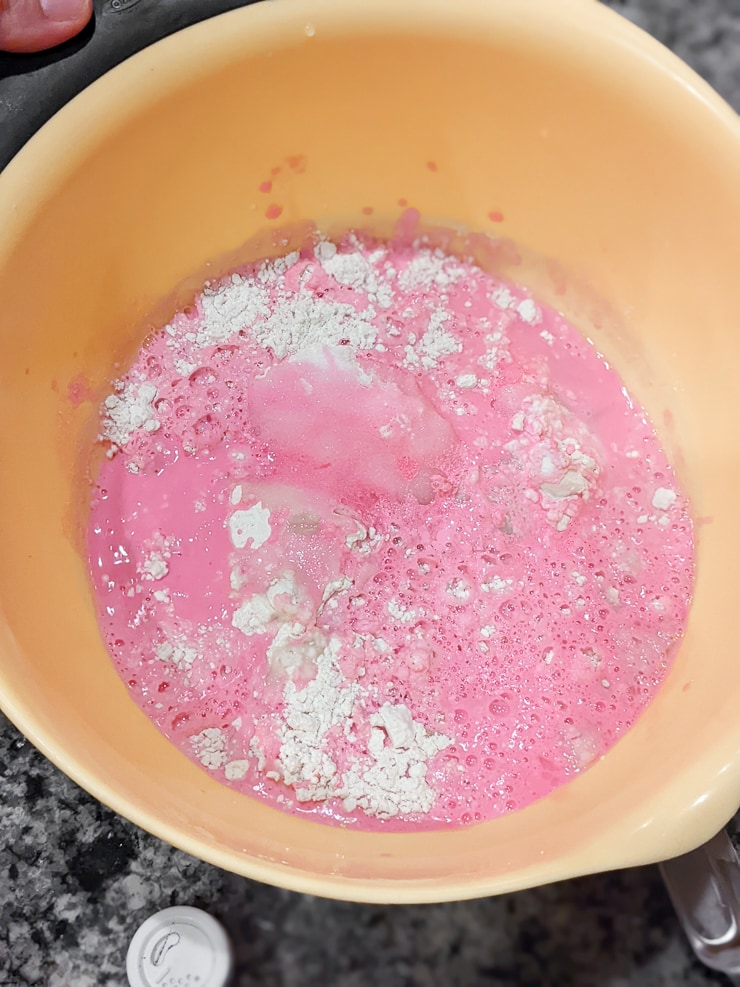
This awesome homemade playdough from Just a Taste also has a no-cook method and is really similar to the previous one. But the measurements for the ingredients are different, and you can really tell with the final product!
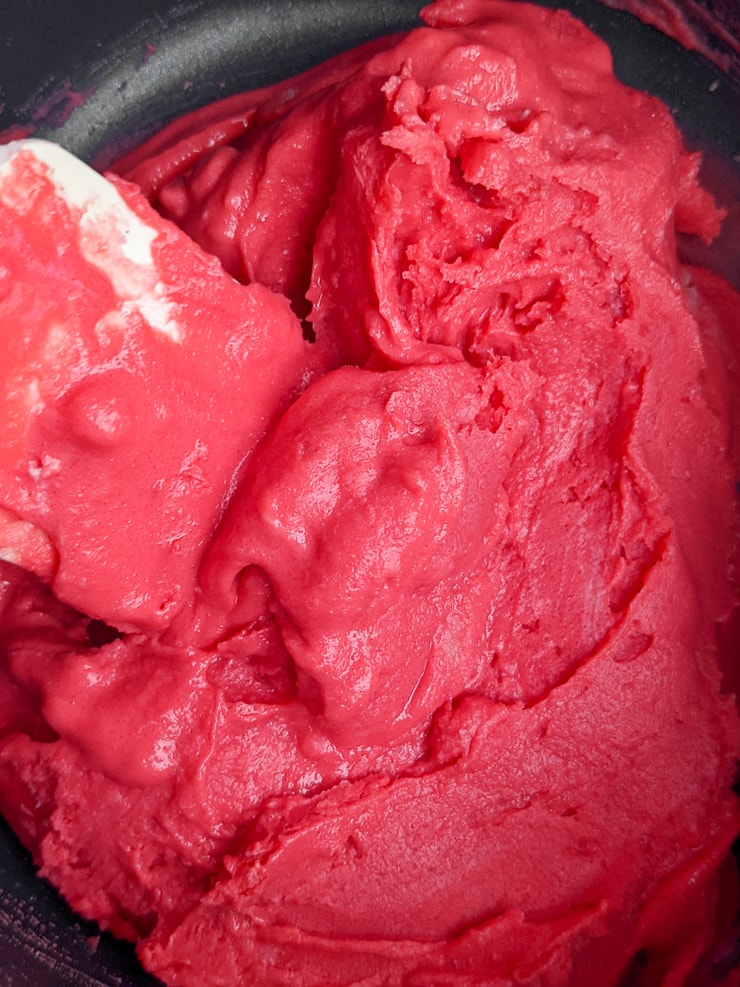
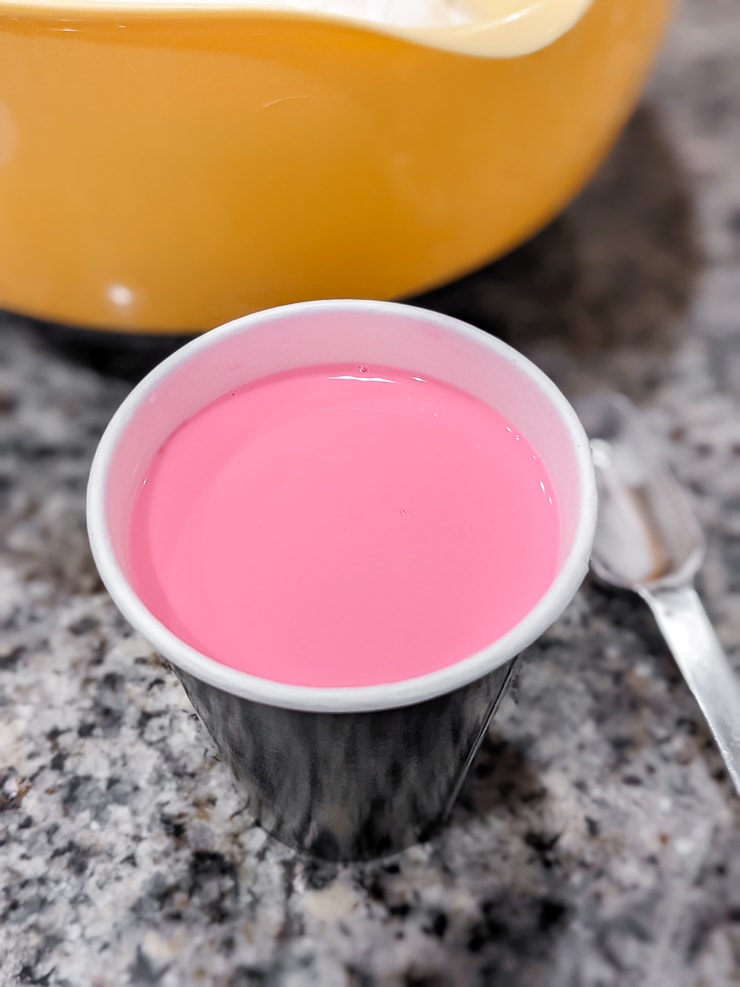
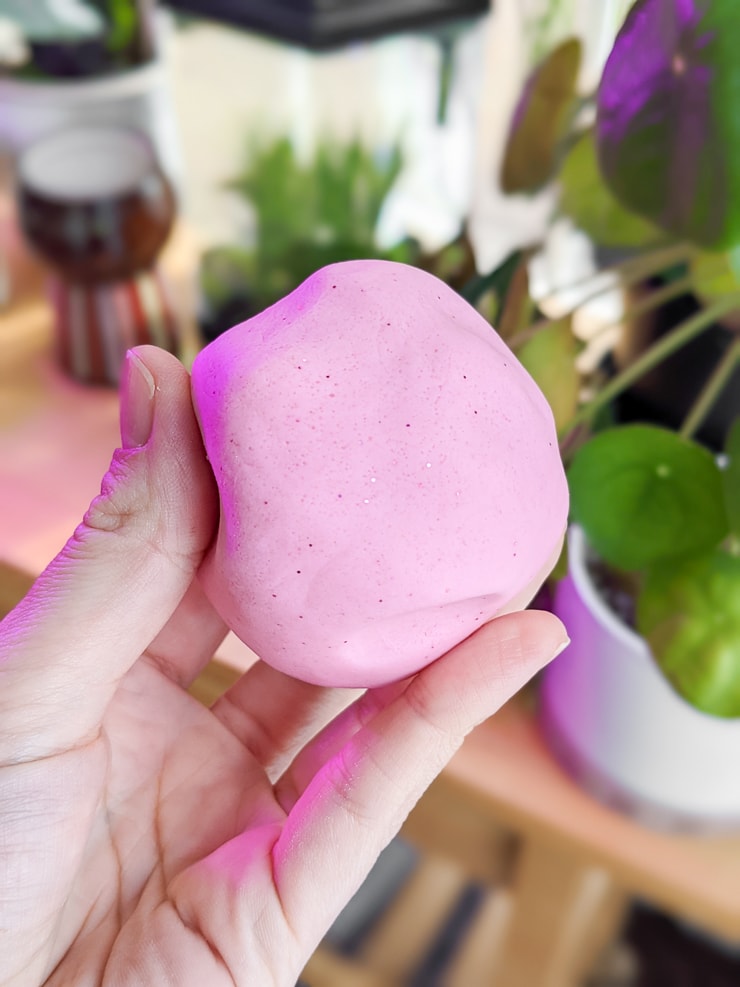
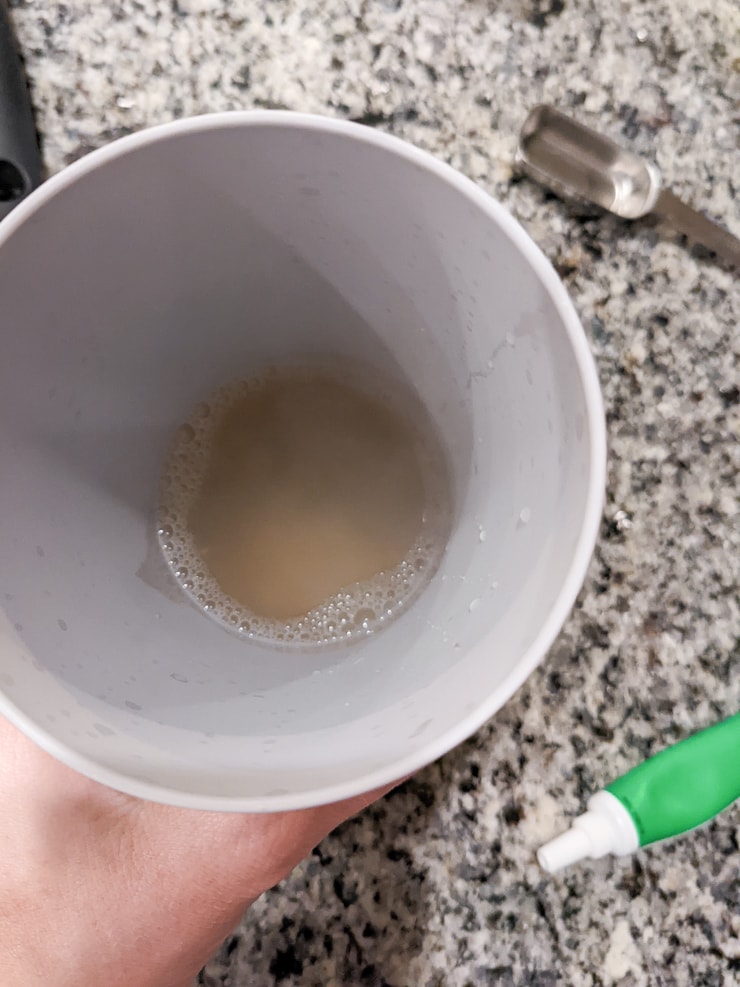
As a little experiment, I decided to try a new coloring method for this one. Since it involved pouring boiling water into the mixture, I first put that water into a paper cup. Then I squirted in some acrylic paint and topped it off with a bit of pink gel dye.
The gave the playdough a really gorgeous color. Though you definitely don’t want to do this if your kid is young enough to sneak nibbles of playdough. (Don’t look at me like that. You know you probably did it when you were little, too.)


The verdict on this playdough
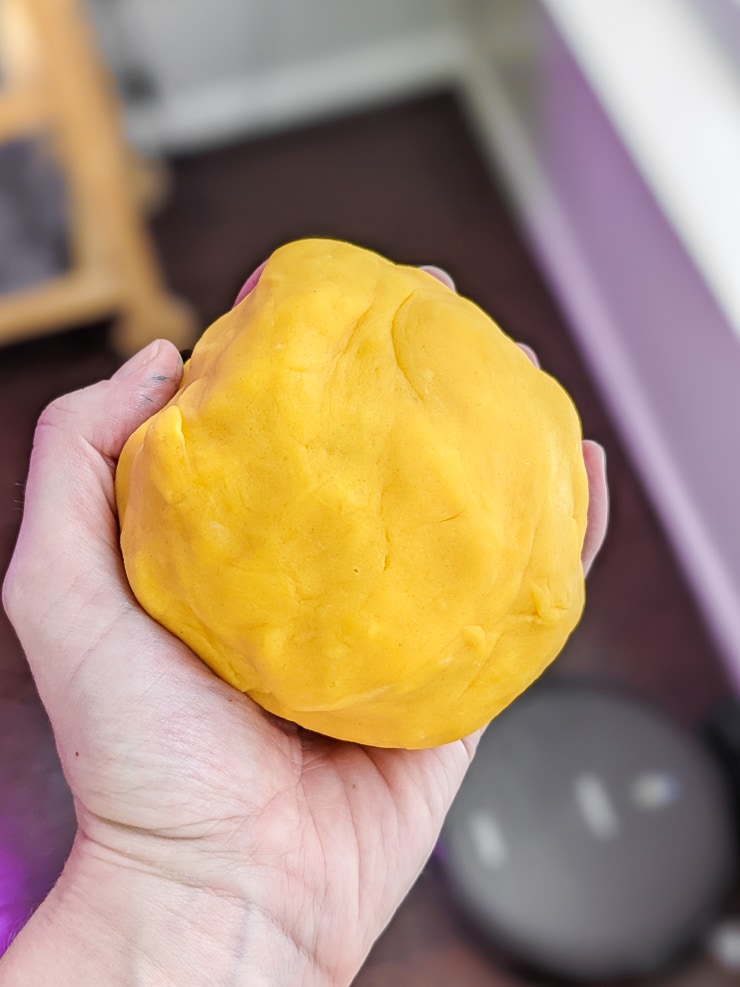
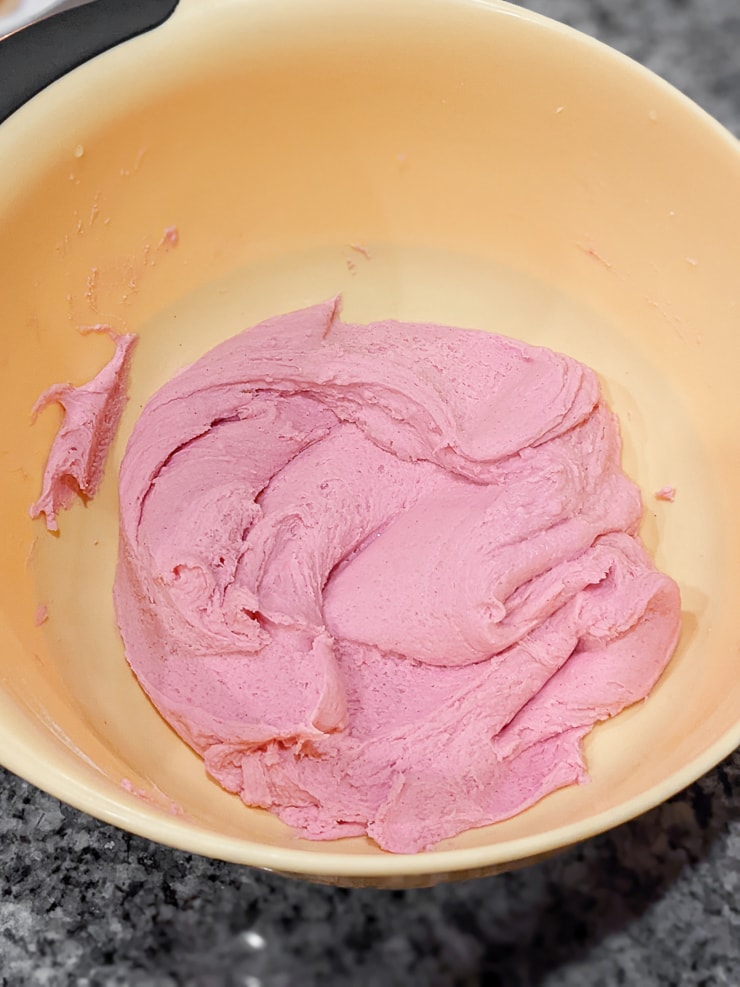
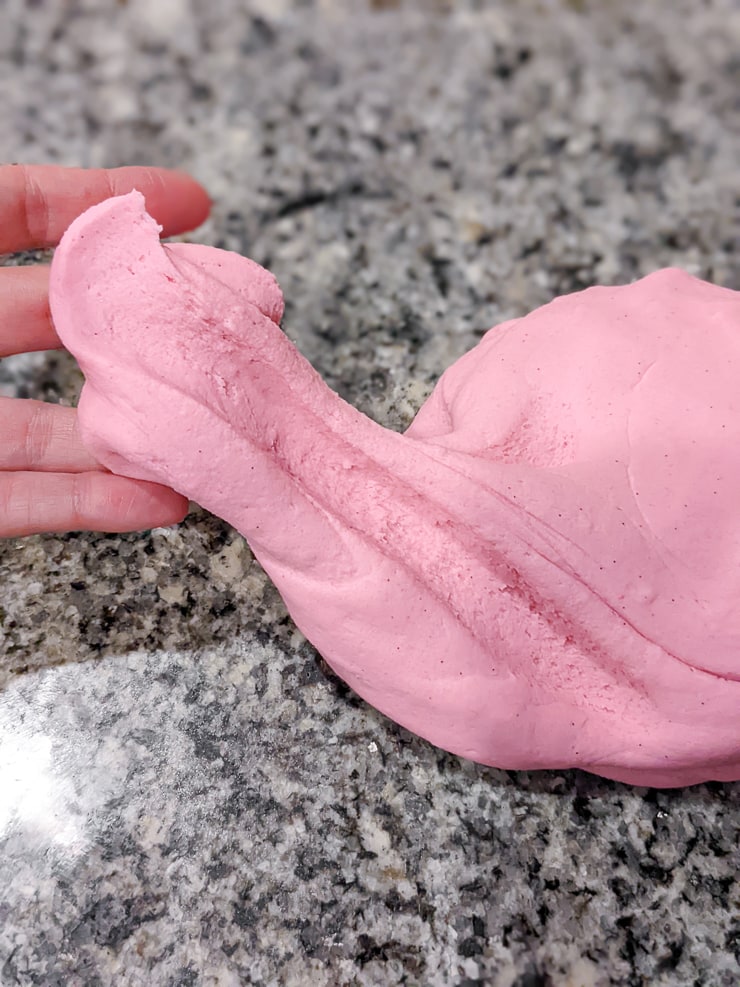
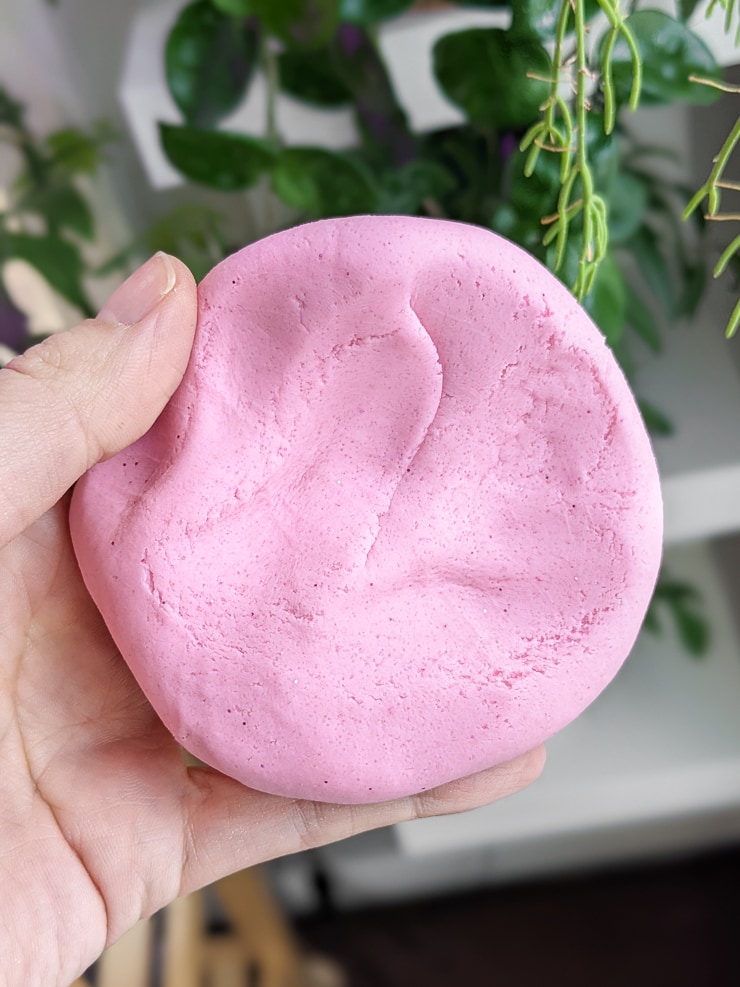
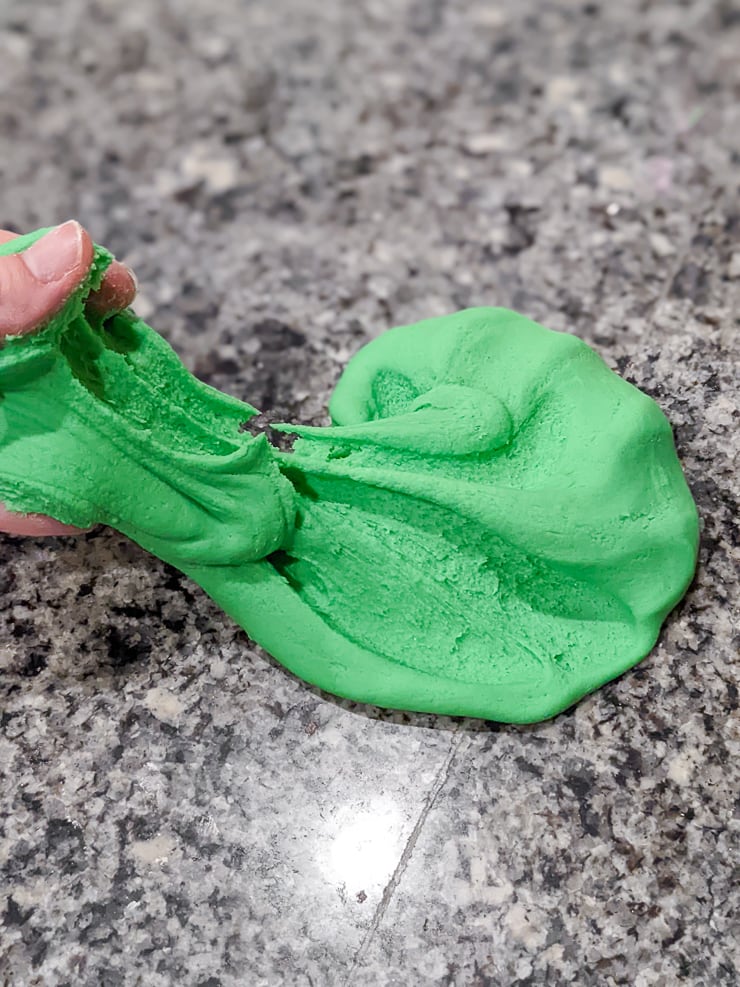
I LOVED IT! I really loved how this was almost like a mashup of playdough and slime. Maybe like 90% playdough, 10% slime. Just enough to give it a really soft feel, but it still keeps its shape. I suspect this is because there is more oil.
This playdough hardened up a bit after sitting in a bag overnight, which I liked—the consistency the next day when I opened the bag was more like regular playdough. So it doesn’t seem to suffer from the same dryness issue as other homemade playdough does.
Definitely try this recipe and see how you like it. We’ll definitely make this one again!


RECIPE #5: Homemade playdough without cream of tartar
This homemade playdough recipe from the Stay at Home Educator is the only recipe on this roundup that doesn’t use cream of tartar. I definitely wanted to try one that didn’t use cream of tartar to see if it was possible!
This instructions on this recipe were a little tougher to follow. I mean, they weren’t hard, but they were a tad bit more involved than the other recipes. However, if it produced great playdough, it’s worth it! In lieu of cream of tartar, this recipe uses lemon juice. Why? No idea.


The verdict on this playdough
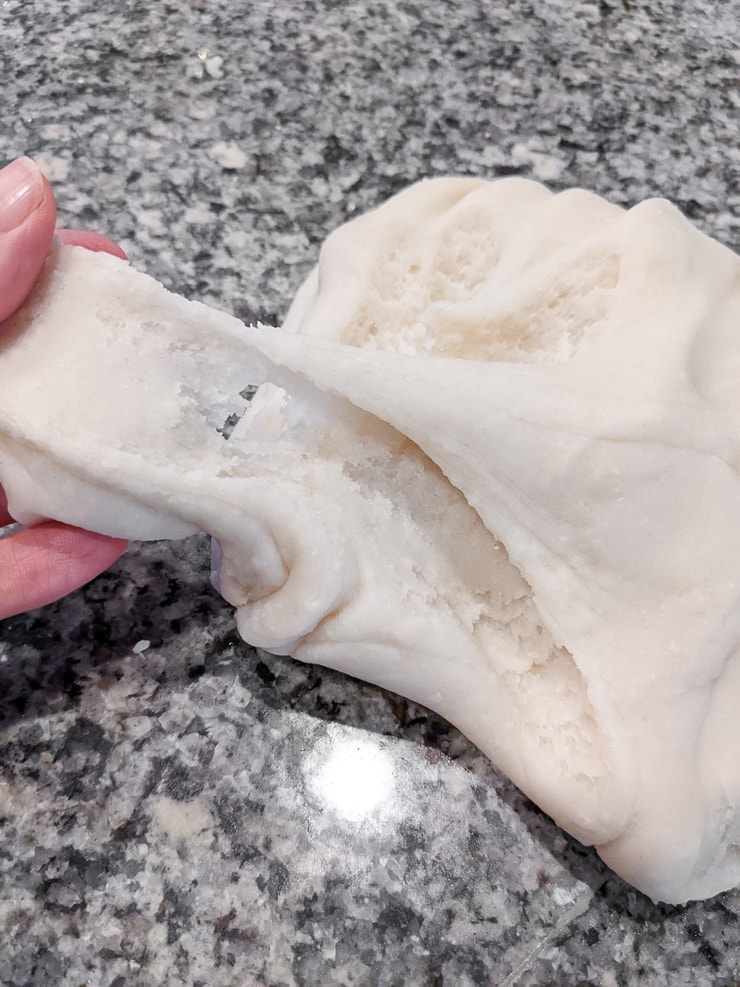
I’m not going to lie, at first I was side-eyeing this recipe. When I started mixing it, it seems suuuper sticky. More like slime. However, once I got it thoroughly mixed and started kneading it on the counter, it started to firm up.
The temperature dropping also helped. And while I was kneading it, I was coating my hands lightly in flower to help decrease a bit of the stick. Once this dough cooled completely, it was perfect. The girls loved playing with it, and it kept very well overnight.
Just know that this recipe is less firm that store-bought playdough. Like recipe number 4 in this list, it’s a bit doughier. I liked that, though!

So which one was our favorite?
Well, if you ask R, her favorite was the pink one. She loved the color—that’s the only reason why. I think my favorite recipe was #4, the recipe that is a bit less firm that store-bought playdough.
It was super easy to make, and I really liked the consistency. It wasn’t as firm as I’d expected it to be, but it also wasn’t sticky.And It kept well in an air-tight container.
If you’re looking for a more traditional playdough-like recipe, I think that all of them were great. (Duh, they are all on the first page of Google.) But I loved the ease of recipe #2. And whichever recipe you use, I’d mix the colors into the water before making the playdough!

What is the best coloring for homemade playdough?
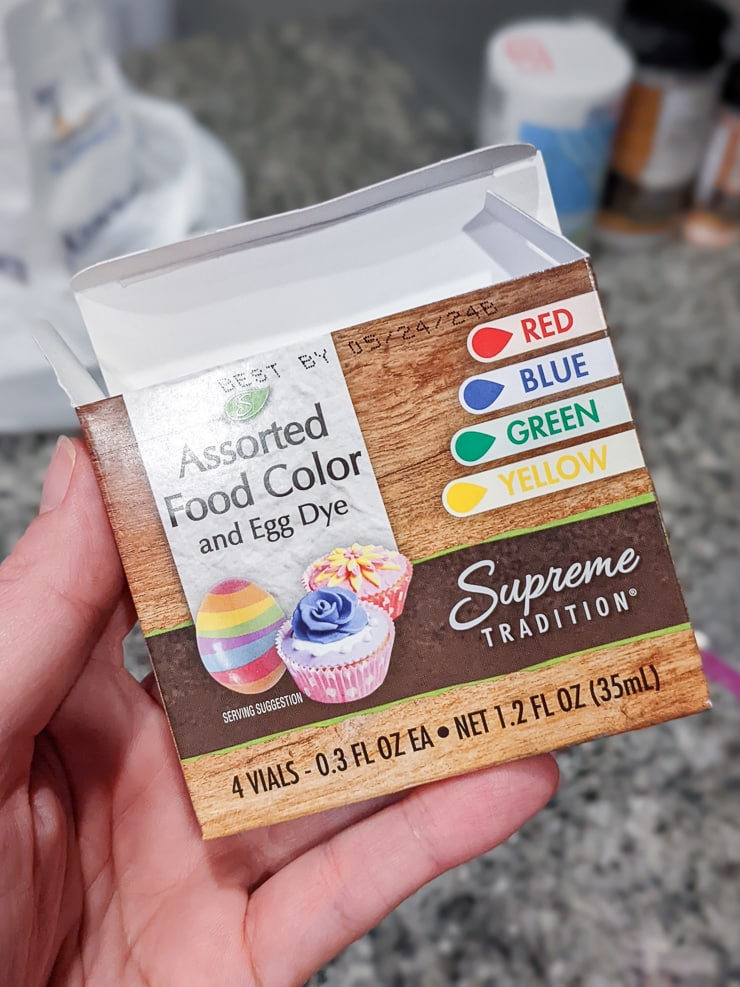
I read online that using gel food coloring is the best option for vivid colors. However, that wasn’t necessarily the case for me. It was more about how much you added to the mixture and when. Mixing in with the water before dumping that into the flour mixture seemed to encourage stronger, more uniform colors.
Using Koolaid was also fun—since it has both color and a scent, it made that batch pretty fun for my daughter. However, I did add a bit of extra food coloring in to the Koolaid mixes for good measure.
I also totally loved the color I got from using some acrylic paint! This also gives you a bit more color versatility since there are a zillion pre-mixed acrylic paints. And they come in small, cheap 2-ounce bottles that you can use for other artsy stuff, too.
Of course, if your kids aren’t old enough to understand that you shouldn’t eat playdough, I wouldn’t use paint. Stick to things that are designed to be used on food.
Much to my surprise, none of the homemade playdough got excess colors on the table or our hands. That was really surprising since I felt like I used a lot of food coloring to get vivid colors!

How to make playdough soft again
Homemade playdough doesn’t keep nearly as well as store-bought playdough. No biggie—making it is half the fun! But it does last for several weeks if you take care of it.
- If you take your playdough out of the bag and notice that it seems a little dry, here’s what I recommend:
- Set your playdough on a clean counter or table
- Run water over your hands and shake off the excess
- Using the remaining moisture on your hands, knead the dough until it is soft and less flaky
- Repeat if necessary
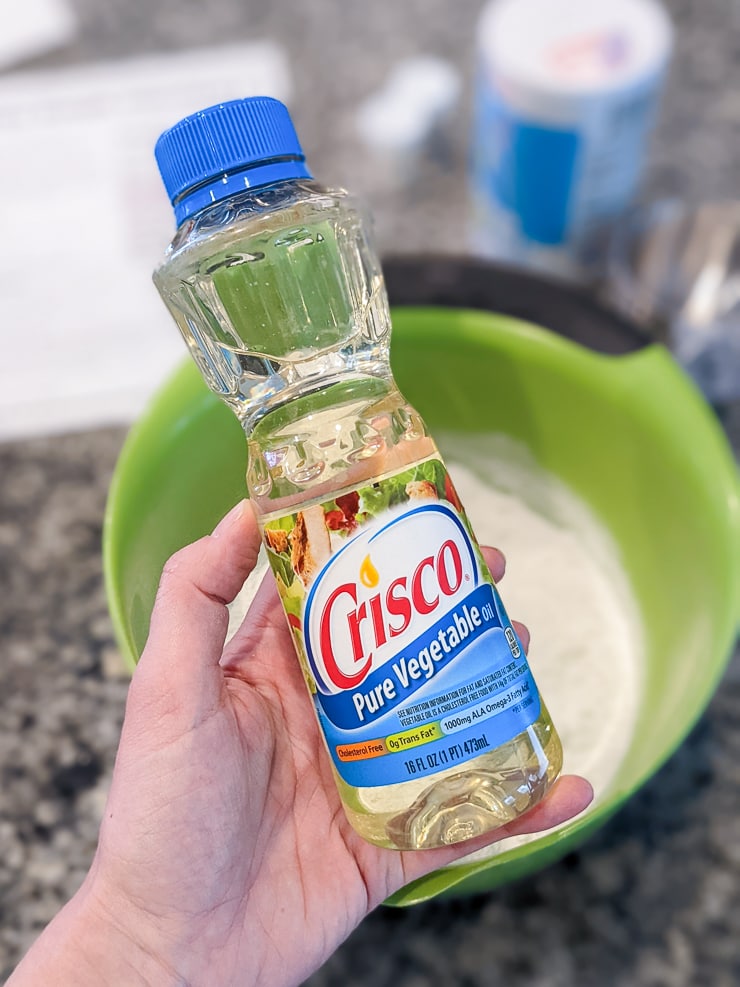
You can also rub a very small amount of cooking oil over your palms before kneading the dough. This will help a lot with flakiness, too!
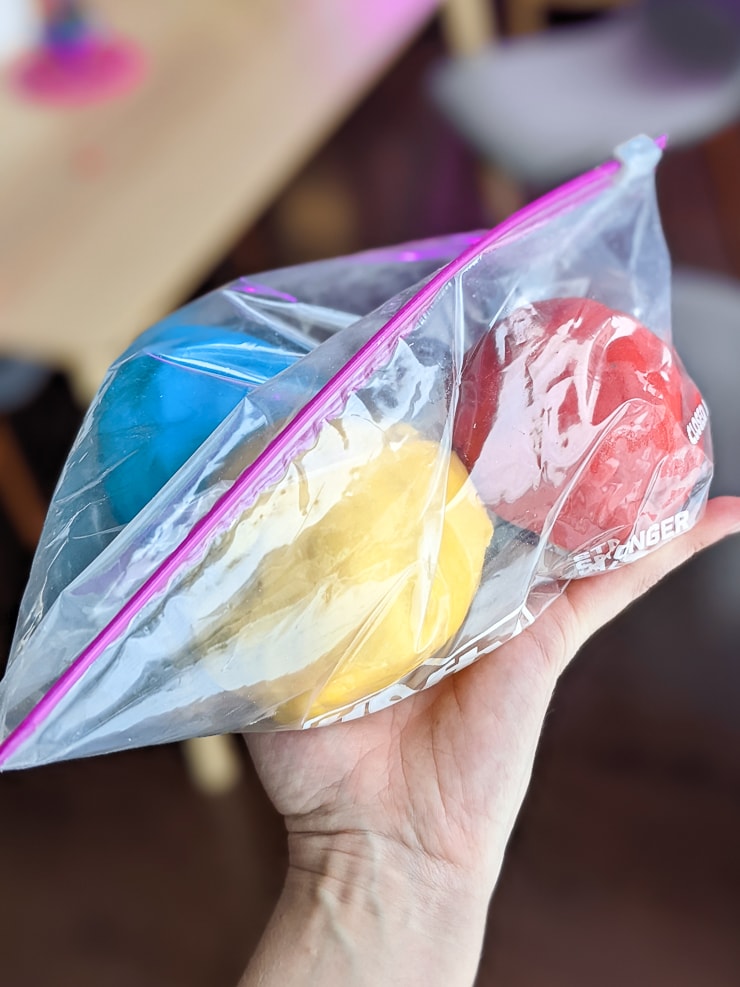
How do you store homemade playdough?
Store homemade playdough in an air-tight container. You can use a container with a lid or a plastic bag with a good seal. The key is to keep as much air out as possible.
Air is what dries out the playdough. That’s why adding a bit of water or oil to your hands can help revitalize drying or flaking homemade playdough.

How long does homemade playdough last?
It can last for several weeks if you take care of it properly. That means storing it in an air-tight baggie or container. Follow the steps above to bring older, drying homemade playdough back to life: using a tiny bit of water or cooking oil and knead the dough back to life.
Once you can no longer bring it back to life with a bit of water or oil, it’s probably time to chuck it. It dries out faster than store-bought playdough does, so don’t worry if it’s only been a few weeks to a month or so. You can always make more!
Can you eat homemade playdough?
Mmmm…salty dough. I can’t imagine anything more disgusting than a straight shot of salt, which is pretty much what homemade playdough tastes like.
If you use food coloring to color your homemade playdough, eating it probably won’t hurt. (I mean, unless you’re allergic to one of the ingredients. In which case don’t eat it or even play with it.) But it won’t taste good! And if you use paint to color your homemade playdough, definitely do not eat it.
Pin my review of 5 homemade playdough recipes!