This tutorial will show you how to sew burp clothes. Making handmade burp clothes is a great idea for an easy handmade gift!
How to Sew Burp Clothes
Sometimes the best gifts are handmade gifts, right? And if you’ve got a friend who’s expecting a new baby, making burp clothes is an awesome gift idea. Not only are they super easy to make (even with limited sewing skills), they are incredibly practical. I hear babies spit up a lot. 🙂
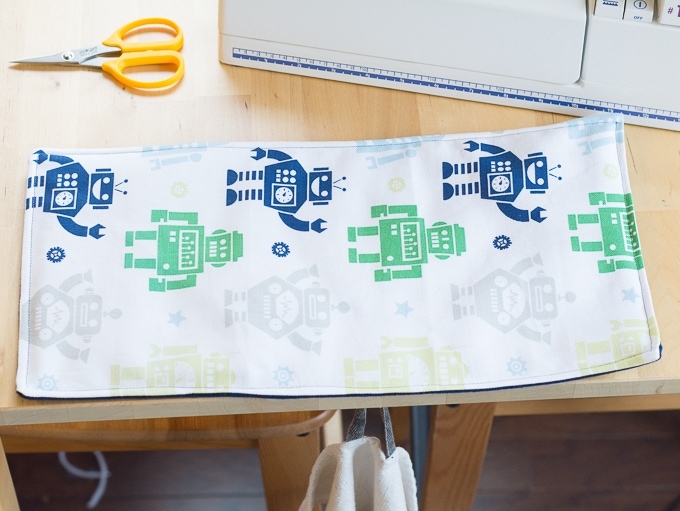
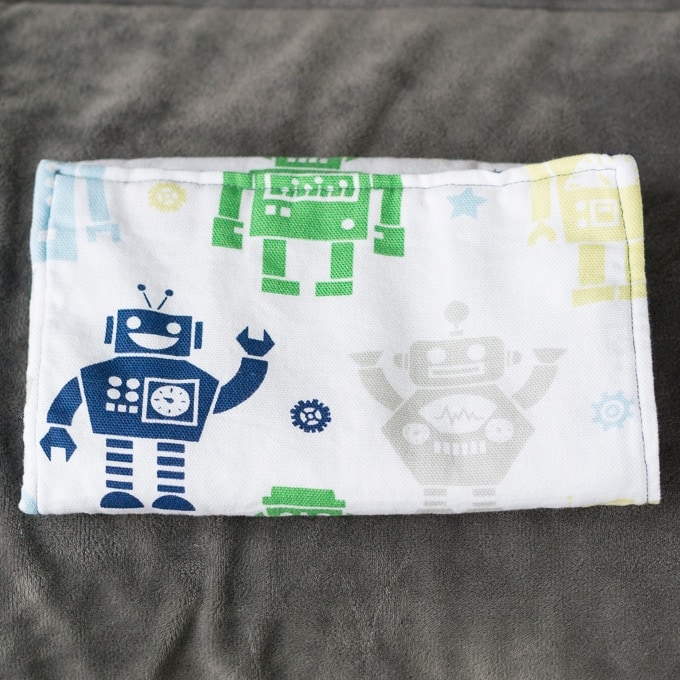
Burp clothes are also easy to customize. I made these for my bestie Tori and her husband Scott and paired them with a super soft robot fabric for a coordinating blanket. But there are a million different fabrics you can choose from…just browse Spoonflower, one of my favorite sites, or wander around your local Jo-Ann.

Like this? Check out my tutorial for how to sew a double-sided baby blanket!
Want to learn how to sew quick and easy burp clothes? Alright, let’s do this!
- Sewing machine and thread
- Decorative fabric, I got my robot fabric in store at Jo-Ann
- Soft solid flannel fabric in a complementary color
- Batting
- Fabric scissors and pins
- Iron and ironing board
And here’s how to sew burp cloths.
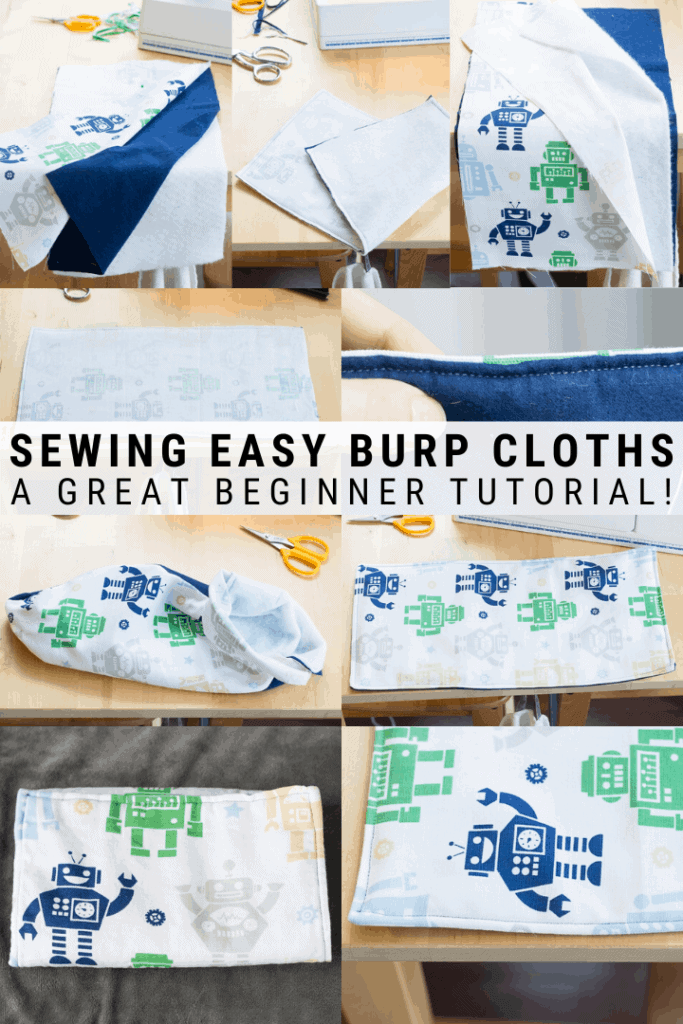
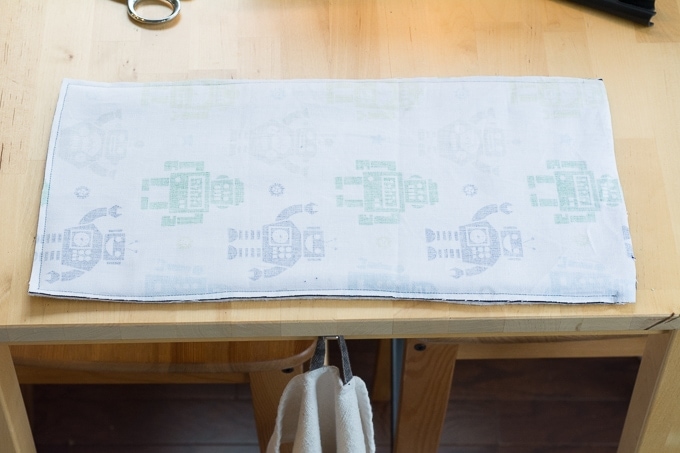
Step 1: Cut three pieces of fabric to 8 inches x 15 inches. About the size of a rectangular dish cloth is good.
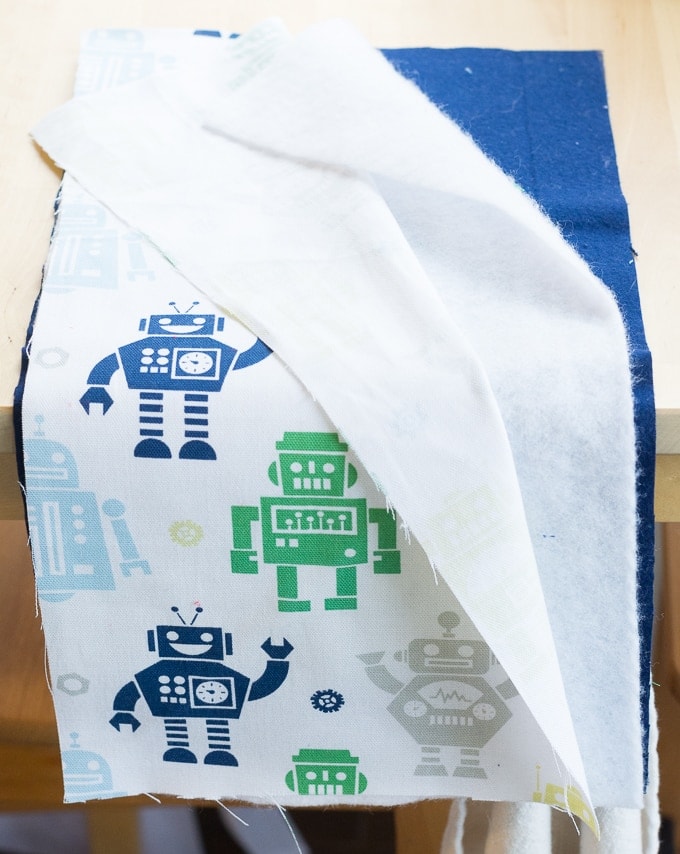

Step 2: Lay them out like this and pin them together.
- The decorative fabric (in this case, the robot fabric) should be on top, right-side DOWN.
- The solid-colored fabric should be in the middle, right-side UP.
- The batting should be on the bottom. It doesn’t have a right/wrong side.
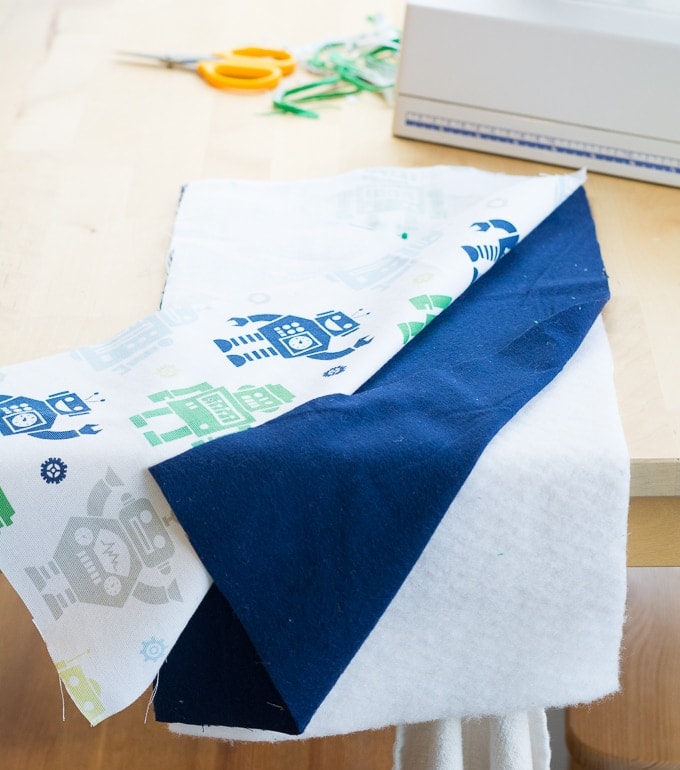

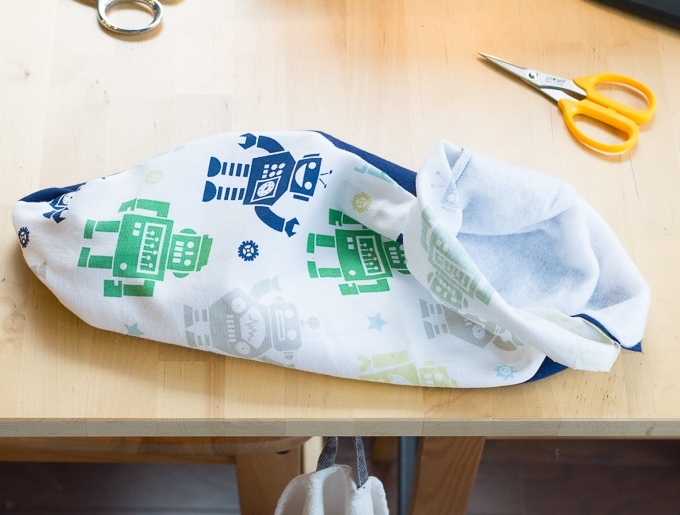
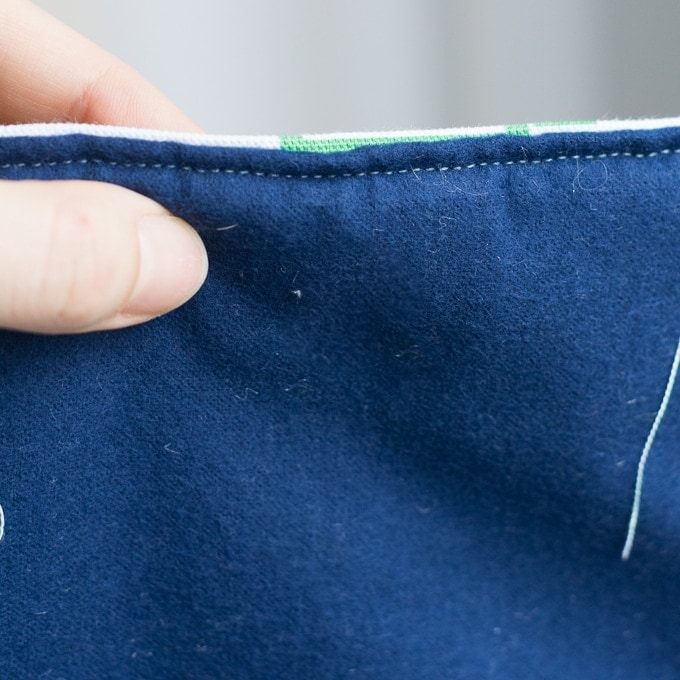
Step 3: Sew around three sides, leaving one side open.
Clip the excess fabric on the corners (but don’t clip into the seam!) and pull the cloth out through the opening so it’s right-side out.


Like easy sewing projects? Have a look at my easy fabric scrap cat toys, my DIY sewing machine cover, and my envelope pillow case covers.
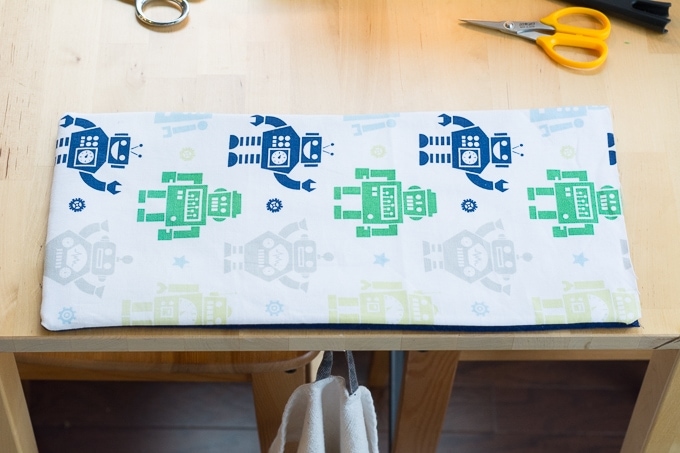
Step 4: Fold the opening in and give it a good press with the iron. Then pin it and sew the opening shut.

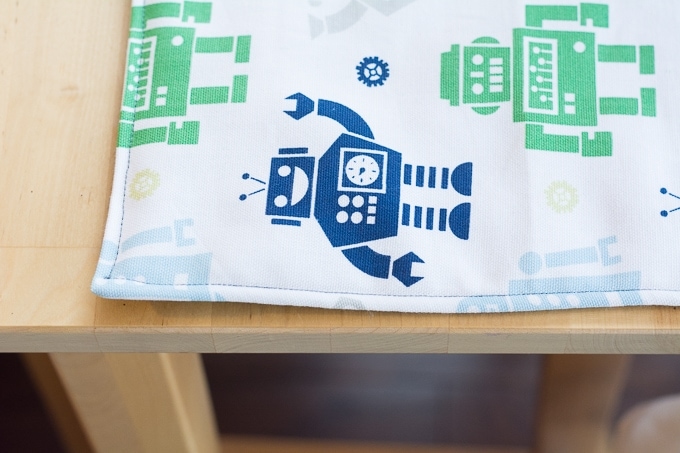
Step 5: Use your iron to press all seams. Then, sew a straight seam around the edge of the entire burp cloth. This step is optional, but I think it gives it a nice finish. Then fold into thirds to store or wrap as a gift. 🙂
You can also make these without the batting inside. I had some batting on hand and thought it would make for a nice extra cushion on the shoulder, plus it would increase the absorbency, which is always a good thing with spit. Right?


Like this? PIN IT!