This content may contain affiliate links. See my full disclosure here.
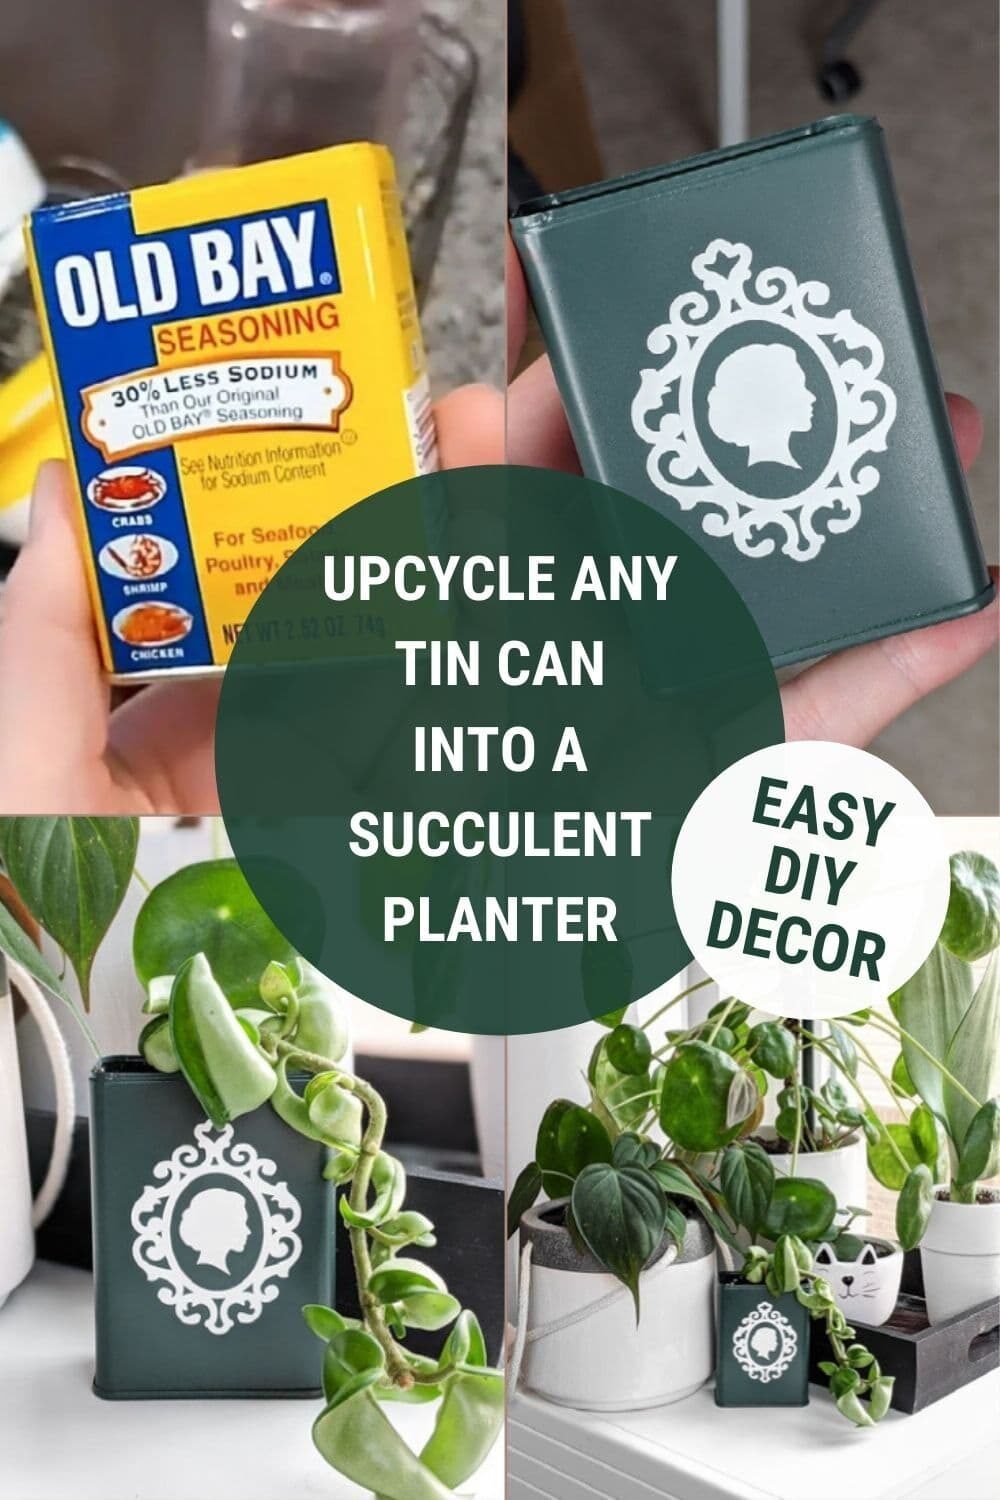
Learn how to make a planter out of an upcycled tin can! I’m showing you how to make a chic planter out of an Old Bay can, including drainage.
If you’re from anywhere around Maryland, you’ve heard of Old Bay. As a native Marylander, I can tell you that it isn’t just a funny joke. We really do put that shit on everything. It’s delicious, salty, and perfect with crabs. And that’s what knocked out the rest of this can of Old Bay a few weekends ago—some crab cakes my mom made.
Don’t ask me why, but for some reason, I decided to take the little can home to upcycle it and turn it into a planter. I like upcycling things to make them planters but I haven’t shared a ton on the blog. One is the upcycled tea tin planter I made years ago—and the tiny painted teacup succulent planter. Oh, and I made a planter out of an older candle. Because why buy planters when you can repurpose cute things?

Always take the proper precautions and safety measures before working with any tools. Wear safety equipment and work with a professional when necessary. Happy building and stay safe!
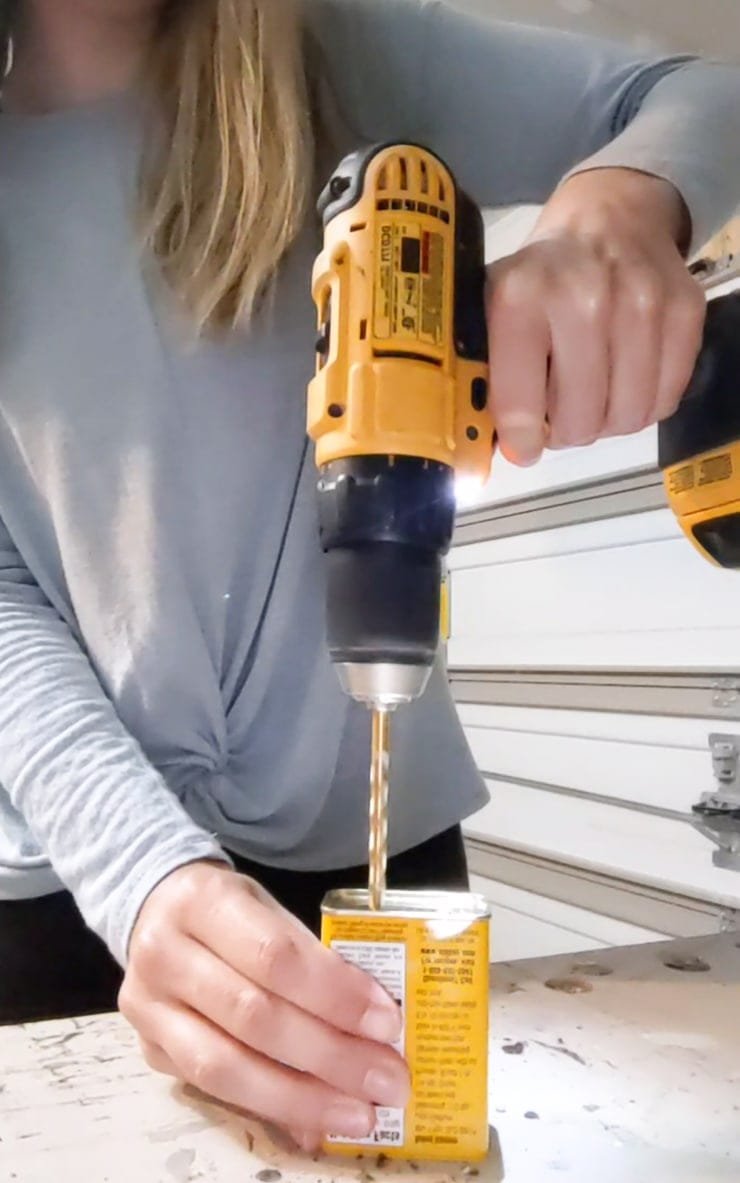
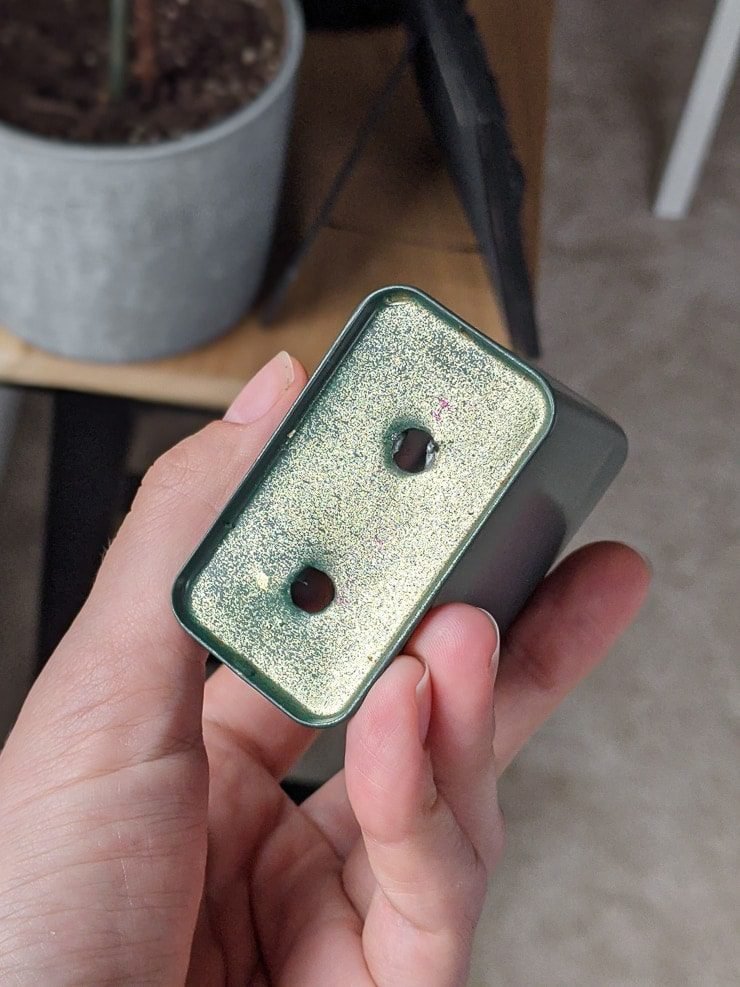
First I thoroughly cleaned the inside and outside of the Old Bay can using just water and dish soap. After it dried, I used my drill to drill two drainage holes in the bottom of the tin can. I didn’t need a special drill or drill bit for this—the tin is very thin. Just apply a bit of pressure and be prepared for the drill bit to “pop” through the bottom…so make sure you’re working on a work bench!
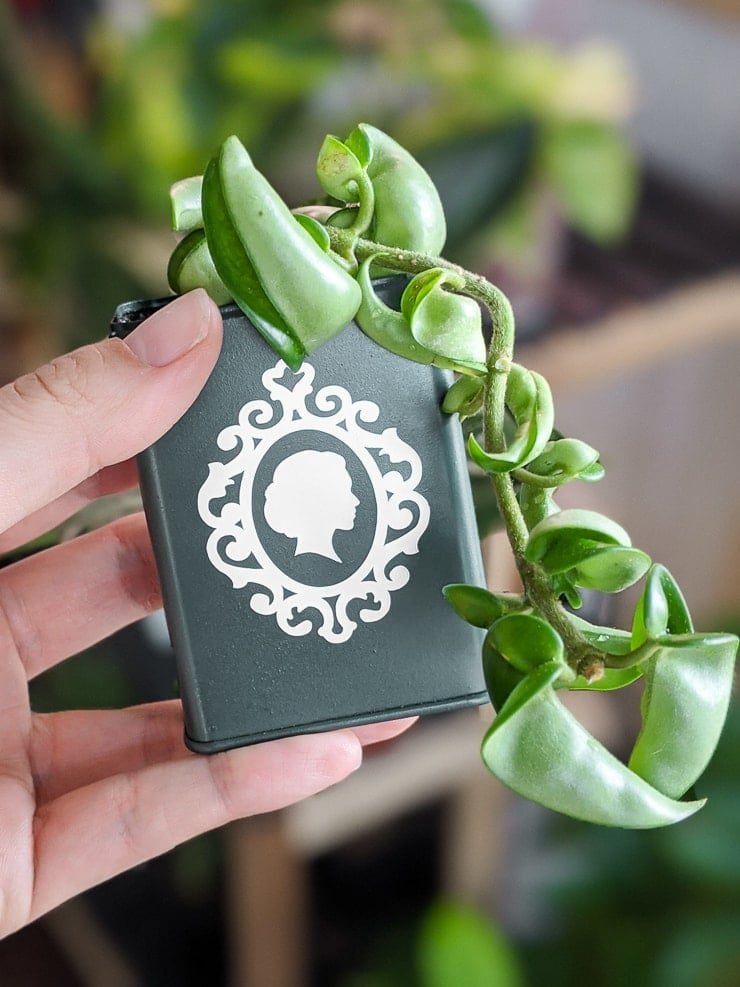
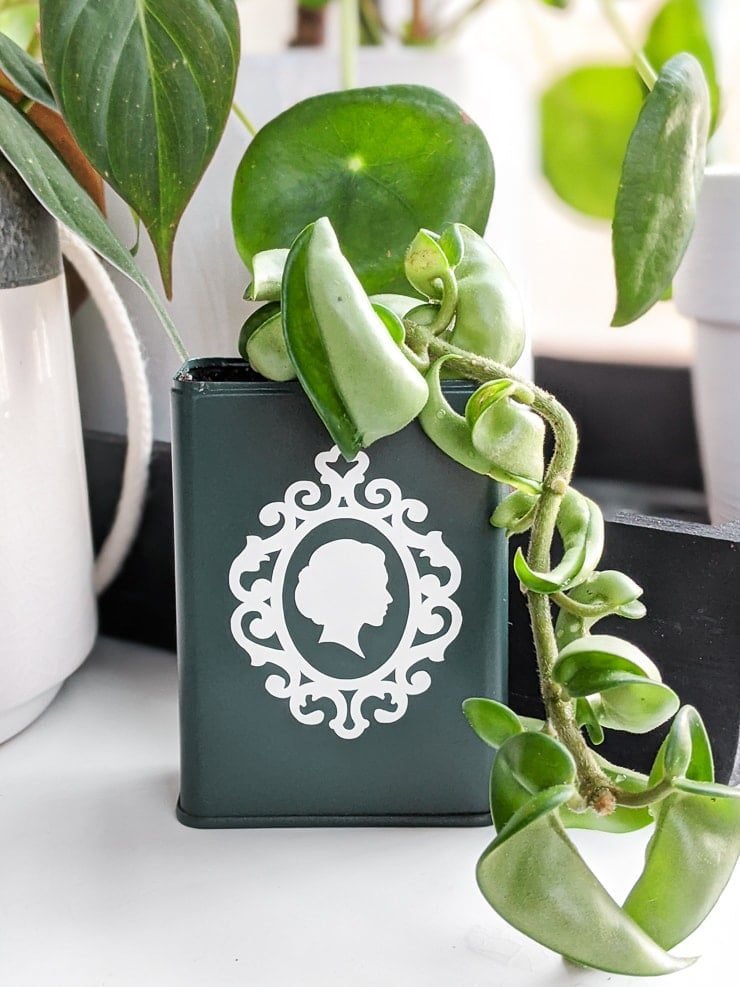
I used some hunter green spray paint that I had on hand to paint the can. This instantly made it look more like a planter, and I like how easily this material takes spray paint. Definitely gives it a more professional look than brushing paint on.

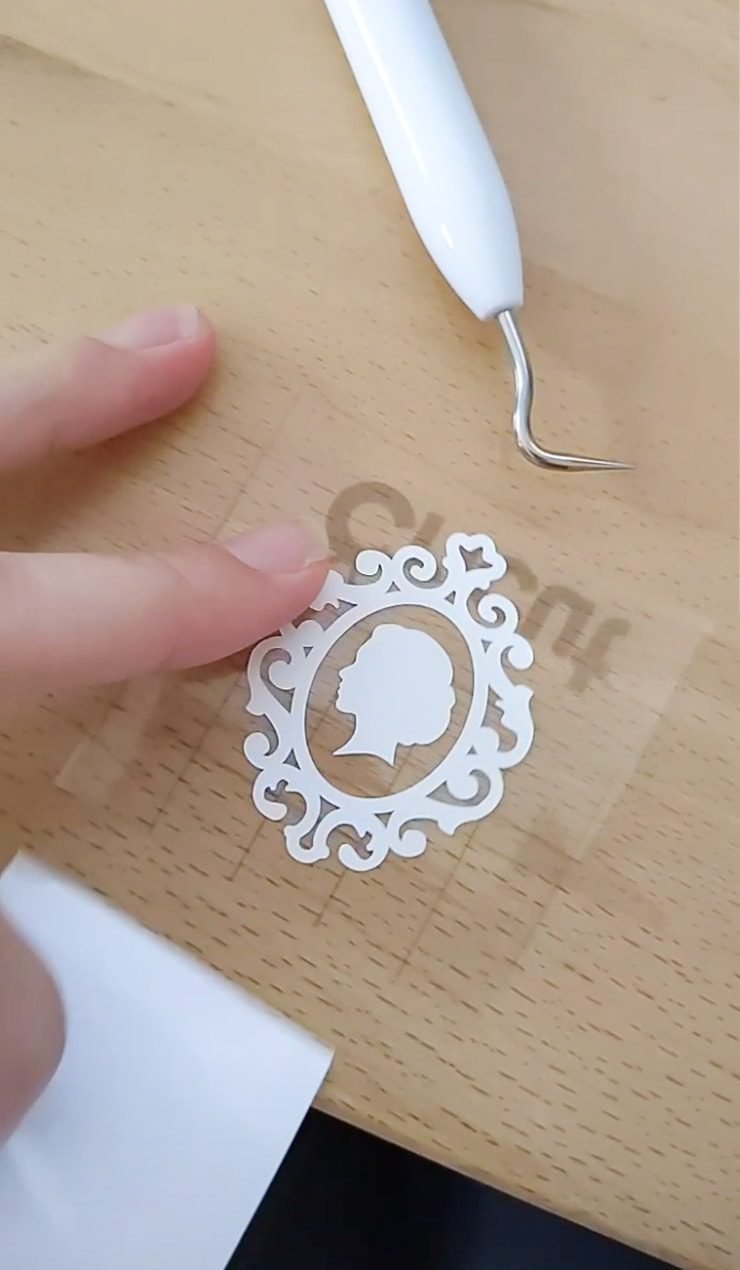
I used my Cricut Explore Air 2 and a small piece of white vinyl to cut this image out. It’s just images I got from Cricut’s Design Space—I believe I searched for “woman’s silhouette” and “ornate frame” to get these two. There are several different silhouettes and frames to choose from.
I then used my weeding tool to weed out the vinyl I didn’t want to transfer to the planter. For this one, I definitely used transfer tape—it would have been difficult to transfer this design without it. I like using the Cricut Joy transfer tape for these small projects too since they don’t require much width and the size of the Joy tape is so much easier to store.


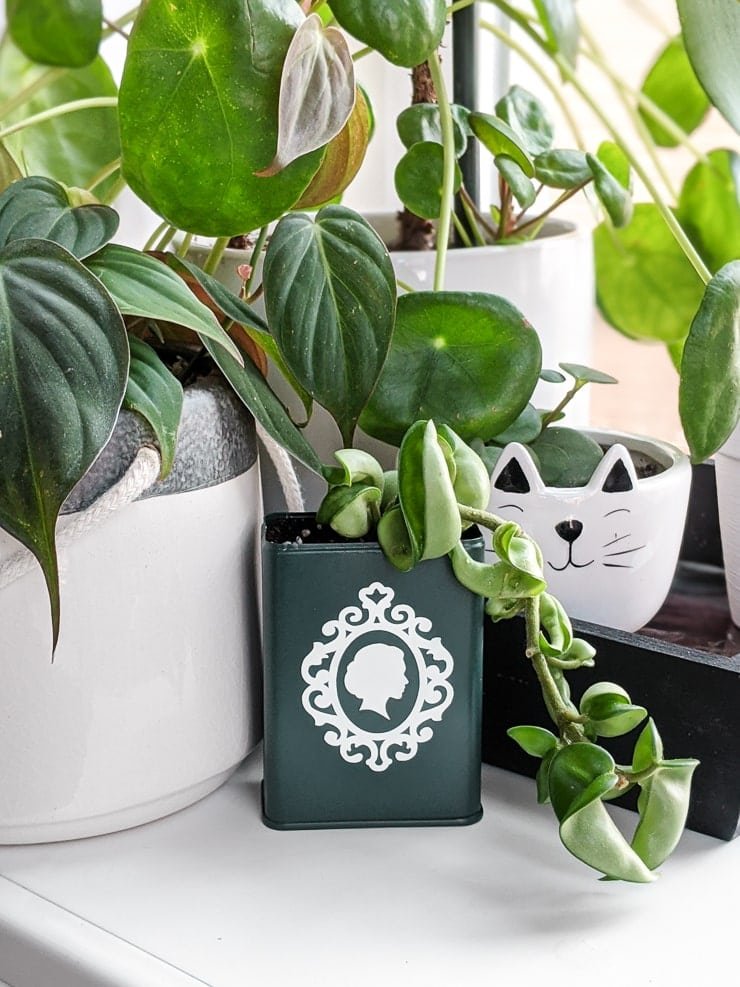
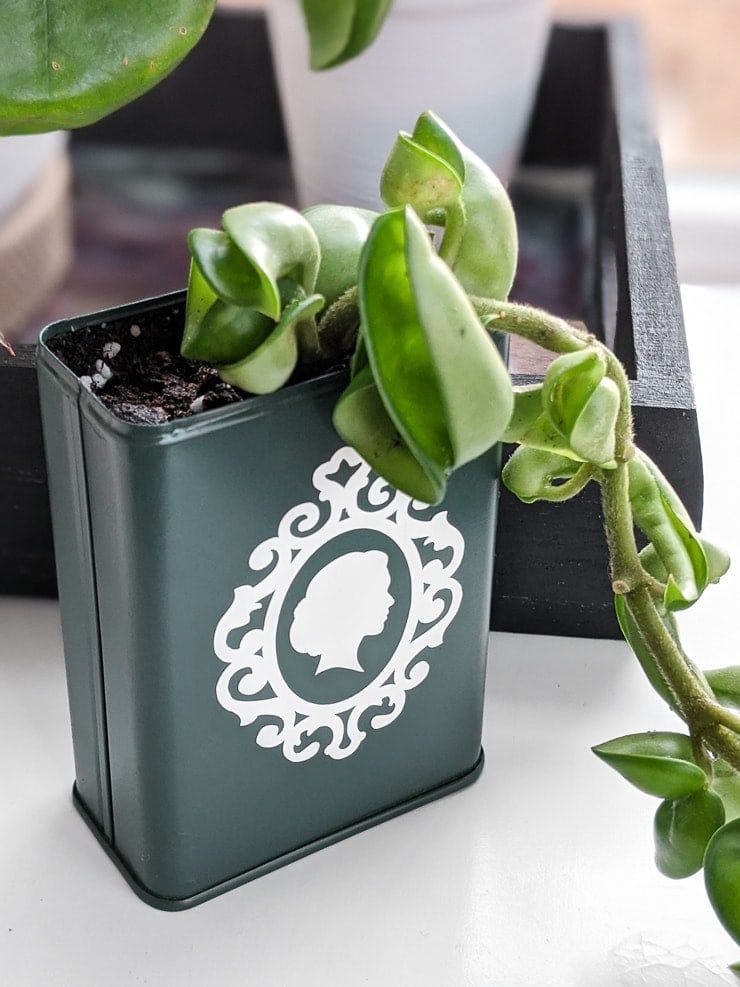
And here’s the finished planter! Definitely a quick little project that was super cheap, easy to make, and functional! It’s perfect for my hoya rope cutting propagation I’ve had rooting in water for a few months now. What do you think?


Like this cutie? Check out my tips for how to make a tiny faux planter out of a tree branch, how to make a polymer clay pot, and how to make a gorgeous marbled resin and wood serving tray!
Pin my post about how to make a planter out of an Old Bay tin can!


0 Comments