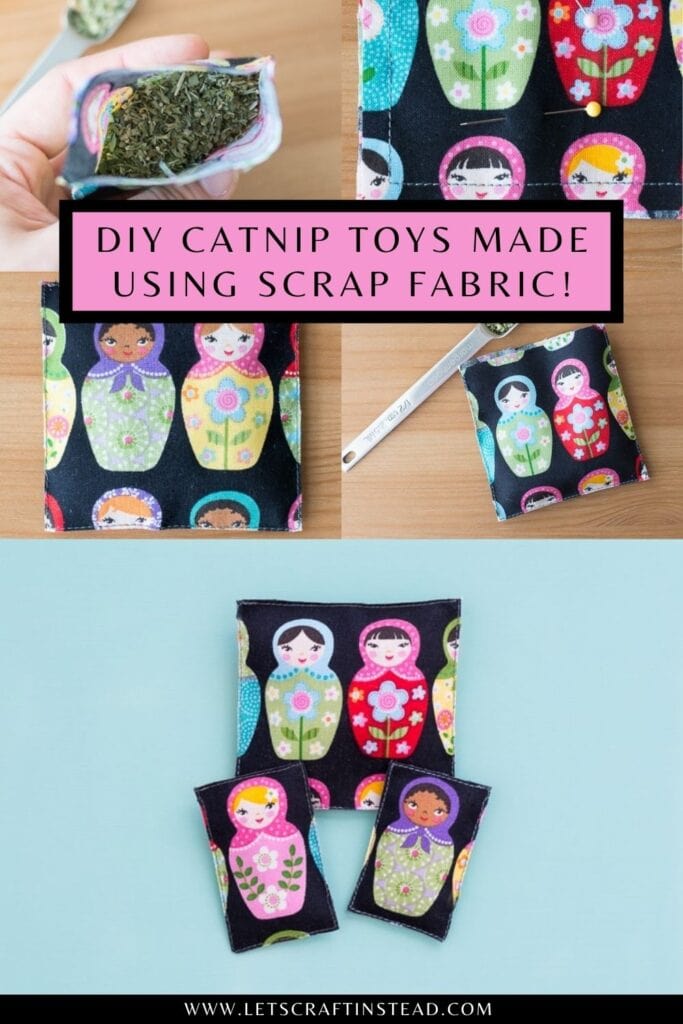
This post shares my DIY catnip toys with a matryoshka doll theme. These are easy to make with scrap fabric, and your kitties will love them!
DIY Catnip Toys Made With Scrap Fabric
Back in June, we attended the Frederick Pride festival and spent a few minutes popping in and out of the booths different local businesses had set up. We stopped at the Compassion Vet Center booth for a while to chat about our kitties and say hi to an old friend who is the practice manager there, and she gave us some little homemade cat toys that were filled with catnip.
We took them knowing that our cats weren’t really in to catnip…we’ve tried several different brands, have grown it, and have even tried catnip-infused bubbles (hangs head in SHAME), and they just aren’t that interested. But when we brought this toy home, Henry lost his composure. He freaking loved it.
I immediately sent my friend a message and asked where they got the catnip. Am I crazy? Yes. But he loved this toy so much that I had to get some more! She sent me the link on Amazon. (P.S., Don’t be like me. I didn’t look to see how big the bag was before ordering it and now have massive amounts of catnip that I’m giving out to all of my friends with cats!)
When the nip arrived, I grabbed some cute fabric from my stash and started sewing. These toys are very simple, too—you could easily sew them by hand or even put them together using fabric glue. I’ll tell you how I made my toys and give some tips for you non-sewers along the way.

Supplies
- Matryoshka doll fabric
- Catnip
- Scissors and pins
- Sewing machine
- Optional: Fray Check
And here’s how I made DIY catnip toys!
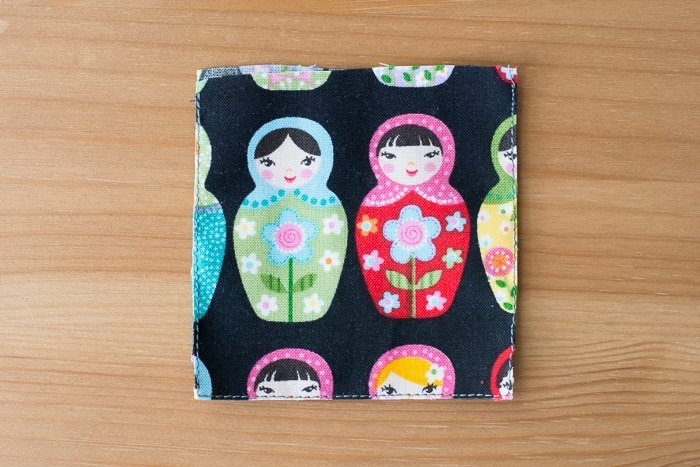
Step 1: Cut fabric
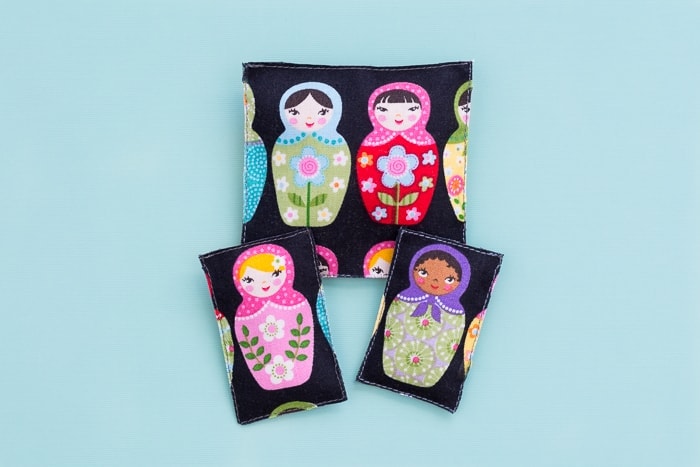
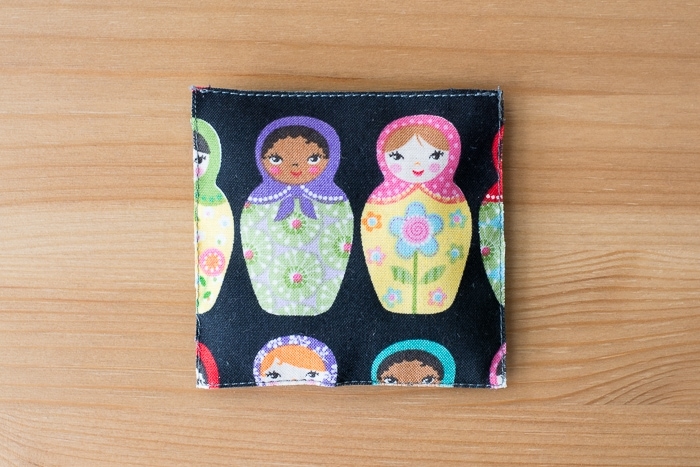
Cut two pieces of fabric: a front piece and a back piece. I did some bigger toys that had multiple dolls and some smaller toys that only had one doll. If your fabric has a print that you want to line up along the front and back pieces, just remember to be mindful of that.
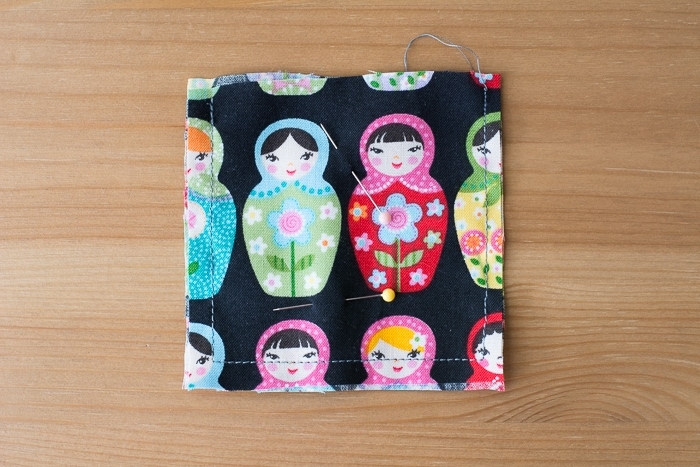
Use pins to fix these two pieces of fabric in place. Then sew the two pieces together using a straight stitch along three sides.


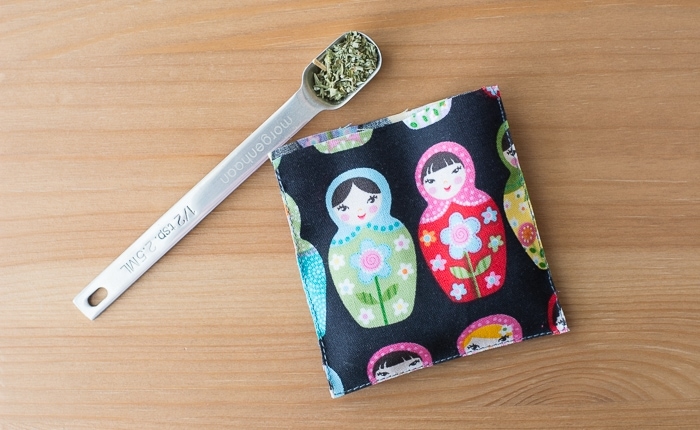
Step 2: Trim excess
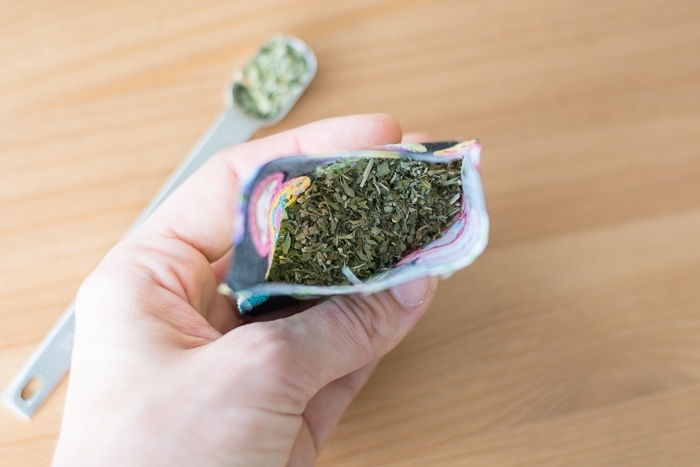
Trim the excess fabric close to the seam, but make sure not to cut open the seam! If you have a rambunctious killer of a cat, you might want to double up your seams or not trim as close to the seam as I did. That will make it much more difficult for them to rip it open. Add some catnip to your toy.


Like easy sewing projects? Have a look at my DIY sewing machine cover, my cat teaser wand, and my DIY wrap shawl!
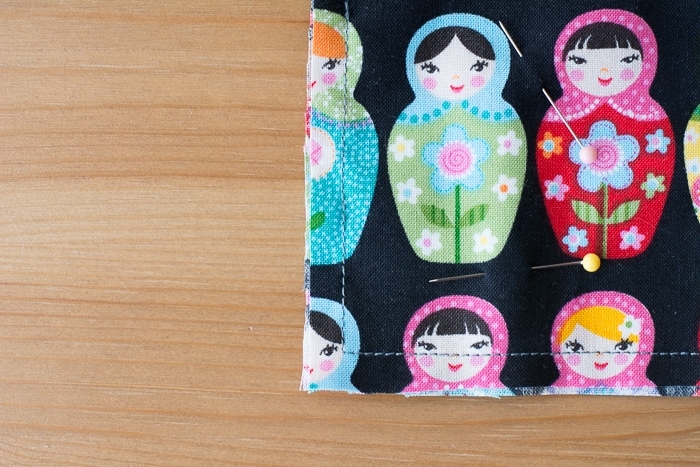
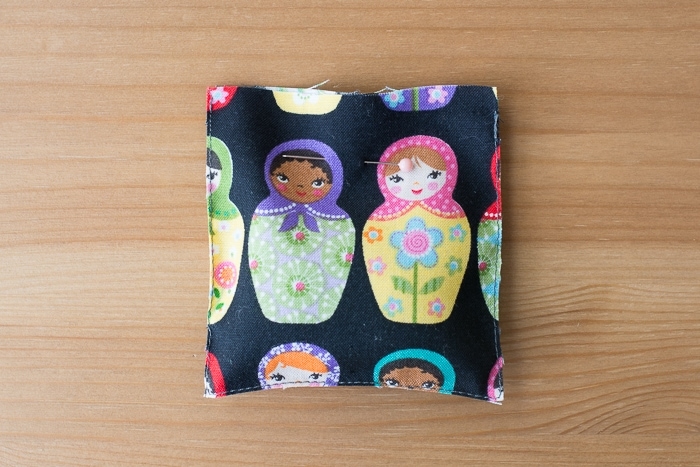
Step 3: Finish sewing it shut
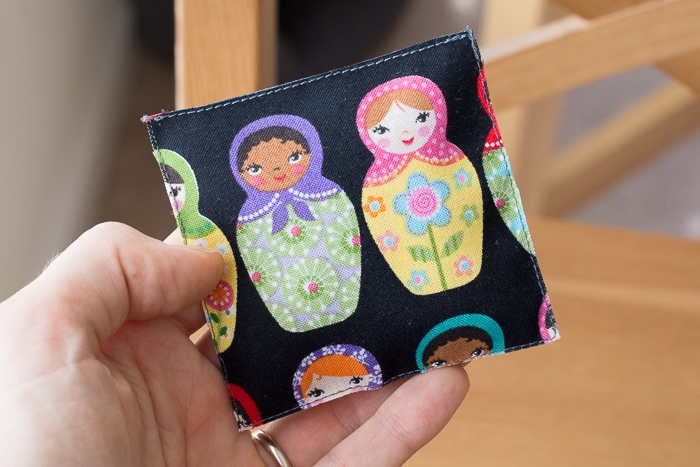
Pin it shut and sew a straight seam to close the open side. Trim the excess. (Optional: You can add Fray Check along the raw edges if you are using a fabric that frays. I didn’t mind a few loose threads since it’s a cat toy.)
And give to your kitties and enjoy!


Share my DIY catnip toys on Pinterest!