This content may contain affiliate links. See my full disclosure here.
Learn how to sew an envelope pillow cover, the perfect tutorial for beginners, and no zipper required!
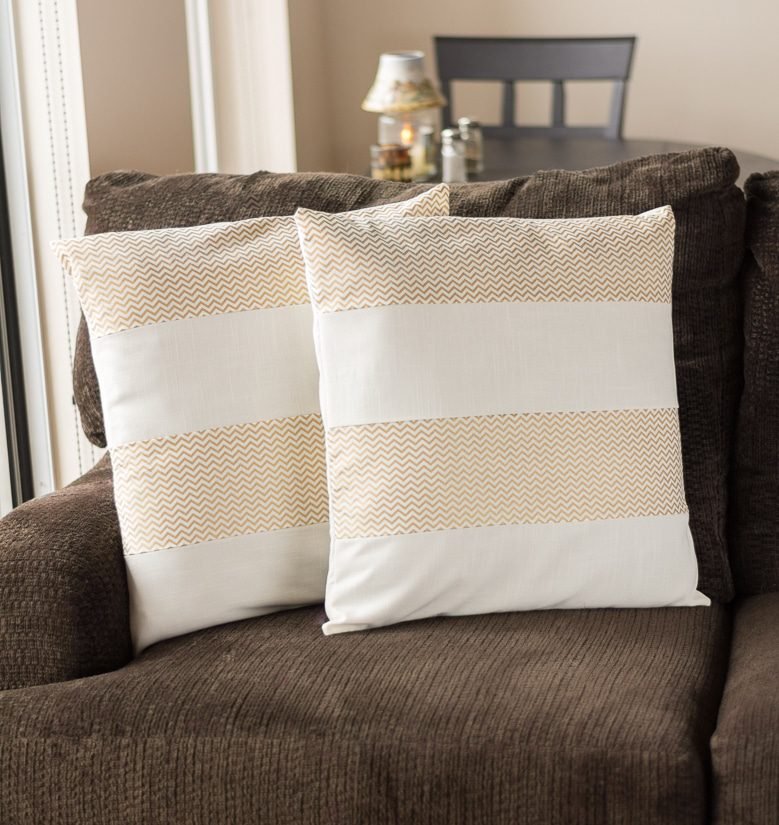
I’m making good on my resolution to sew more in 2015. I just completed my second sewing project, which was making two envelope throw pillow covers for our couch pillows. Our couch and throw pillows are the exact same fabric and color, so I thought our living room could use some diversity.
However, throw pillows are expensive! So I decided that this would be an easy project for my beginner-level skills. I recently saw some solid metallic gold and white striped throw pillows, and I liked the striped look, but I thought the solid metallic gold might be a might too much for our living room.
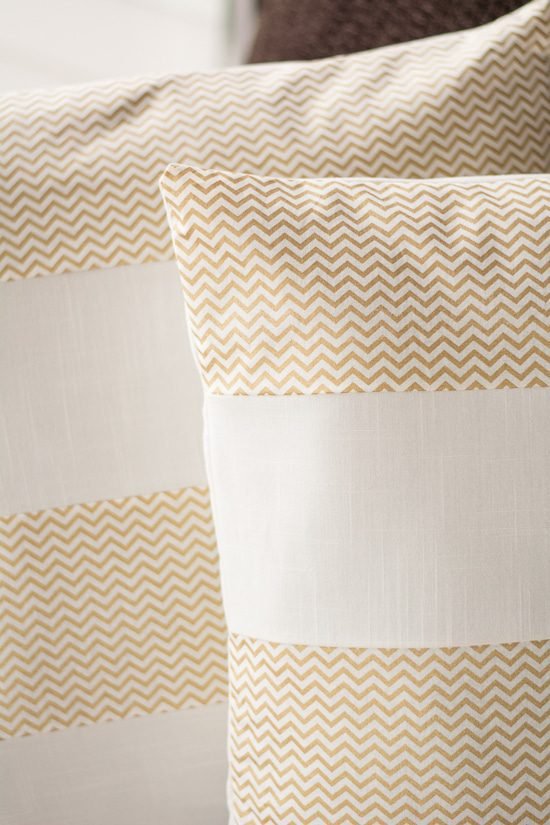
I settled on stripes using a beige fabric with a metallic gold chevron pattern and a beige linen fabric. Both were on sale for 3.99/yard at my local Jo-Ann. If you’d like to sew an envelope pillow cover like the two I’ve sewn, grab some fabric and follow the steps below.

- Fabric. I made two pillow covers. Measure your pillows first; my square pillows have a diameter of 21 inches. After building in a seam allowance, I bumped this number up to 22. I wanted the stripes on the pillow case fronts only and decided to use the beige linen for the solid backs, so I knew I wouldn’t need as much of the chevron. Since I planned to do an envelope-style enclosure on the back, I also knew I wanted to budget 6in of extra beige linen for the enclosure’s overlap. Therefore, I purchased one yard of the beige linen and one-half yard of the chevron.
- Scissors and pins
- Sewing machine
- Tracing paper (or regular paper taped together – see step #1 below)
- Measuring tape
- Iron and ironing board/pad
- Marker or chalk
First, I cut strips of fabric for my stripes. I knew the measurements for the front of my pillow cover were 22in x 22in, and I also knew I wanted 4 stripes (2 chevron, 2 beige linen). Therefore, I divided 22 by 4 to get 5.5in—the height of each stripe. I made a 22in x 5.5in pattern using taped-together computer paper and used it to cut out 4 strips of chevron and 4 strips of beige linen.
After cutting the fabric for the stripes, I cut fabric for the pillow cover backs. Since the measurements for the back of my pillow cover were 22in x 22in and I needed an extra 6in for the envelope overlap, I cut two 22in x 28in pieces. You’ll cut these each into two pieces later, but I set them aside while I worked on the pillow cover fronts.


Like easy sewing projects? Have a look at my easy fabric scrap cat toys, my DIY sewing machine cover, my super simple circle skirt, and my DIY wrap shawl!
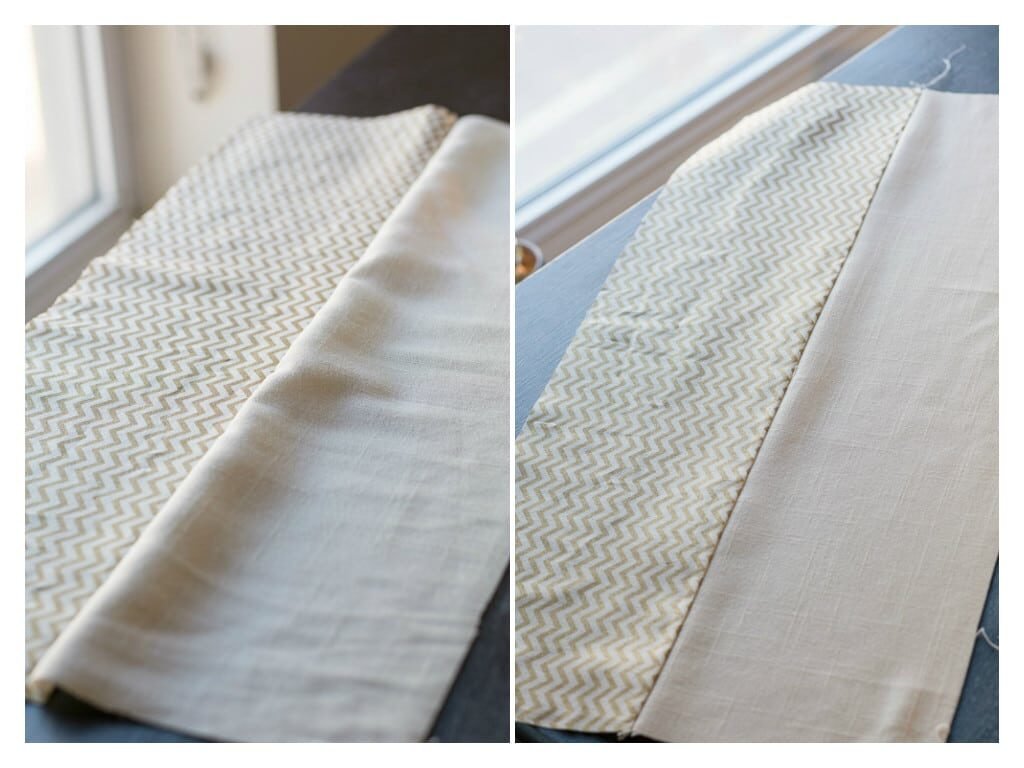
Sew your stripes together to make the pillow cover’s front. To do this, first pair each chevron strip with a beige linen strip. Ensure the right sides of the fabric are facing one another, pin them together along one side as illustrated below, and sew a straight seam up the pinned side. Then, trim the excess fabric from the seam.


Repeat step #2 until you’ve sewn together 4 pairs of strips. Then, press the seam of each strip so that they lay flat like the right image below.
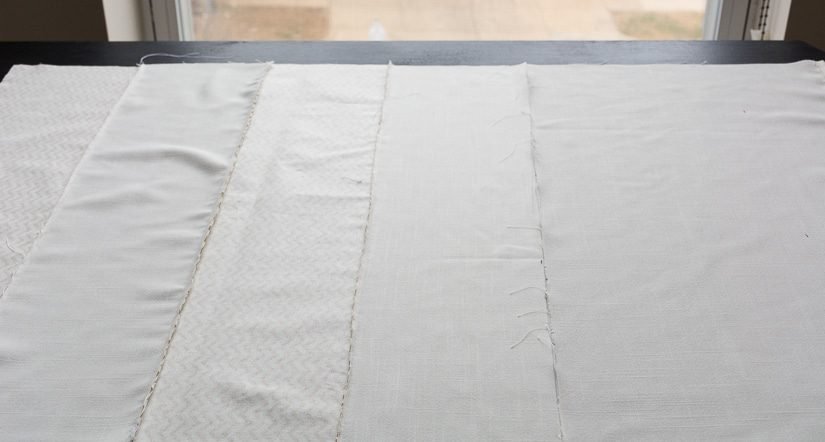
You now have four sewn-together pairs of stripes. Pin and sew together two more pairs of stripes to complete the pillow cover fronts. Press your new seams flat.

Now it’s time to work on the back. Pull out the two big beige linen pieces you cut in step #1. Cut the fabric into two pieces–one 22in x 11in piece and one 22in x 17in piece. Hem one 22in side on each piece. These hems will be the opening of the envelope enclosure.
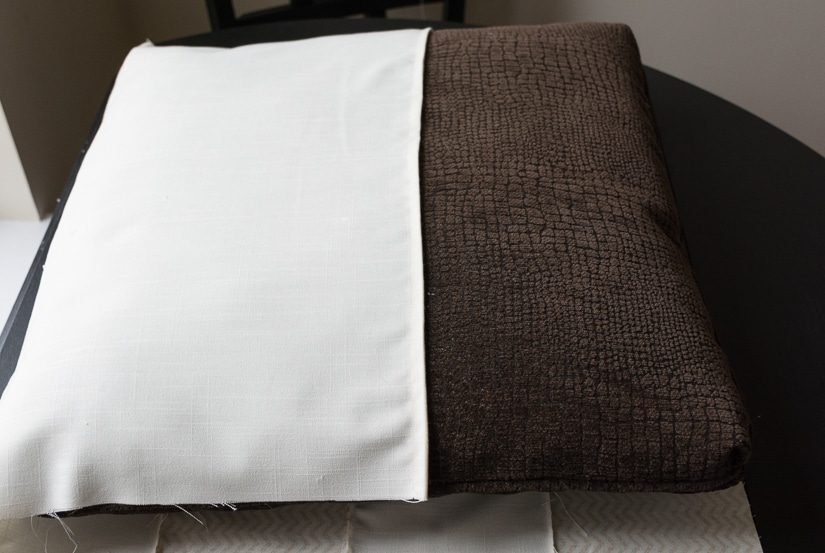
Sew the long beige linen piece onto the top of your pillow cover’s front. To do this, pin the two pieces together with the right sides facing one another; then, sew a straight seam. Ensure you’re sewing along the raw edge, not the edge you just hemmed. It will look something like this when you’re done:


To help you visualize how the back will look (with only half of the back done):
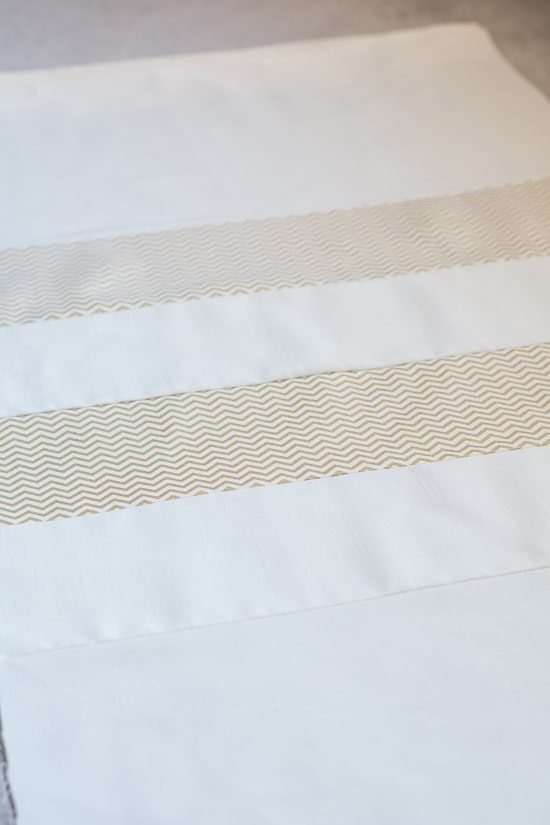
Now, sew the remaining beige linen piece to the bottom of your pillow cover front (again, ensure you’re sewing along the raw edge, not the hemmed edge). Now that the entire back is sewn on, the pillow cover will look like this from the front:
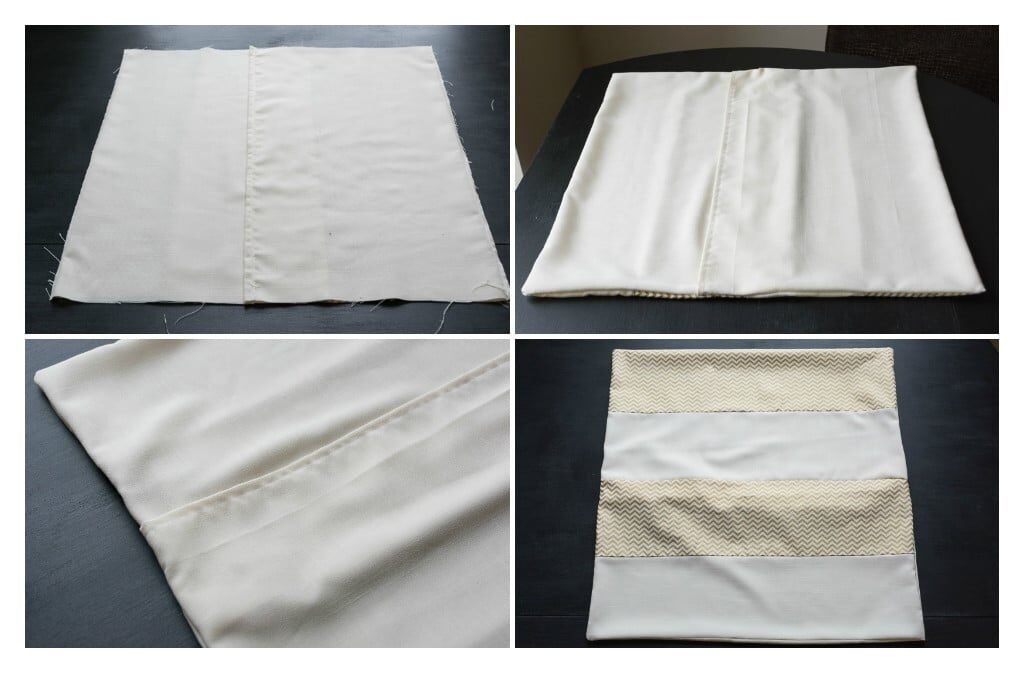
Now, all you need to do is sew up your sides. To do this, fold the pillow cover’s two back sides up onto the front. The right sides should all be facing each other (i.e., your pillow cover should be inside out–see below image, top left). Because of the measurements you cut in step #5, your beige linen fabric will overlap to form the envelope enclosure.
Pin together and sew shut the two open sides to complete your pillow cover. Flip it right side out. The below image shows how the back of your pillow cover will look (top right and bottom left) and how the front will look (bottom right).
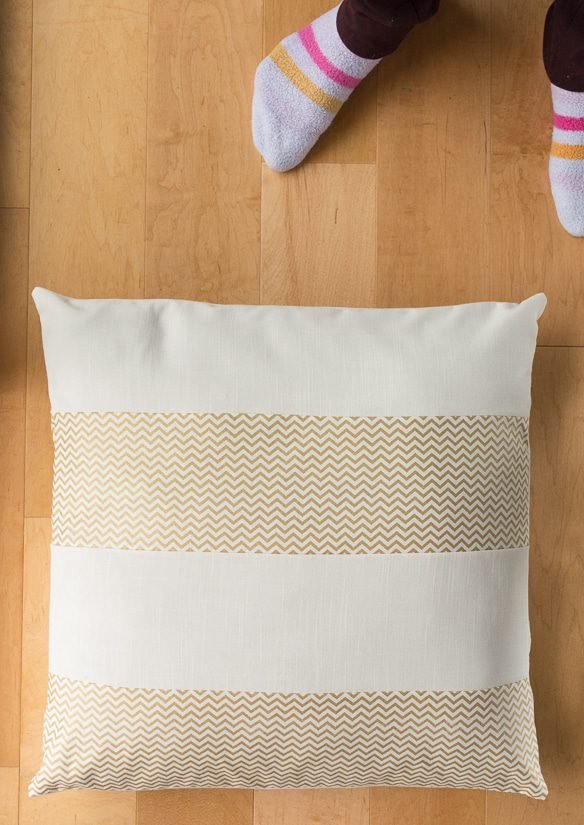
See, wasn’t that easy? I’m very pleased with how they turned out for my first venture. Now I want to make new pillow covers for our bedroom pillows, too.

Pin my post about how to sew an envelope pillow cover!


0 Comments