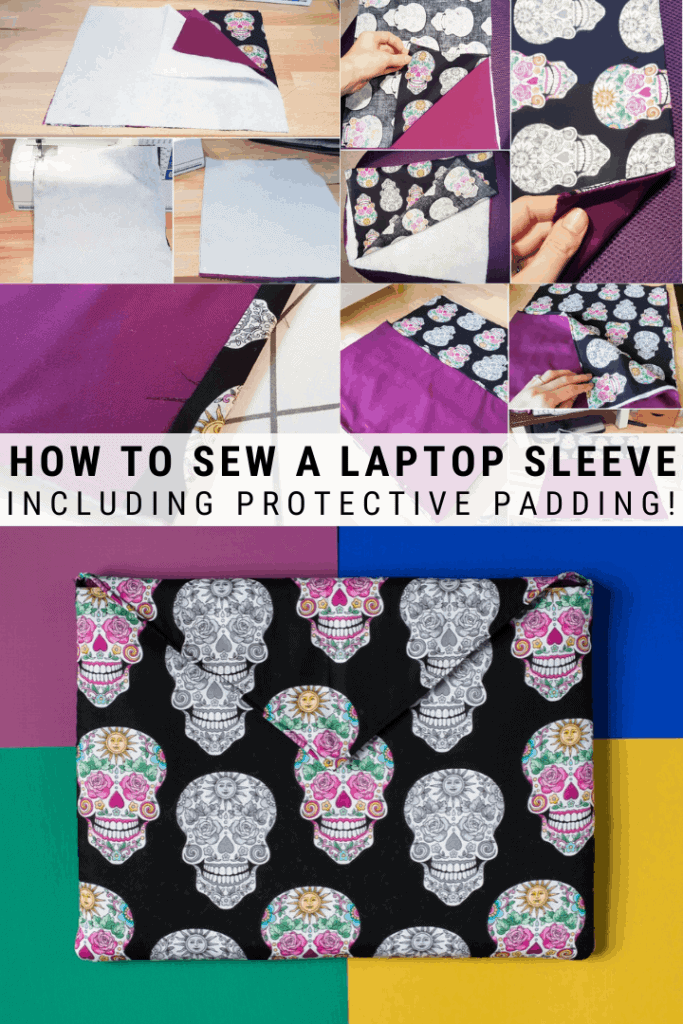
Learn how to sew an envelope laptop sleeve! This tutorial has no zipper and is the perfect project for beginners looking to try something new and branch out from super basic sewing projects.
Learn how to sew an envelope laptop sleeve!
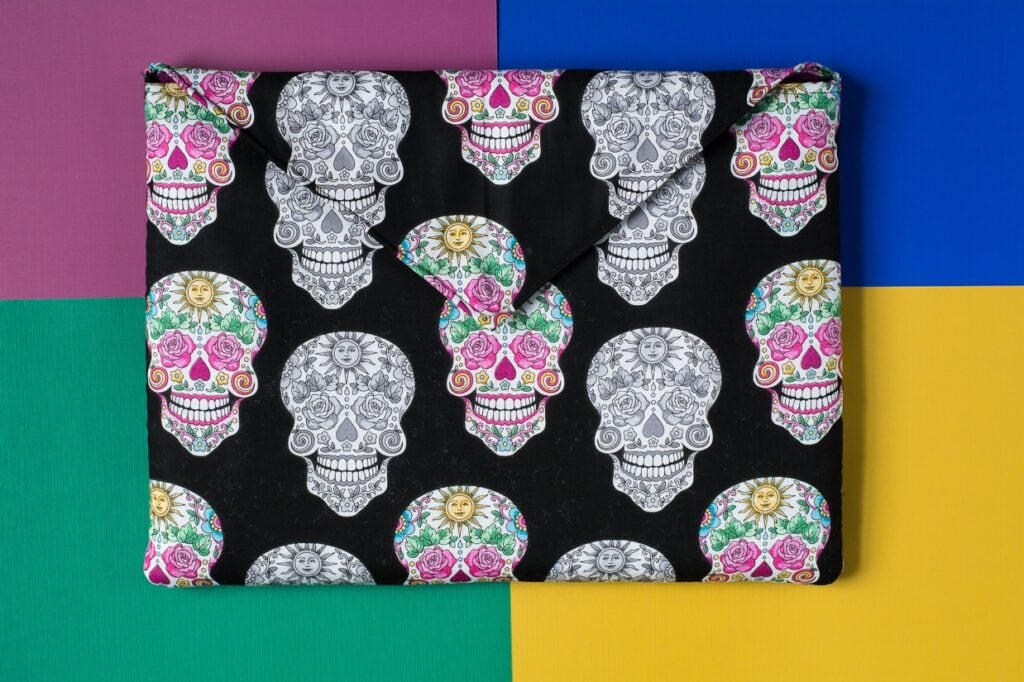
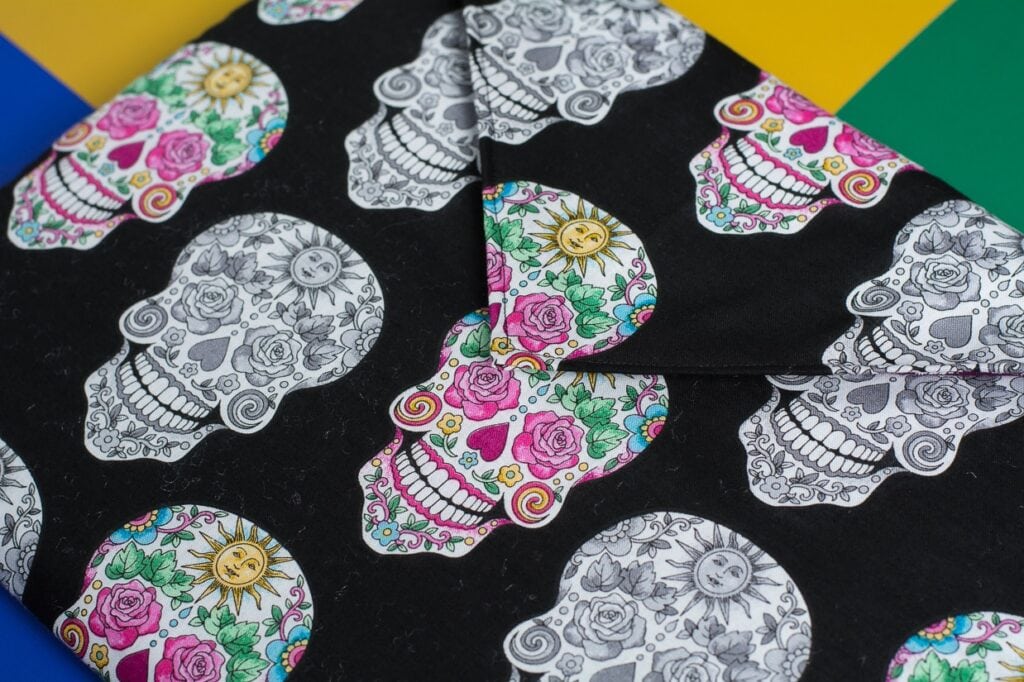
When I saw this fabric in Jo-Ann one day, I knew I had to make something out of it. It doesn’t really fit anywhere in the apartment, but I’ve been wanting to make a new laptop sleeve for a while now, so I thought that’d be the perfect thing for it.
This is a pretty easy project that you can customize to fit your laptop or tablet. I chose to do an envelope-style flap with a Velcro closure because I thought that would be a bit quicker and easier than doing a button or zipper closure.
Here’s the final product! Ahh, I’m so happy with it! If you want to make an envelope laptop sleeve like this one, read on for a supply list and step-by-step instructions.

Supplies
- Decorative fabric—browse similar to what I used
- Cushioned fabric—I used crib batting
- Lining fabric
- Hook-and-loop and fabric glue—I use Aleene’s
- Sewing machine, scissors, measuring tape, pencil
- Iron and ironing board (spray starch is also helpful)
A note on measurements…
Before getting started, measure the height and width of your laptop; mine is 12 in x 9 in. You’ll use these numbers to create your pattern.
You’ll make two patterns: one smaller piece that will be the front of your sleeve (the part that the envelope closure folds over), and one bigger piece that will wrap around from the back of your laptop and become the envelope closure.
- The smaller piece’s measurements will be your laptop’s measurements + 1 in. Therefore, my smaller piece’s measurements were 13 in x 10 in. The extra inch is to account for your seam allowance and a bit of wiggle room for the laptop.
- The bigger piece’s measurements will be the same as the smaller piece’s, except you’ll add 7 in to the height.
Note: If your decorative or lining fabric has a pattern like mine—one that doesn’t look the same when it’s upside down—you’ll need to cut the flap fabric from the bigger piece, flip it right-side up, and sew it back on. If you do this, just add 7.5–8 in to your bigger piece instead of the 7 in specified above.

Like easy sewing projects? Check out my tutorials for how to sew a simple circle skirt, how to sew envelope pillow covers, and how to sew a sewing machine cover!
Now that you have measurements, here’s how to sew an envelope laptop sleeve!
Step 1: Cut fabric
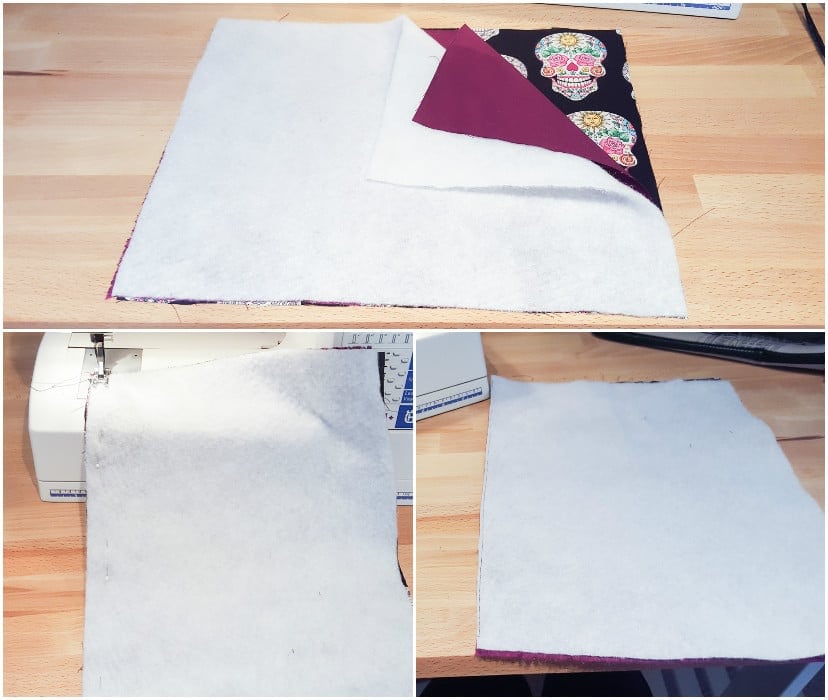
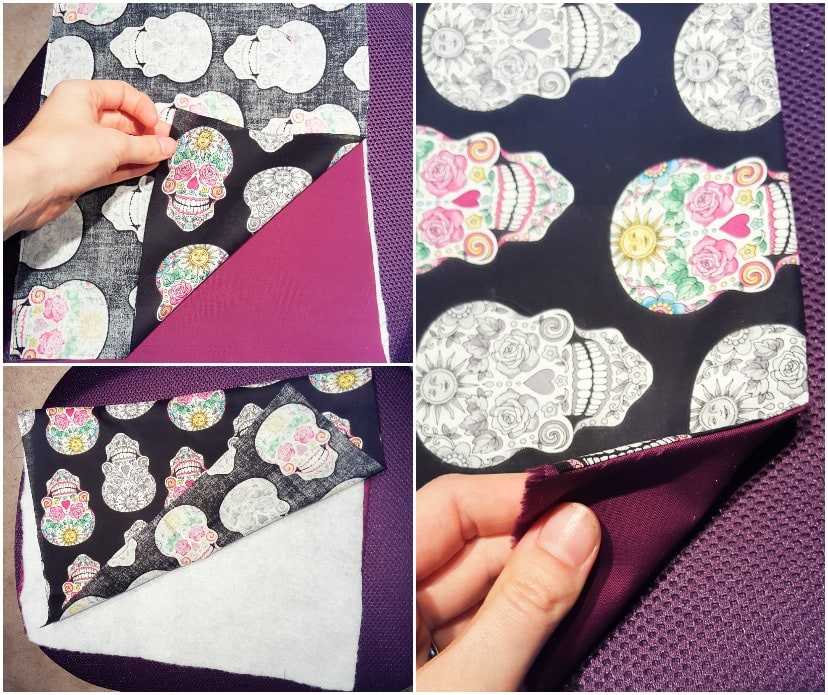
Using your measurements, cut six pieces of fabric: three smaller pieces and three bigger pieces. You’ll have two piece of decorative fabric, two pieces of batting, and two pieces of lining.
Work with the three smaller pieces first; lay them on top of one another as pictured below. The batting should be on top, and below that should be the lining and then the decorative fabric. The lining and decorative fabric should have their right sides facing one another.
Sew a straight seam along the bottom using a 5/8 inch seam allowance (the same seam allowance you’ll use throughout this project).

Step 2: Cover the batting
Flip the decorative fabric forward so that it covers the batting. Press the seam. Then repeat steps 1 and 2 on your three bigger pieces (not pictured).
If you have fabric that looks different when it’s upside down, cut the flap off, flip it around, and sew it back on now (also not pictured, but you can see what I mean in the first photo collage for step 4!).

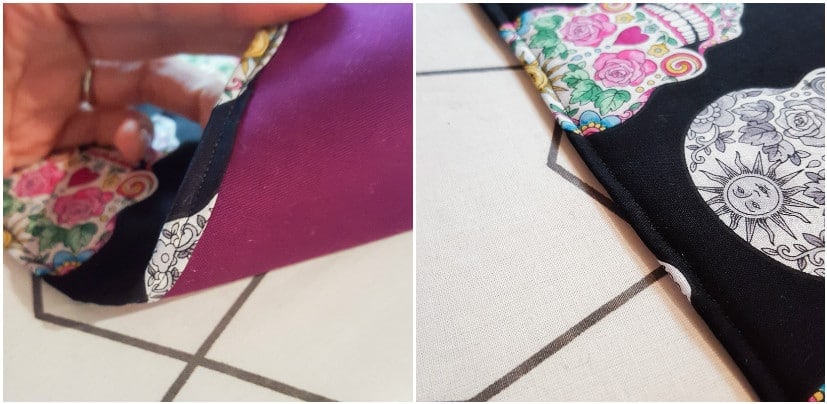
Step 3: Hem edges
I hemmed the exposed edge on the front (the smaller piece of fabric) before sewing the pieces together. Here’s a peek at what that process looked like.
To create a clean edge, I trimmed down the batting (below, top left photo). I folded and pressed my lining fabric over the batting (below, top right photo) and then folded and pressed the decorative fabric over that (below, bottom photo).
I don’t have a serger, so instead I sewed a straight seam across the hem and then trimmed the excess fabric very carefully with tiny scissors. I have these scissors; I don’t use them often, but when I do, they are a lifesaver.

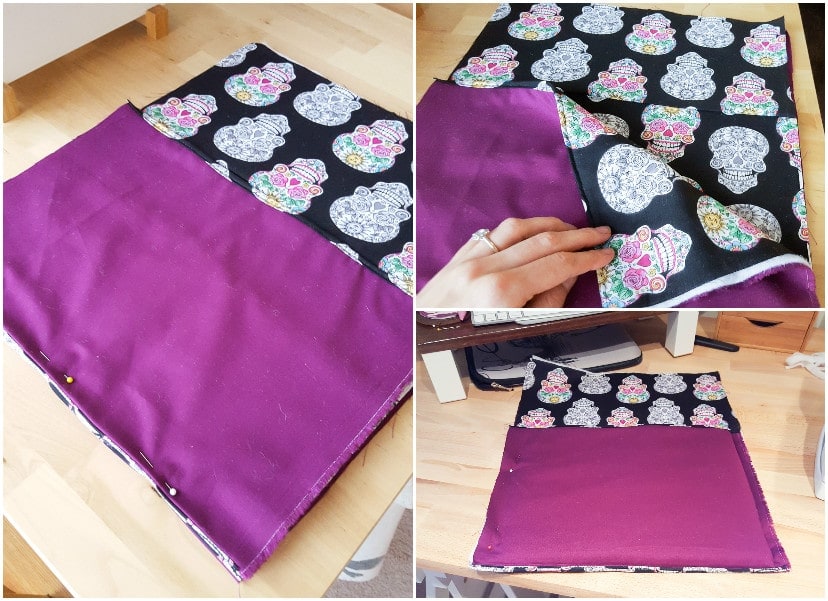

Step 4: Sew to form the pouch
Put the two pieces together with the right sides facing one another and pin in place. Sew them together along the bottom and both sides, making your laptop pouch.
Flip right-side out and give your seams a quick press. The seams will be a bit bulky because of the batting.
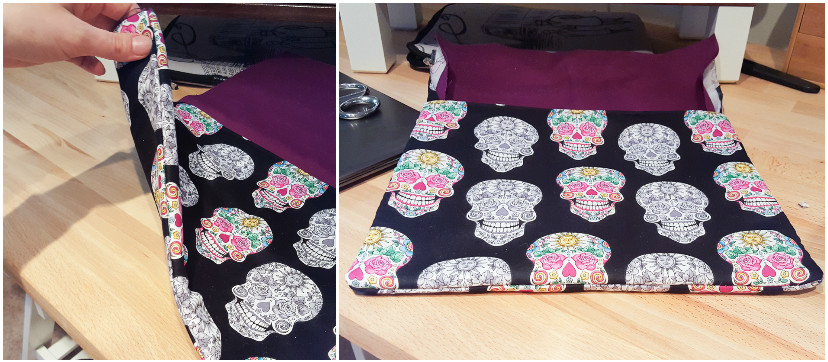

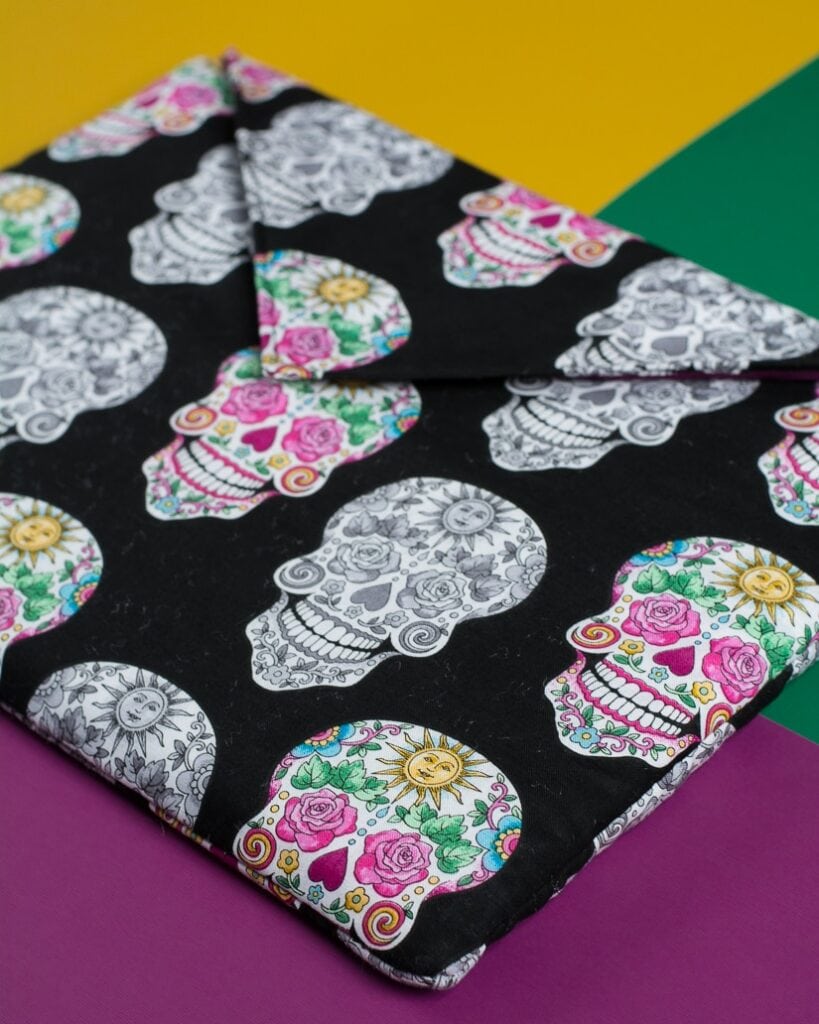
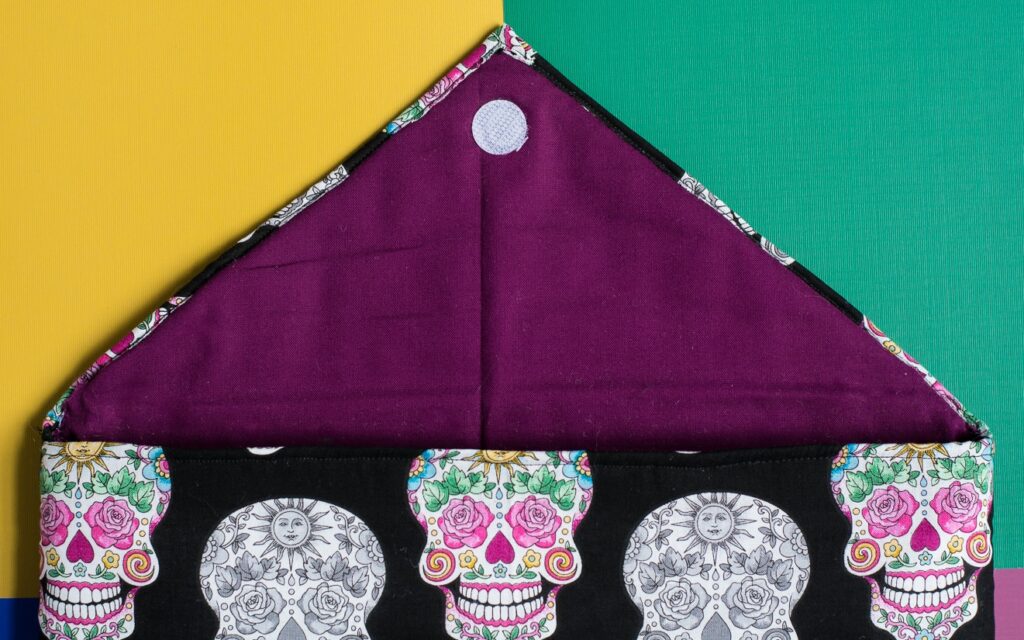
Step 5: Create flap
Trim the flap fabric down into a “V” shape, then hem the edges just as you did in step 3. Use fabric glue to adhere hook-and-loop on the inside of the flap.

And here it is! I could not for the life of me get all of the little white batting fuzzies off of the fabric for these pictures, but they’re gone now. I used machine-washable fabric, so I can easily run this through the wash if I need to.

Pin my tutorial about how to sew an envelope laptop sleeve!