
Wondering how to use air dry clay? It’s a great, cheap, and simple crafting medium for kids and adults alike. Learn how to use air dry clay, including tips for working with it and drying it faster (including the pros and cons of baking it), as well as sealing and painting air dry clay!
How to use air dry clay: Drying, sealing, & painting air dry clay designs!
Well it’s been a while since I have done a good old fashioned kid craft, but I thought it was high time to introduce my daughter to air dry clay! I loved working with air dry clay when I was younger—there are so many things you can make with it, and it’s EASY.
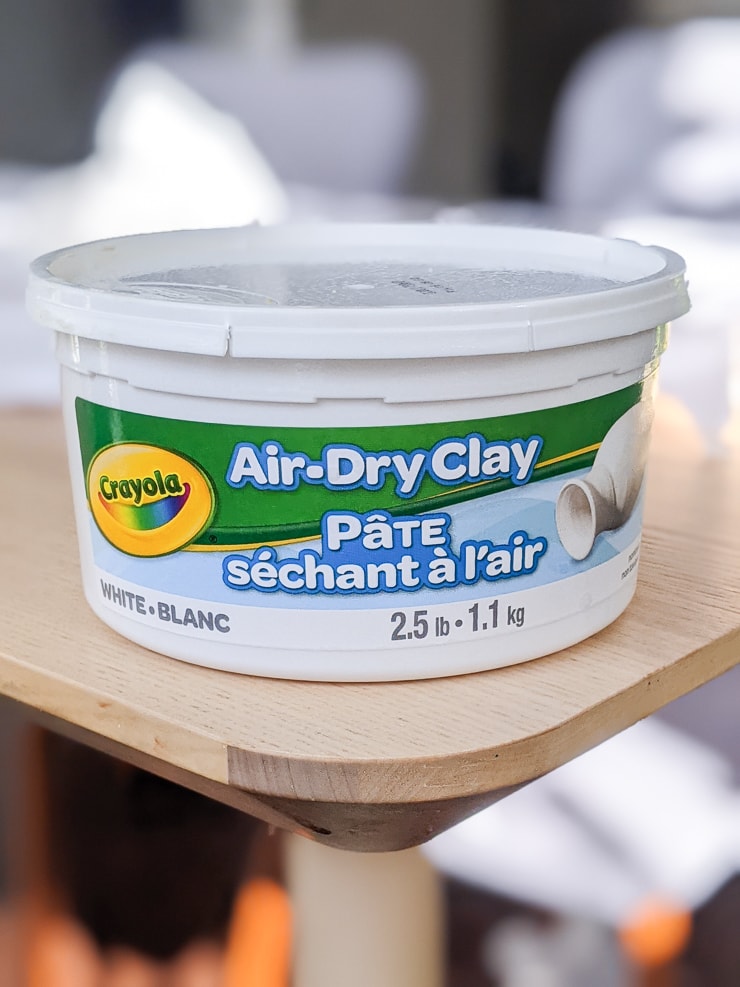
So when I was at Michaels the other day stocking up on some coloring essentials for her craft area, I also picked up some Crayola brand air dry clay. This post will talk all about working with air dry clay, painting air dry clay, sealing air dry clay, how to apply varnish, how to make it dry faster, and more!
Here’s what we’re working with—
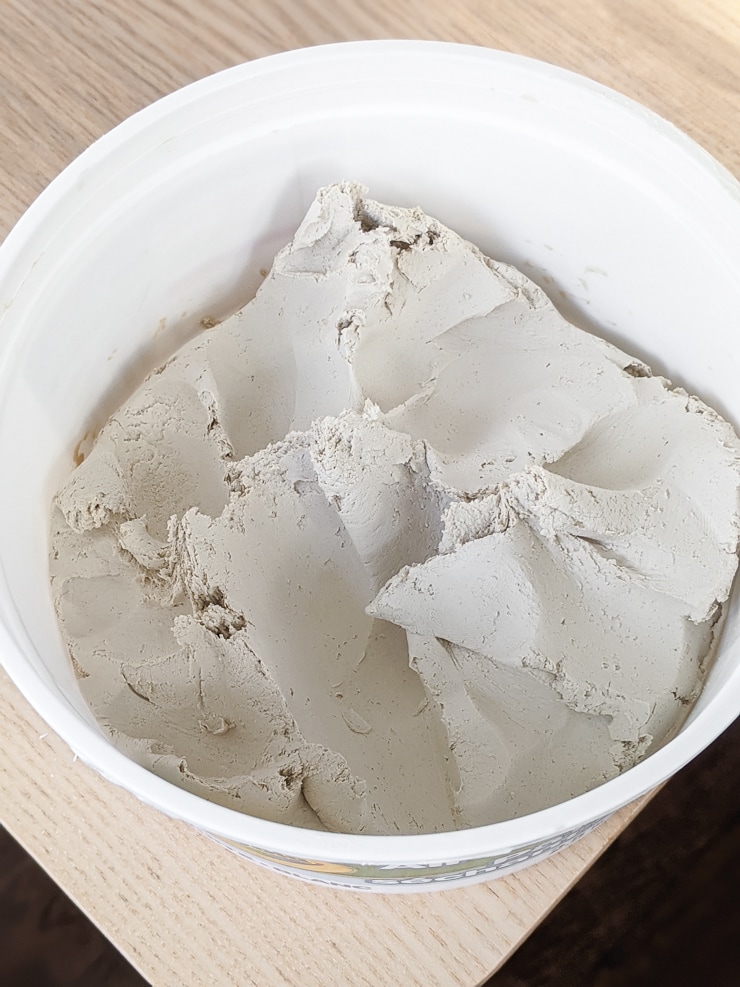
- Crayola air dry clay in white
- Clean workspace
- Clay tools (kitchen or play-dough tools are fine too!)
- Rolling pin
- Aerosol acrylic sealer
- Acrylic paints and small paint brushes
- Optional: Oven, aluminum foil, baking sheet

And here are the steps for working with, drying, & painting air dry clay designs!
(Disclaimer: The official recommendation for air dry clay is to not bake it, but I tried it in this post. If you try it to, you do so at your own risk. Always take proper precautions when working with appliances, especially those that produce heat. If you do choose to bake your air dry clay, I used the minimum oven temperature and baked for only 15 minutes.)
Step 1: Create your design
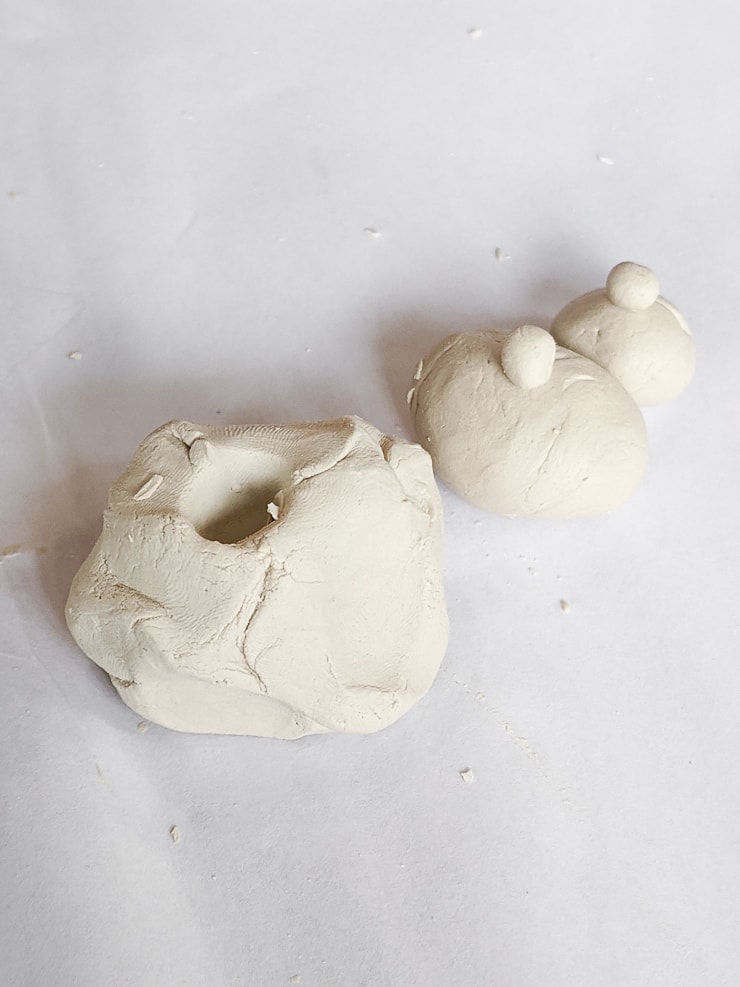
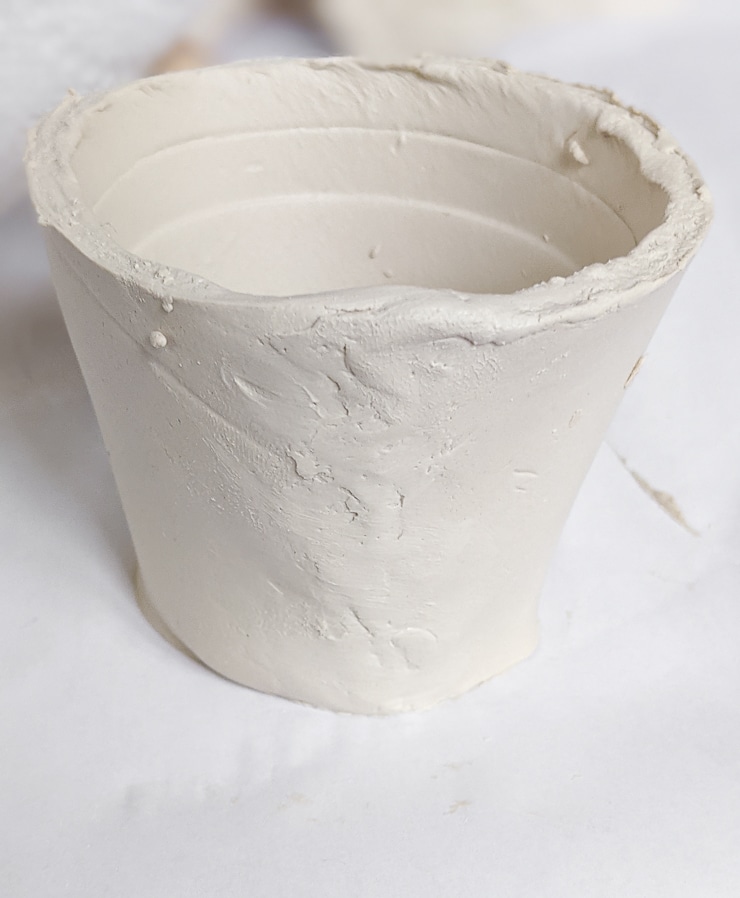
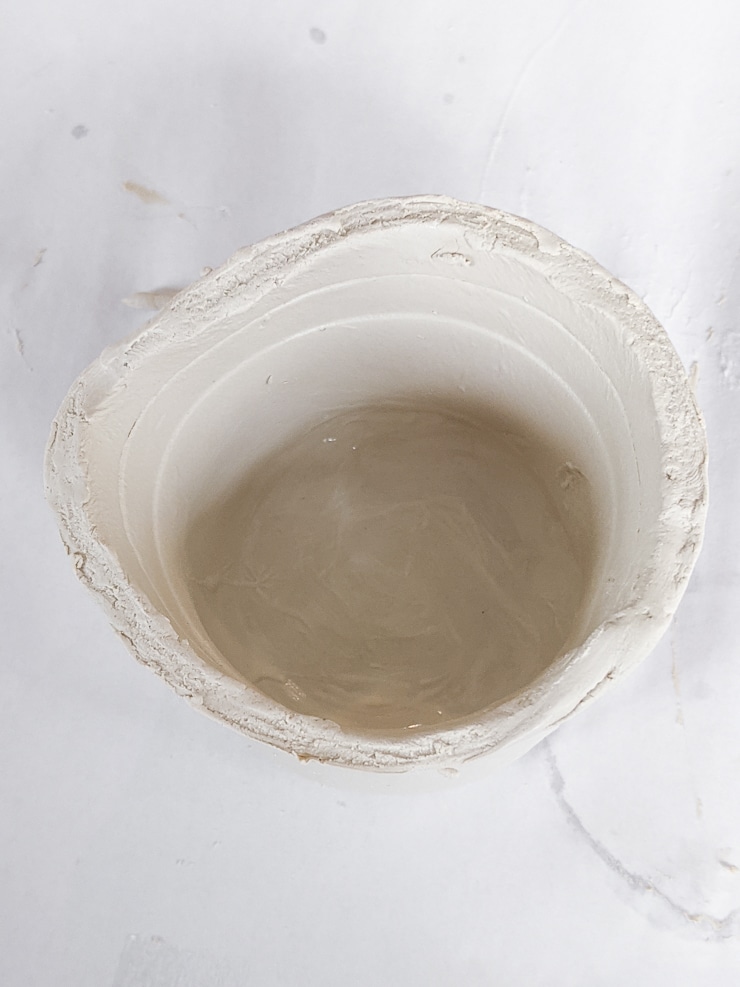
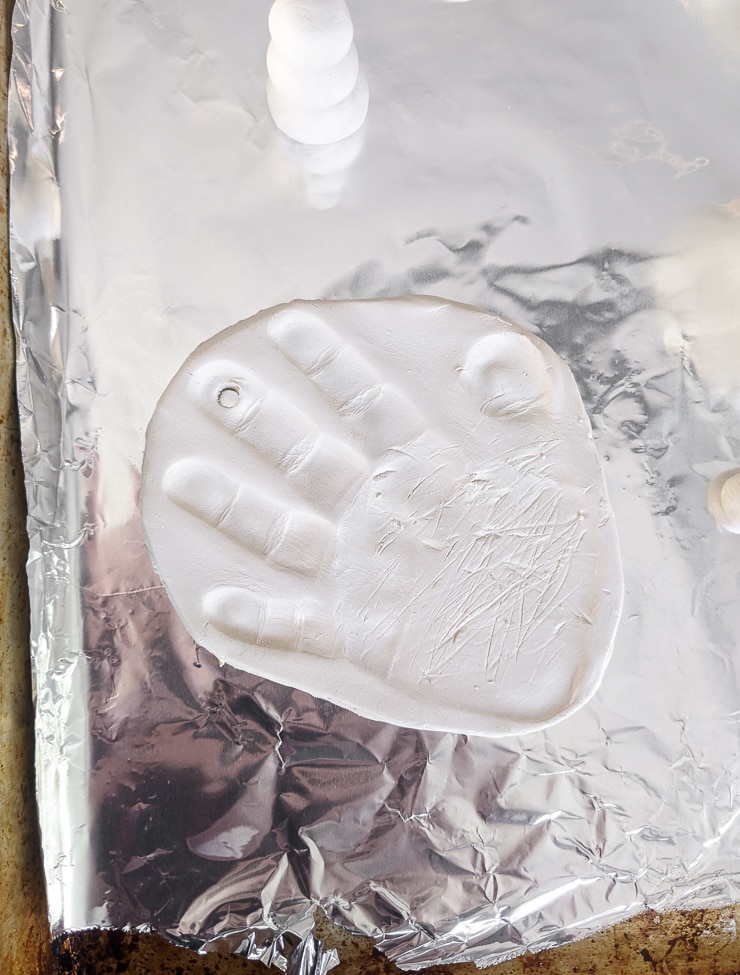
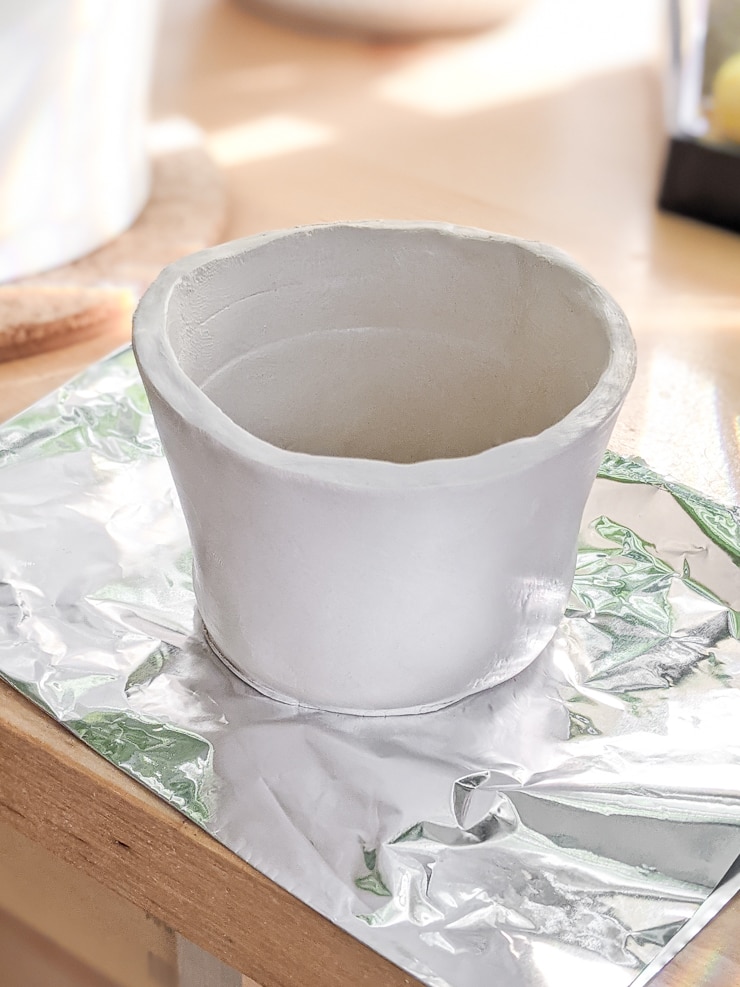
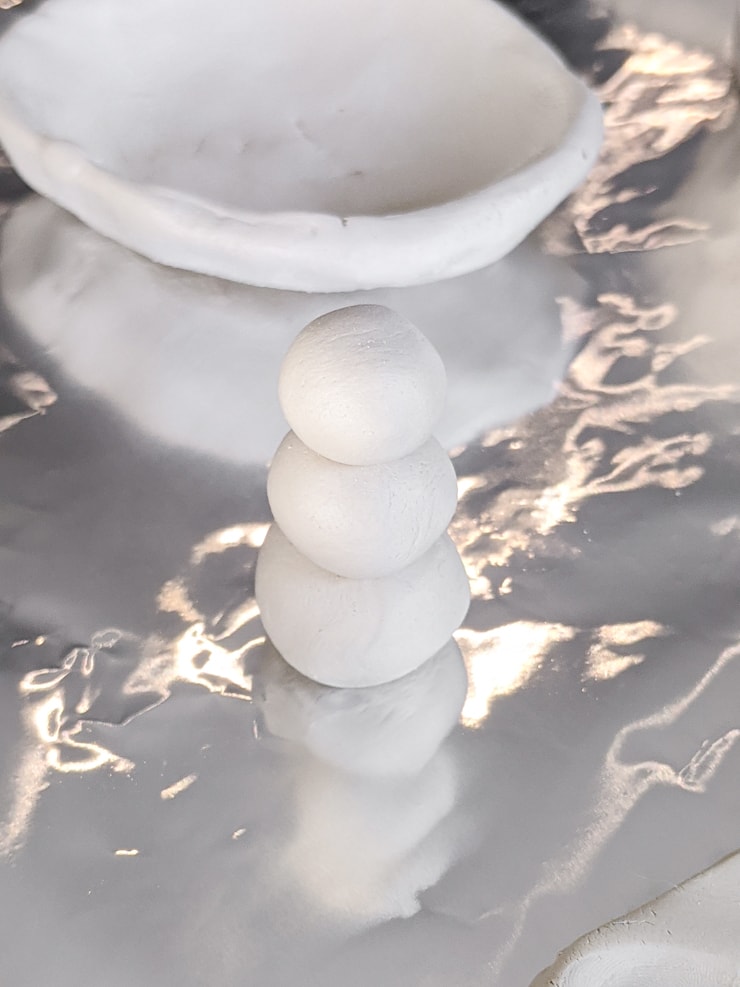
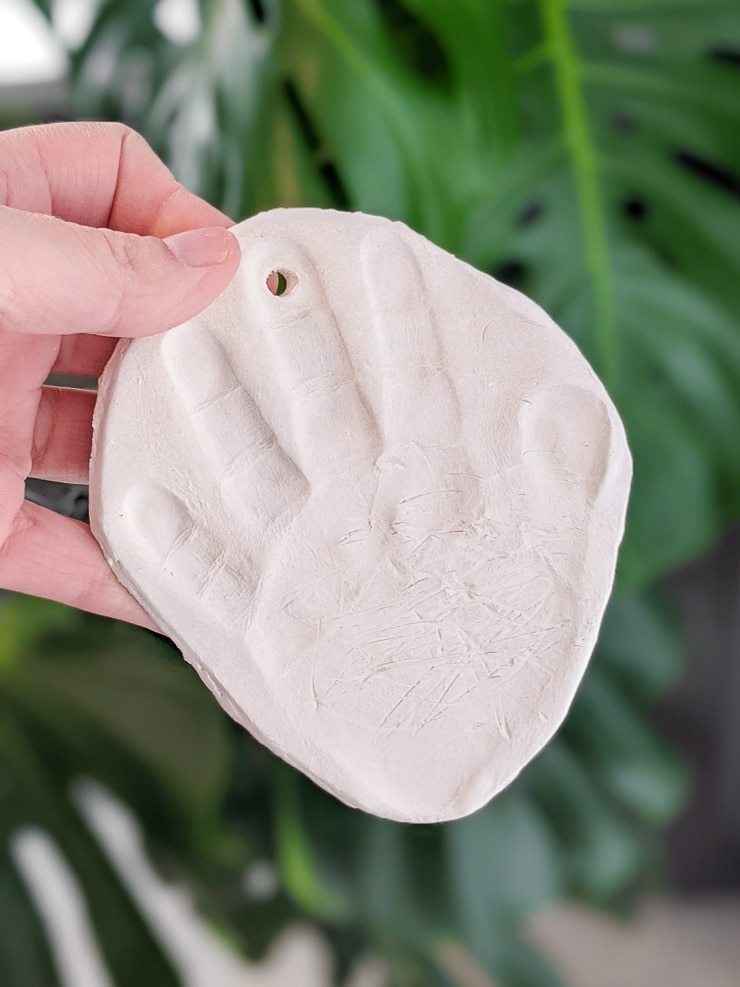
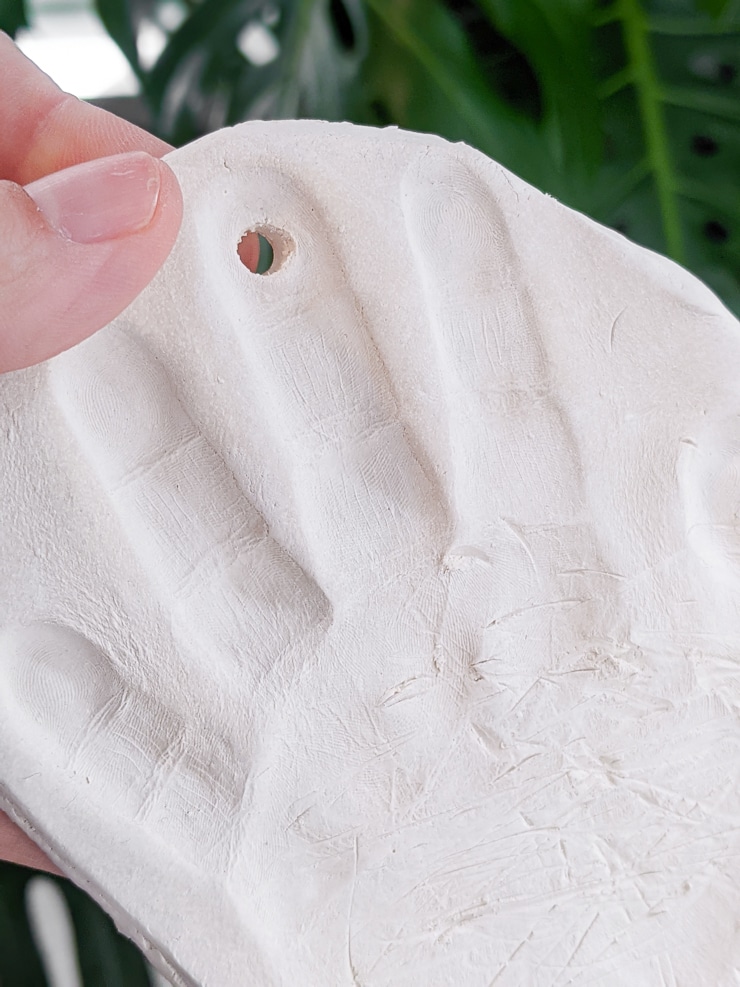
The first step is to create your designs. We did a few pinch pots (super easy for the little ones to get started with), a handprint ornament for my parents, a couple smaller pots, and some balls and “dinosaur eggs” R made.
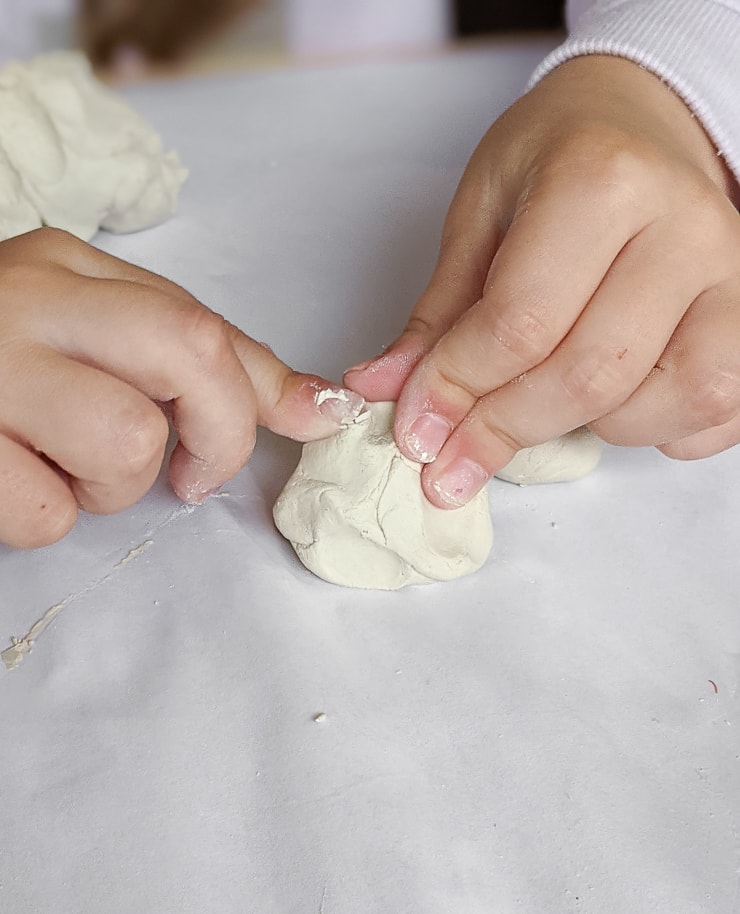
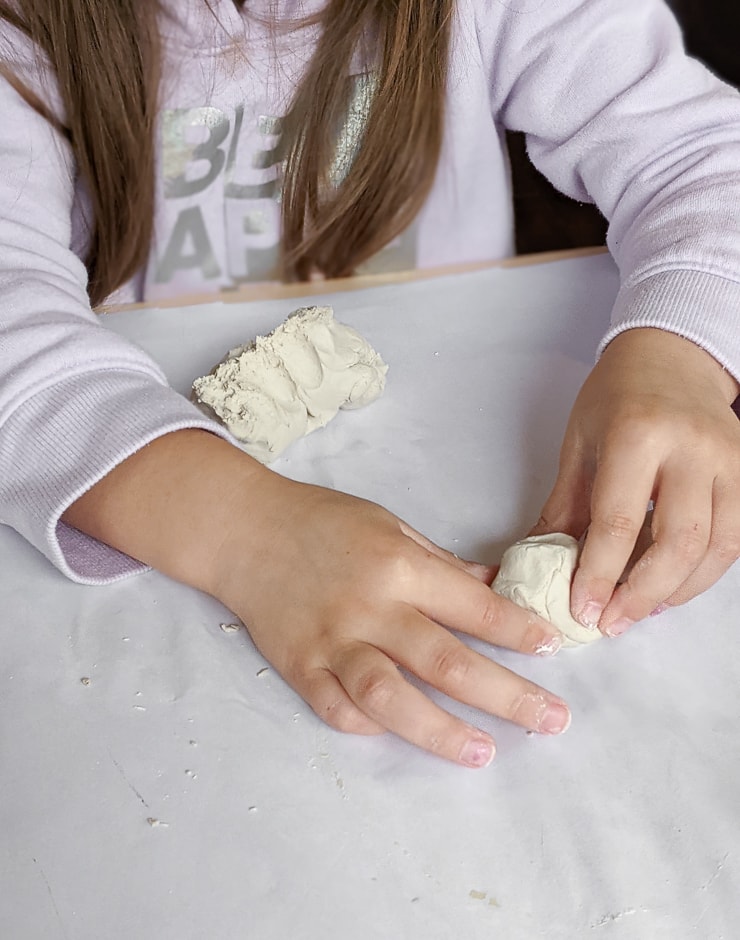
We used Crayola Air Dry Clay, which is really easy to work with. It’s a natural Earth clay that is moldable and dries hard. I also liked it because the cleanup was really easy. We put down a big piece of paper, but I was also able to quickly wipe off the areas it got on the actual table.

Making air dry clay pots and hand print ornaments
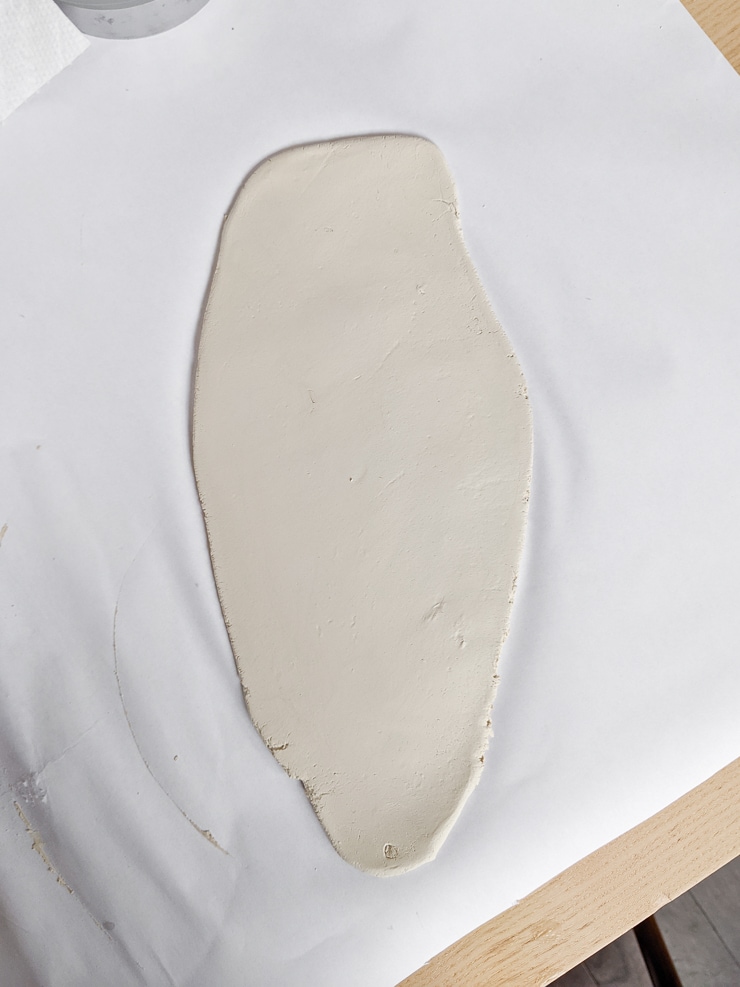
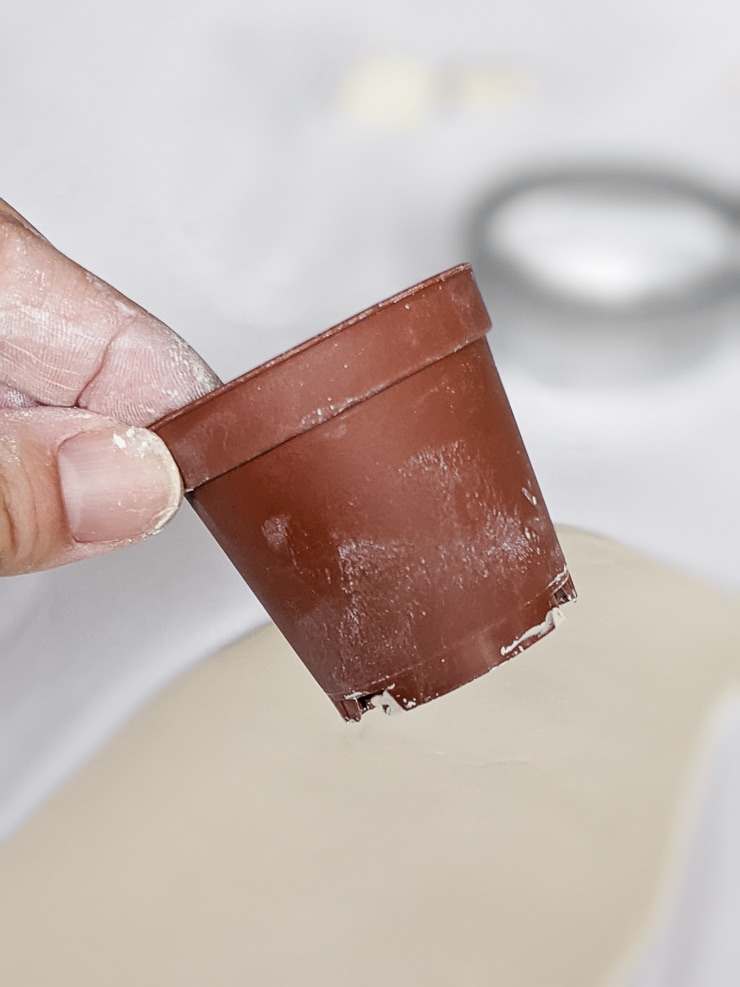
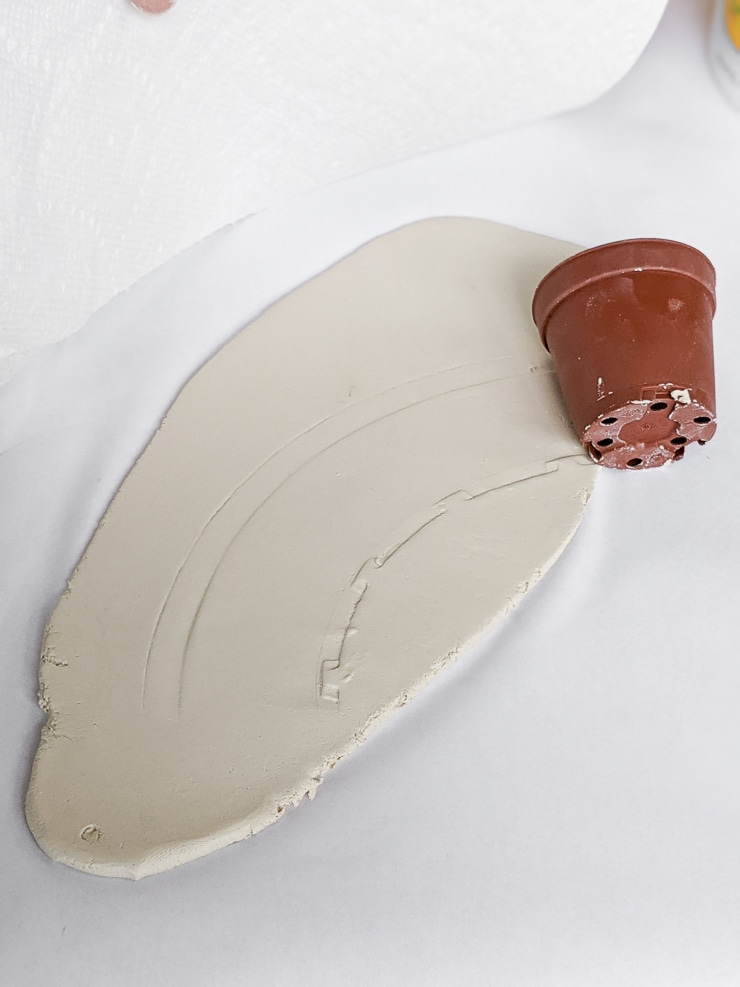
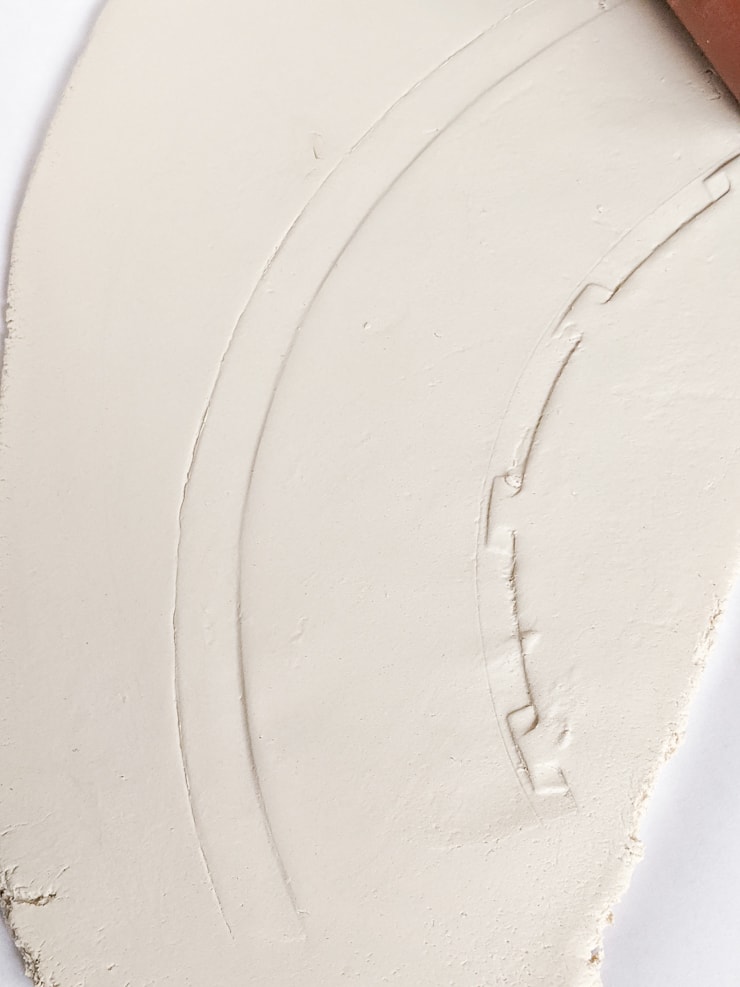
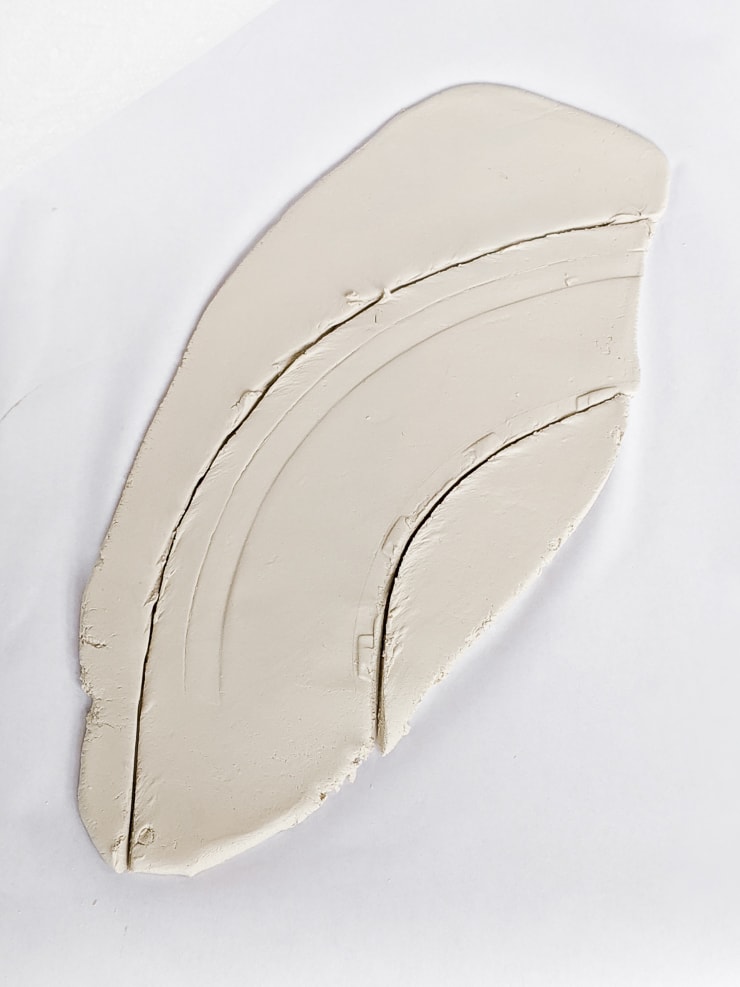
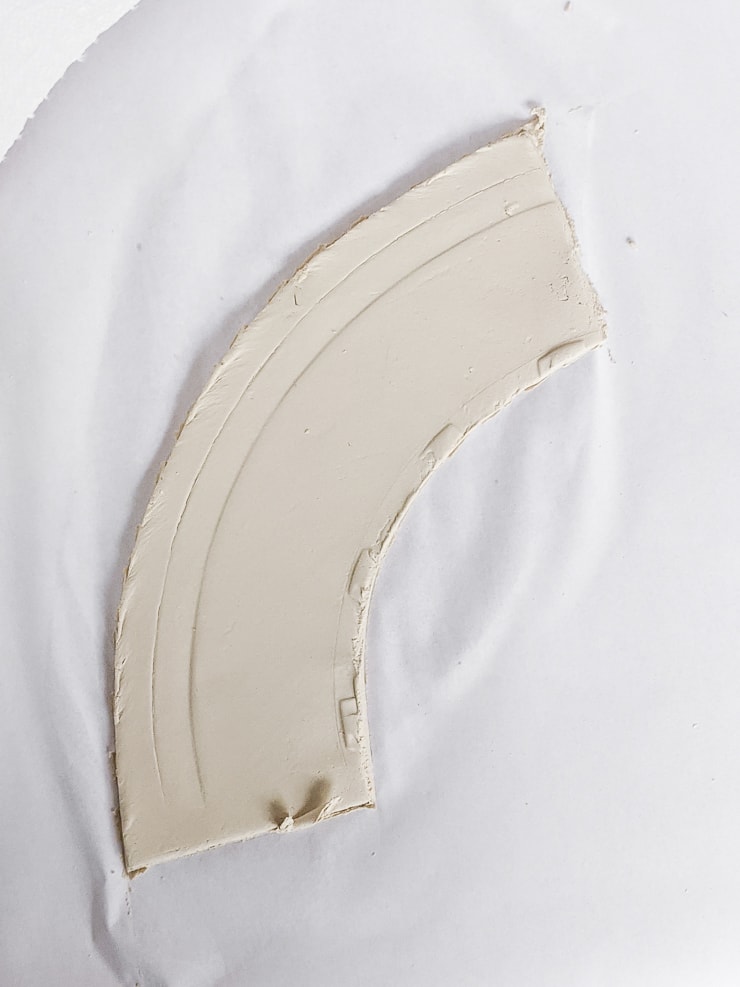
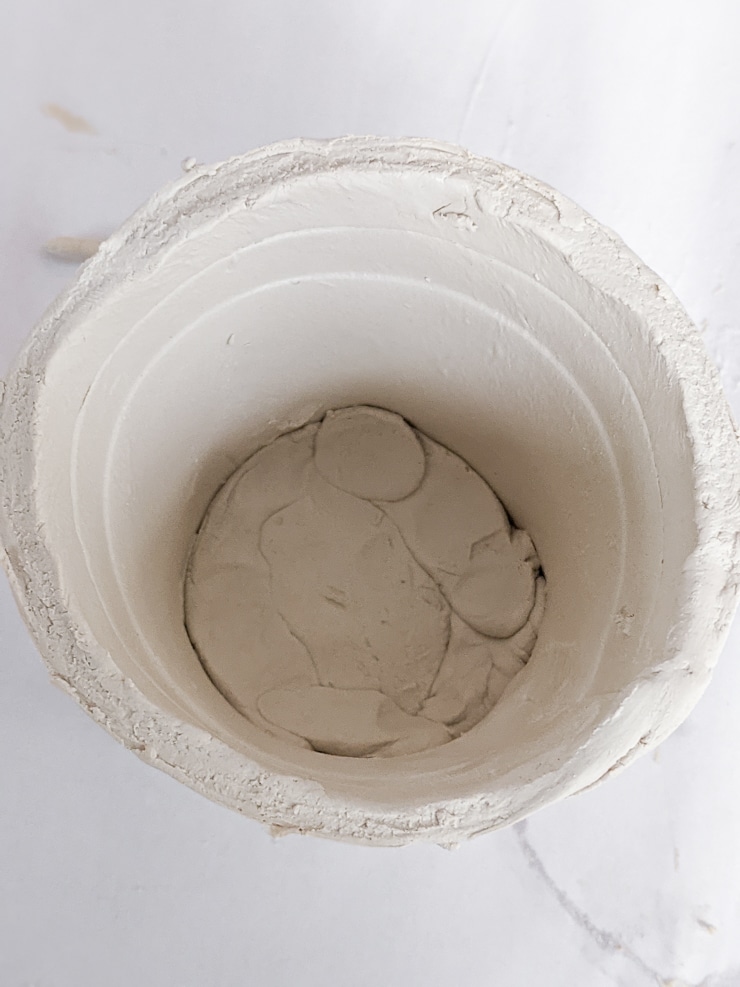
We made a few different things: pinch pots, clay pots, handprint ornaments, and a few other things. To make the clay pots, I used a small plastic cache pot to roll along rolled-out clay. This told me where to cut and worked pretty well!
It isn’t perfect, by any means, but it meant R could help too. She liked helping to roll the clay out, roll the pot along the clay, cut out the template, and smooth everything out with messy wet hands.


Tips for working with Crayola Air Dry Clay
Overall the clay was really straightforward to work with. It was sealed in an air-tight tub and was plenty pliable right away. We didn’t need to warm it up much with kneading like you do polymer clay, either.
Take out about as much clay as you think you’ll need for your project, then put the cover back on the tub. As soon as the clay is exposed to air, it will begin to dry.
If you need to, you can dip your hands in a bit of water to add some more moisture to the clay as you’re working with it and it begins to dry. Generally pieces that are ¼” thick or more will be more durable once cured—but they’ll take longer to dry.
If you are joining pieces today, you can rough up the two pieces and add a bit of water with a small brush so that you can smooth them together. This is a technique that I remember using in elementary school art class—I’m no expert!

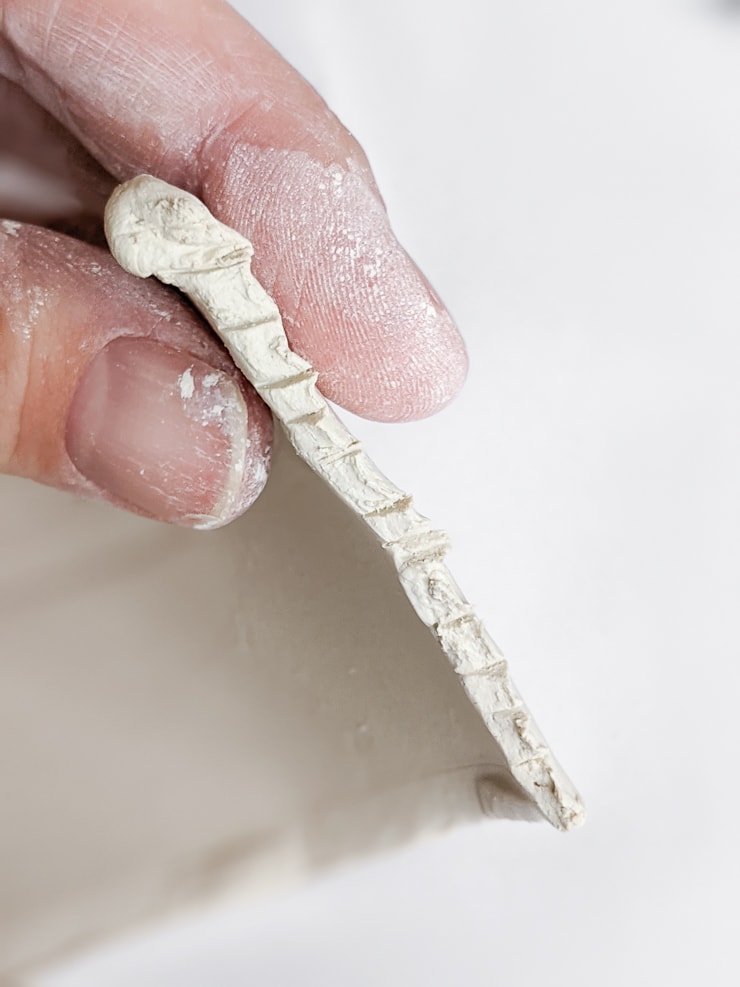


Crayola Air Dry Clay also took impressions really well—we did my daughter’s handprint, but that did require more pressure than Playdough or salt dough would.
Of note—the packaging on this clay says that it should not be used in items that will be around an open flame (like candles). It also says not to let it come into contact with food or drinks and not to put in it an oven, microwave, or kiln. (I’ll be trying out an oven, though!)


Like clay projects? Check out my tips for working with polymer clay to make DIY marble-effect clay coasters!
Step 2: Let the design dry
Once you’re finished creating your design, it’s time to let it dry. The box says that it will dry in 24 hours, though that definitely depends on the clay thickness, the amount of water you may have added, and the room conditions.
For example, if it’s a thicker piece in a humid environment, it might take two days. If it’s a thin piece in a dry room—like every room in our house when the central heating is on—it might dry in fewer than 24 hours.
You’ll know when the piece is dry because it will have much, much more resistance if you try to stick a pin in it, or a fingernail. Do this on the bottom if you aren’t sure!

How to make air dry clay dry faster
If you’re inpatient like every kid is (and like most adults, myself included),you may be wondering how to make air dry clay dry faster. First, be mindful of the conditions in the room you’re in. If it’s a wet environment, it’s going to take longer.
You can also consider increasing the airflow around your piece. For example, putting a fan in front of it or turning on a ceiling fan. Flip the piece over after a bit to ensure all areas on the clay pieces are getting air flow.

Can you bake air dry clay?
So as I mentioned earlier, the Crayola box says specifically to not bake their air dry clay. That’s because the clay is designed to dry slowly and naturally. Baking the clay can burn it and lead to cracks. So that’s my official guidance.
Howeverrr…I decided to try to bake it because I didn’t want to wait 1–2 days for the creations to dry. Here’s how I baked this clay.
First, I grabbed a sheet pan and put a layer of aluminum foil down. Then I put my creations on the pan and put them in the oven before turning it on.
This is important—I didn’t want to shock the wet clay with a hot oven. I put them on the middle rack and turned the oven on to the lowest temperature. For me that was 200 degrees Fahrenheit.


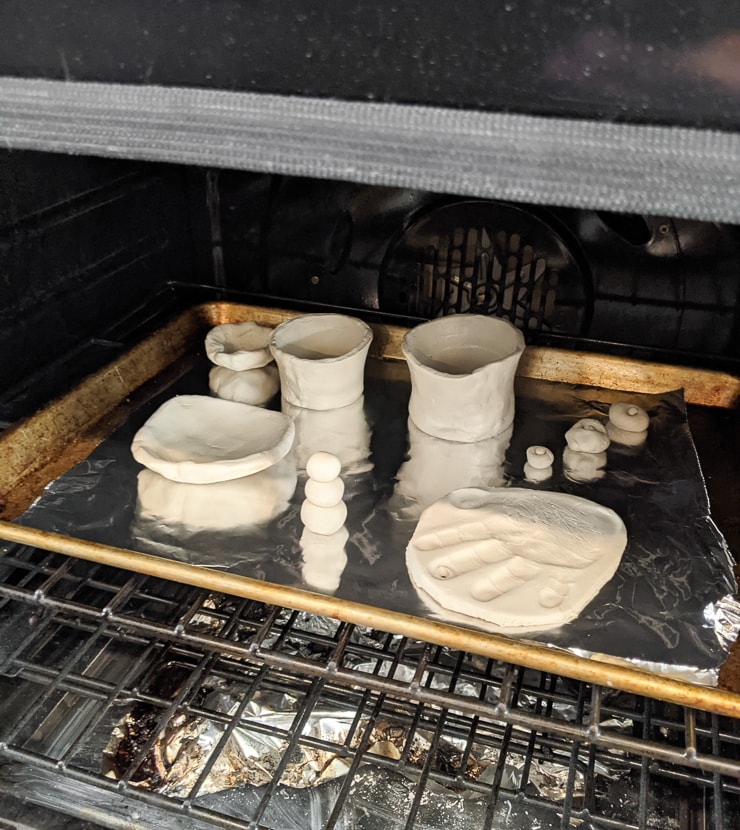

How long do you bake the air dry clay for?
I set the timer for 15 minutes. At 15 minutes, the oven had finished heating up, and the pieces all looked fine. I cracked the oven a bit and let the pieces ride for another 10 minutes or so. They weren’t done, but I did notice a crack on one of the thicker pieces.
So I turned off the oven and let them cool in the oven. It was clear that they had hardened a lot—yay! But I set them in the windowsill to finish drying overnight. I wanted to be extra sure they were ready to seal the following morning.
I personally wouldn’t bake for longer than this. Although the air dry clay doesn’t release fumes (like polymer clay does), I was super worried about burning or cracking it!
I view popping it in the oven for a bit as a way to speed along the drying process. But since this clay is designed for air drying, too much heat will shock, burn, or crack the clay.
How do you fix cracked air dry clay after it has already dried?
If your creation cracks while it is drying, you can simply patch the hole with a bit of wet clay. Kind of like a wood filler or drywall patch. This then restarts the drying process, though. But it will patch nicely!
Step 3: Seal the clay
After your creations are completely dry, it’s time to seal them! Clay is porous, the air dry clay will become pliable again if exposed to water or moisture. Sealing the clay will prevent this from occurring.


Is air dry clay waterproof?
No! It’s not. You can’t put air dry clay projects outside in the elements or expose them to water or moisture without messing them up. It’s the same reason I seal clay terracotta pots before painting them.
Terracotta absorbs allllll the moisture, which can bubble up a paint job. Sealing prevents that from happening. And it gives it a lovely sheen, too.
How to seal air dry clay
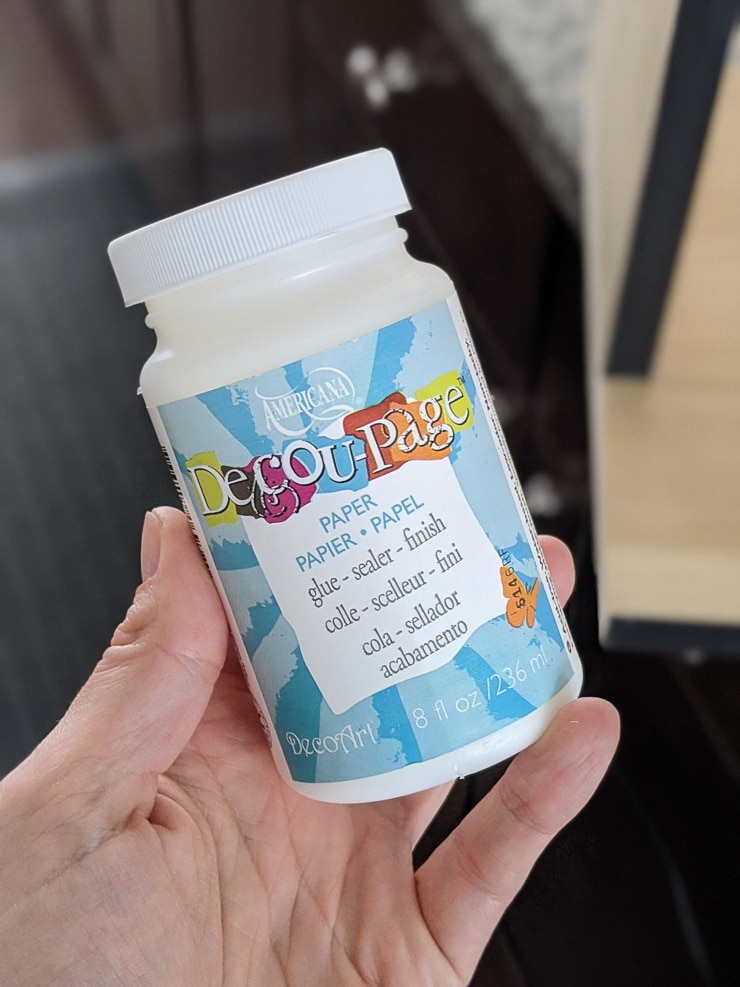
Luckily sealing air dry clay is really easy. You can use an aerosol acrylic sealer, acrylic paint with a sealer built in, or use a decoupage technique, or use resin. A couple notes on each of these methods.
I have used a decoupage technique to seal paper before, and it has held up really well. It’s how I sealed the scrapbook paper “decking” in R’s dollhouse (see the how to wallpaper a dollhouse post for more on that!).
I also have a lot of experience working with resin, though I don’t typically use resin to seal things. Instead, I like to make things like DIY resin in-lay wood trays. I have used resin to seal and preserve insects, too.
Both the craft glues used in decoupage techniques and epoxy resin are fine options, but they aren’t without drawbacks. First of all, both will have varying levels of yellowing over time. This isn’t a huge issue if you are painting over it.
Craft glues require multiple layers to be an effective varnish, and even then it will just be water-resistant. Not waterproof. Resin, on the other hand, has a steeeeep learning curve and is super messy.

Varnish for air dry clay
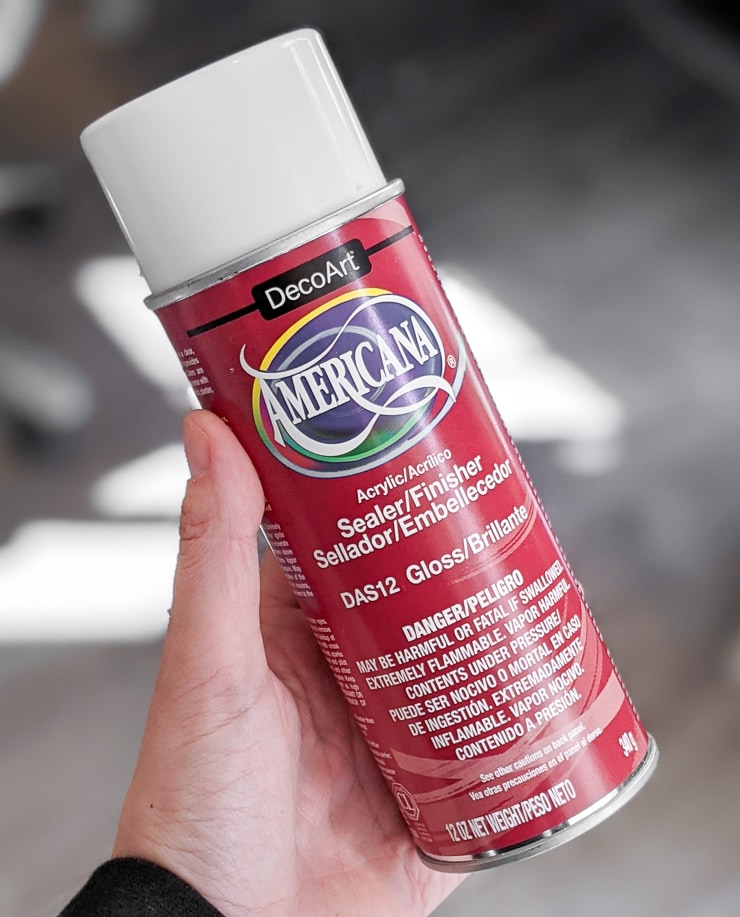
So that leaves us with acrylic paint that has a sealer built into it and an aerosol acrylic sealer. Much like I do for terracotta clay pots, I like using both. Personally…I do not trust the long-term durability of acrylic paints with sealer built in. I have seen them chip too many times.
So I will be using an aerosol acrylic sealer for the first layer, sealing the creations top and bottom, inside and out! Then, once that is fully dry, I will put paint with an additional built-in sealer on top of that for whatever design I want.
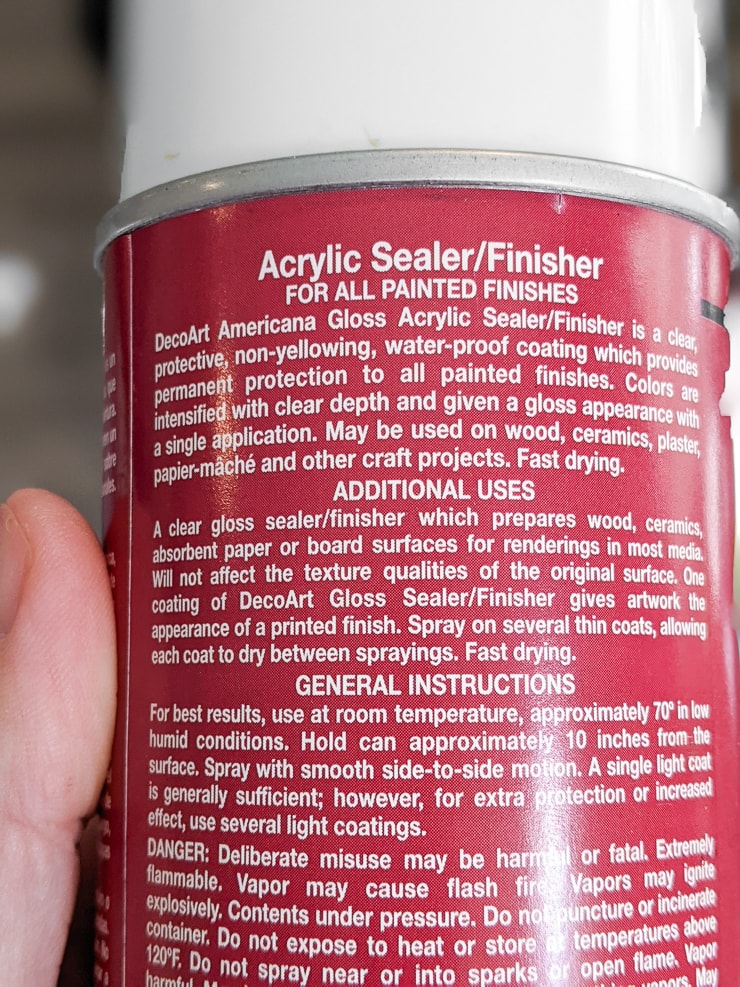
Remember to be mindful of the aerosol varnish’s finish. I am using a gloss varnish spray, but they come in different sheens. Look for a matte sheen if you want it to be the most natural looking.
Several thin coats are the key to a smooth, drip-free finish. Treat it like you’d treat spray paint. Globbing it on won’t do a better job, it will just drip and take forever to dry.
Using a base varnish also leaves room for you to leave parts of the creation the lovely white/tan natural clay color instead of painting everything. If you use a high-quality craft paint and let it dry/cube completely, it will be a very durable finish.


Like this? Check out my post about trying 5 popular DIY slime recipes!
Step 4: Paint the clay creation!
And after the piece is finished, dried, and sealed, it’s time to finally paint the air dry clay creations! Yes, it takes a while to get to this point. But that’s just part of working with clay. Here’s what I recommend for painting air dry clay.
Painting air dry clay designs to last
First of all—if it hasn’t come across already—it’s really important to make sure everything is dry before painting it. If you skip the aerosol varnish step, that’s fine. Maybe it’s just a Christmas ornament or something.
But it’s still important to let the project dry completely before painting air dry clay. If you don’t let it dry completely, the project can crack. And why put all that work into a project juuust to let your impatience get the best of you at the end!
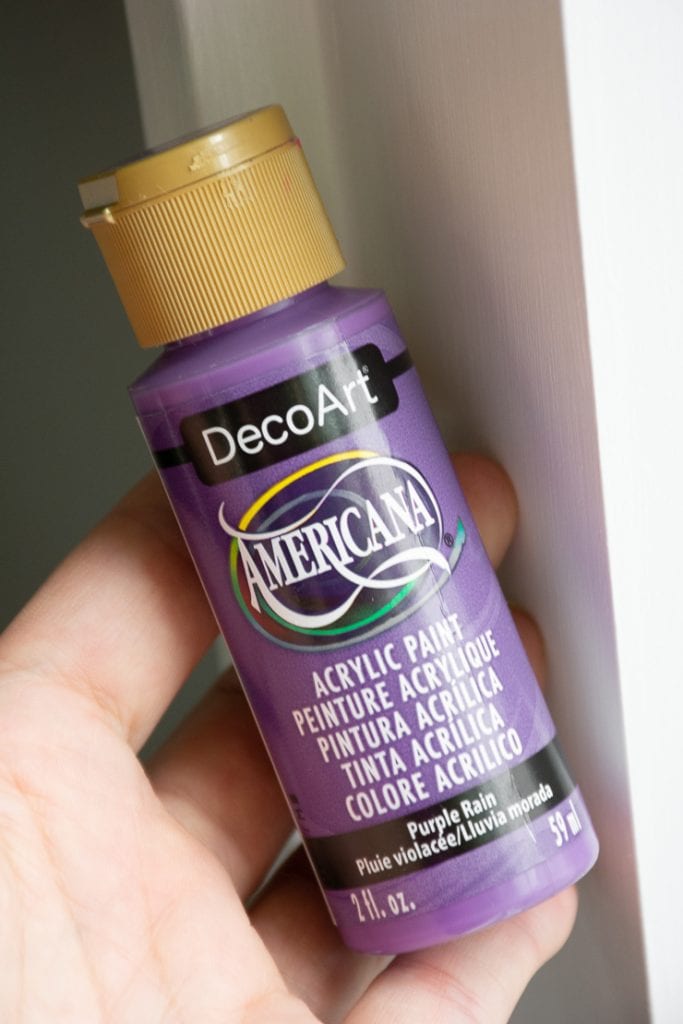
So, when it comes to painting air dry clay creations to last, you want to use a high-quality acrylic paint. I like DecoArt’s premium multi-surface satin acrylic paints because they come in small sizes, level really nicely, and have a durable finish.
If you are using another acrylic paint, that’s fine! There are tons of brands out there. Just make sure it is self-sealing and waterproof if you’re going to put your project outside or have it come into contact with water/moisture.
As I mentioned, you can do an additional coat or two of aerosol varnish on top of the paint if you’d like to. But if you’re using a high-quality paint with a built-in sealant, it’s probably overkill.

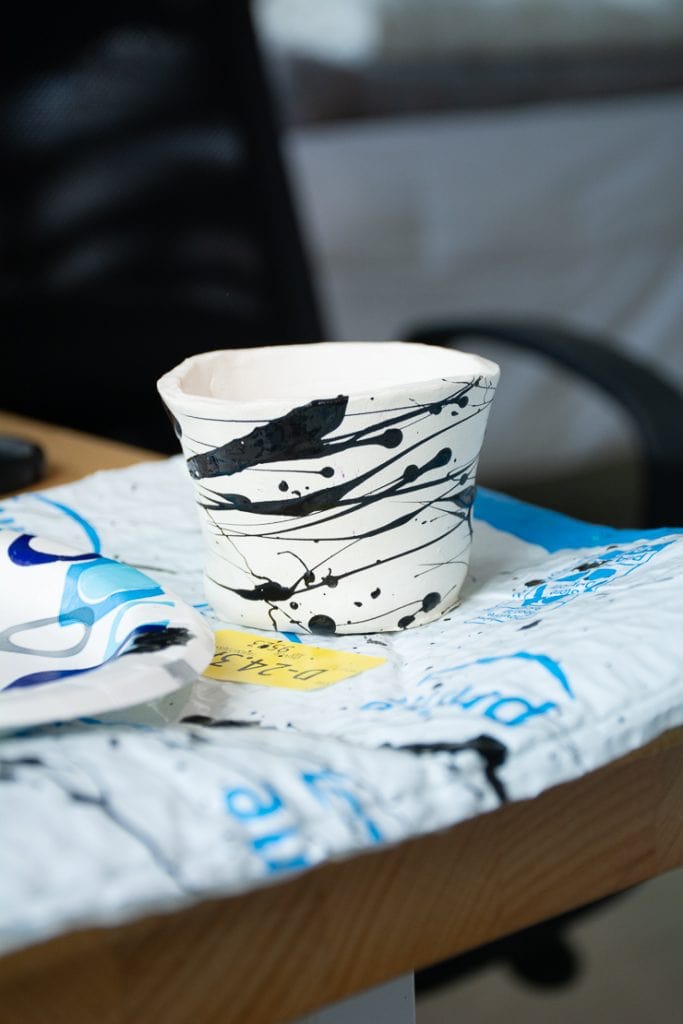
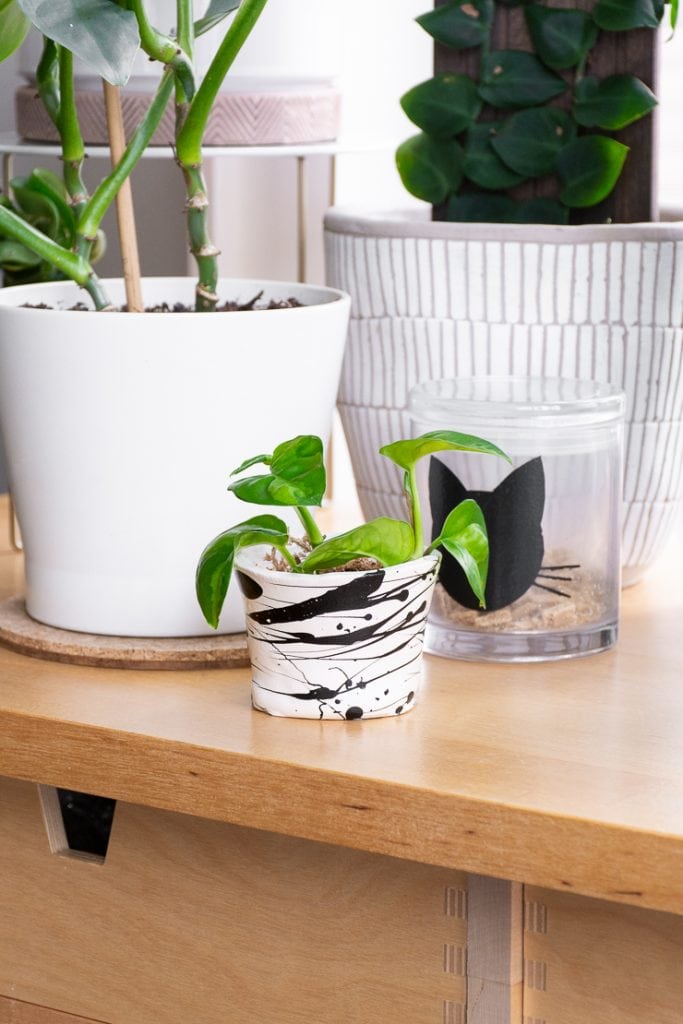
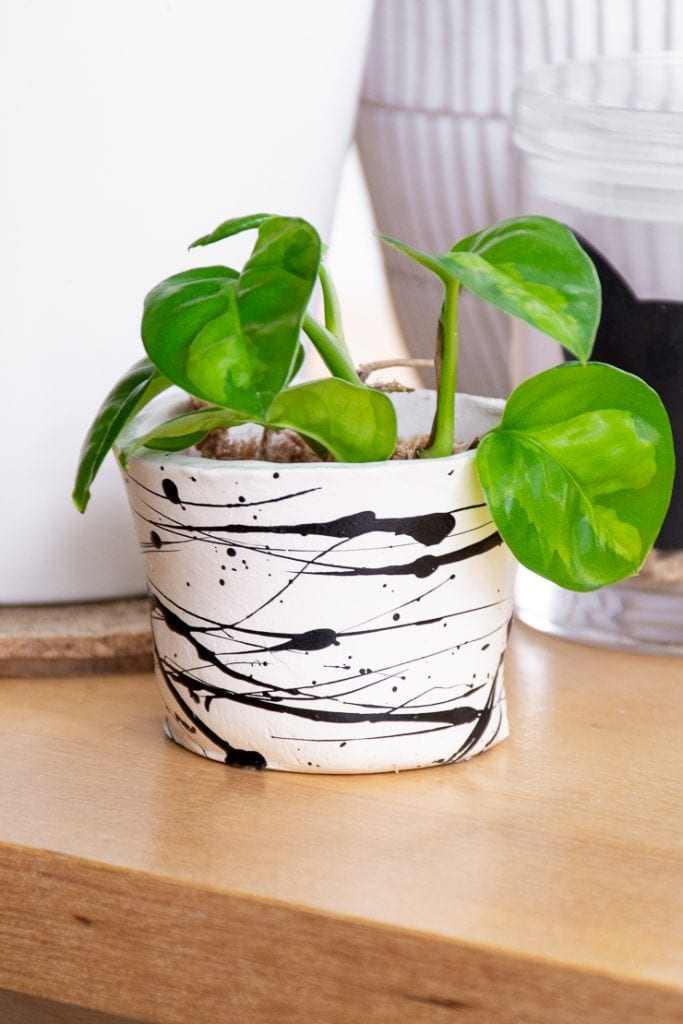
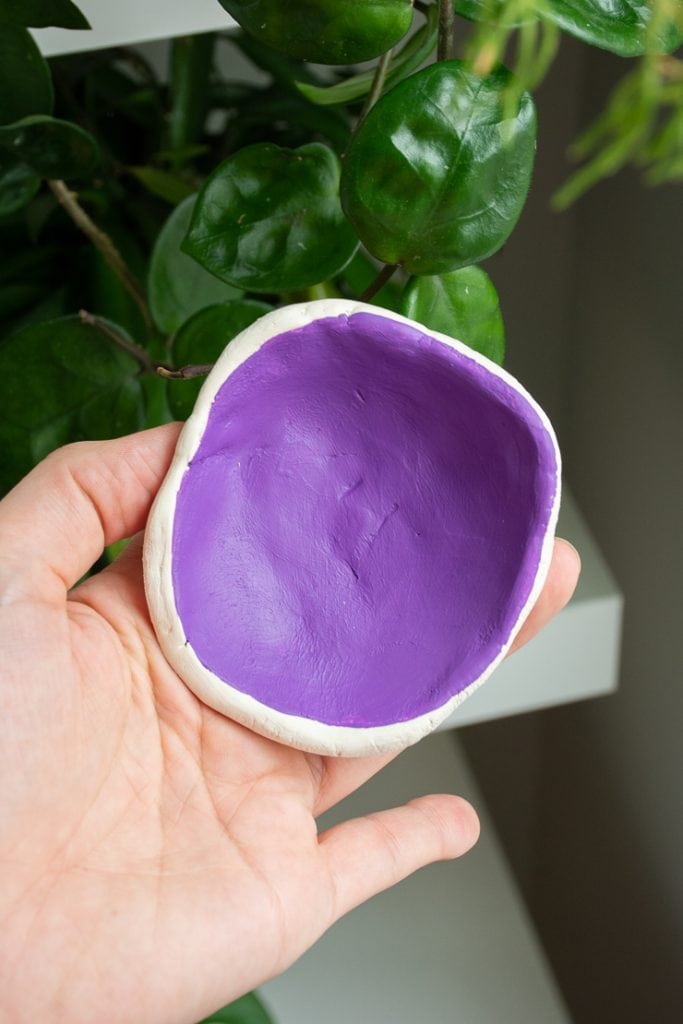
And that’s it! Here are our finished dried, sealed, and painted air clay creations!
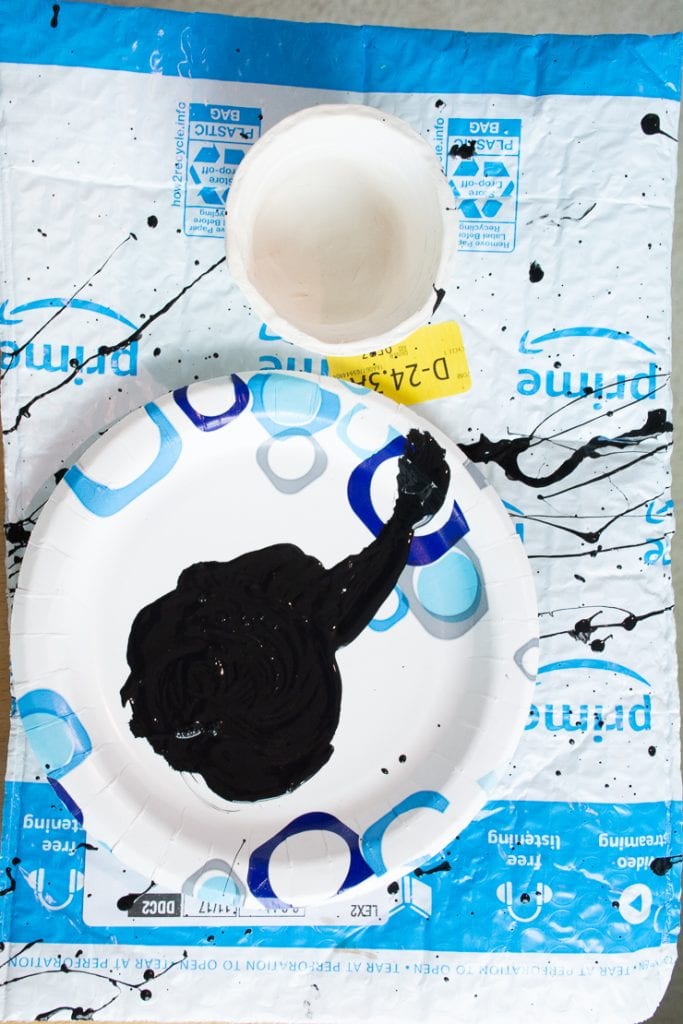
They turned out awesome. We added purple acrylic paint to most of it—my daughter wanted everything purple. I helped her paint some of them. And I used black paint to do a splatter effect on the pot I made.
Make sure to do this outside 🙂 I just overload the brush with paint and then flick it toward the project. You never know what you’re going to get, and that’s what I love about it! And it’s hard to mess up.


How to store air dry clay
As a final note—store air dry clay in an air-tight container in a cool, dark place. I personally like to buy clay in smaller amounts that I think I’ll probably use up for one craft.
Clay will naturally begin to dry out after a while, even if you’ve resealed the container. You can add some more water to moisten it, but you might get mixed results!
Pin my post about painting air dry clay!

