I have a post about how to make a balloon garland, but how about a balloon arch? Since my original post, there are some new products on the market to help you! Learn how to make a balloon arch for any occasion with this tutorial post!
What feels like decades ago, I made a balloon garland for my daughter’s first birthday party. And it was pretty easy, too—I just used balloons and twine! This is now the old-fashioned way, though you can certainly still use the method if you don’t want to buy any special supplies.
But now, years later, there are some helpful products on the market that allow you to make professional looking balloon arches without all the tying and cutting string that my twine method used. You can even get pre-made kits!
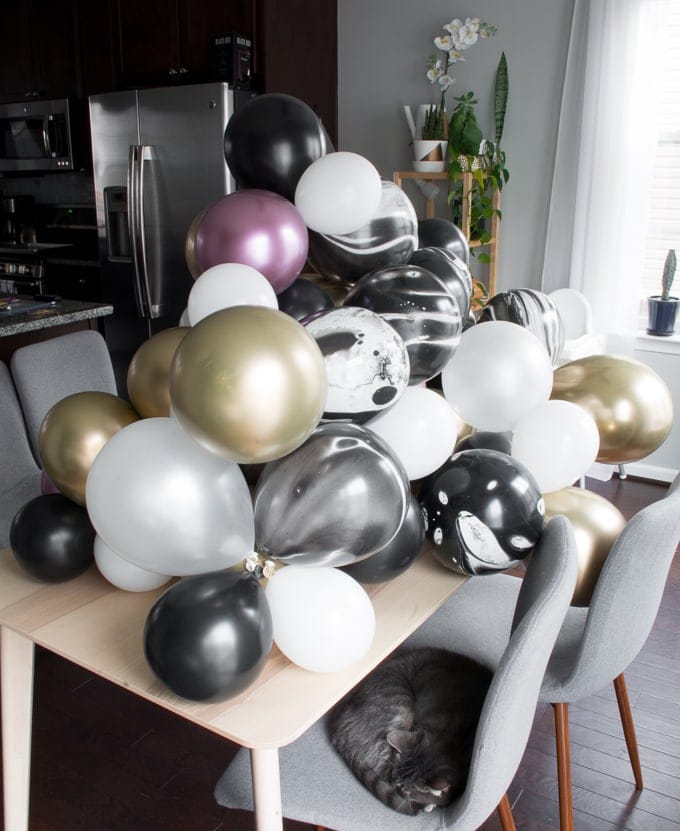
I got the balloons I used for the garland below from this shop. I loved the bold metallic balloons and marble balloons that stayed pretty opaque even after blowing them up.

But if you want to make your own—which I still think is the best method because you can decide exactly how large you want the balloon to be—this post is for you! This tutorial uses a plastic strip designed specifically for making balloon arches.
A note on buying balloons—since we did this as a last-minute indoor activity, we picked up some balloons at the local Party City. We ended up spending about $25 on balloons and got waaaayyy more than we needed. (More tips on figuring out how many you’ll need below.)
Once you figure out about how many you’ll need, round up for safety and buy a pack of assorted balloons online. It is WAY cheaper to buy online once you know what colors you’ll need. Etsy also has a wide selection of gorgeous matte and metallic balloons, too!
- Latex balloons in red, orange, yellow, green, blue, purple, pink, and white
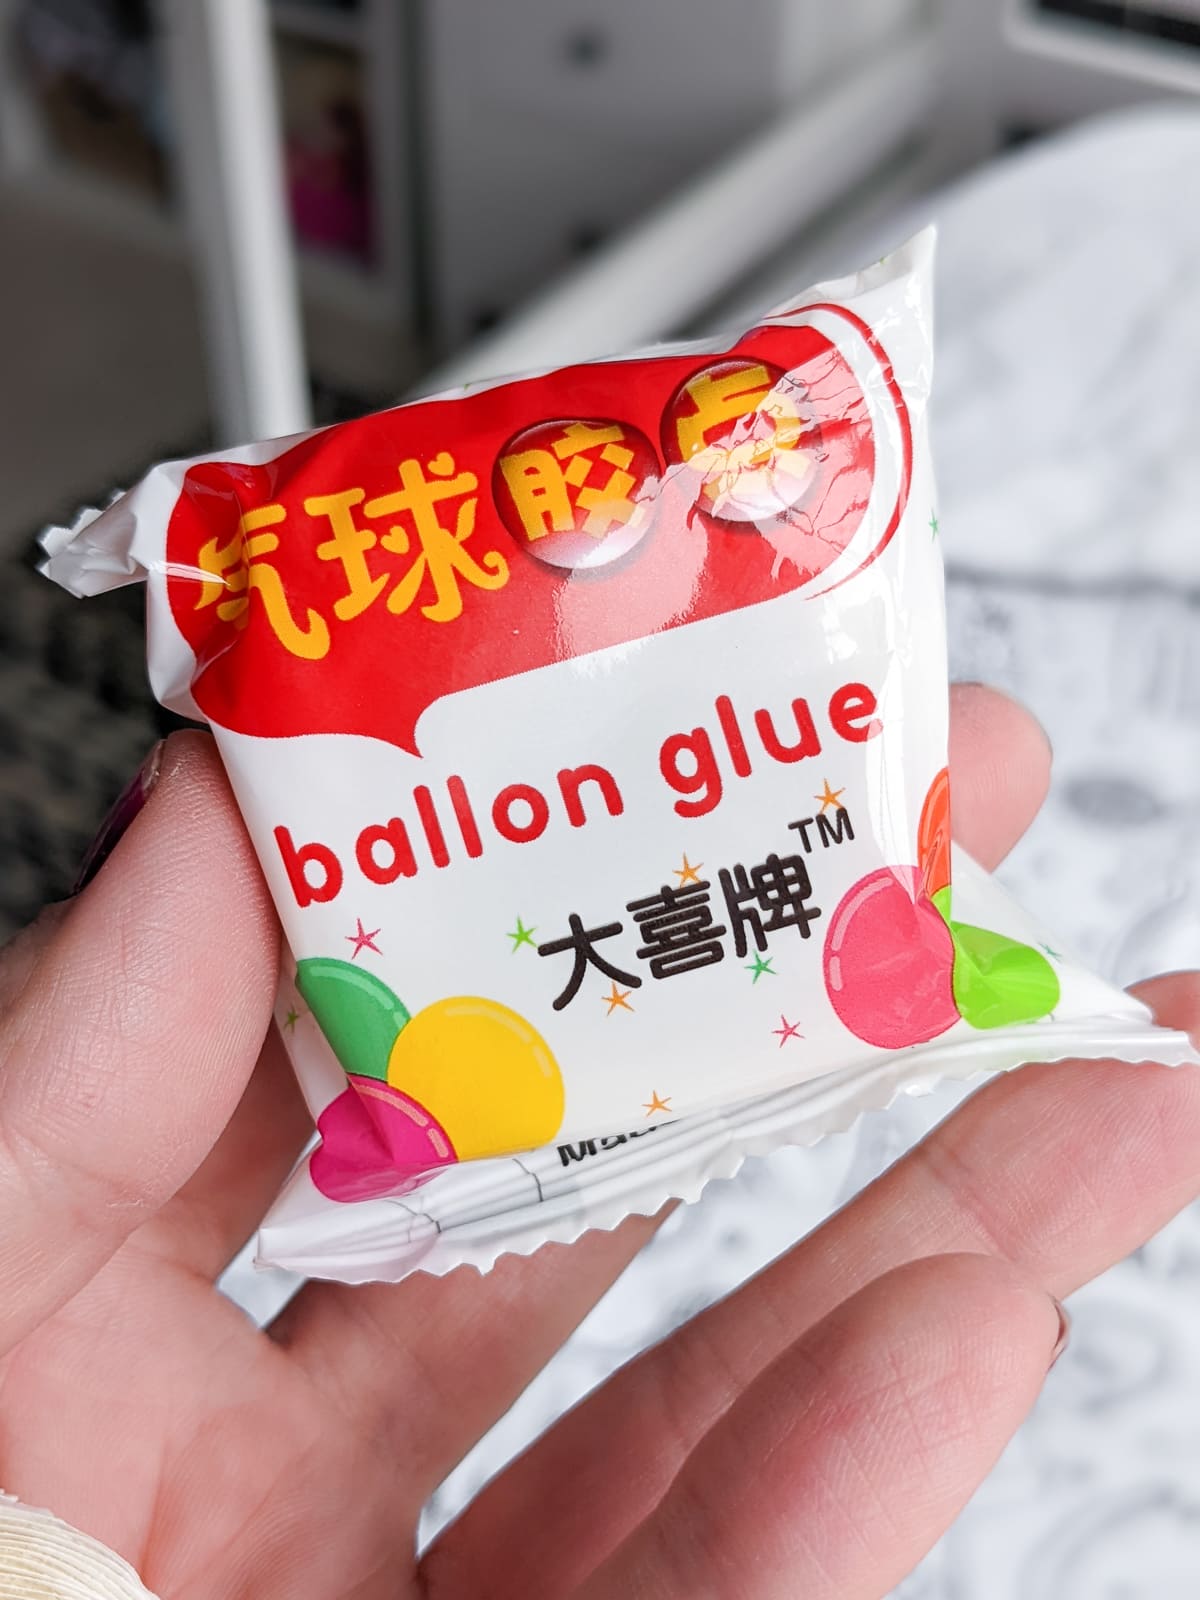
- Balloon arch plastic strips & glue set—that is the exact product I used, and it’s much cheaper than buying locally at a party store! Plus you get more than you need for one arch (unless it’s huge)
- Optional: Hand pump for balloons
- Optional: String, 3M hooks, additional hanging supplies like tape
I wanted a fairly large balloon arch, so I decided to blow up 12 of each color. So that meant 96 balloons. A lot of balloons! I got a big multipack of 12″ balloons, and then I supplemented that with a few packs of 9″ balloons.
The size of your balloon arch also depends on a few other factors—how large you blow up your balloons and how closely you pack them together on the plastic strips, for example. Mine are packed quite tightly and are blown up in a variety of sizes.
So keep that in mind when deciding how many balloons you’ll need for your arch. Buy more than you think you’ll need!
For more party posts, check out my post on How to Throw a Birthday Party for a Cat, my tutorial on How to Make a Cake Topper With Cricut, and my DIY Scrapbook Paper & Yarn Pom Pom Party Hats!
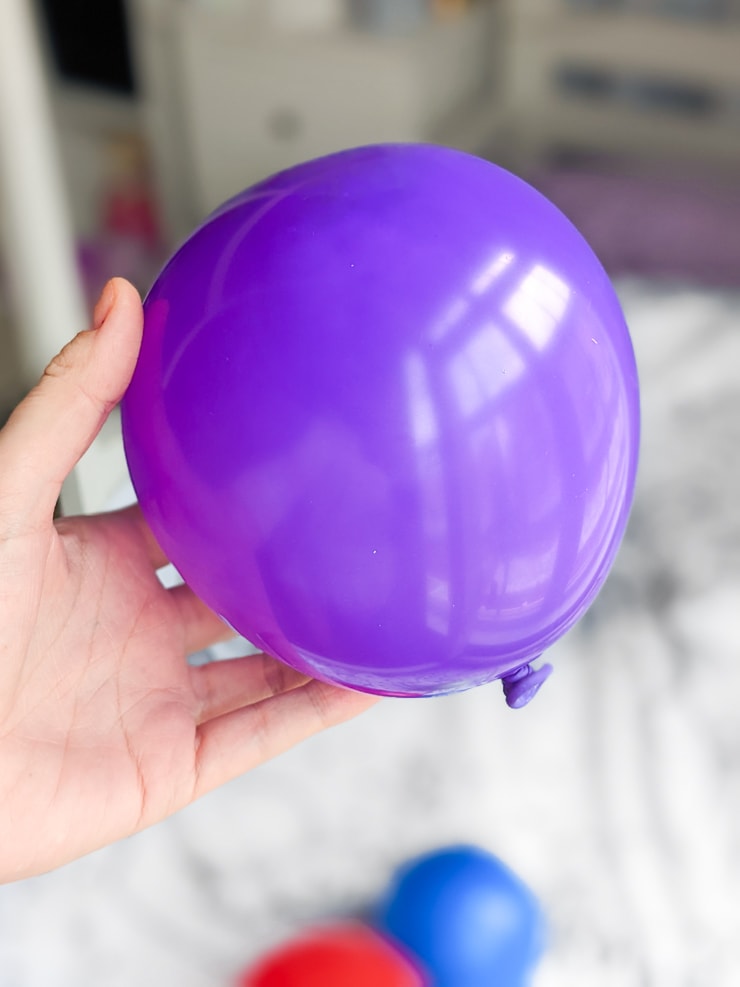
I blew the balloons up myself, but you might want to use a hand pump inflator depending on your personal circumstances. I blew up all 12 of one color, took a break, and then got back at it.
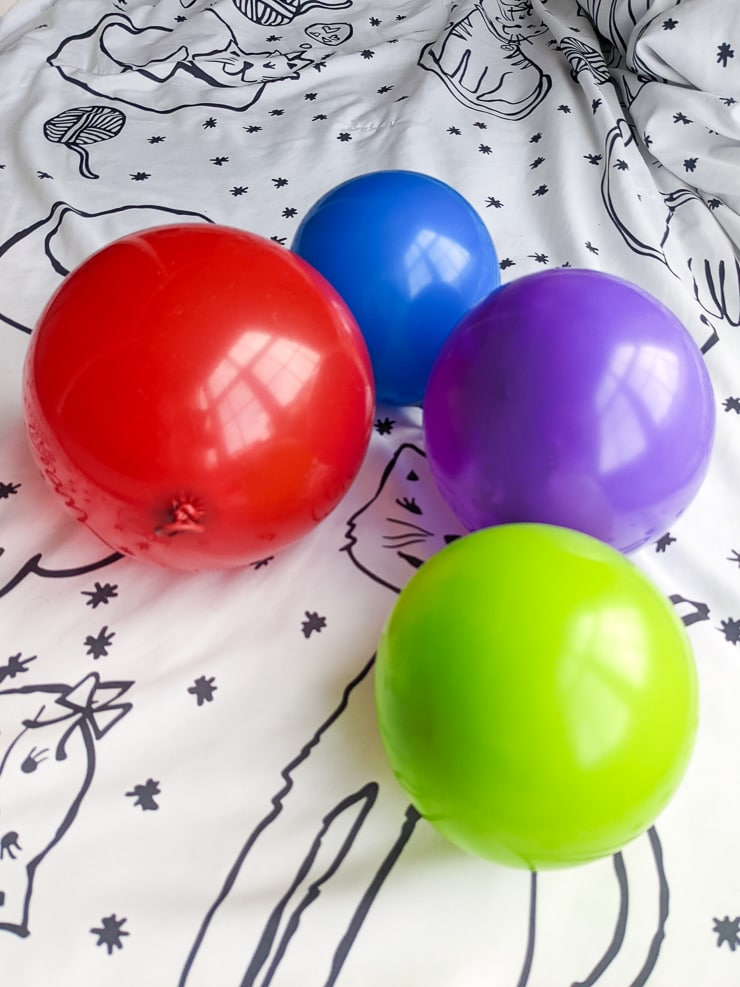
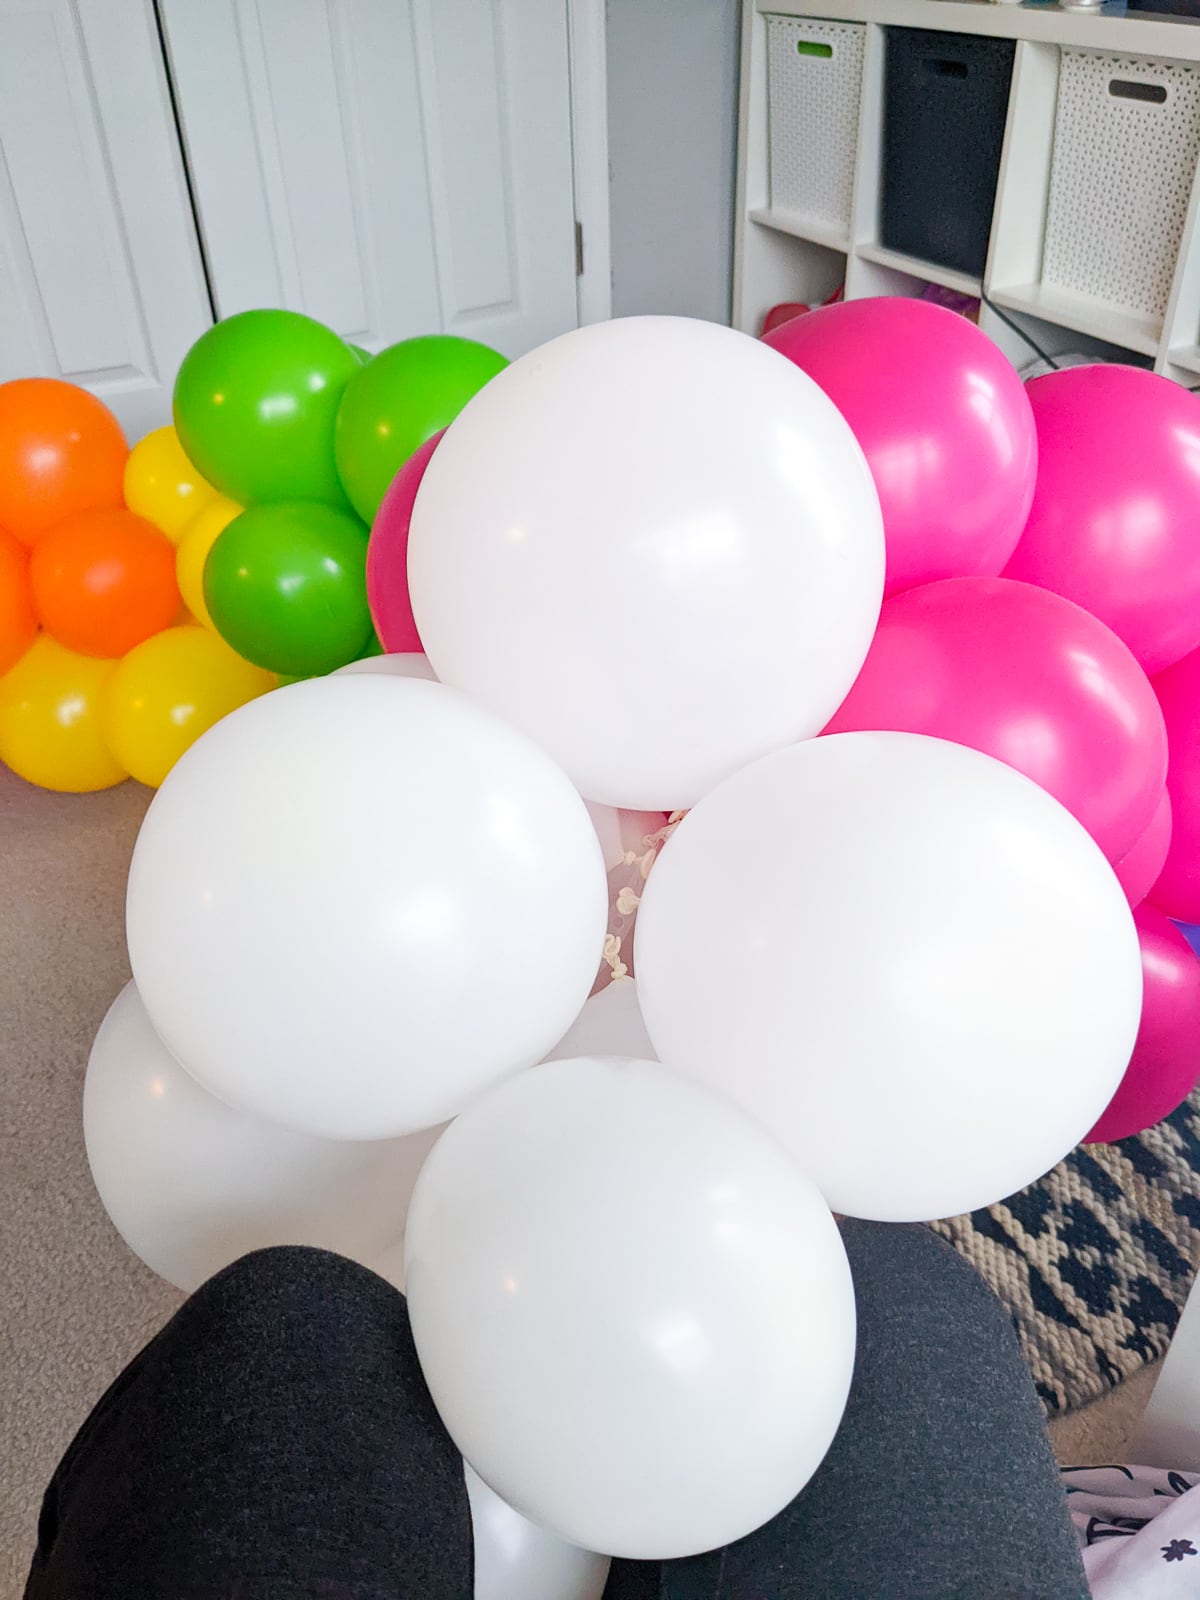
I also recommend inflating the balloons to a variety of sizes. I used both 12″ and 9″ balloons, but I still blew them up to a variety of sizes: large, medium, and small. Then I set aside two small balloons from each color to use as filler when I was done.
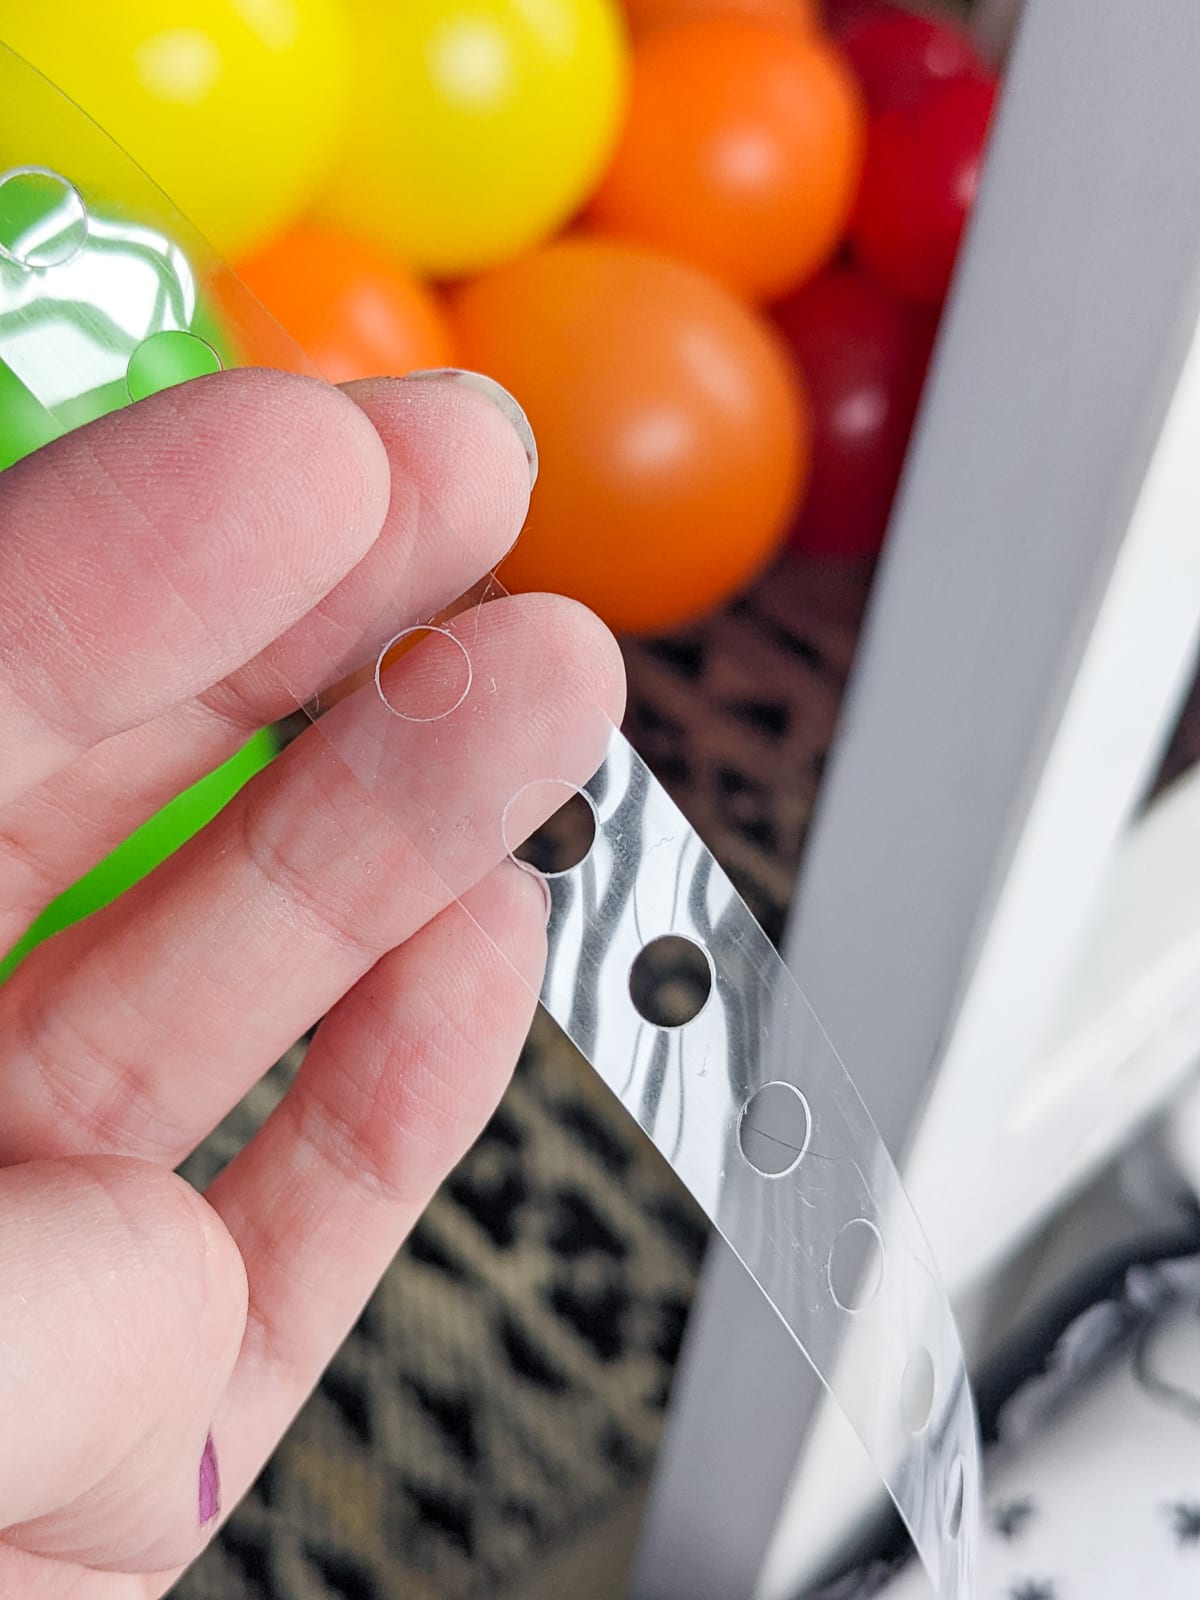
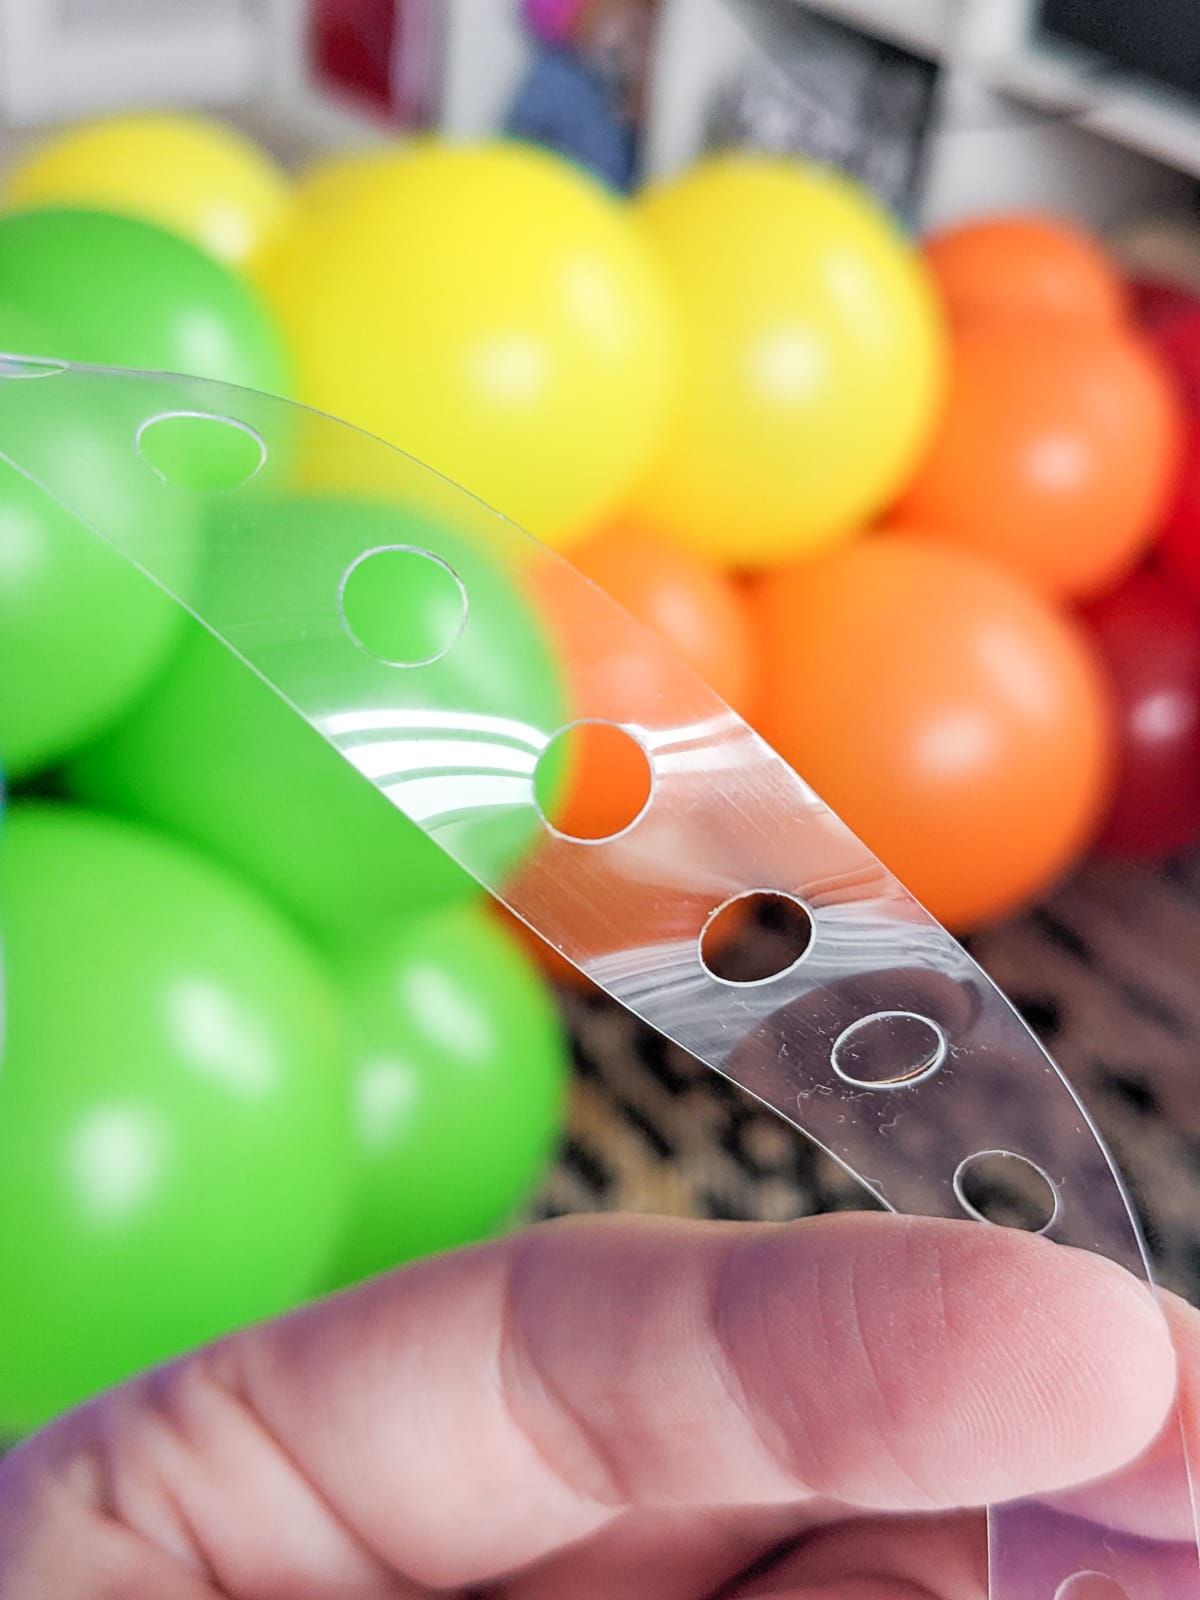
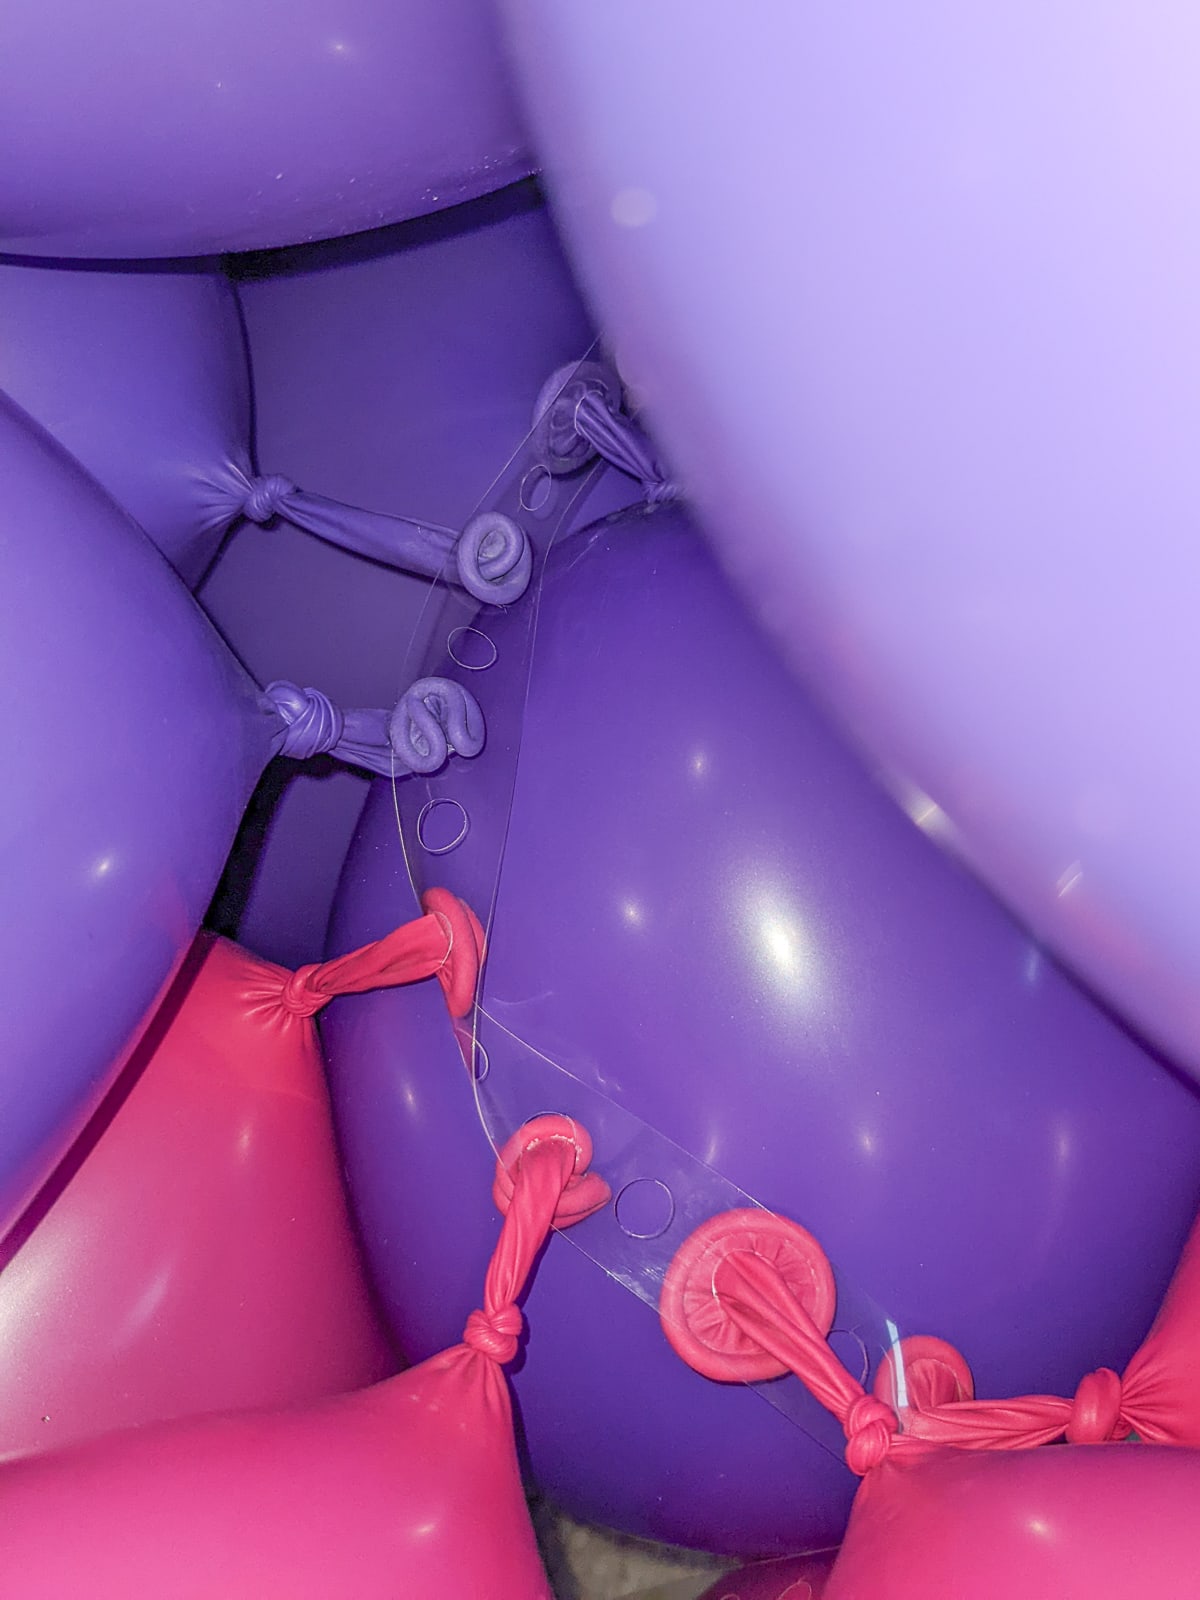
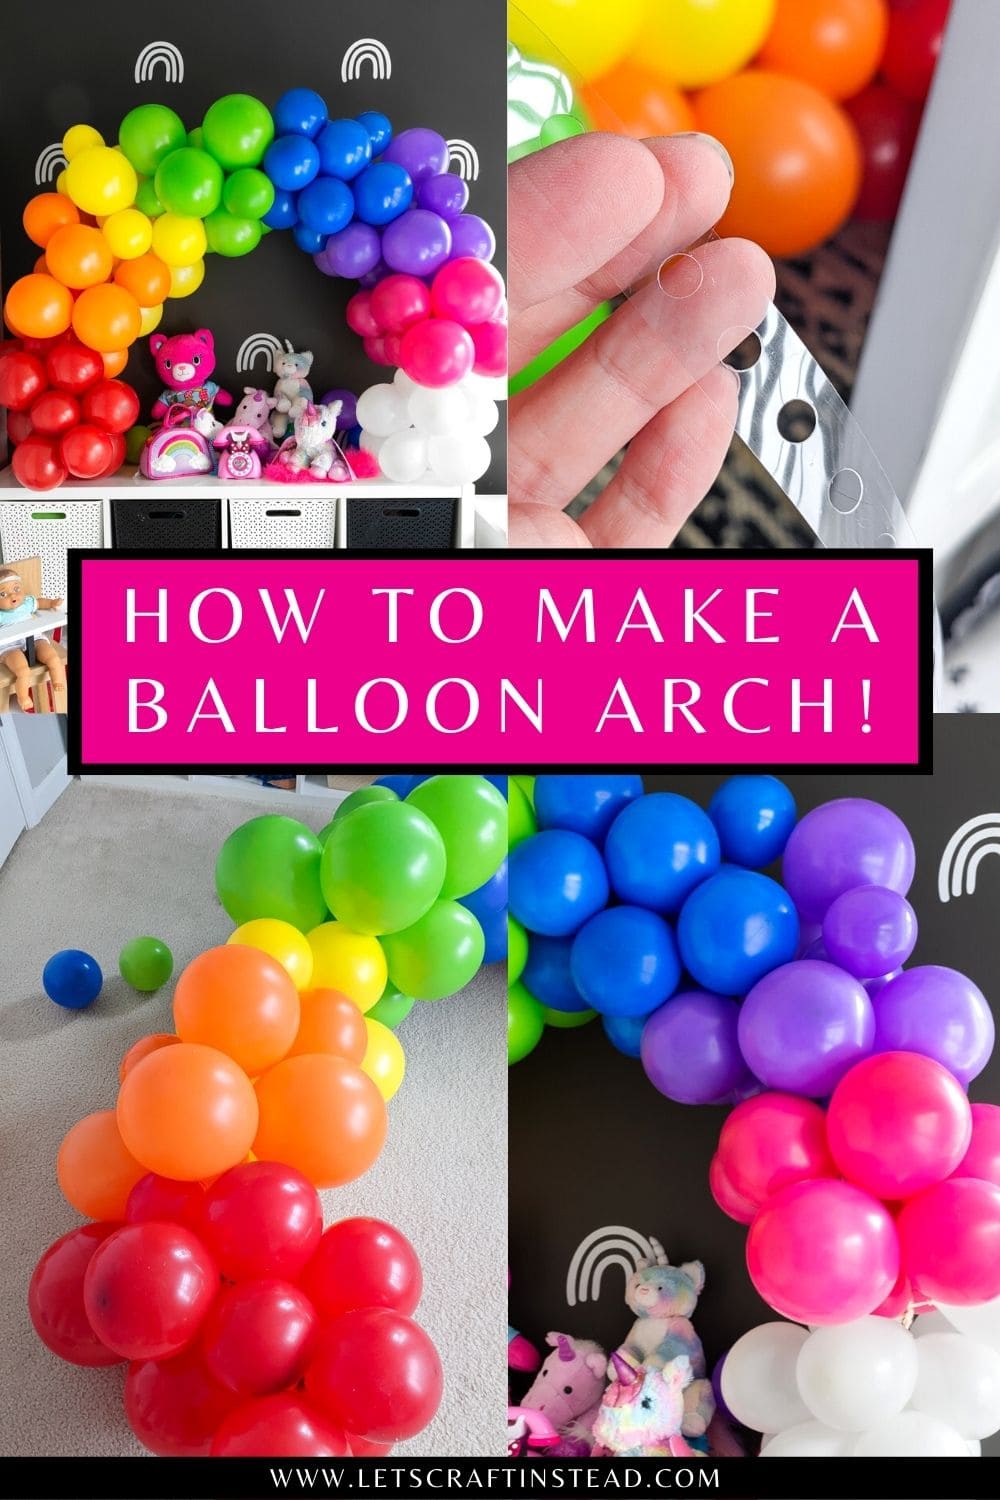
This balloon tape is SUPER easy to use. It is just a firm plastic strip with holes on it. You don’t have to use every hole, and the space between balloons depends on your balloon sizes and how full you want the arch to be.
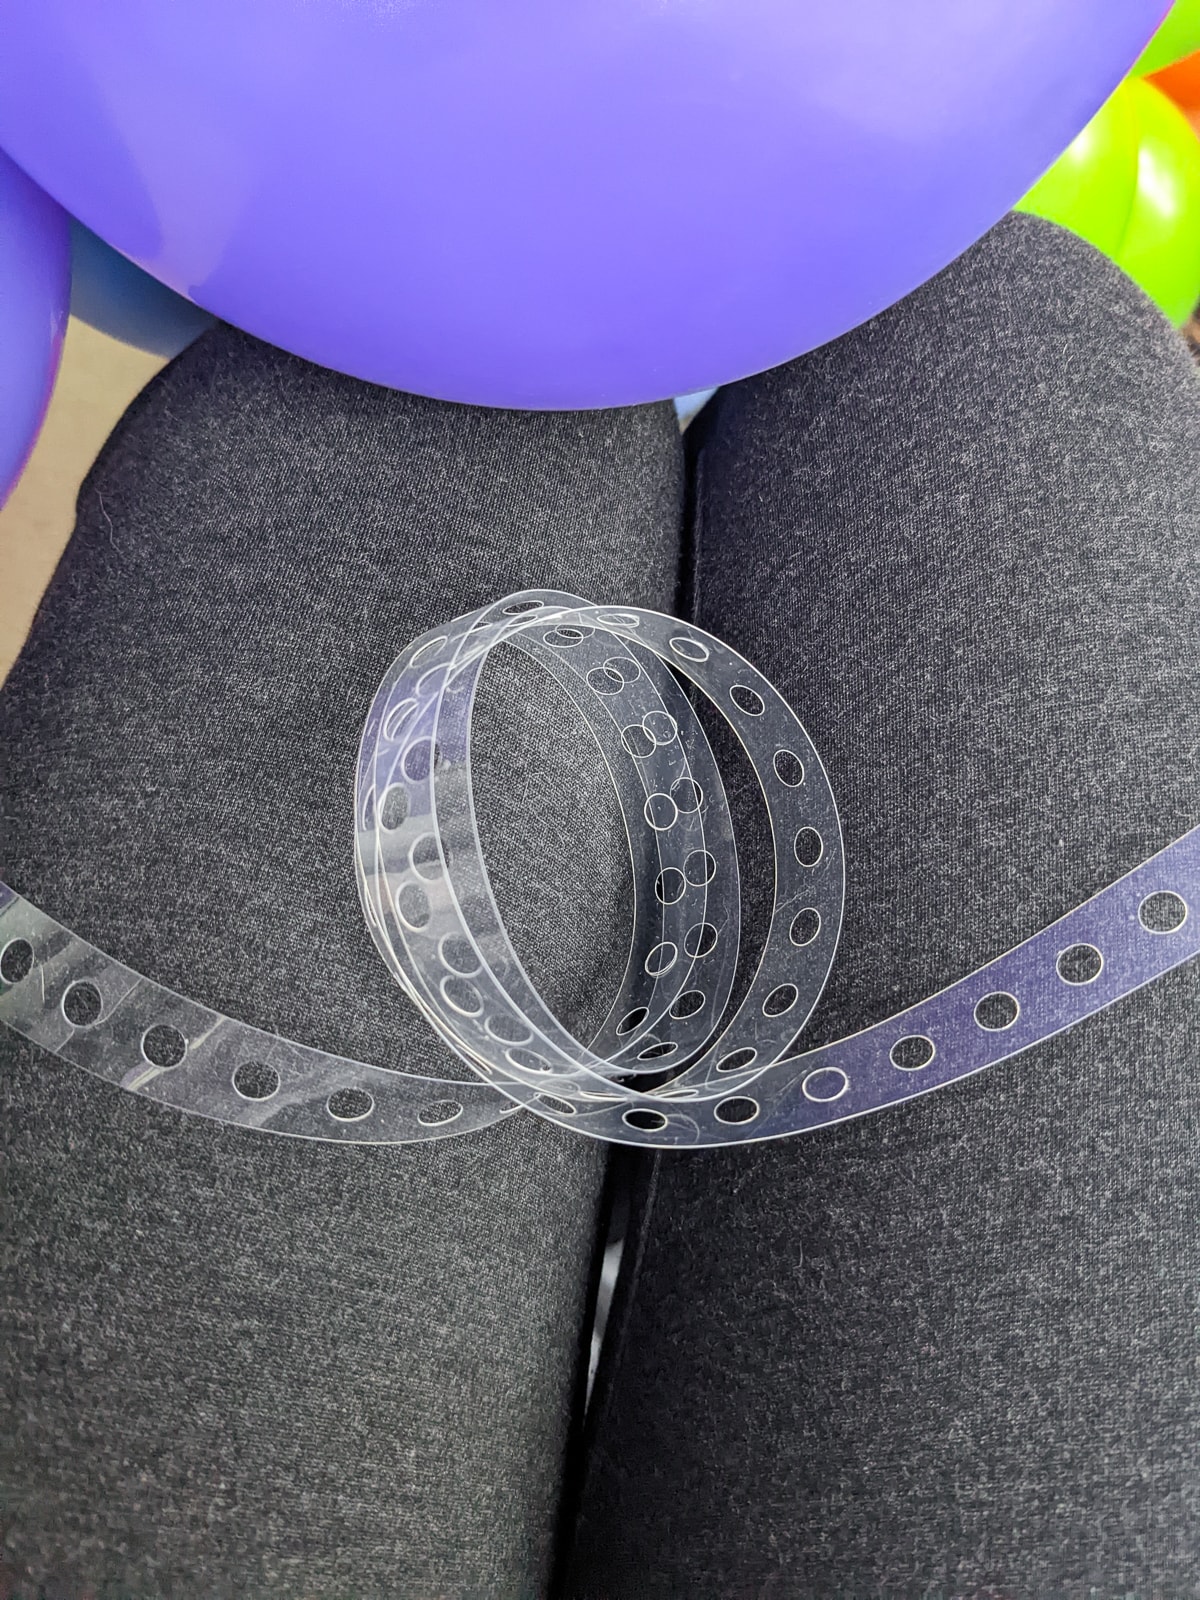
You don’t need to worry about the arch staying straight, either. As you thread the balloons in, you’ll find that the strip will twist on its on. This makes the arch quite stable, actually—the arch shape of mine was created on its own as I strung the balloons.
If you want your arch to be more flexible, don’t thread the balloons as tightly together on the strip. All of this will make more sense once you’re putting the balloons on. I promise, it’s SO easy!
I also don’t recommend cutting the plastic strip until you’re done. That way, you won’t come up short if your design ends up being larger than you’d originally planned.
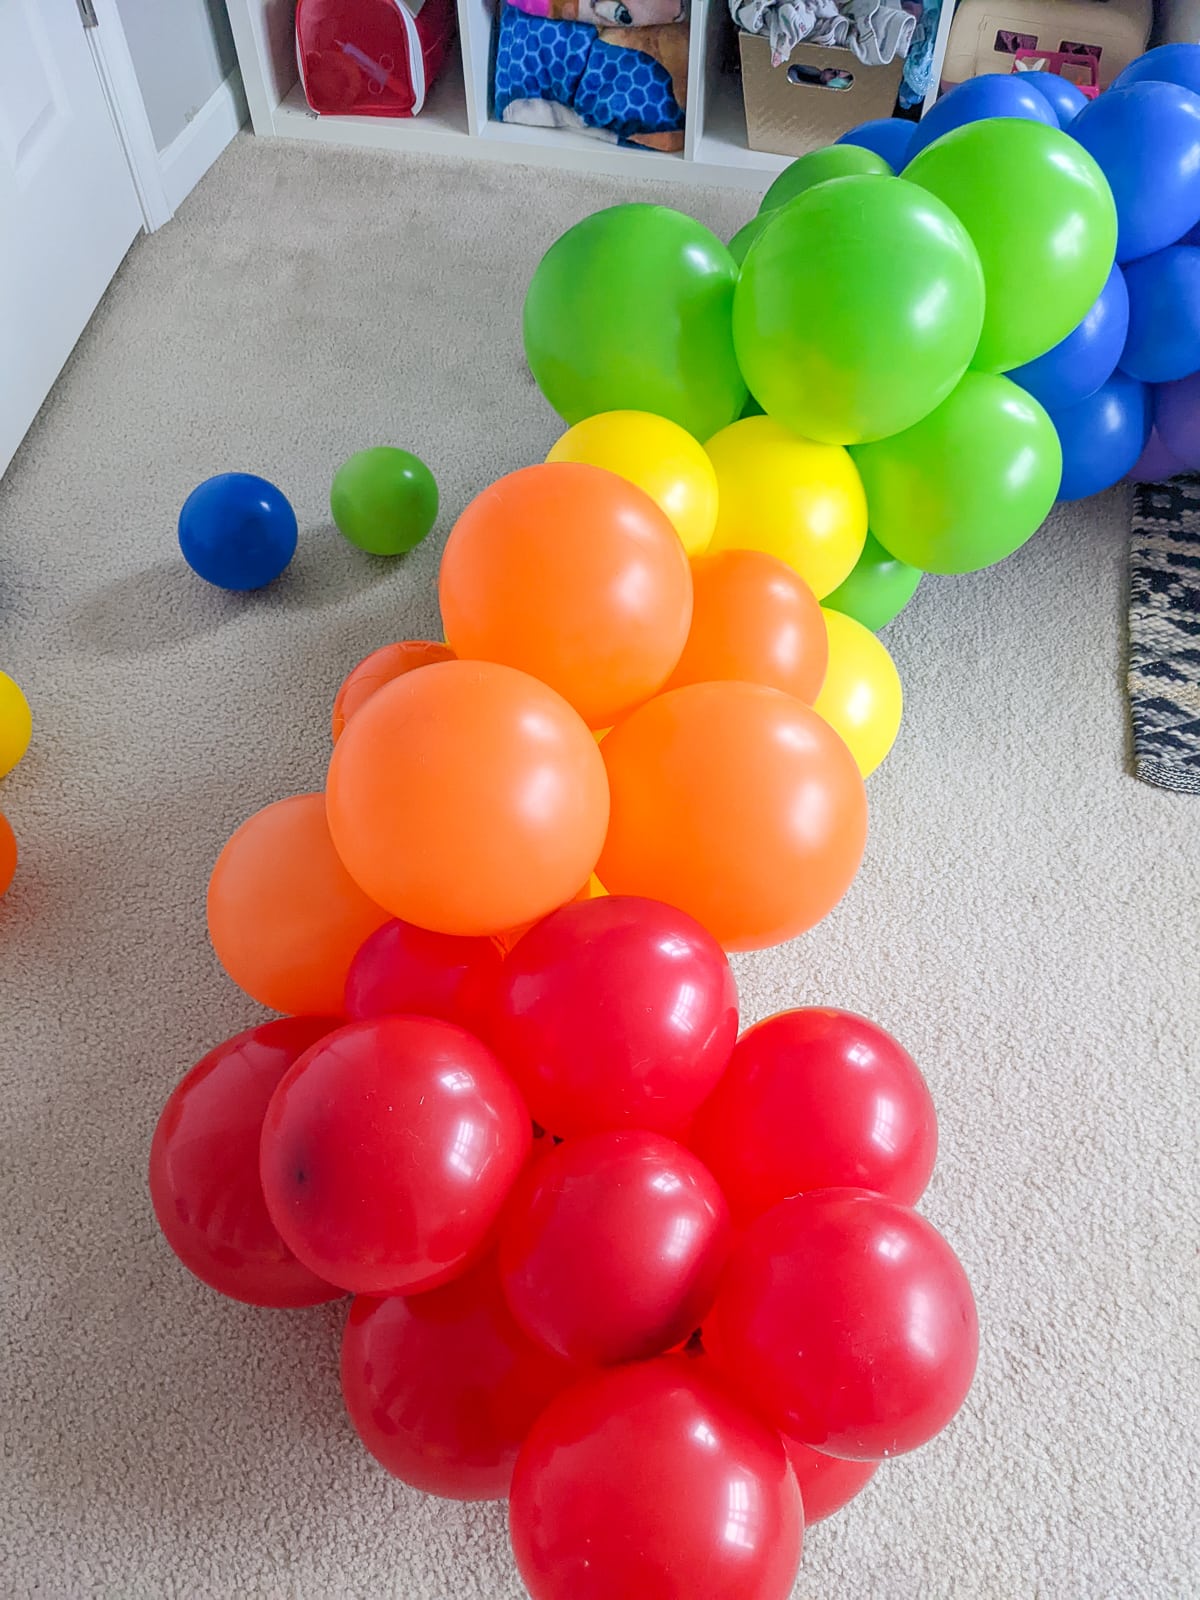
This is what the inside of the arch will look like. When you’re done threading all of the balloons on, you can move them around a bit to cover up any gaps and hide this interior area. The balloons remained stable in the holes, too!
You can see that I didn’t have any real pattern to using the holes. I tried to keep the balloons as close to one another as possible for a super full look, but I had to skip one or two holes depending on balloon size.

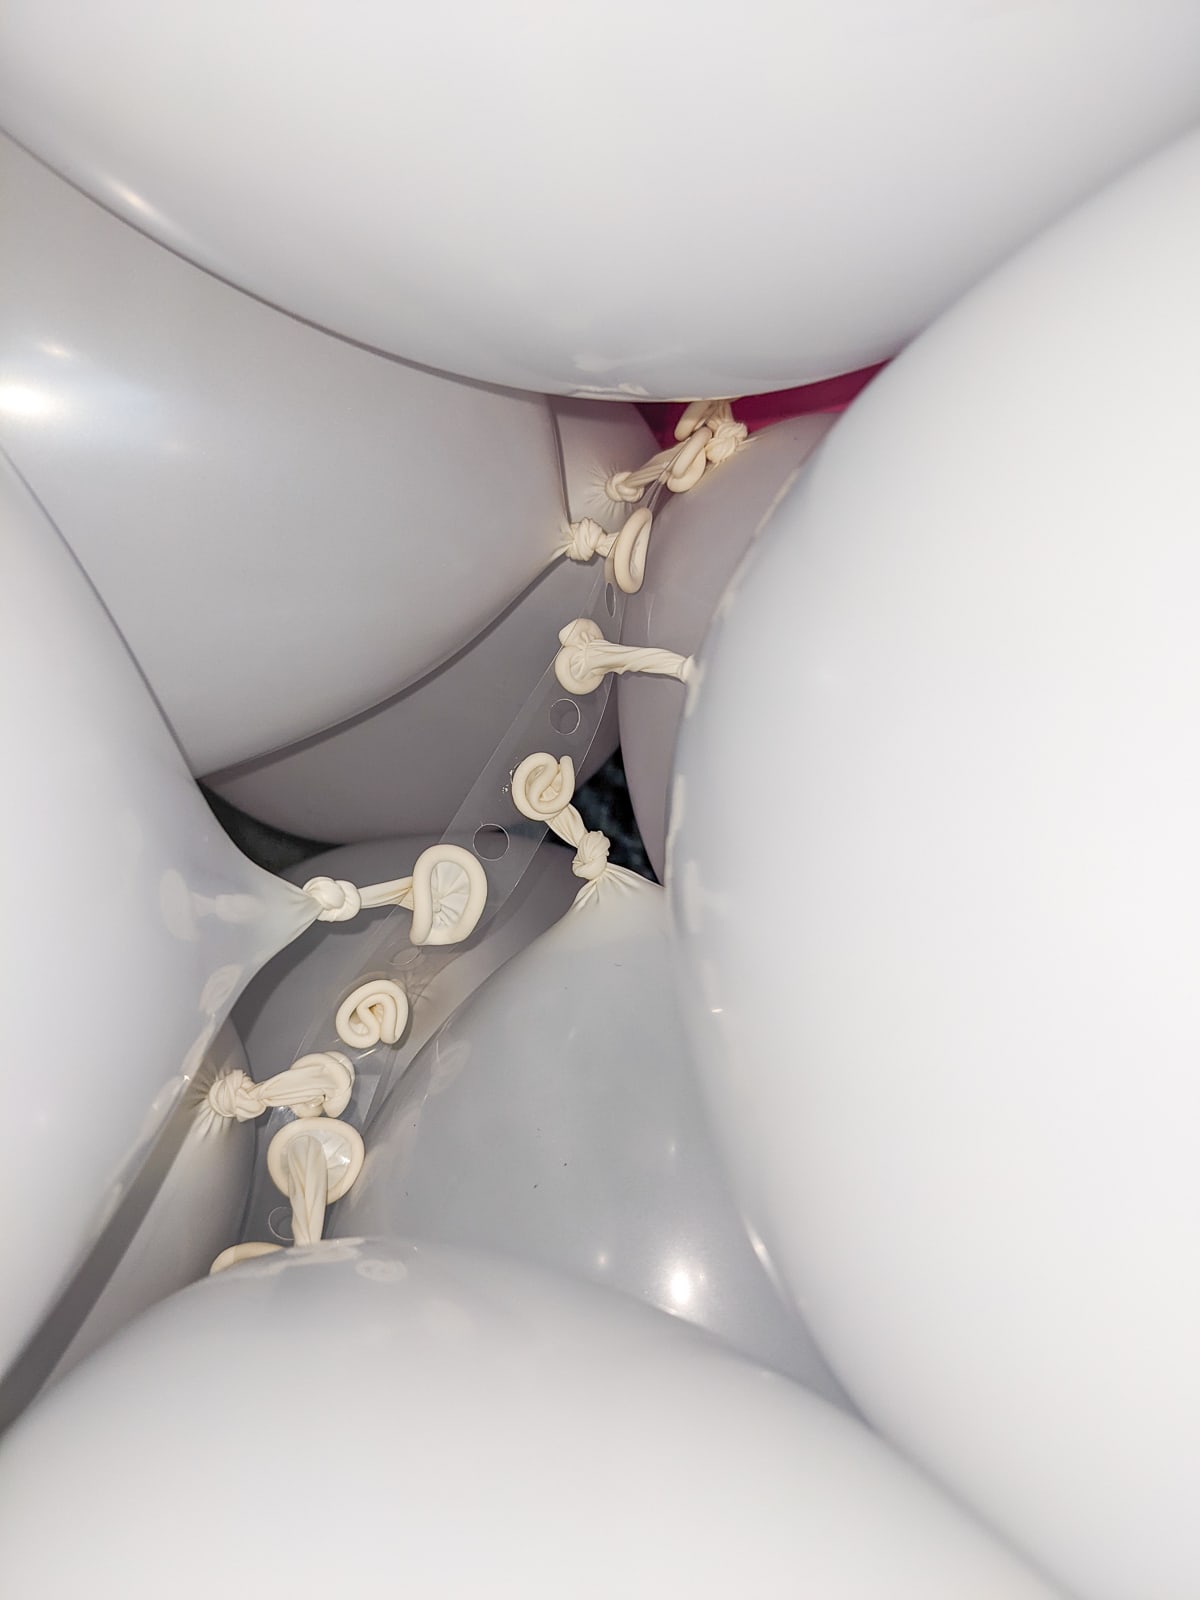
The next step is to fill in any balloon gaps that give you a look at the less-pretty interior. You can do this before you mount the balloon arch, but I recommend doing it after you get the arch into place.
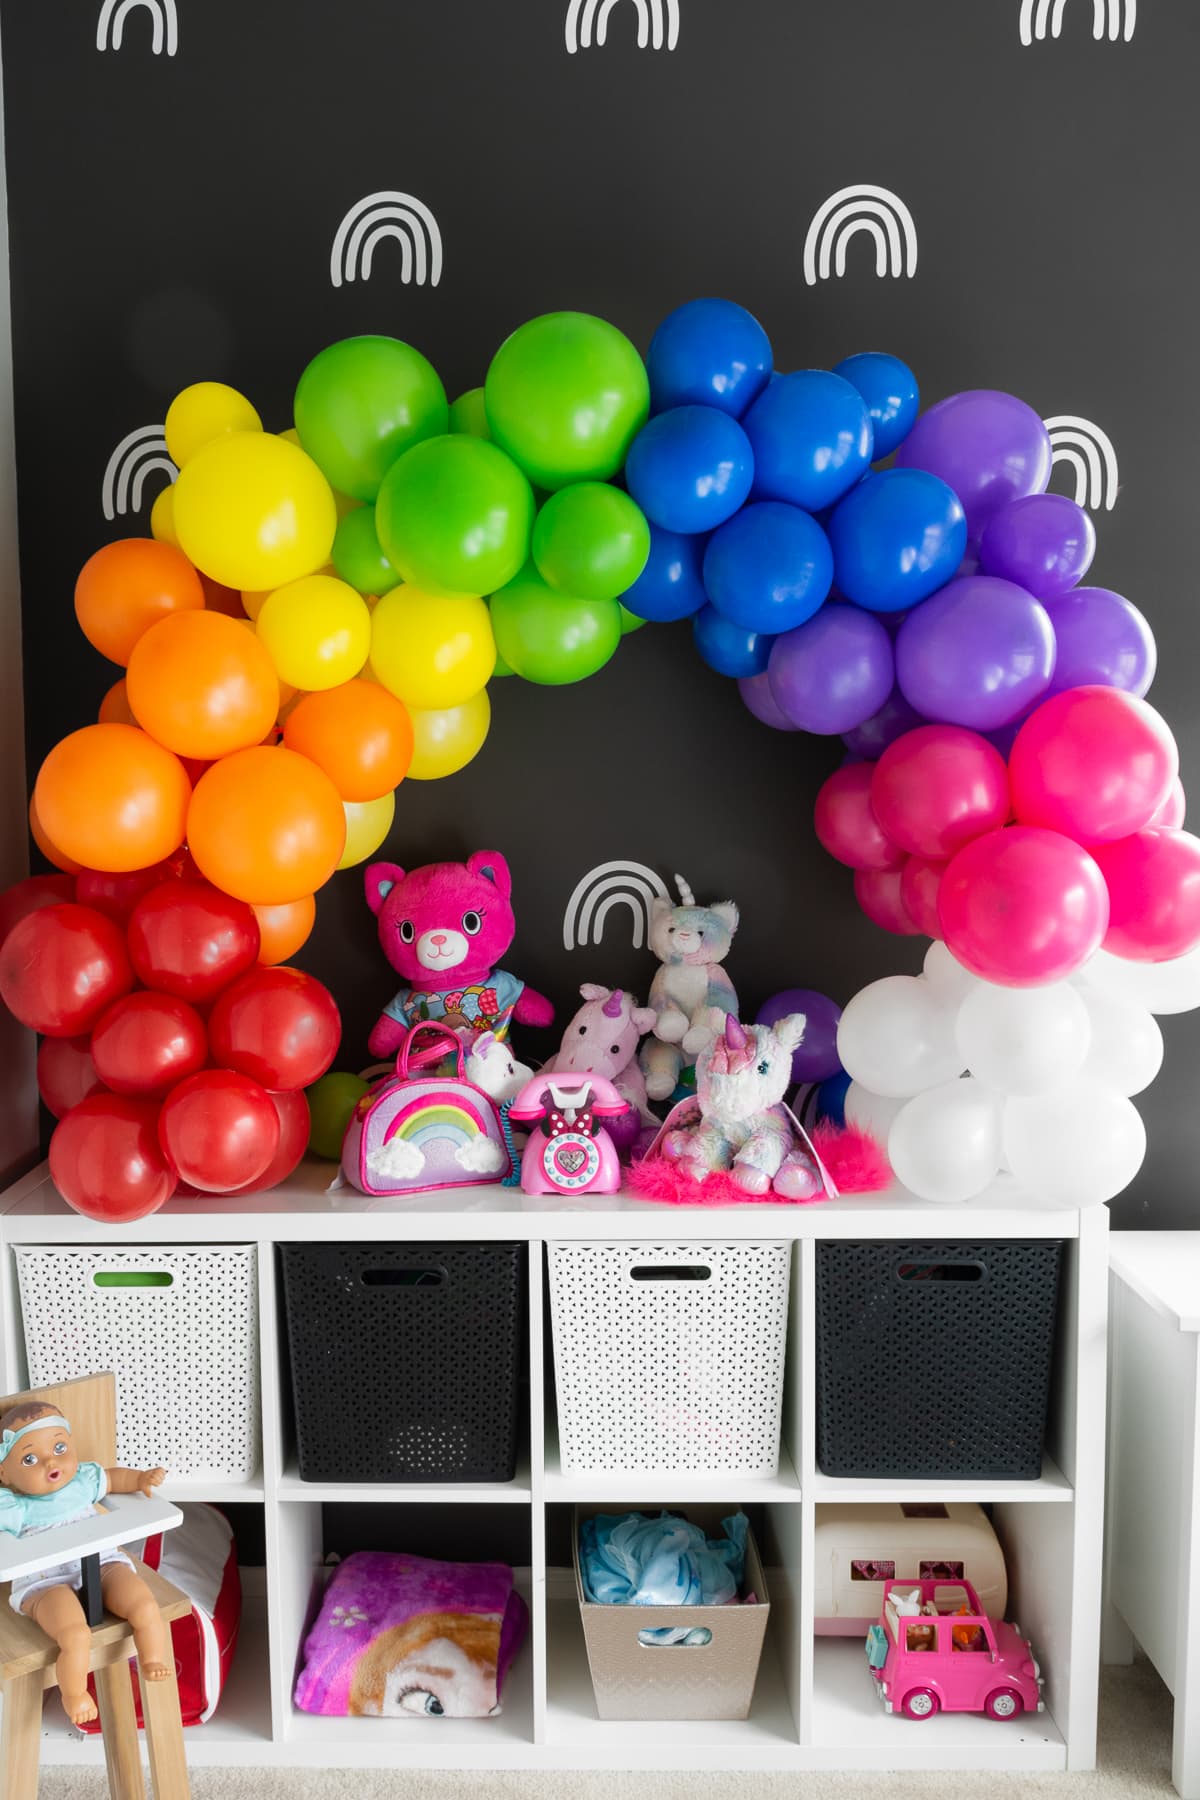
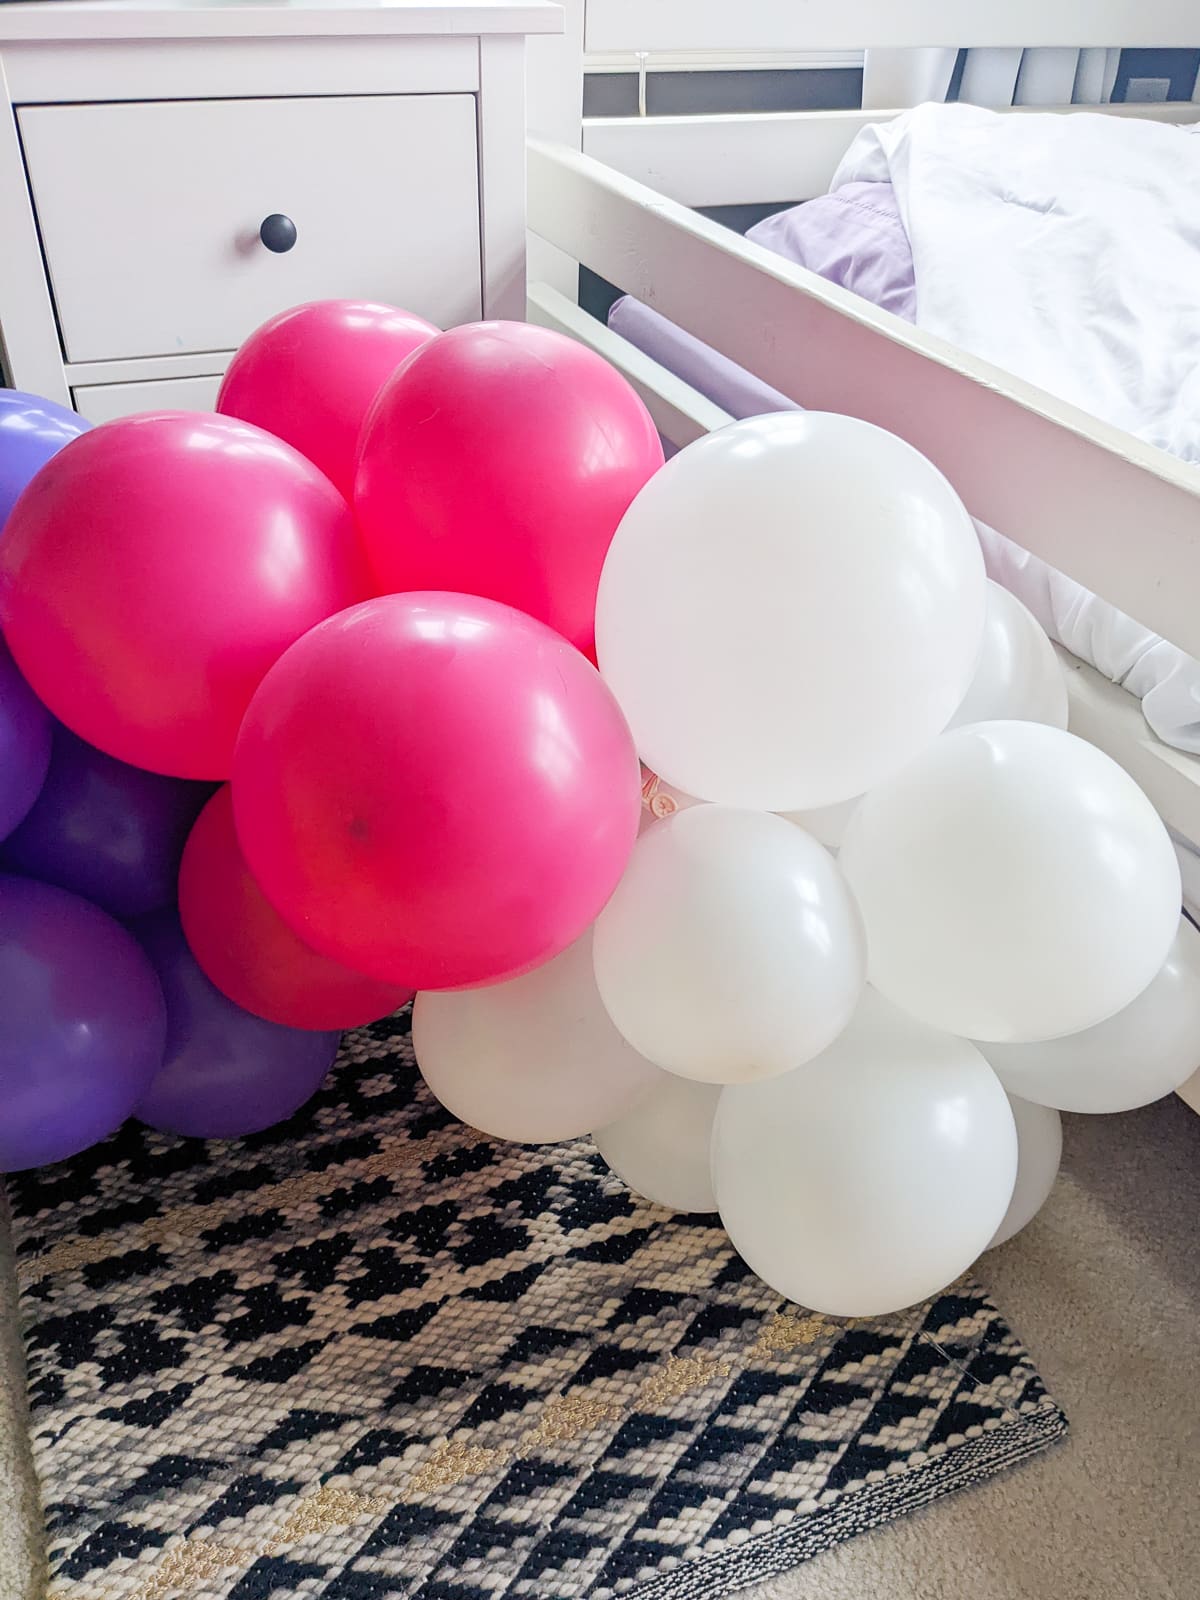
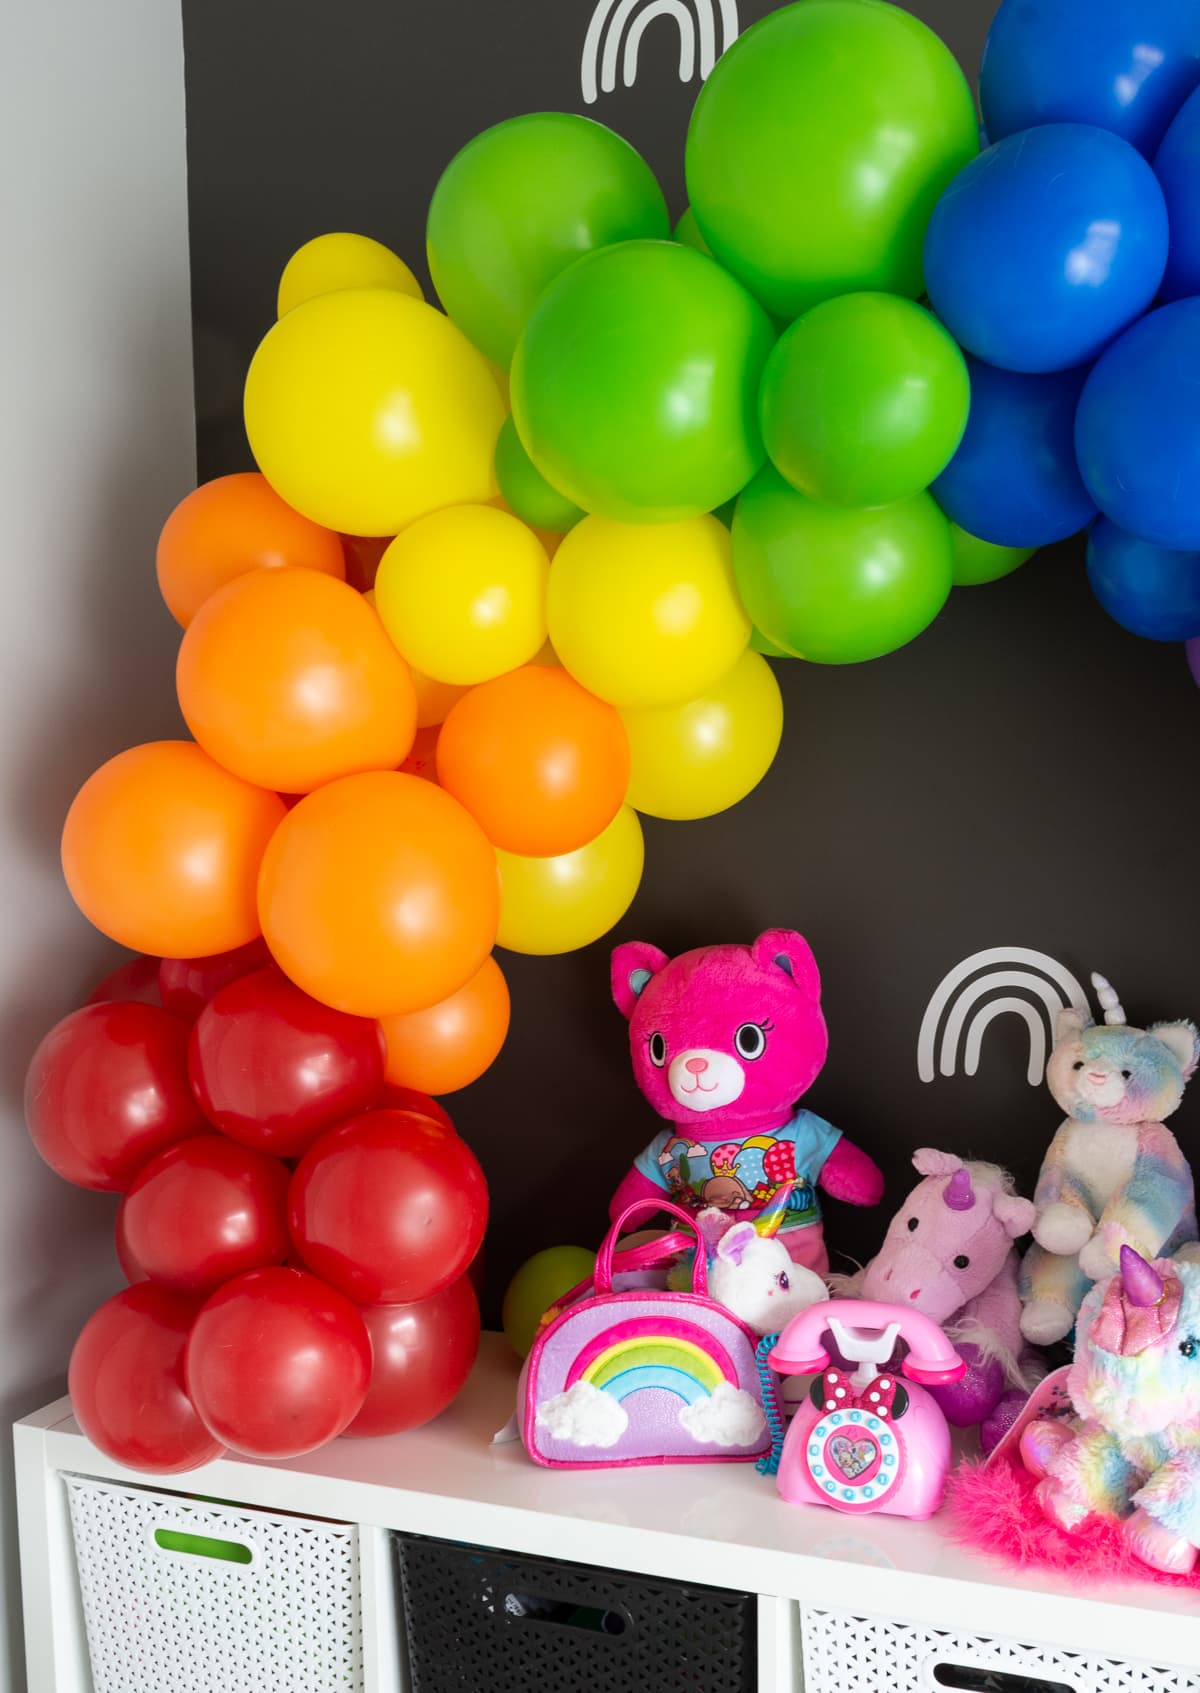
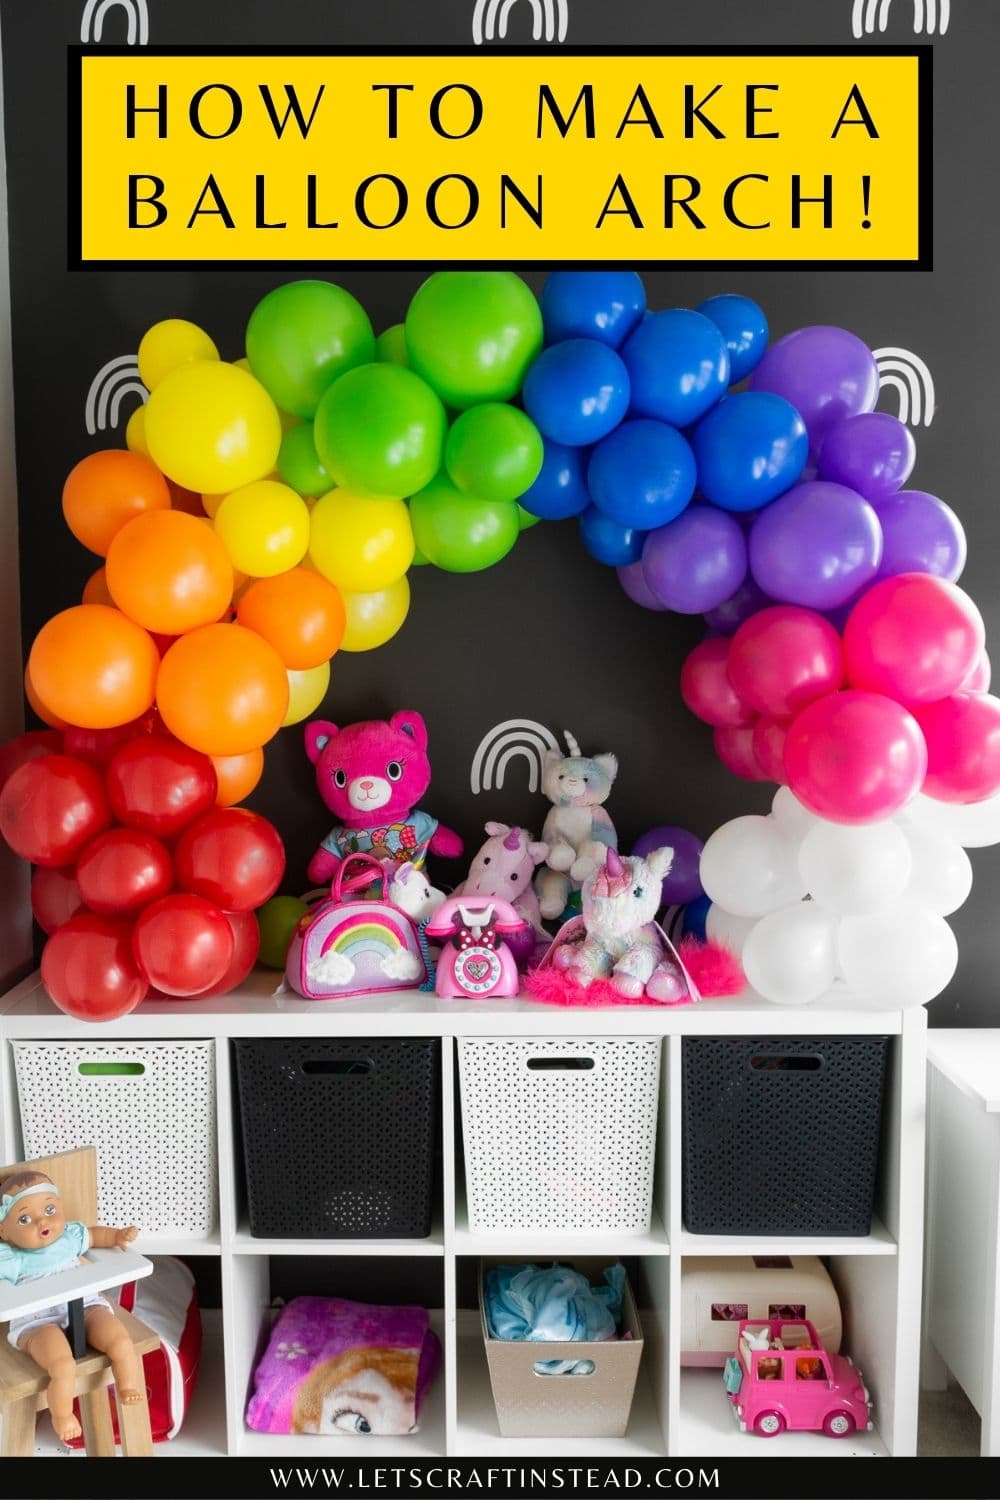
Why? Because you can manipulate the balloons a bit to cover some of these gaps. Getting the arch in place will show you exactly where the eye-sores are. I put mine up against a wall in my daughter’s room.
To stick it in place, you can use the following methods:
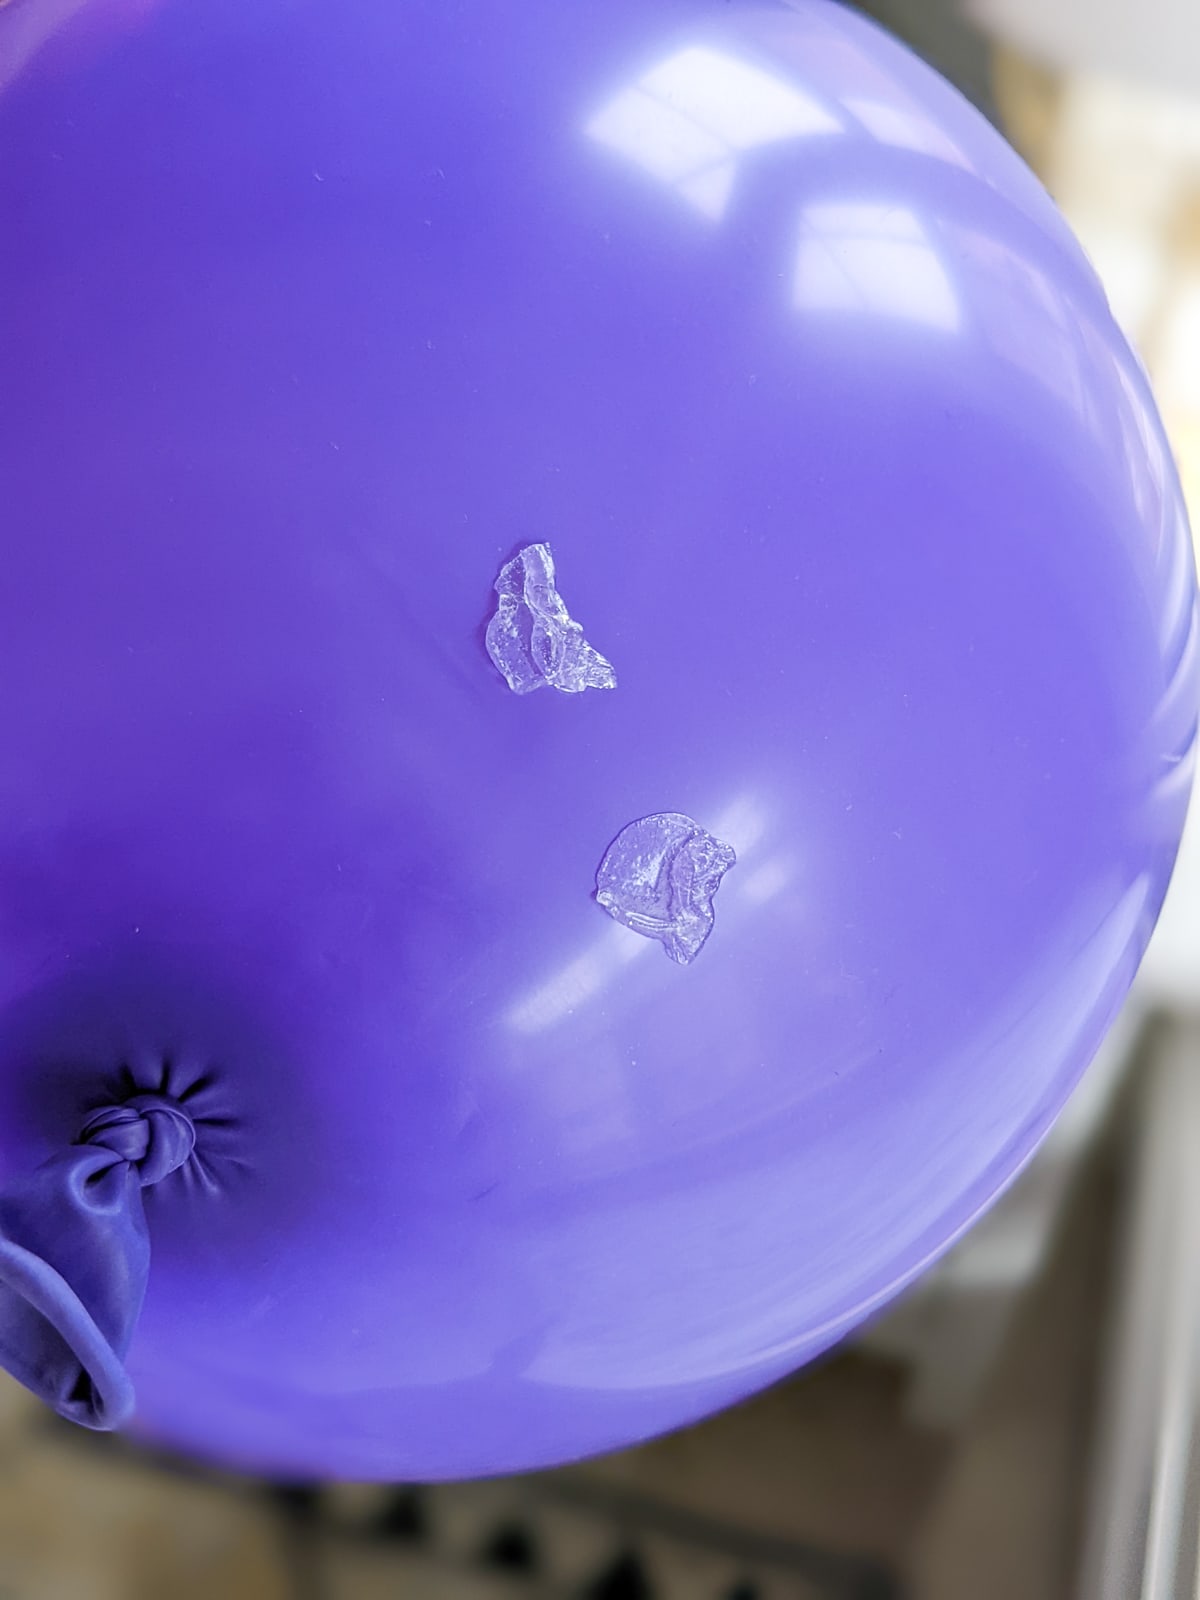
I used the balloon glue. To hold everything in place, I just looked at which balloons were touching the wall. Then I added a few bits of the super strong balloon glue to adhere the balloons to the wall.
This stuff is super sticky and strong, but it removes really easily. I had no damage to the wall. But if you’re worried about that possibility, definitely do a spot test first.
Then I

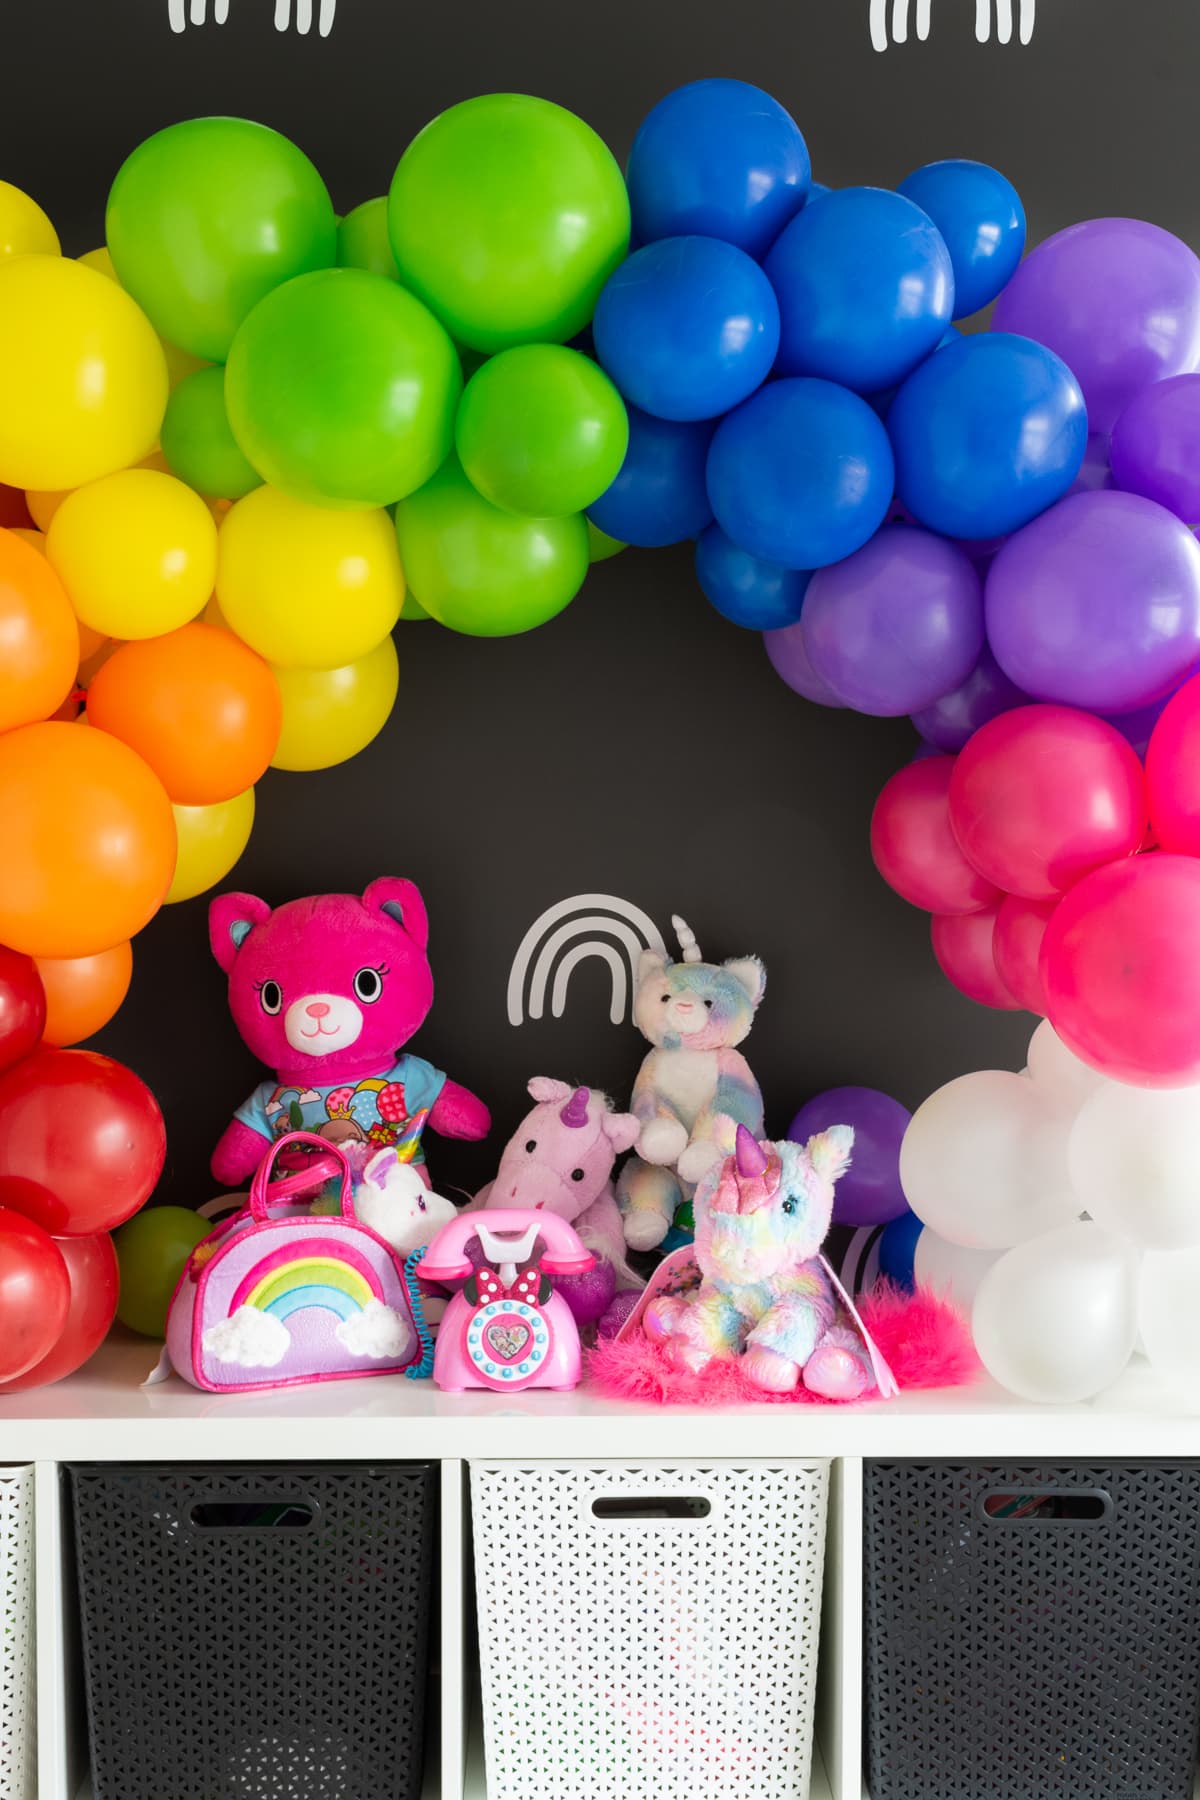
Next use your balloon glue and the smaller loose balloons you set aside to fill in any gaps that remain! For these, you don’t thread the balloons through the strip’s holes. You just stick them into place on the arch using the glue.
This step will also help you even out lopsided areas or spots that could stand to have a bit more fullness. This finishing touch step will take your balloon arch from homemade to professional!
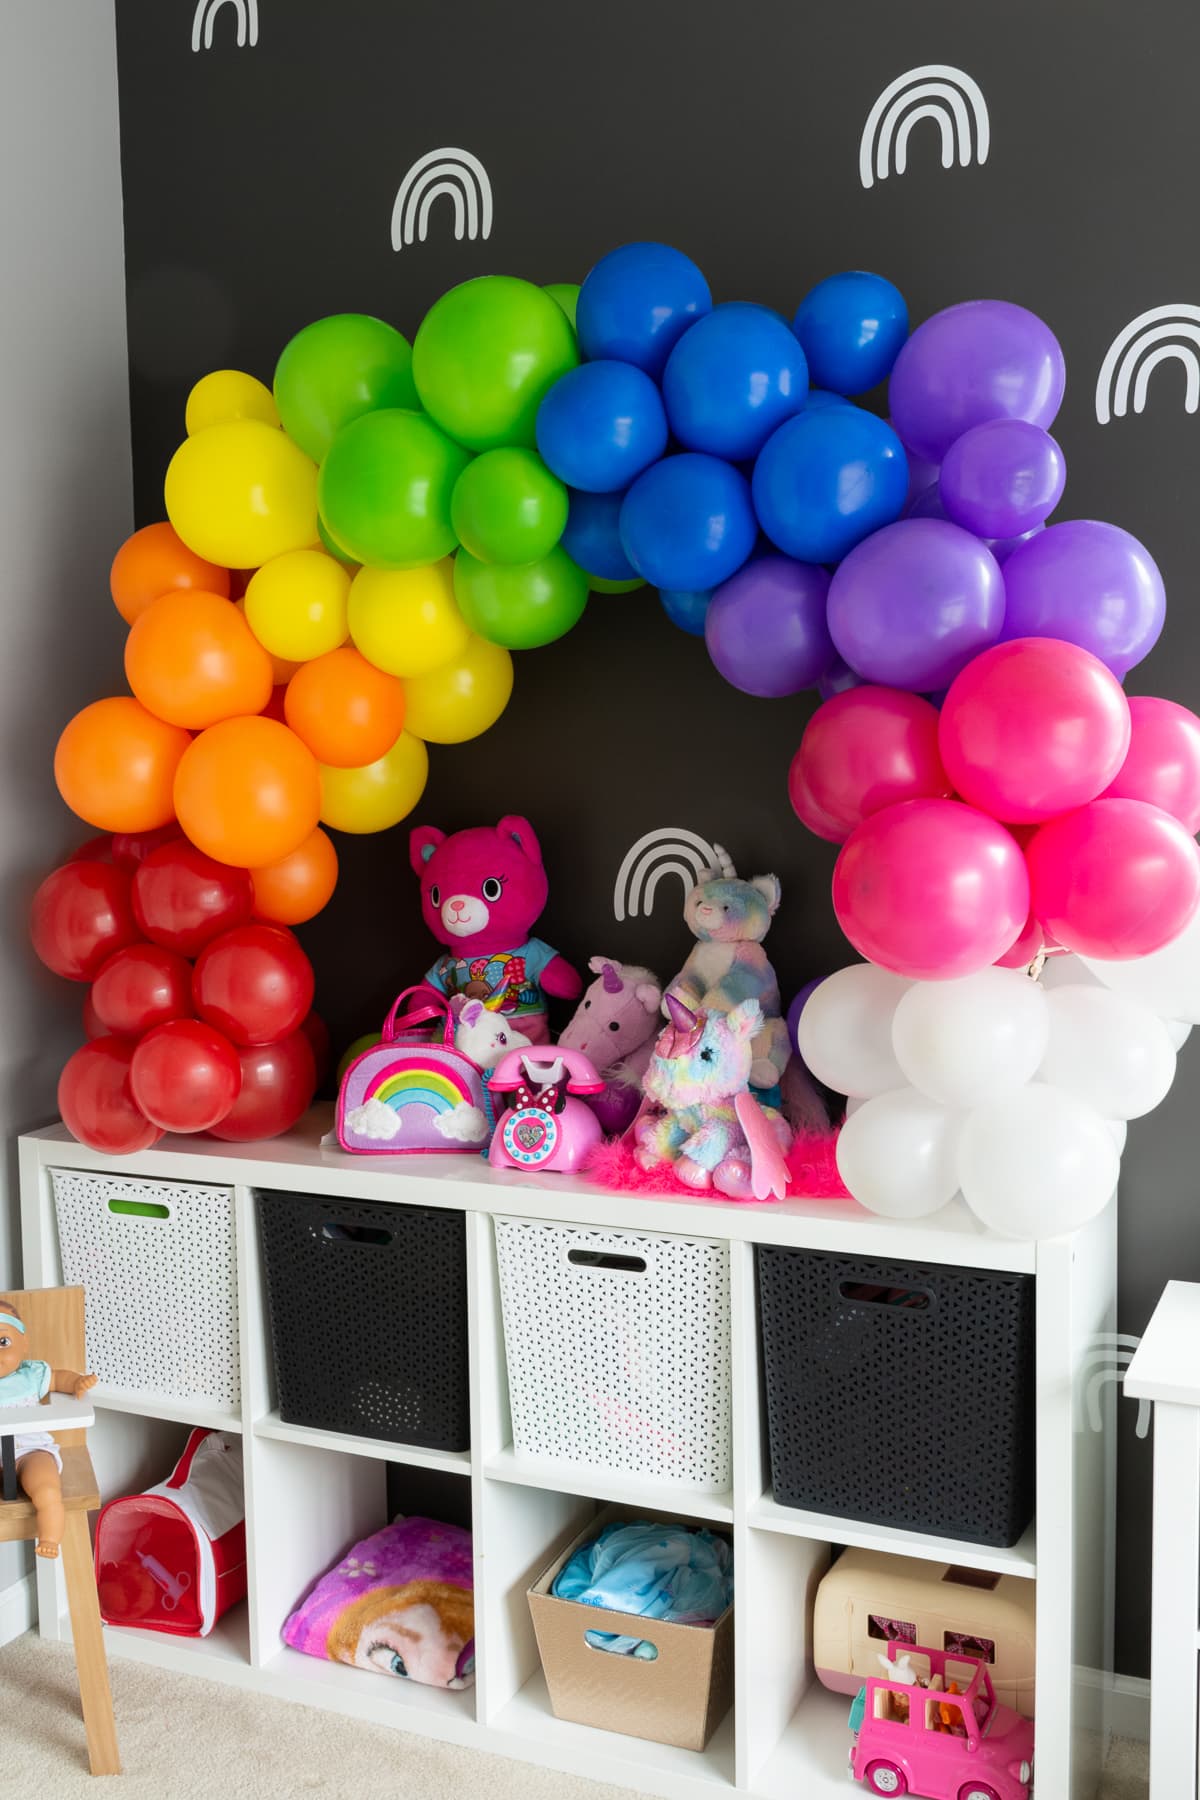
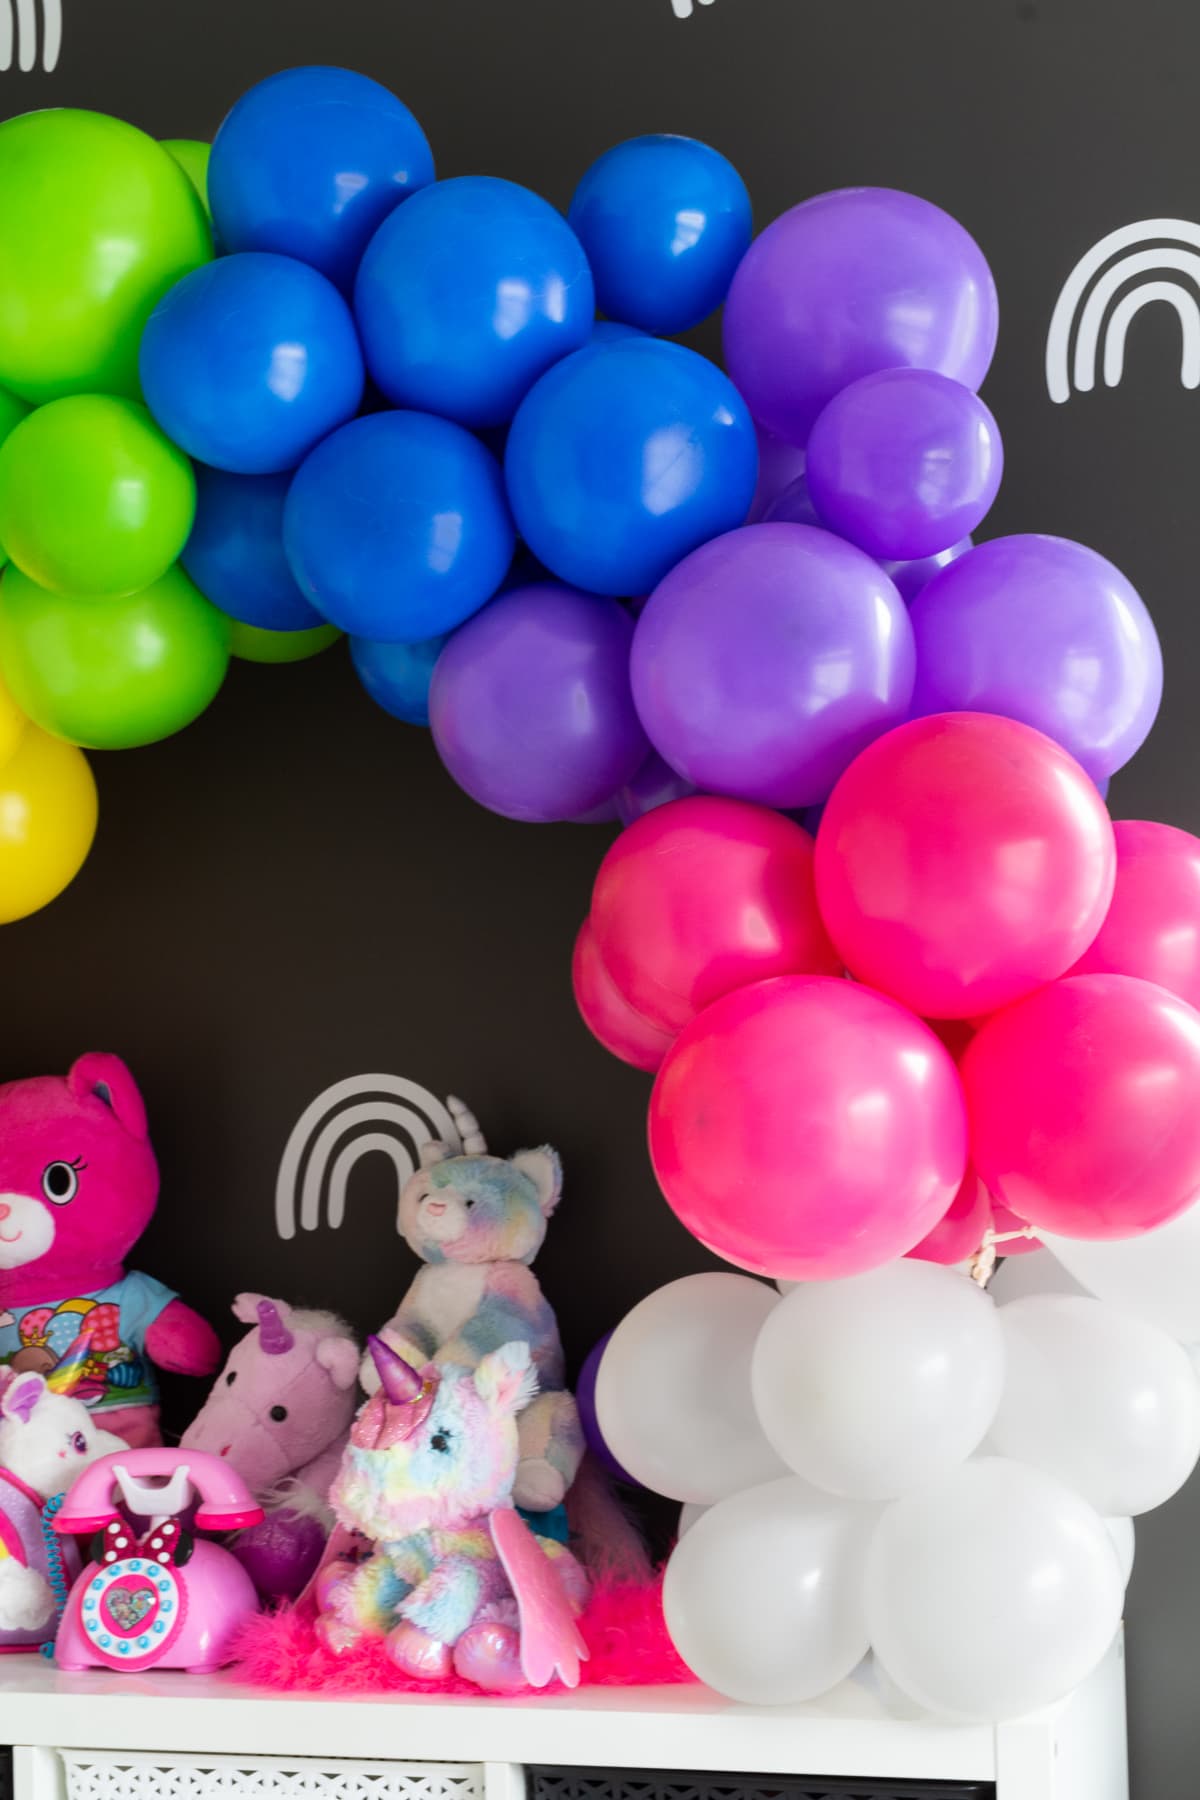
And here is my finished arch. Isn’t it gorgeous? I wanted a rainbow pattern for mine, but there are so many possibilities for colors and patterns!
Pin my tutorial on how to make a balloon arch!


0 Comments