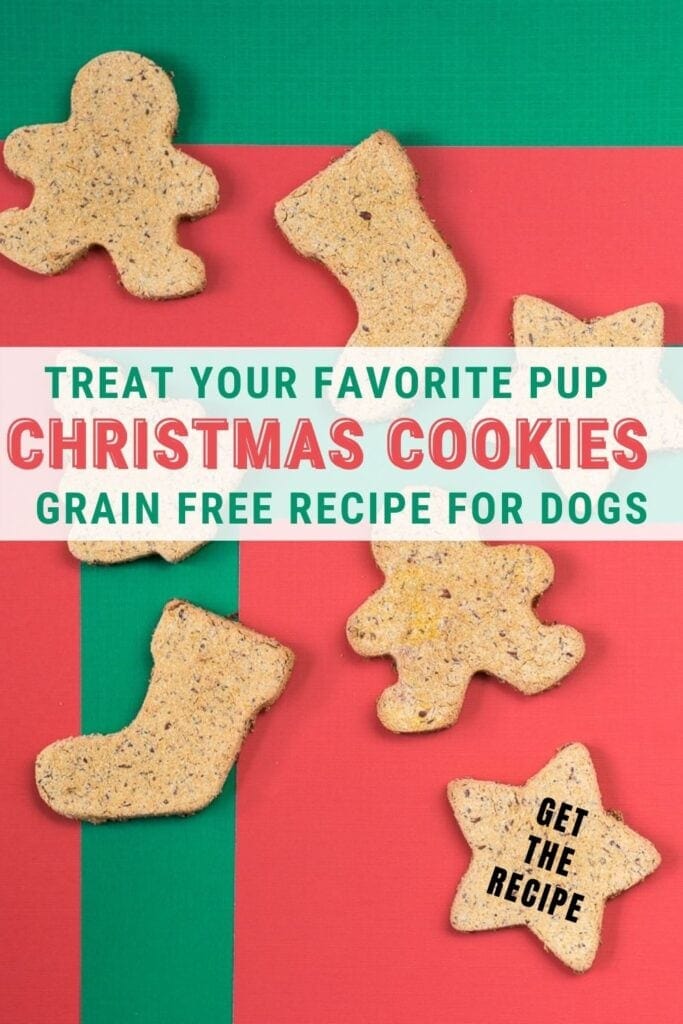
Learn how to make grain-free Christmas cookies for dogs! What better way to spoil that healthy pup in your live than with some healthy homemade treats?
Make Grain-Free Christmas Cookies for Dogs!
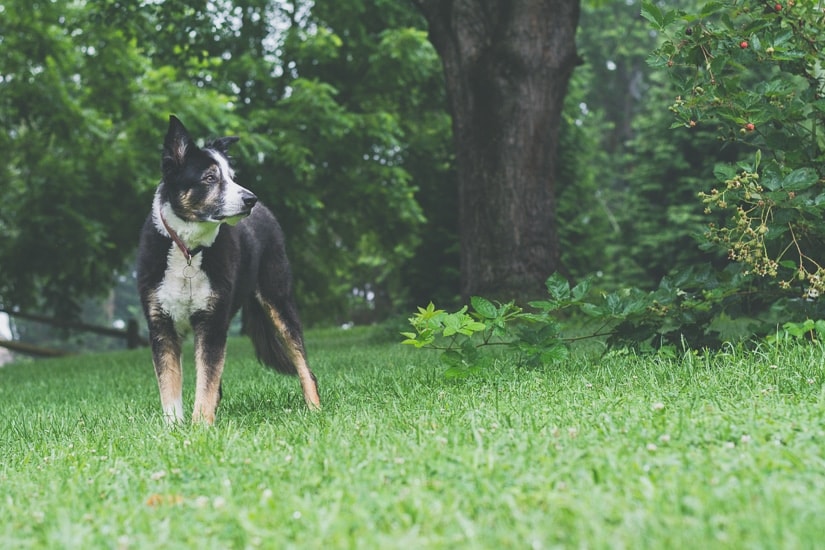
With Christmas just over a week away, there’s still time for some last-minute cookie baking. And what better way is there to treat the pretentiously healthy pups in your life than with these grain-free Christmas cookies for dogs? I’m not much of a cook or a baker (these are the only Christmas cookies I have ever made, if that tells you anything), but I really wanted to make something special for my parents’ pup Jasmine. I just love her.
These cookies were also taste-tested by four different dogs…one of the dogs eats magazines, so I’m not sure if their approval really means anything, though. Let’s go with yes, it means dogs think the cookies are delicious.

Let’s talk a little bit about why I used grain-free flour for these treats. Protein should be the base of your dog’s diet, followed by carbohydrates and fats. Dogs don’t really need flour in their diets because flour is typically pretty high in carbohydrates, but it’s a good way to bind ingredients together in things like dog treats.
Grain-free flours tend to be much lower carb than, say, whole wheat or white flours, so sticking with things like coconut flour, almond flour, and flax seed meal (see more options here) keeps the protein high and the carbs low.
Here’s what I used to make my cookies:
- 2 1/2 cups grain-free flour—I used coconut flour and flax seed meal topped off with a bit of tapioca flour. You can use a combination of flours or just one flour.
- 2 eggs
- 3/4 can pumpkin puree
- 2 tablespoons peanut butter
- 1/8 cup water
- Dash of cinnamon
- Parchment paper, baking sheet, cookie cutters

And here’s how I made my grain-free Christmas cookies for dogs!
(Note: Please speak with your vet if you have any questions about feeding your dog certain ingredients. Never feed your animal something you suspect they may be allergic to.)
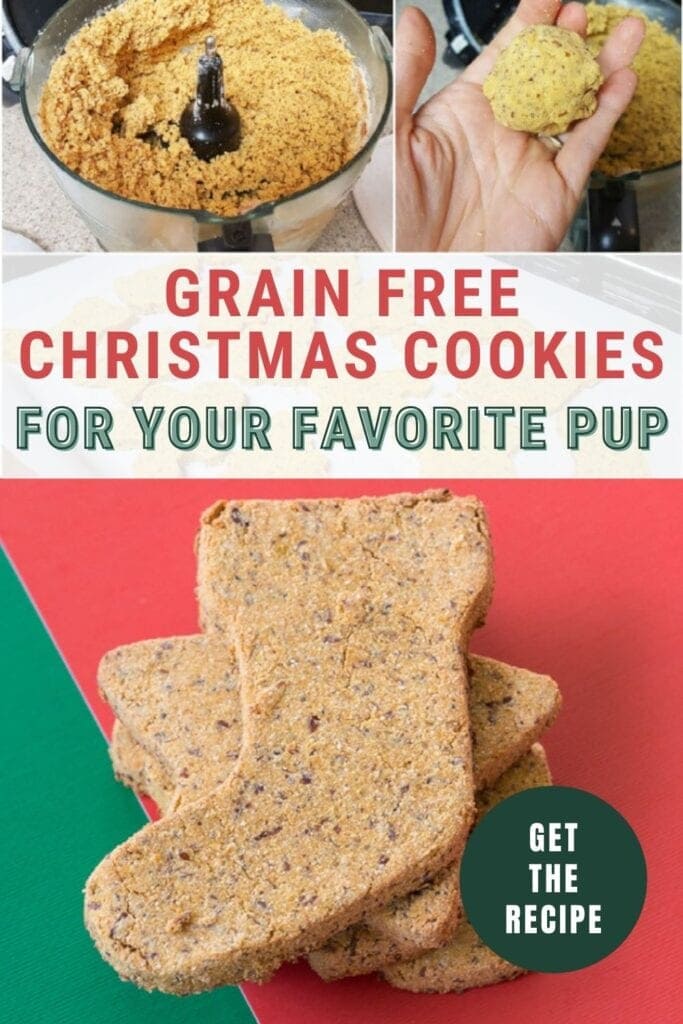
Step 1: Mix ingredients
Using a mixer, blend your ingredients together just as you would any other baking mix. The mixture will look crumbly and dry—that’s okay. Just wet your hands and scoop out a handful. You’ll notice immediately that it sticks together when you kneed it.
Step 2: Kneed and flatten
Press the ball down onto your parchment paper until it’s about 1/4 inch thick. Then use your roller to gently smooth out your fingerprints. You don’t want to roll this dough out like traditional dough because it’s a bit stickier and falls apart easily. You have to be gentle with it and probably only roll out enough dough for one or two cookies at a time.
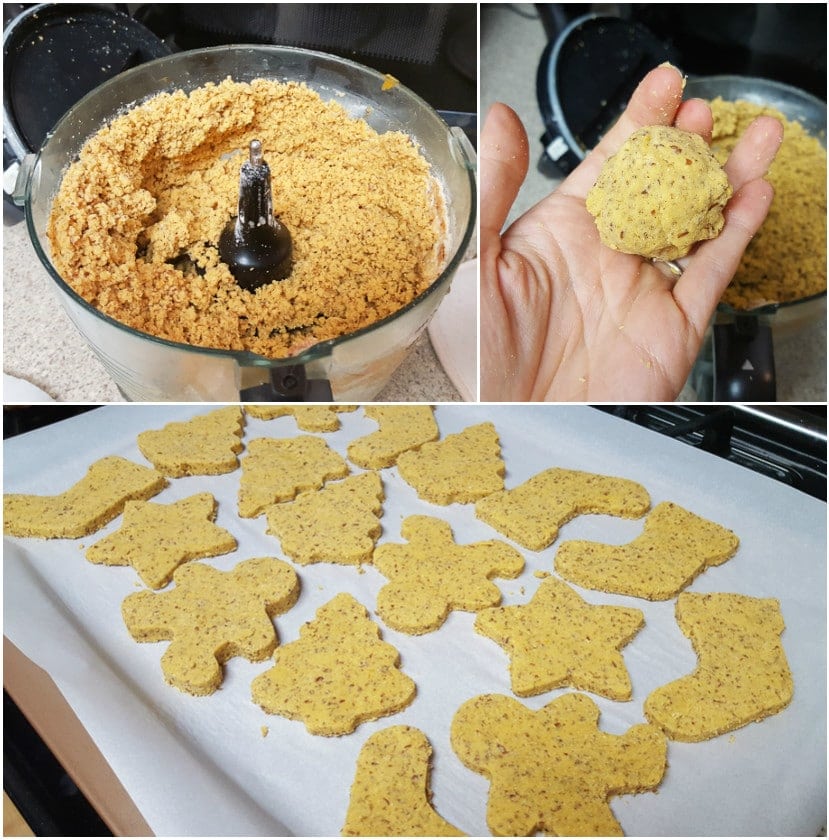

Step 3: Cut cookies out
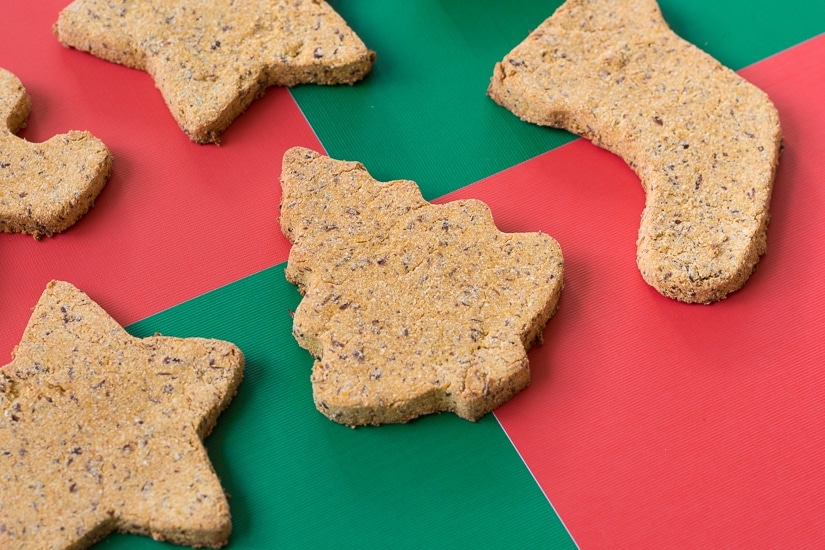
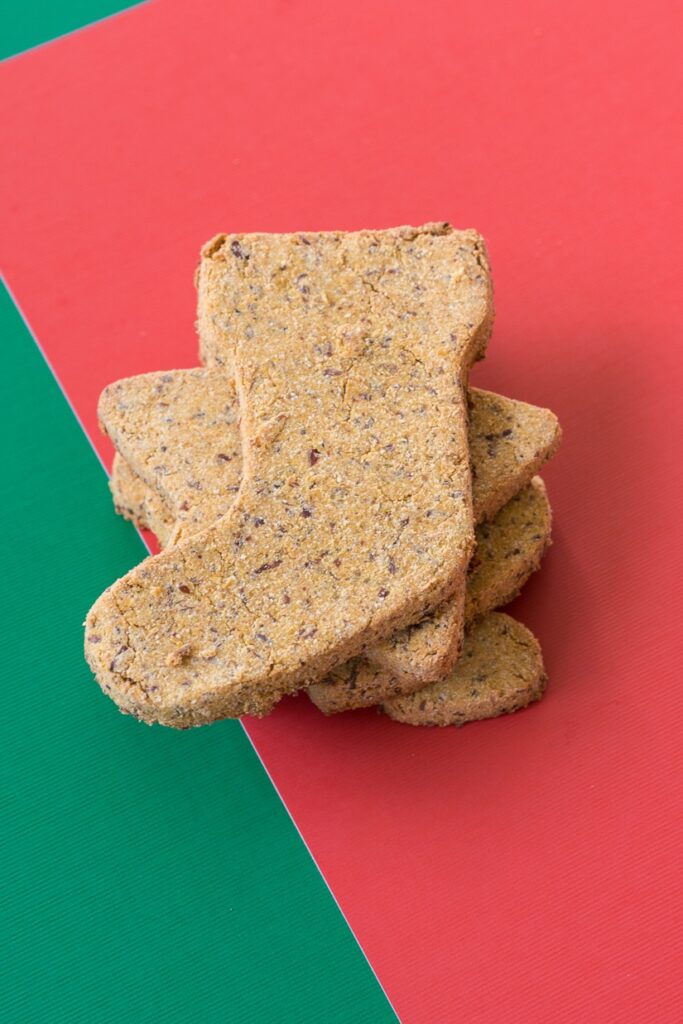
Cut out your cookies and arrange them on your baking sheet. These cookies won’t expand as they bake, so you can keep them fairly close together. Bake at 350 degrees until hard. I took mine out of the oven when the bottom and sides started to brown. I wanted them to be crunchy but not burnt, which took about 30 minutes.
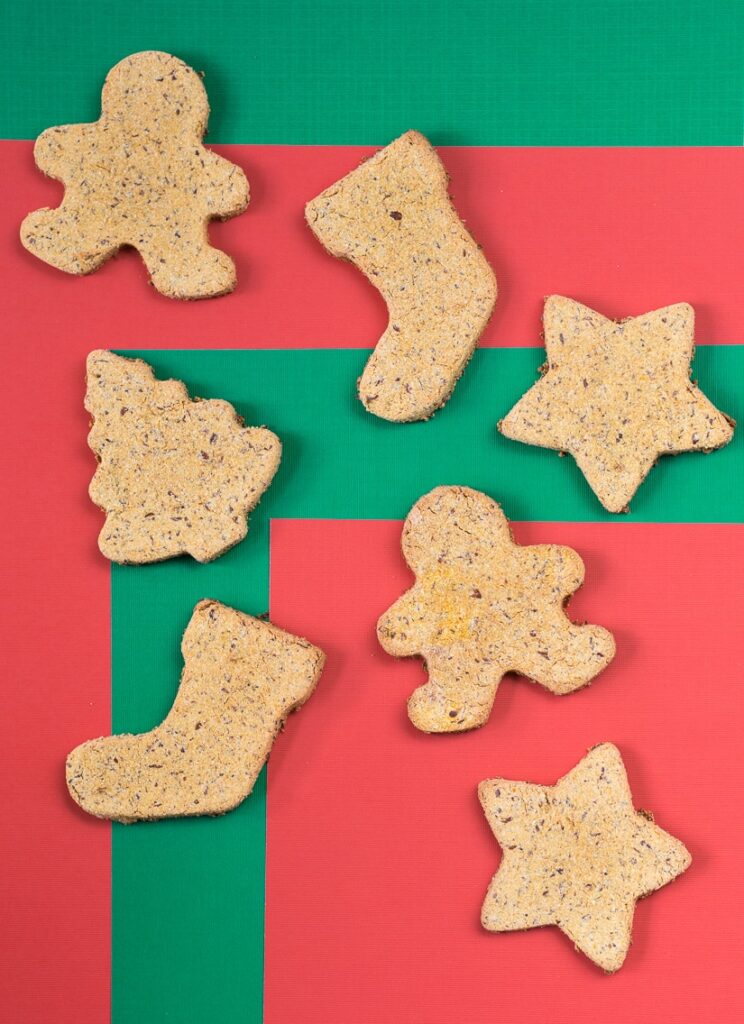
Let cool and give to your pup to enjoy!


For more celebration posts, check out my tips for painting dollar store foam pumpkins, my DIY scrapbook paper and yarn party hats, my DIY balloon garland tutorial, and my tips on making your own wrapping paper!
Pin my post about how to make grain-free Christmas cookies for dogs!