This content may contain affiliate links. See my full disclosure here.
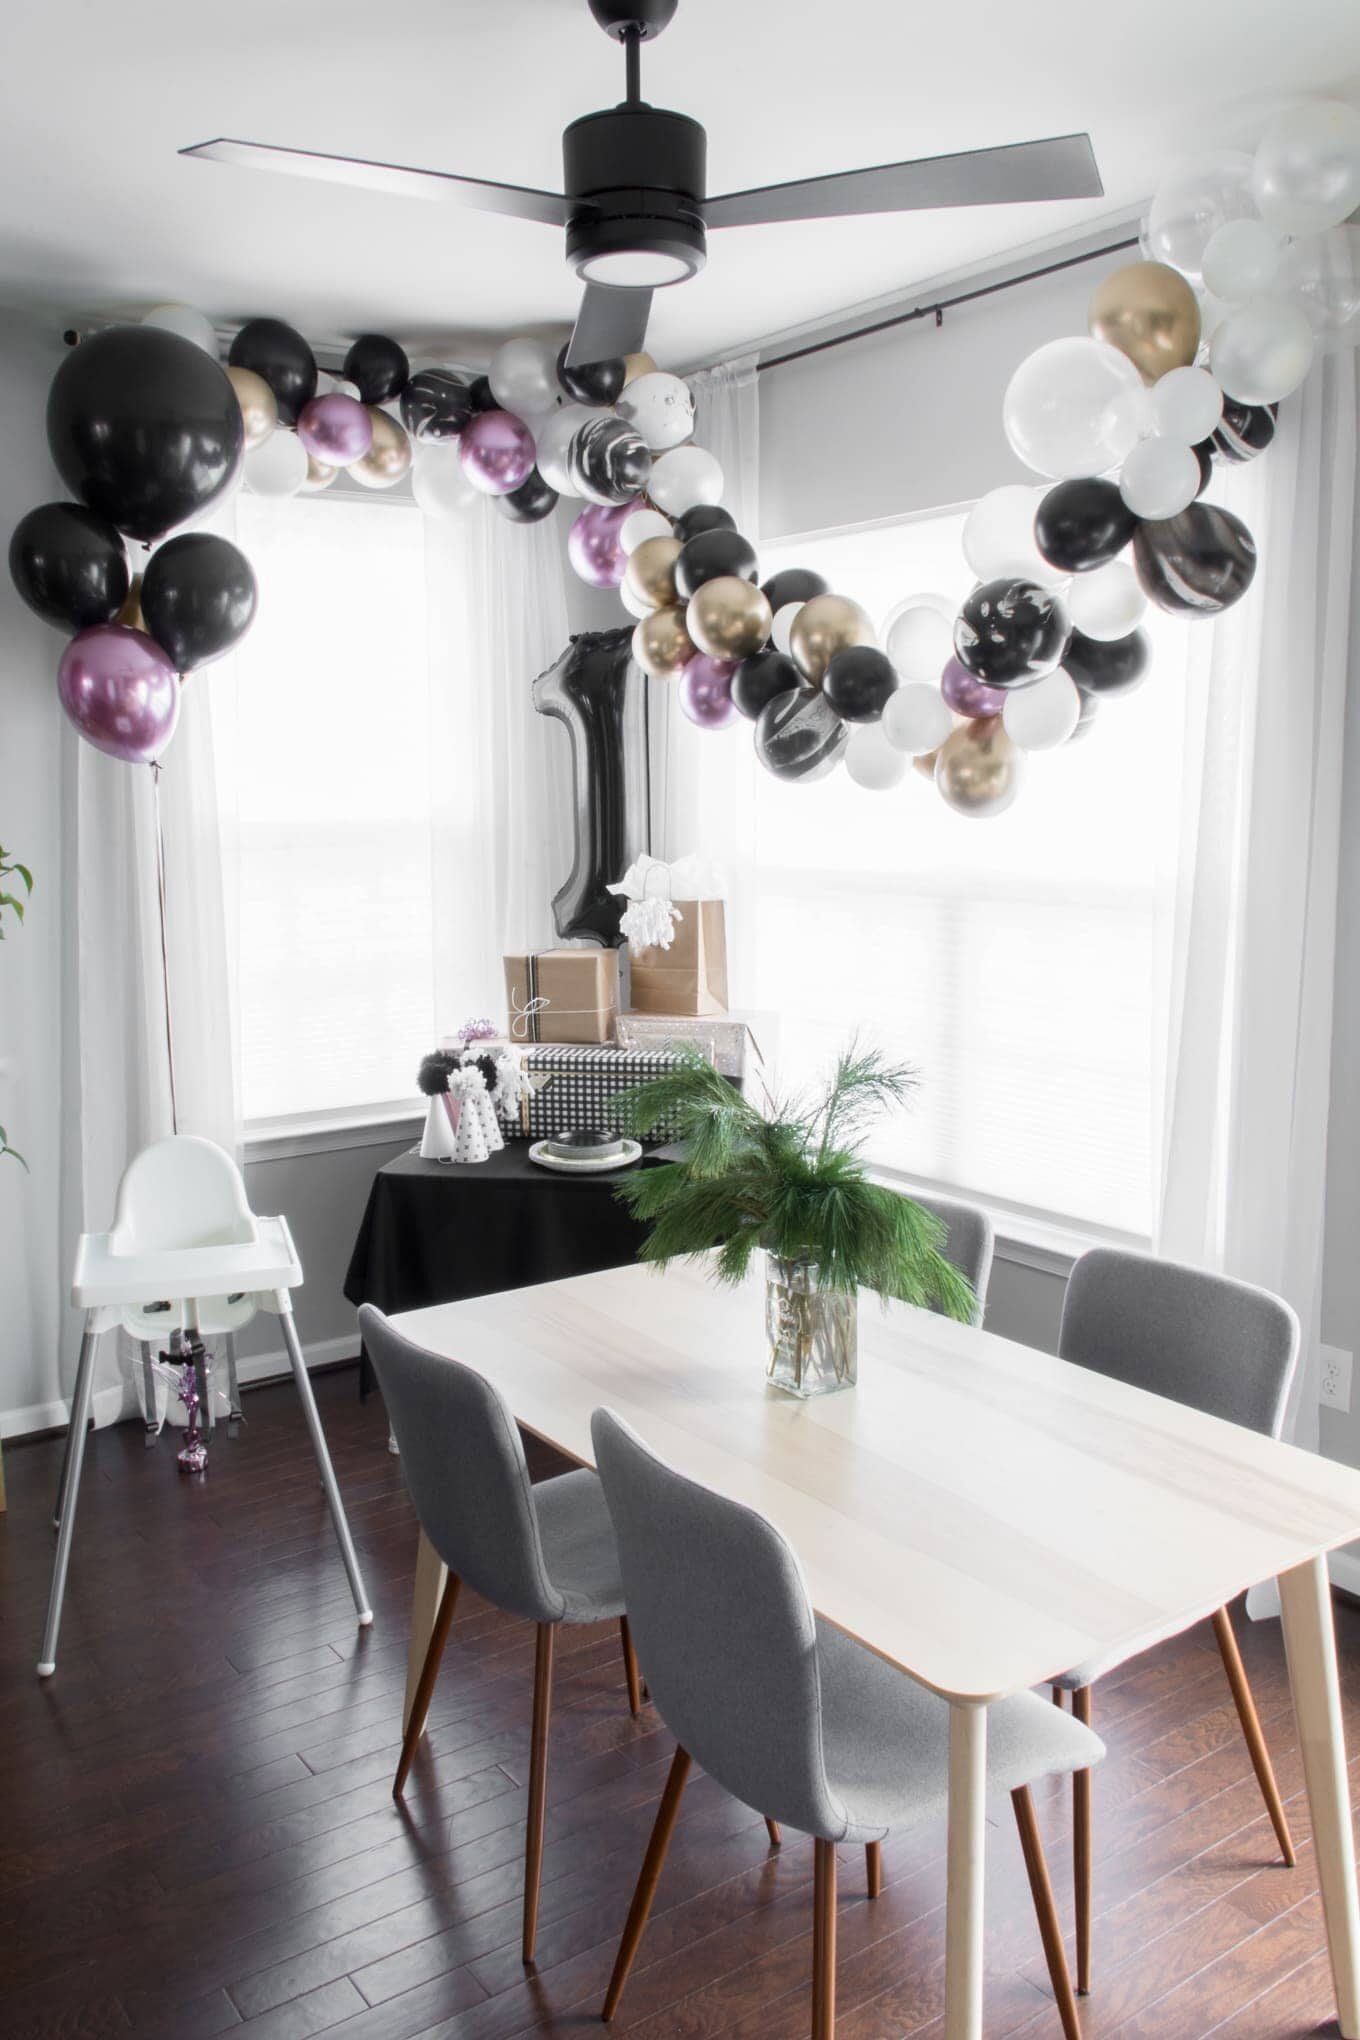
This post will show you how I made an easy DIY balloon garland without an expensive kit using black, white, gold, marbled, and mauve balloons. It’s a chic and inexpensive way to decorate for a party.
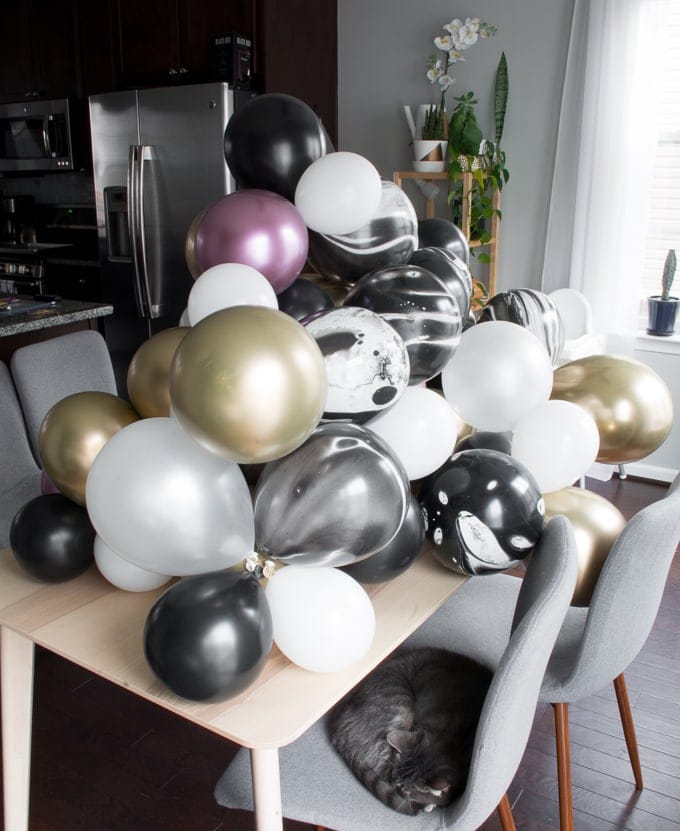
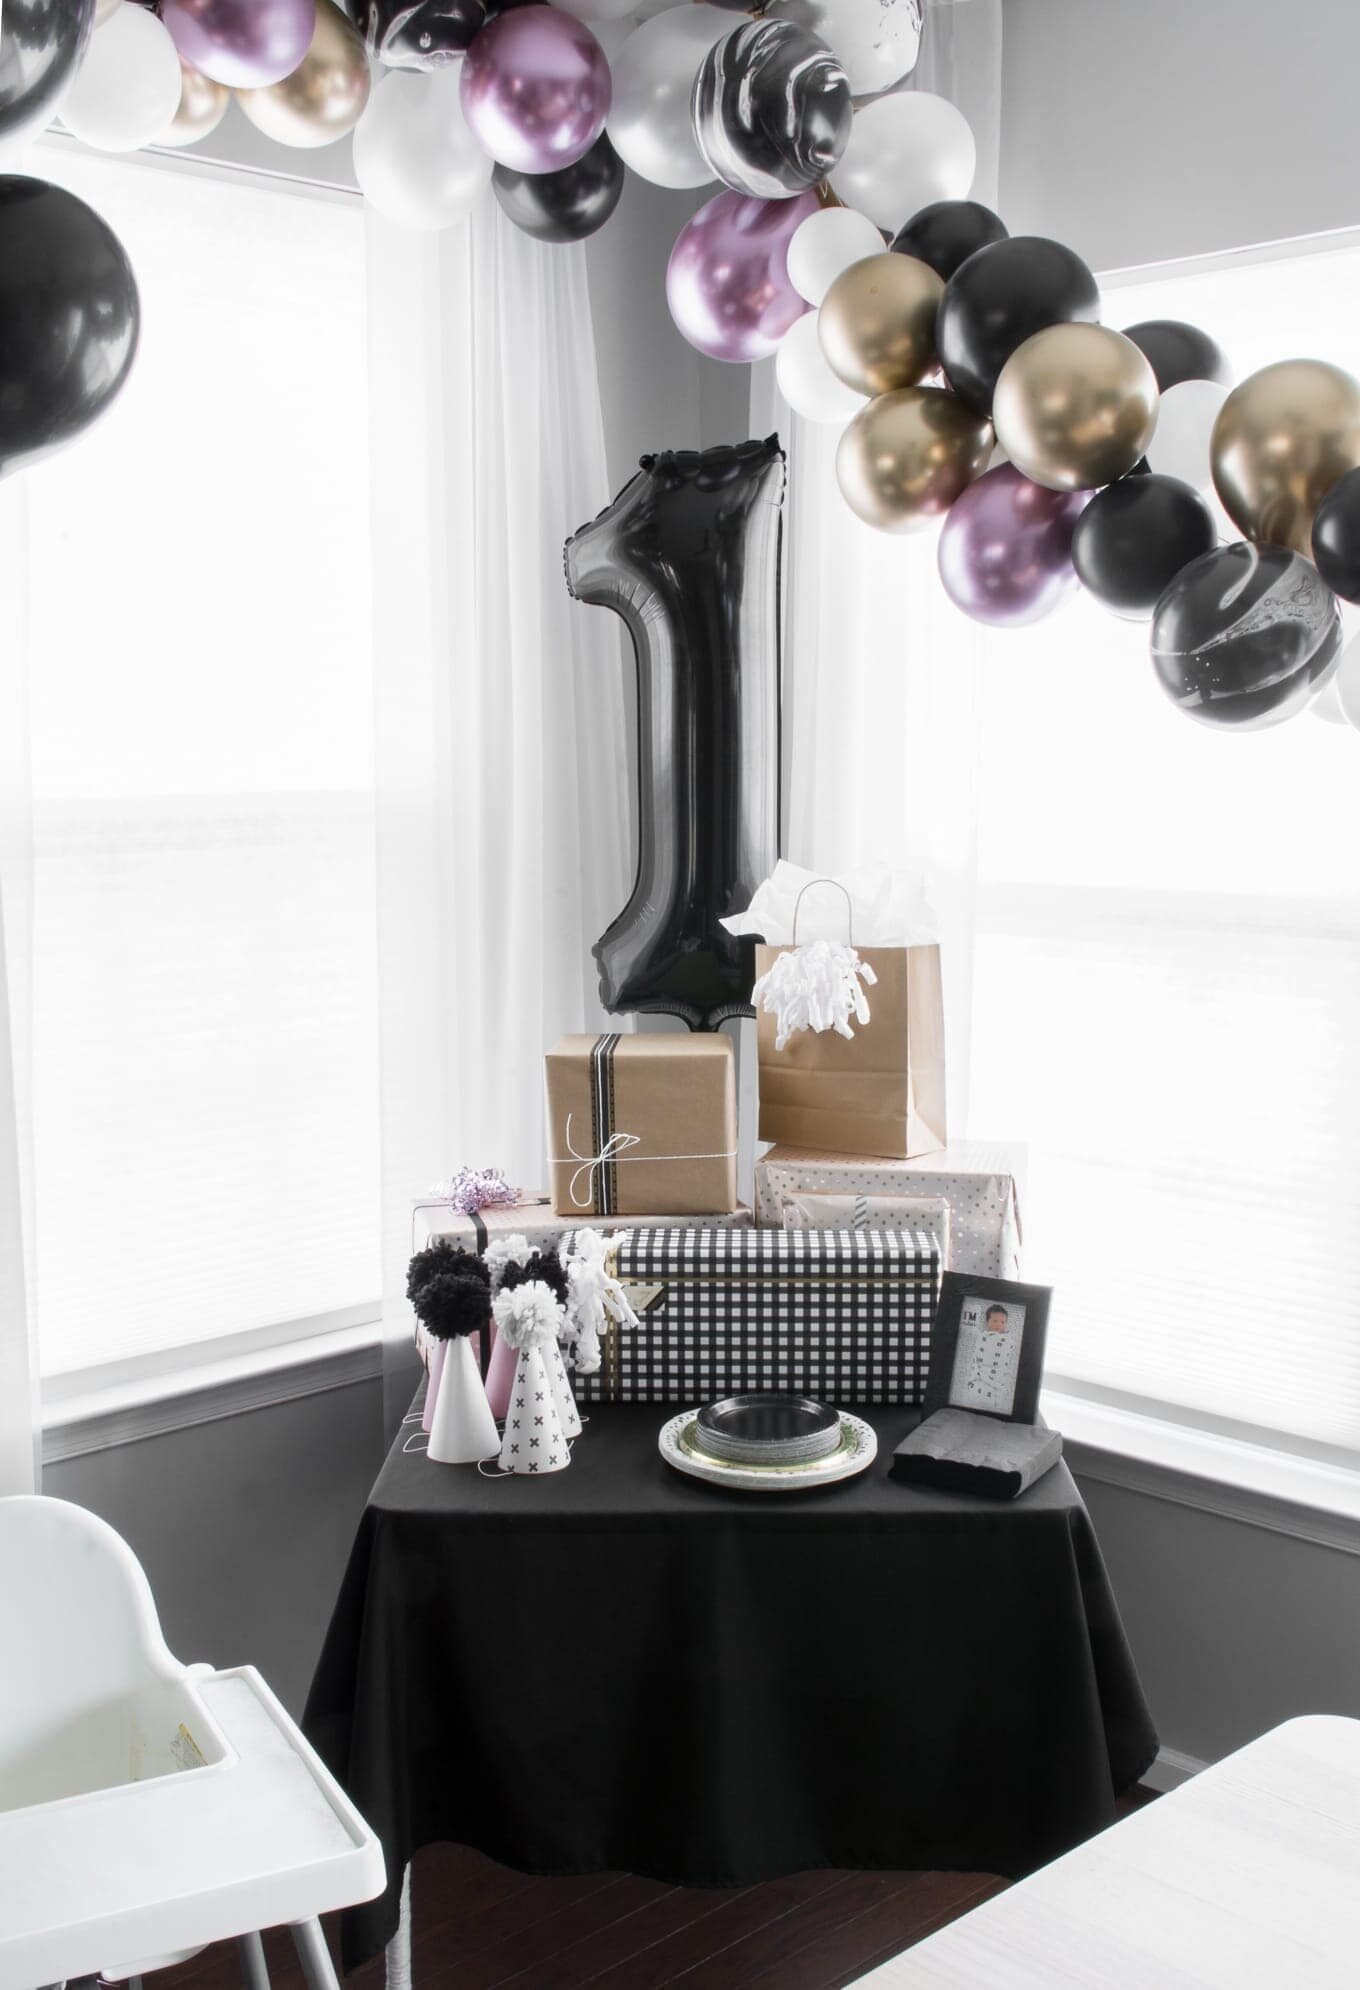
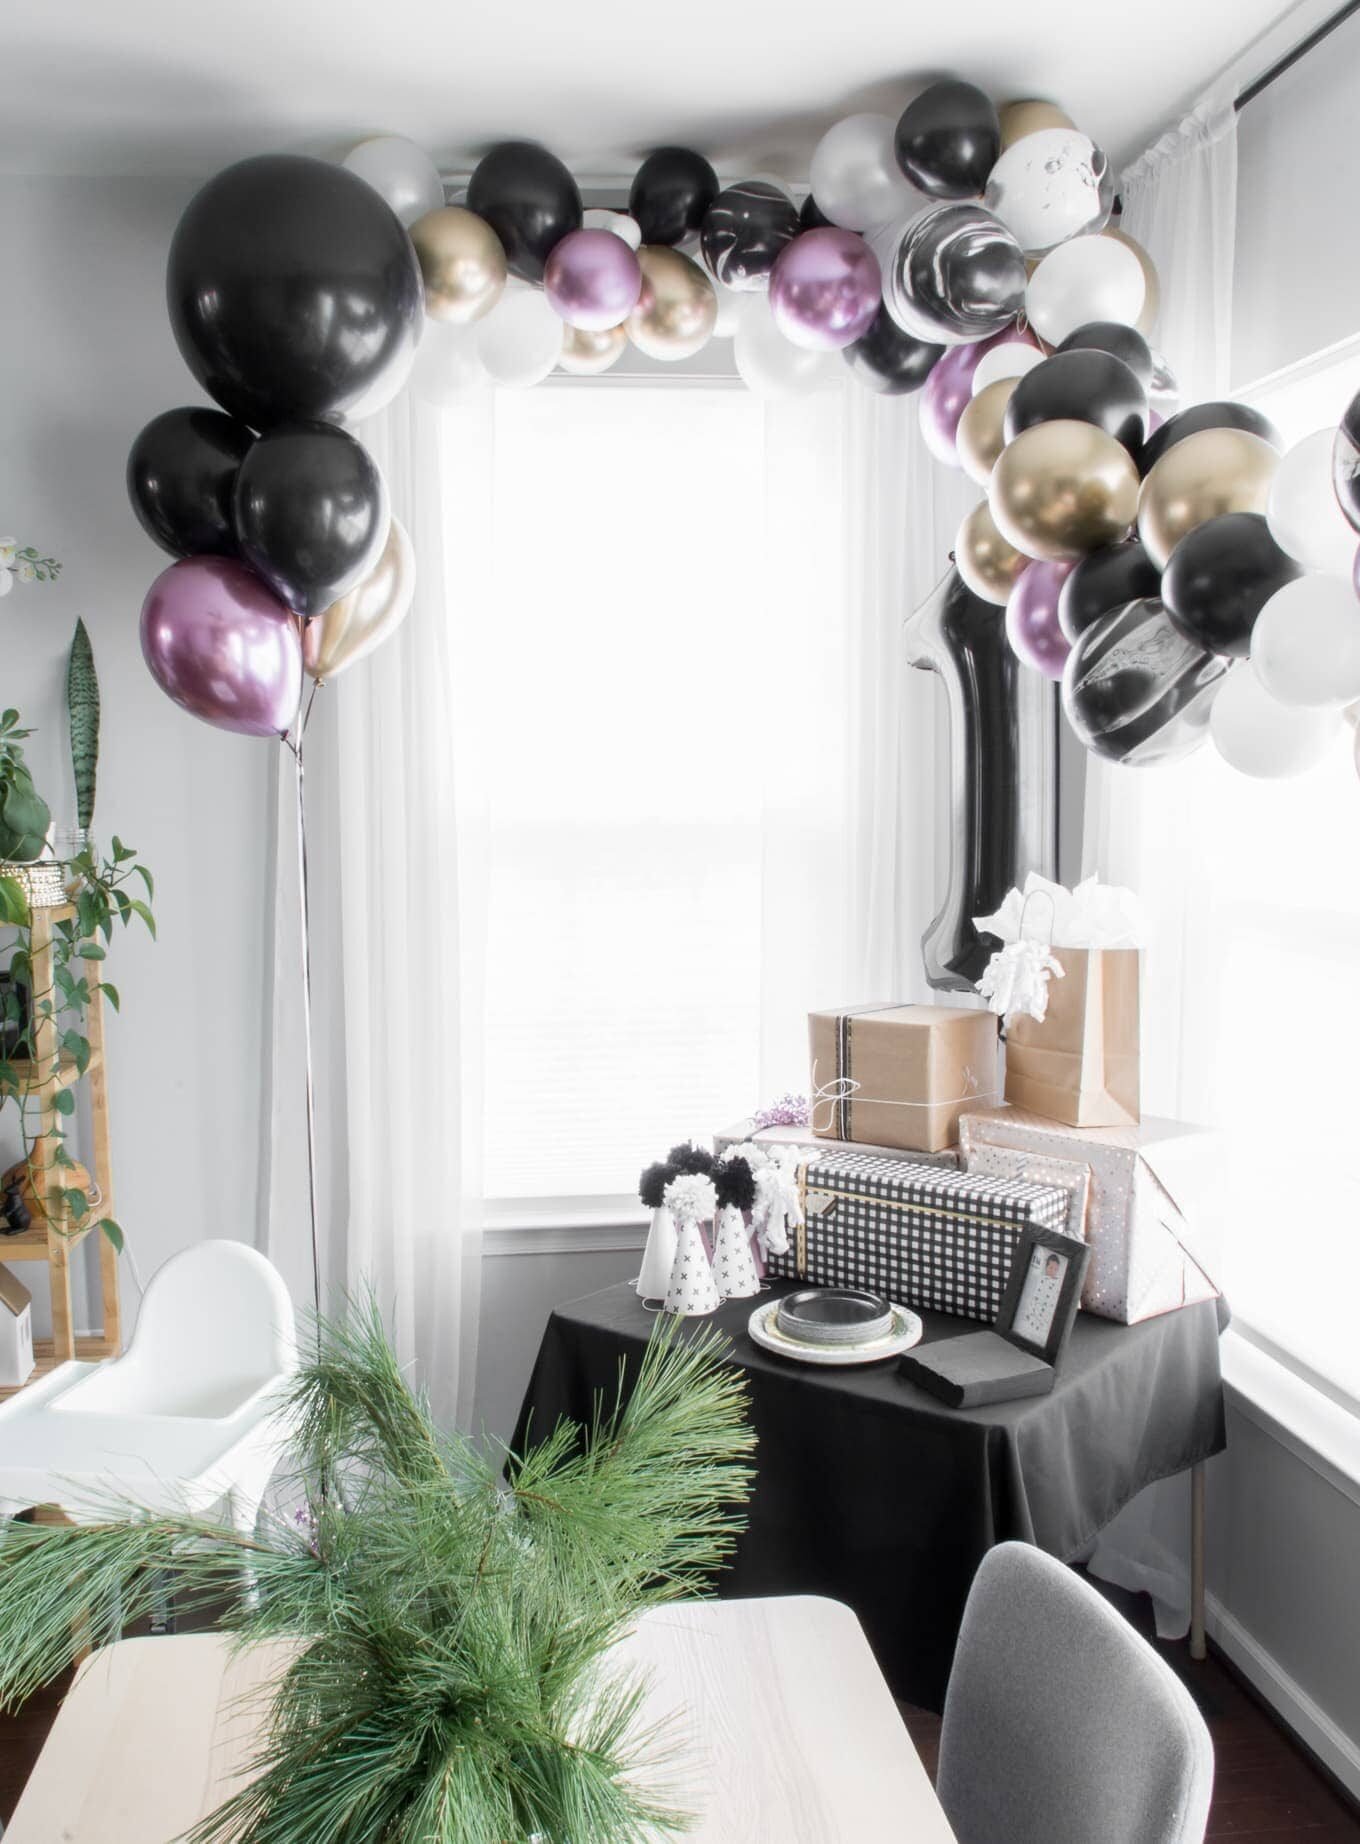
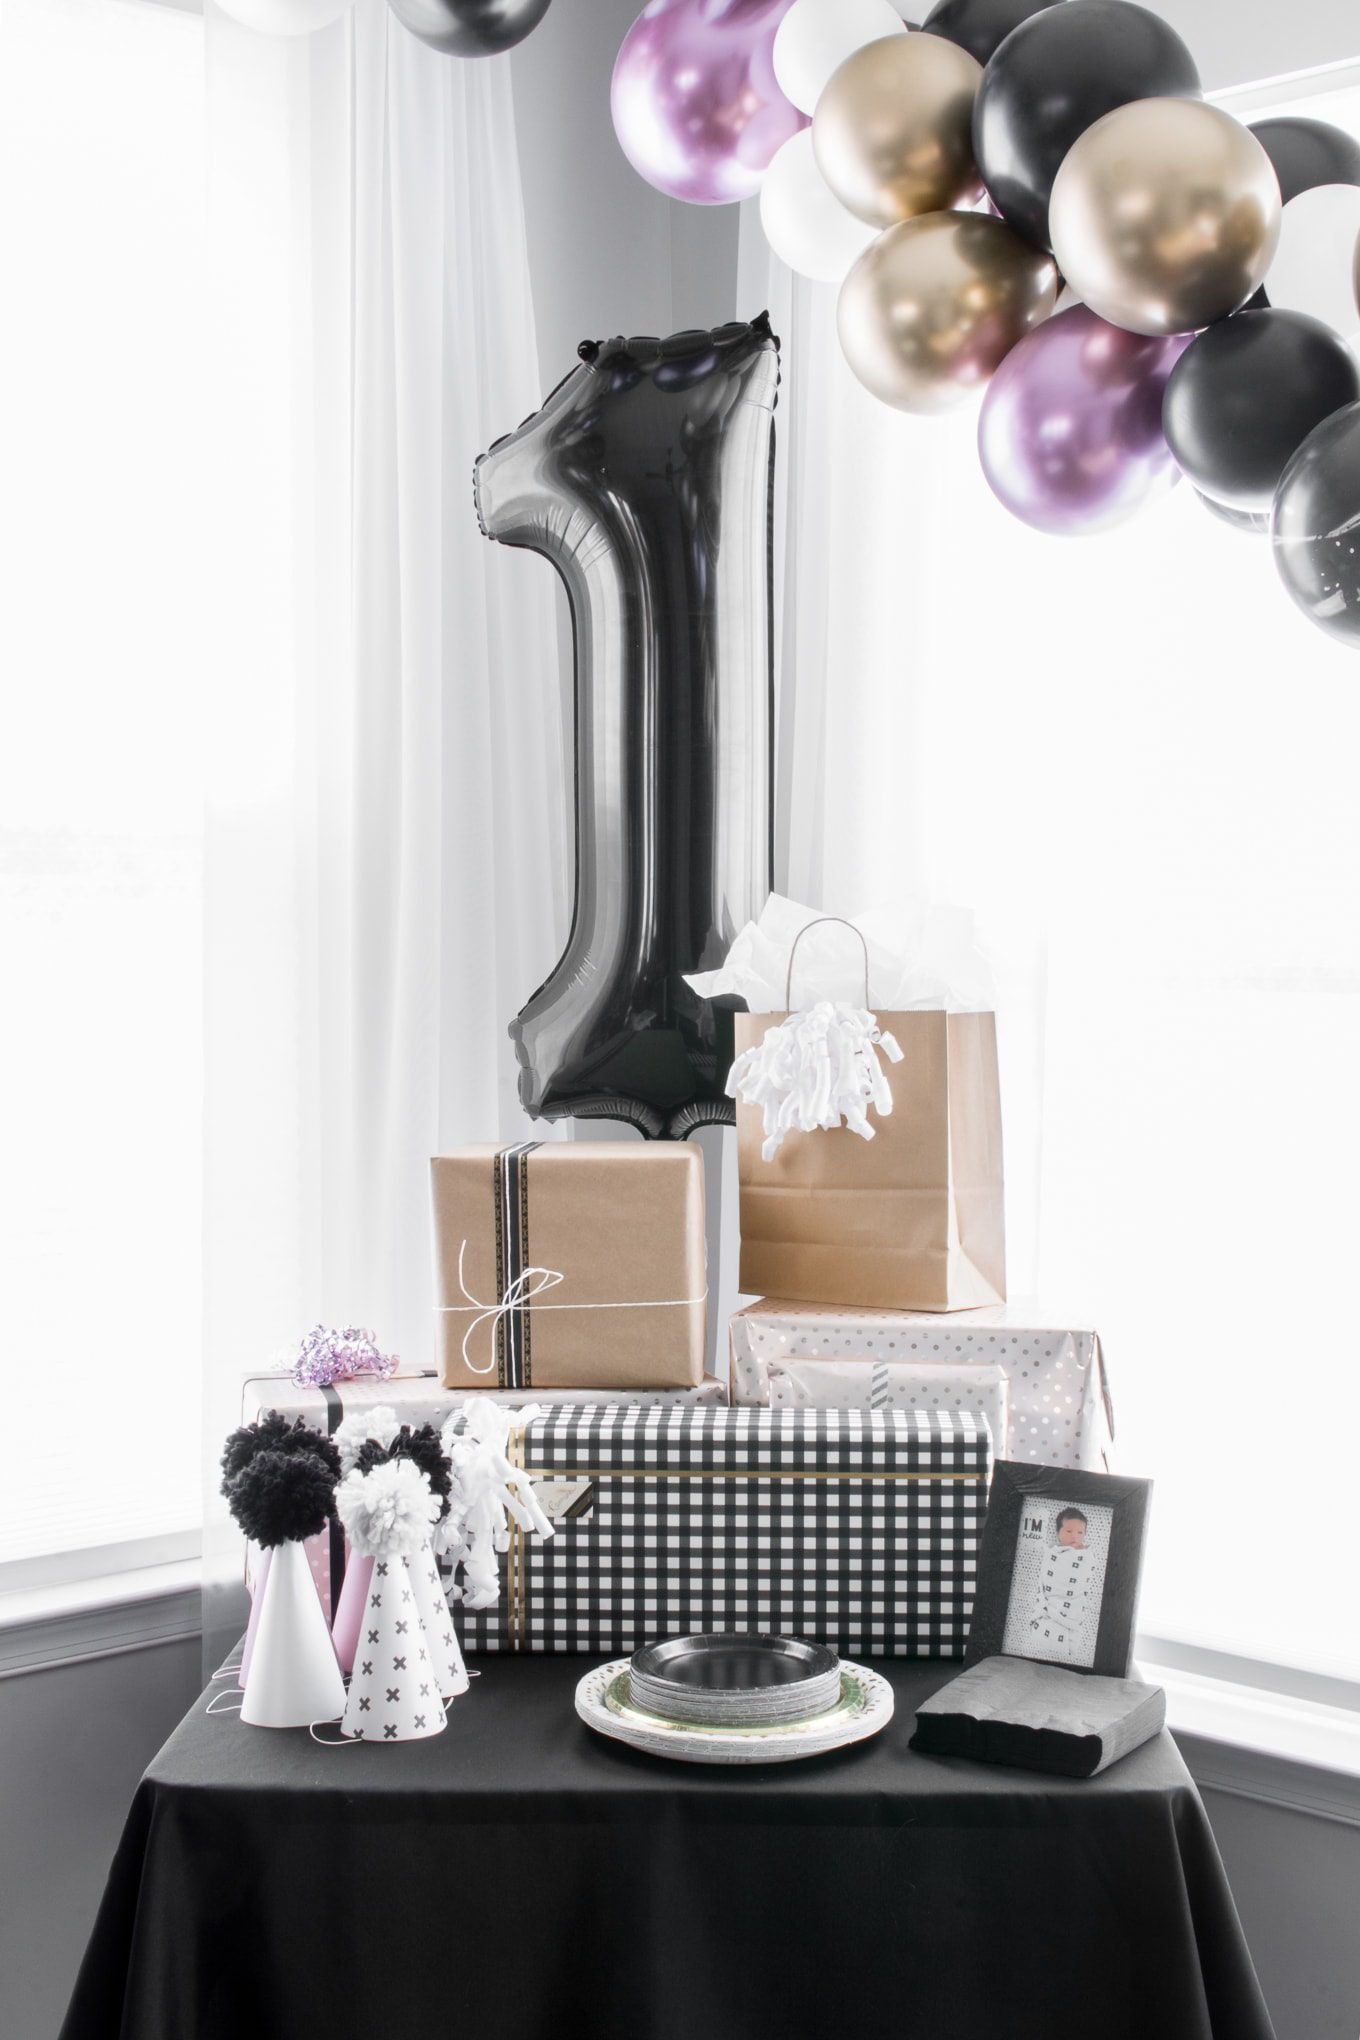
Hey all! I recently shared photos of R’s first birthday party setup (and some family photos from the day of the party). I included lots of pics of the DIY balloon garland I made. Today I’m sharing the steps I took to make it.

Ahhh, so pretty. I think R liked it, too. She can’t talk yet, but she pointed at it a lot and smiled. I did the same thing 😉
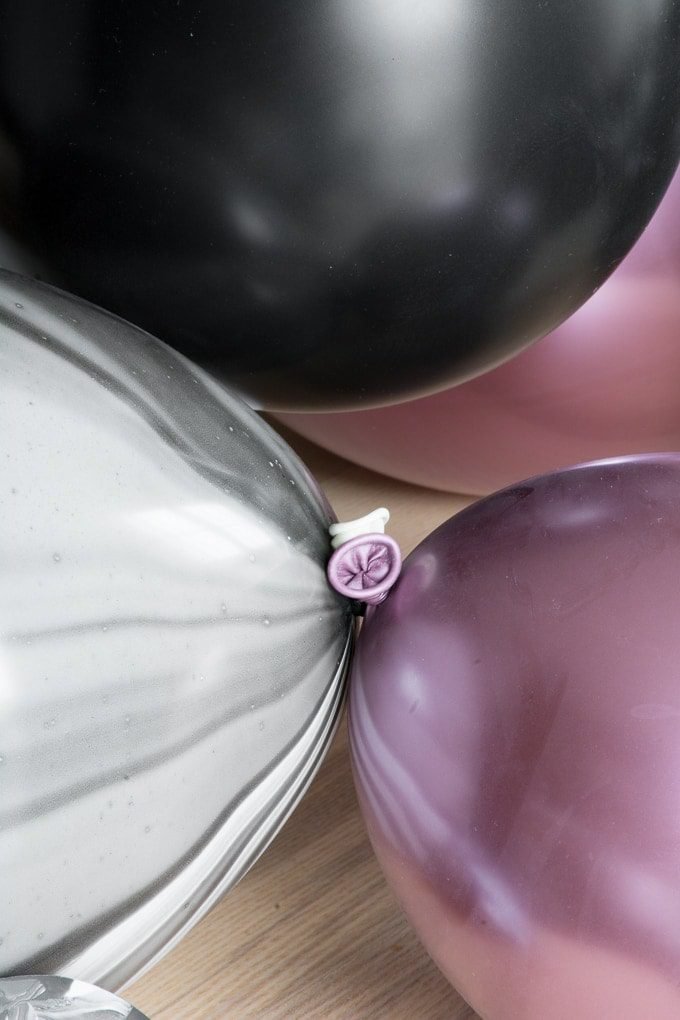
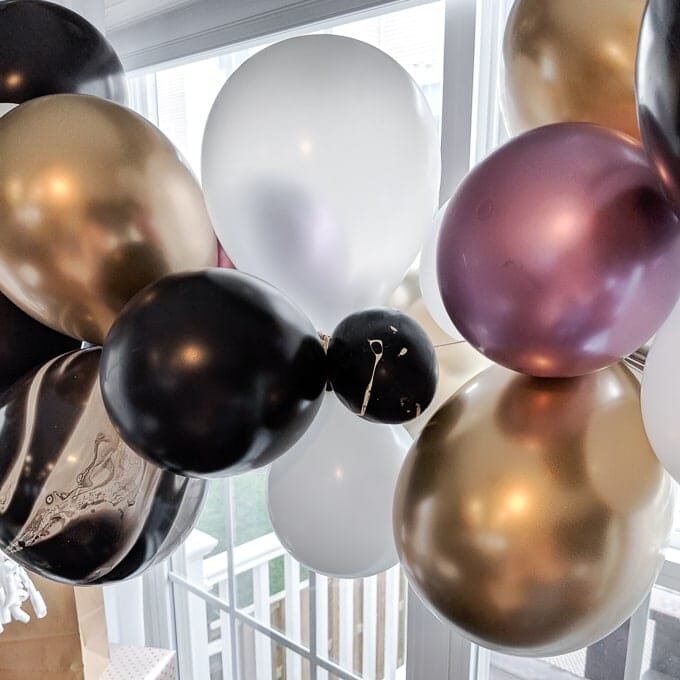
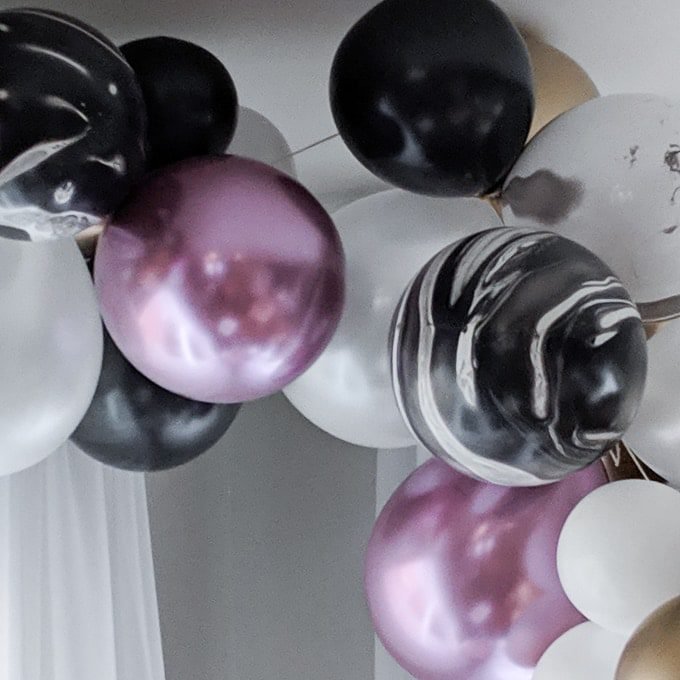
The metallic and marbled balloons are all from Paperboy Party’s Etsy shop. They were STUNNING. The pictures online did not disappoint. They look exactly like this in real life, maybe even better.
I started by sorting all balloons by color and size, using mostly 12″ balloons but also a few smaller sizes. I picked the balloons I wanted to be my main focus (mostly the metallic and marbled ones). Then started to blow those up completely. Just a few to start.
Next I picked complementary colors and started blowing them up one by one, tying them off onto the main balloons I blew up in step 1. I did this with varying color combinations and balloons blown up to various sizes until I had a bunch of balloon clumps.


So…I wouldn’t recommend making your clumps larger than three or four balloons each. Most of mine had four or five, but a few of my balloons lost air overnight. Which I think was due to having so many on some clumps.
I also thought having larger clumps would make it easier to fill out the garland. But now I’m confident that smaller clumps are better since they can be moved around more easily and might even keep a tighter seal.
There wasn’t really any plan for how I wanted each clump to look. I just kind of winged it and just tried to get a variety of colors and sizes in each one.


Next I cut a piece of twine that was a few feet longer than what I needed. I knew I wanted to string my garland up onto my ceiling plant hanger and then use the curtain rods to support it. If you don’t have anything to use, you can use command hooks.
I wrapped the middle-ish point of the twine around the ceiling plant hanger to anchor it.


I cut a bunch of smaller pieces of twine and used one to tie each balloon clump up onto the string. I only tied once. Just tight enough to stay put but loose enough to slide along the longer main piece of twine.
After I’d gotten a few clumps on, I started gently pushing them all up toward the ceiling to bunch them together. Don’t worry too much about how it looks; as you bunch more balloon clumps on, it may rotate the twine a bit, changing the way the garland looks. You can tweak it when you’re finished.


Once I’d strung all clumps on and was pleased with how it looked, I tied off and secured the ends and rotated some of the clumps so that certain colors and balloons were more prominent. I also blew up a few of the leftover plain black and plain white balloons in varying sizes to fill small gaps. We just wedged those in without tying them on.
Our balloon garland went up the night before R’s party, and by the party, two or three balloons had started to deflate. I just cut those off and stuck a plain black or white balloon in their place so the twine wouldn’t show. This solution worked perfectly.
We saved two of the metallic balloons to have them blown up with helium at Party City (and two black balloons). It looked super sitting next to the garland as a little accent.
For more party inspiration, check out my simple DIY wooden cake topper, my post about how to make a cake topper using a Cricut machine, and my tips for making scrapbook paper party hats!
Pin my DIY balloon garland!


0 Comments