This post will teach you how to make simple washi tape gift tags. Because what’s a gift unless you go just a little over the top with the embellishments?
DIY Washi Tape Gift Tags
Hello hello! I’m really getting in to the gift-giving season over here—we’re not just starting to gear up for the holidays, either. We’ve got R’s first birthday on the horizon, too!
I love wrapping presents and usually snag some discounted gift wrap from a store like Homegoods (usually placed in the cashier gauntlet you have to make it through before checking out) to embellish. (I used paint and washi tape for some holiday gift wrap a few years ago.)
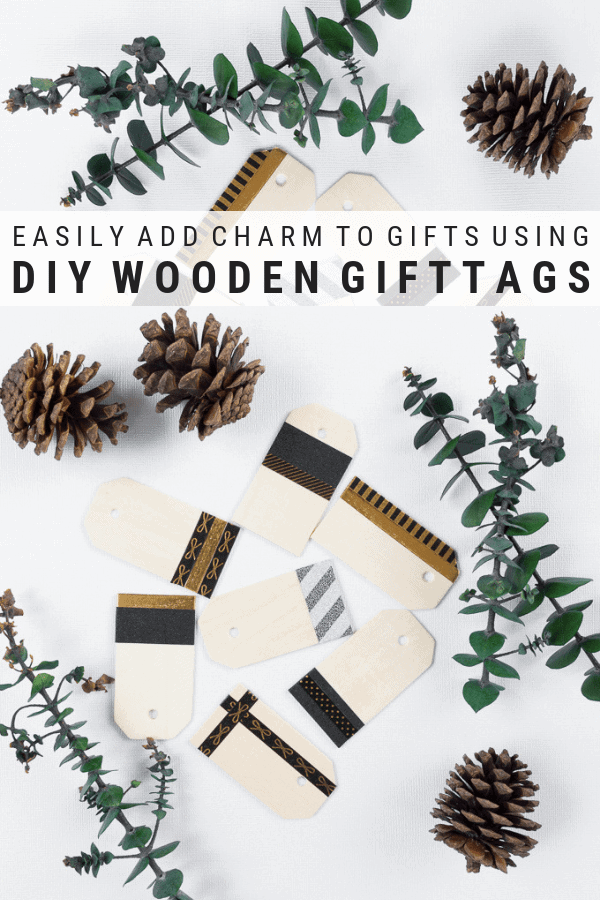
Today I’m sharing a super quick and super simple DIY to help add some charm to your gifts: DIY wood and washi tape gift tags. Because what’s a gift wrap job if you don’t go just a little over the top with embellishments? Wood tags? Yes please!

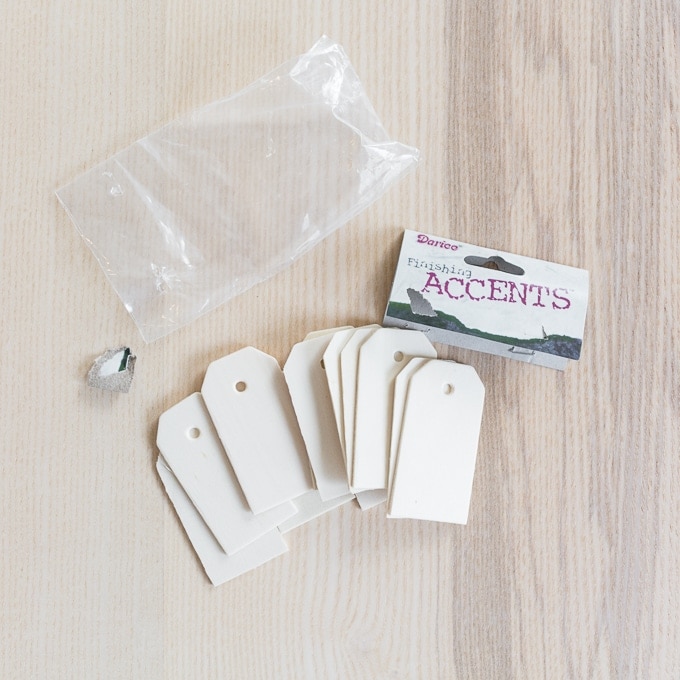
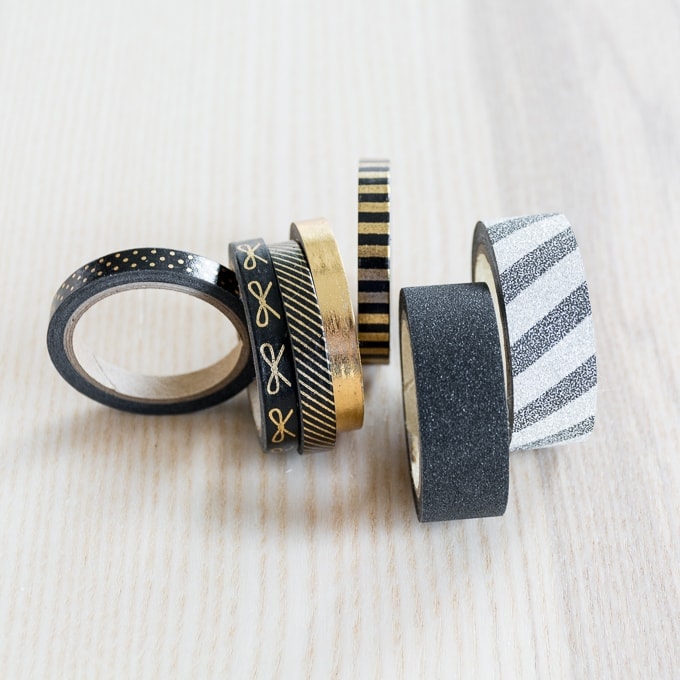
Here’s what I used:
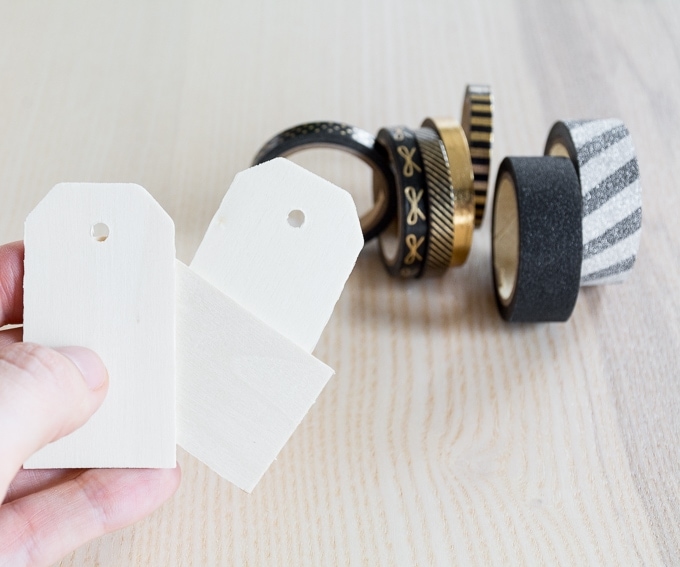
- Darice rectangular gift tags
- Washi tape
- Scissors
- Tape and/or string
And here’s how I made cute wooden gift tags.
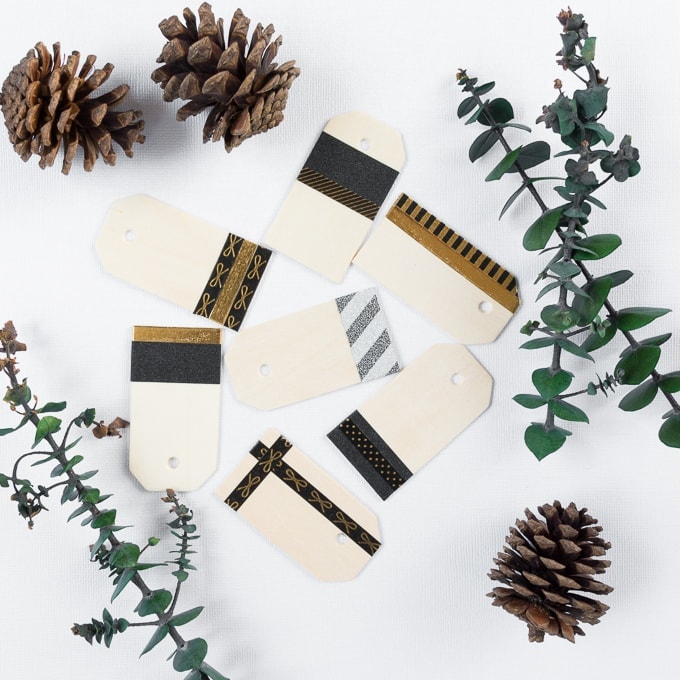
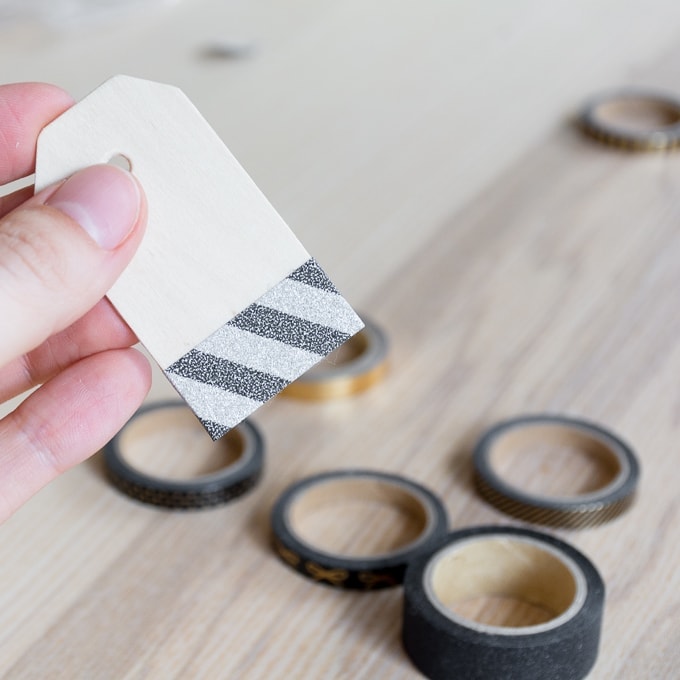
Step 1: Pick up some simple wood gift tags and washi tape. I went with a black, white, and metallic theme for mine…because of course. I recommend getting a few different widths of washi tape, too.


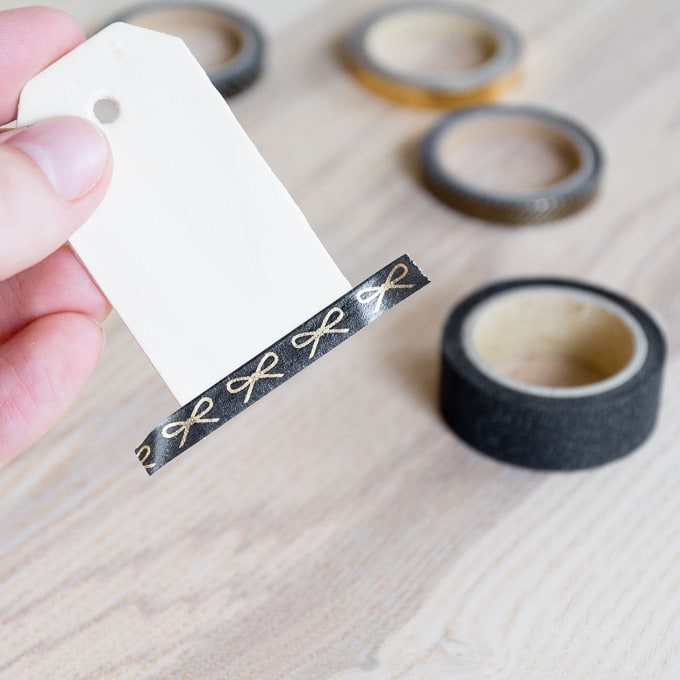
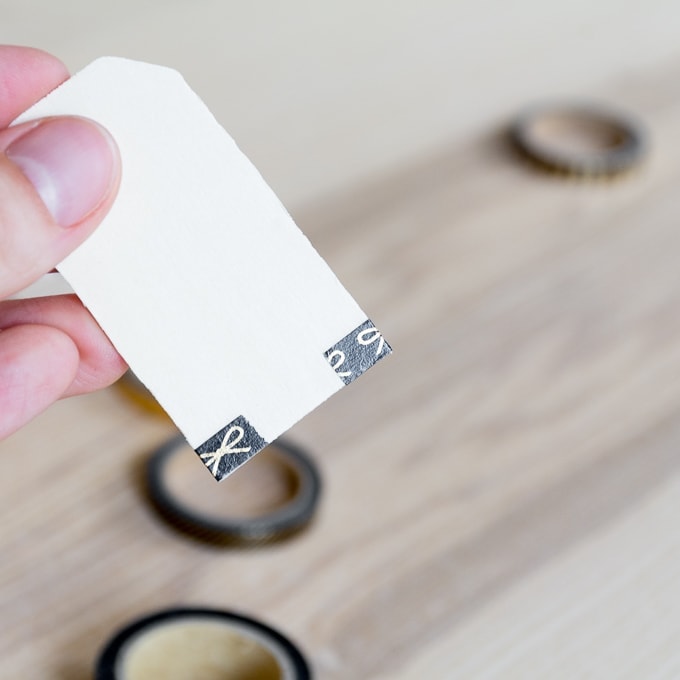
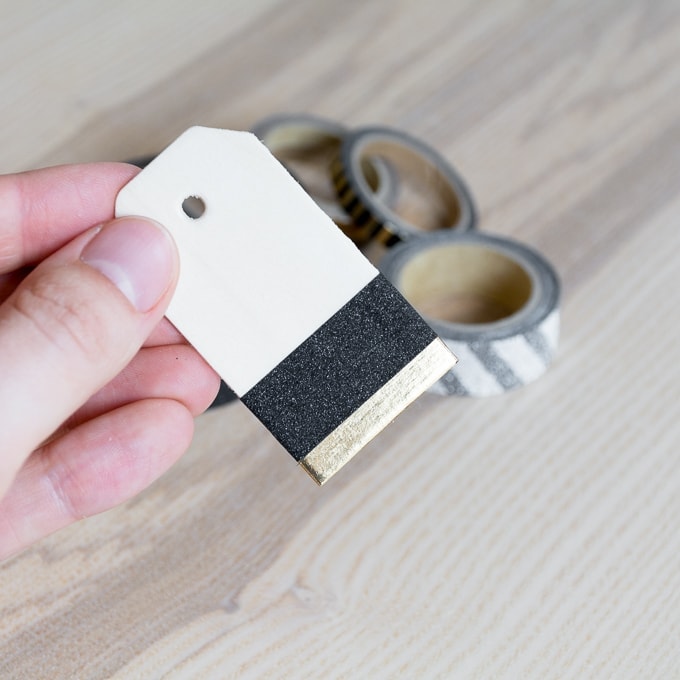
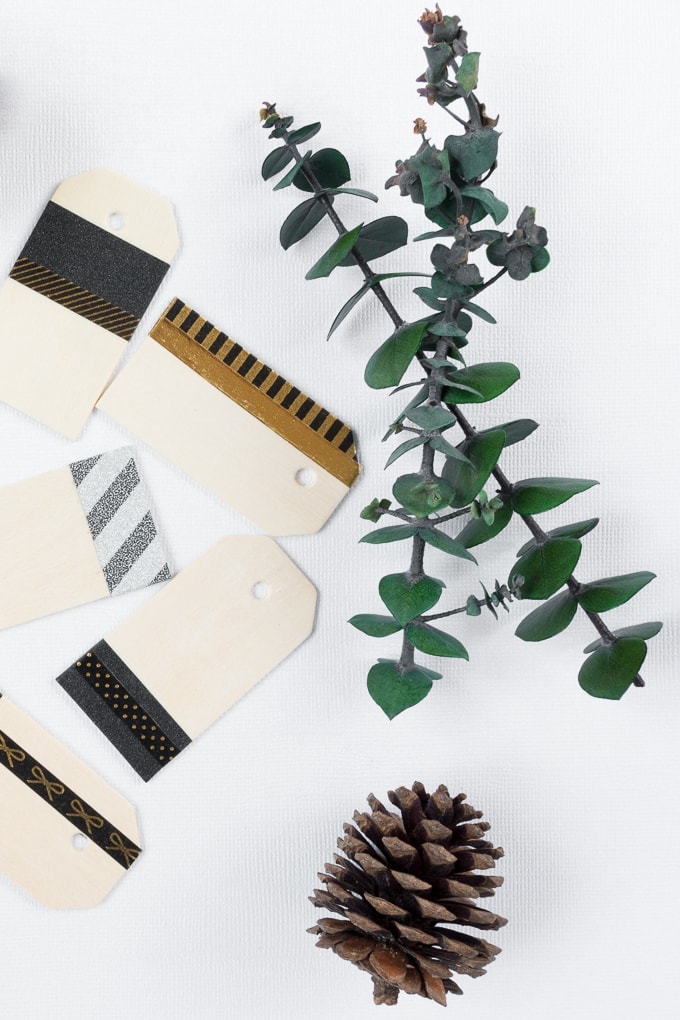
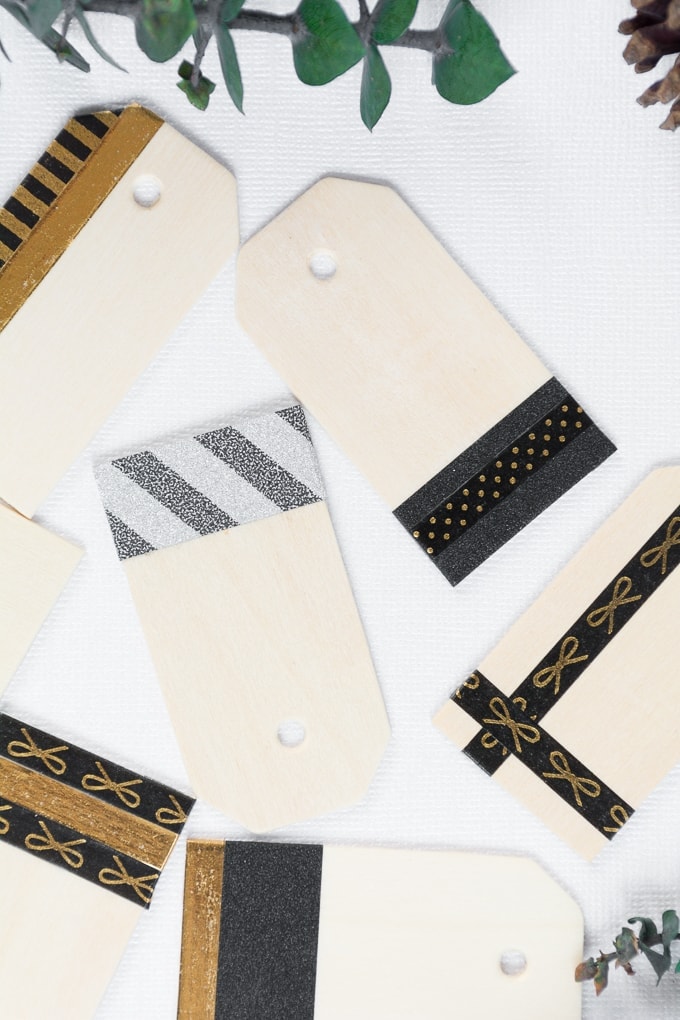
Step 2: Press the tape on to the gift tags in various patterns. Just fold the excess on to the back of the tag. You can layer the tapes if you’d like or create different striped patterns (horizontal, vertical, diagonal, etc.).


And that’s really it! You can make these as simple or as tricked out as you’d like. You can add some sort of ribbon or string, but I just taped mine down directly on to the gift.
Here are a few of the patterns I ended up with:


For more celebration posts, check out my tips for painting dollar store foam pumpkins, my DIY scrapbook paper and yarn party hats, and my DIY balloon garland tutorial!
Share this on Pinterest!