This content may contain affiliate links. See my full disclosure here.
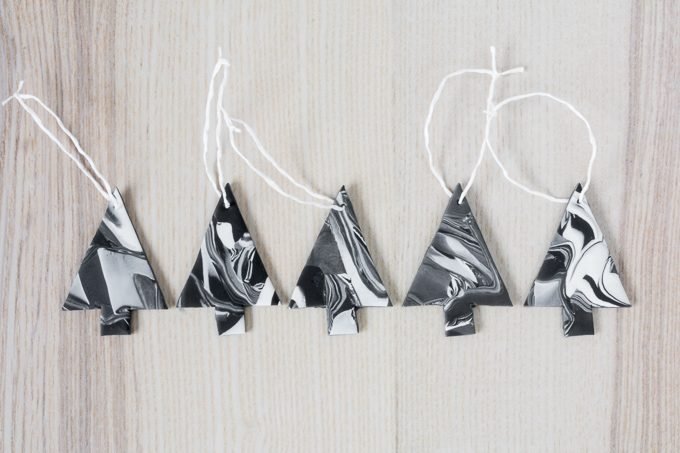
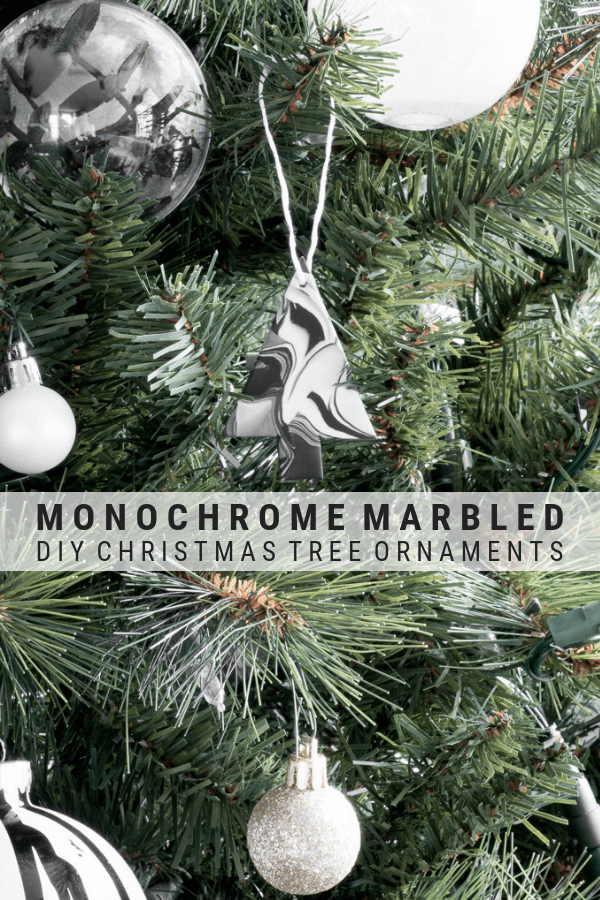
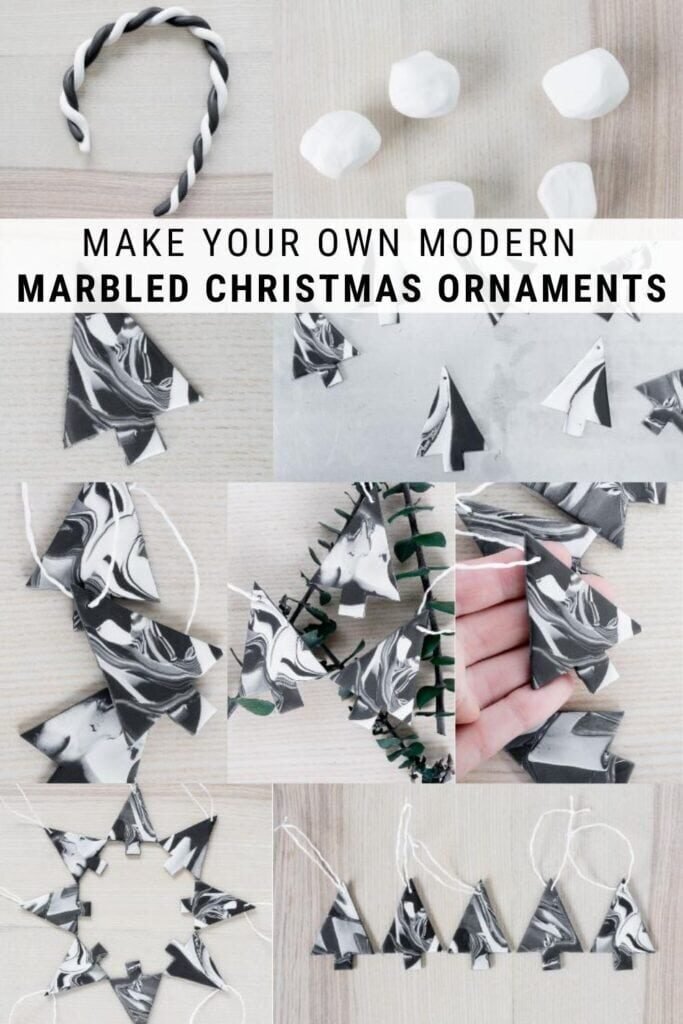
This post will show you how I made marbled Christmas ornaments using clay. They are easy and will make a great addition to your tree.
I keep saying I’m done making Christmas ornaments, but then I get another idea. WHAT IS WRONG WITH ME? I decided to make some new coasters, and while picking up the materials for those, I decided that the approach would make cute and easy Christmas ornaments, too.
And ones that don’t break when the curious Christmas kitties knock them off the tree. Post on the coasters coming soon, so for now, let’s chat ornaments.

- Polymer clay, I used white and black from the Sculpey brand. If you’re a colors person, there are some great multipacks as well. The colors are really vivid.
- Rolling pin
- Cardboard, foam, or cardstock cut in a Christmas tree shape; cut out and trace, or freehand one. You can also use a cookie cutter, but I don’t have any Christmas ones and didn’t want to buy any just for this project. I also wanted my ornaments to be on the smaller side so I could make more.
- Cutting tool suitable for clay, something like this
- Super duper clean work space (clean once, then twice, then maybe even three times)
- Oven and mitts
- Twine and toothpick
- Optional: Glue stick and gold leaf foil
I’m using black and white clay. (Note: If you’re using white, make sure you roll that out before other colors to avoid staining your hands/work space.) Kneed and roll each color separately until each is in a ball.
Don’t be discouraged if the clay is difficult to manipulate at first. It just needs to be worked a bit.

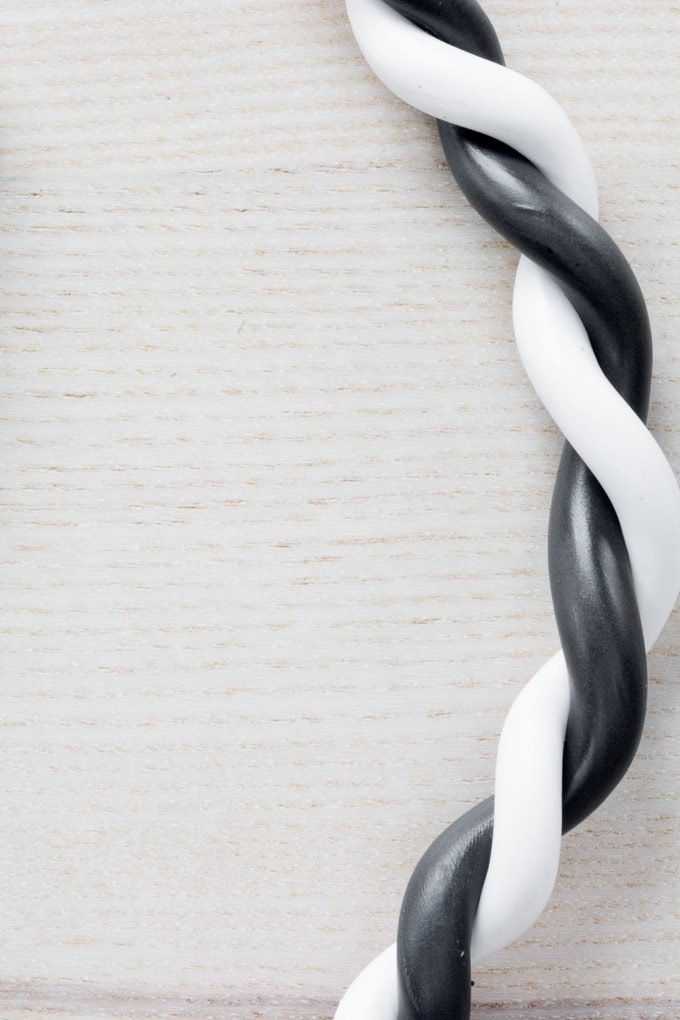
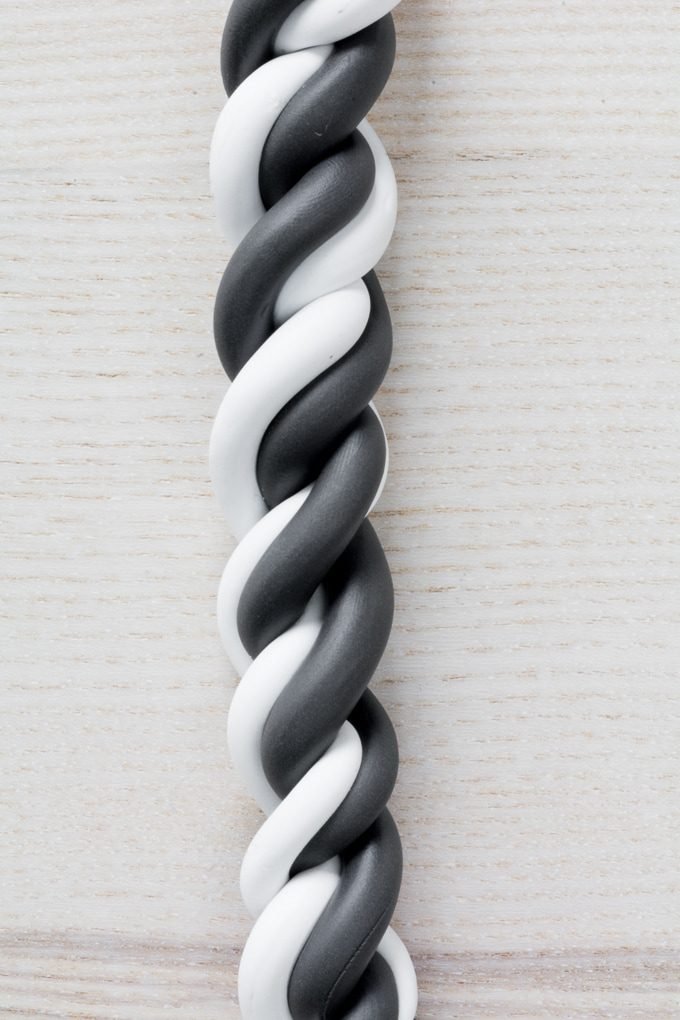
Roll each ball into a string. Thicker strings will lead to bolder colors in your final product. Thinner strings will blend and bleed more. I tried both, and both give different but equally beautiful effects.


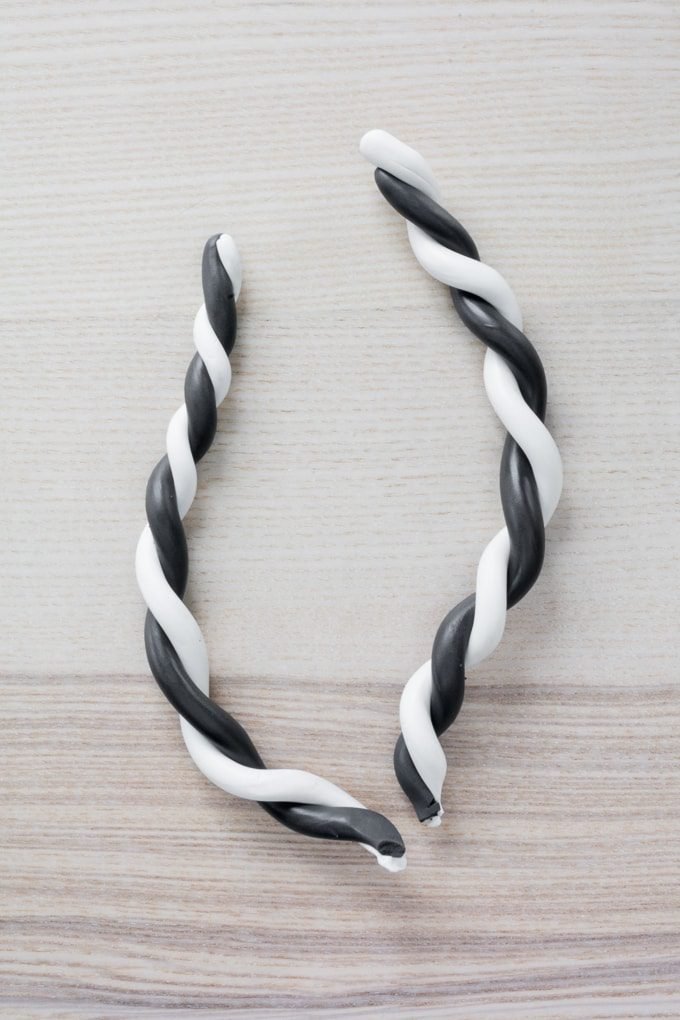
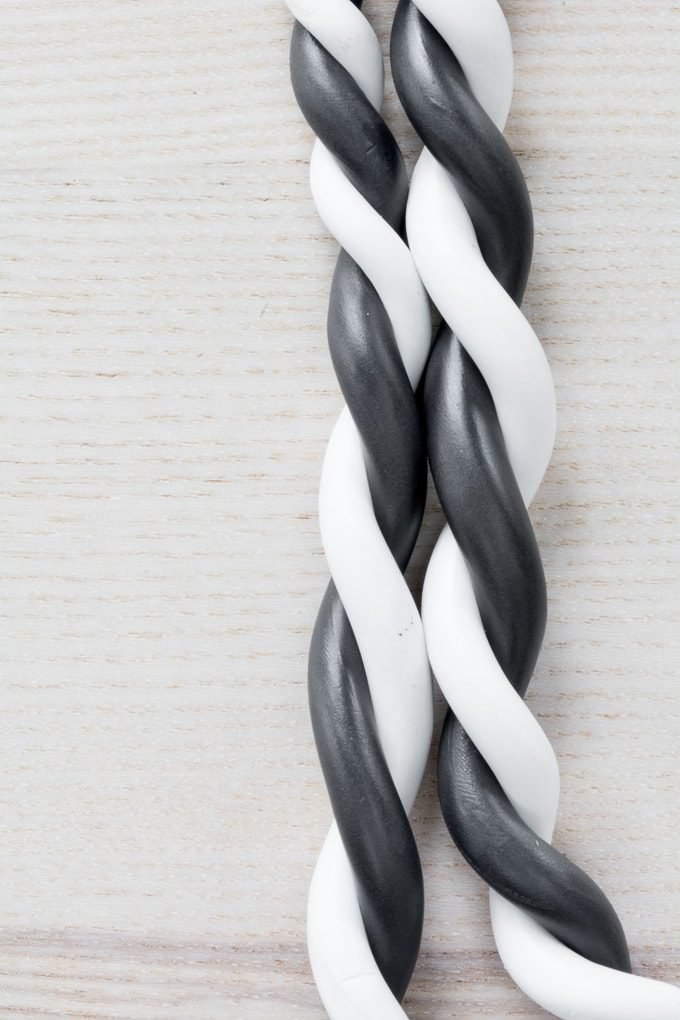
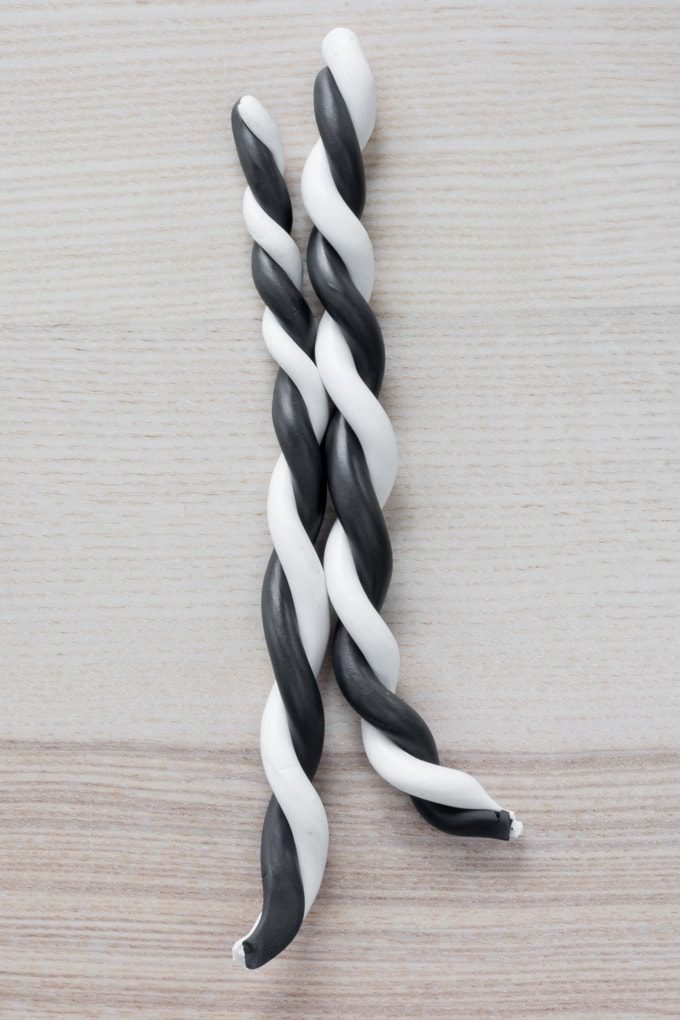
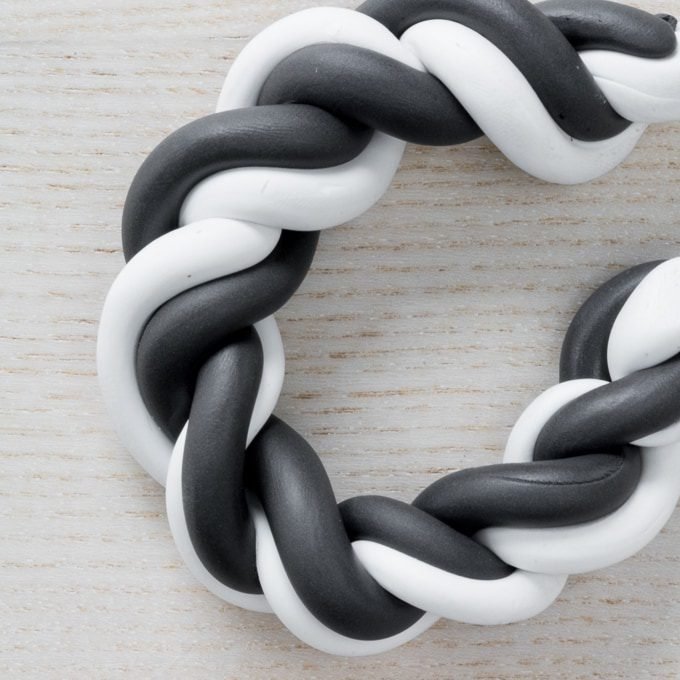
I paired a black and white string, twisting them together like so. You can do this with more than two colors, too.
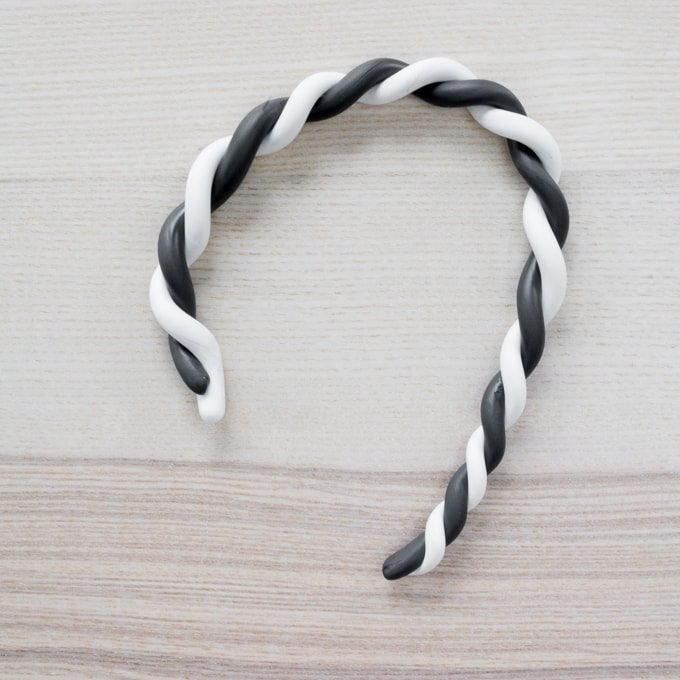
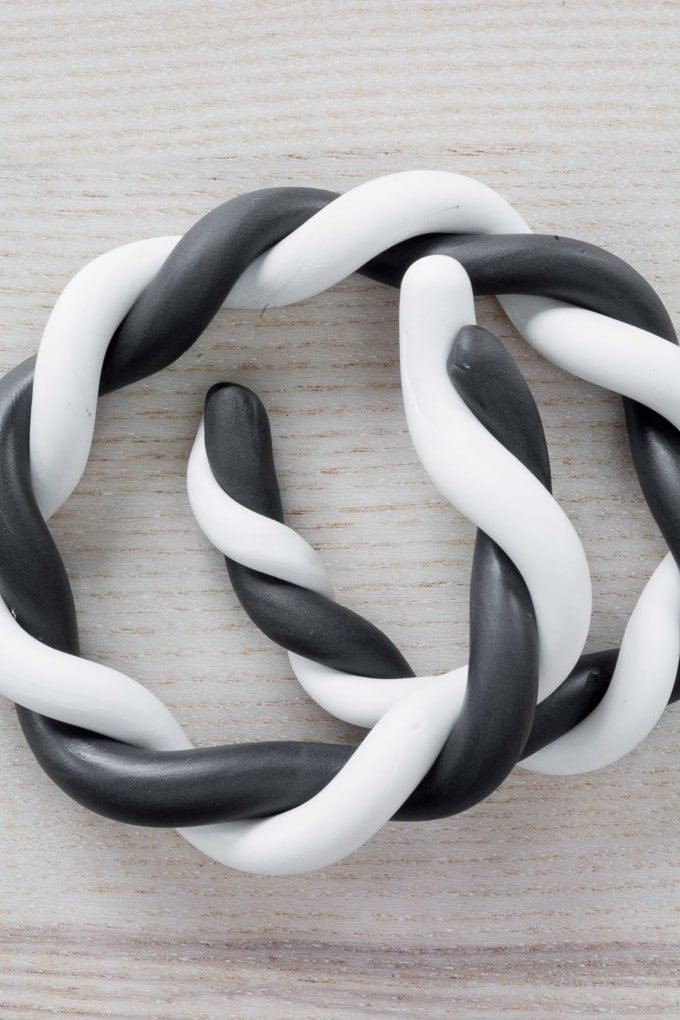
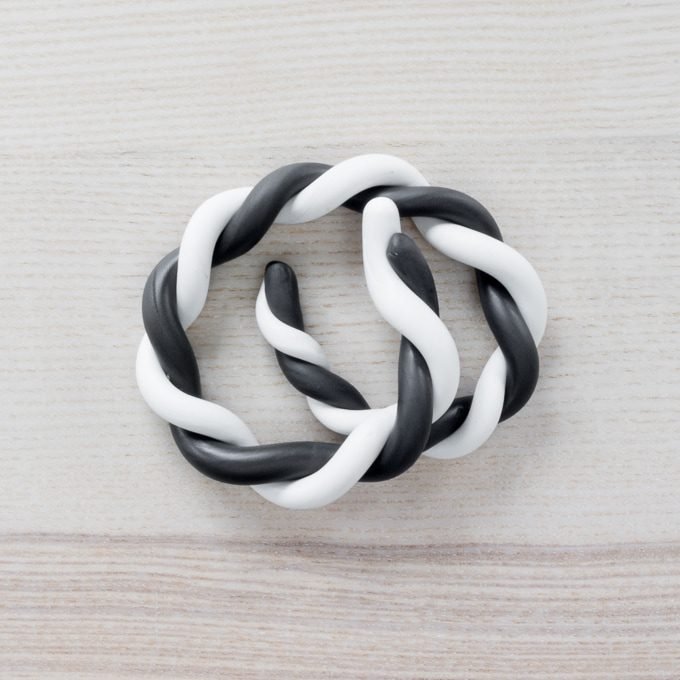
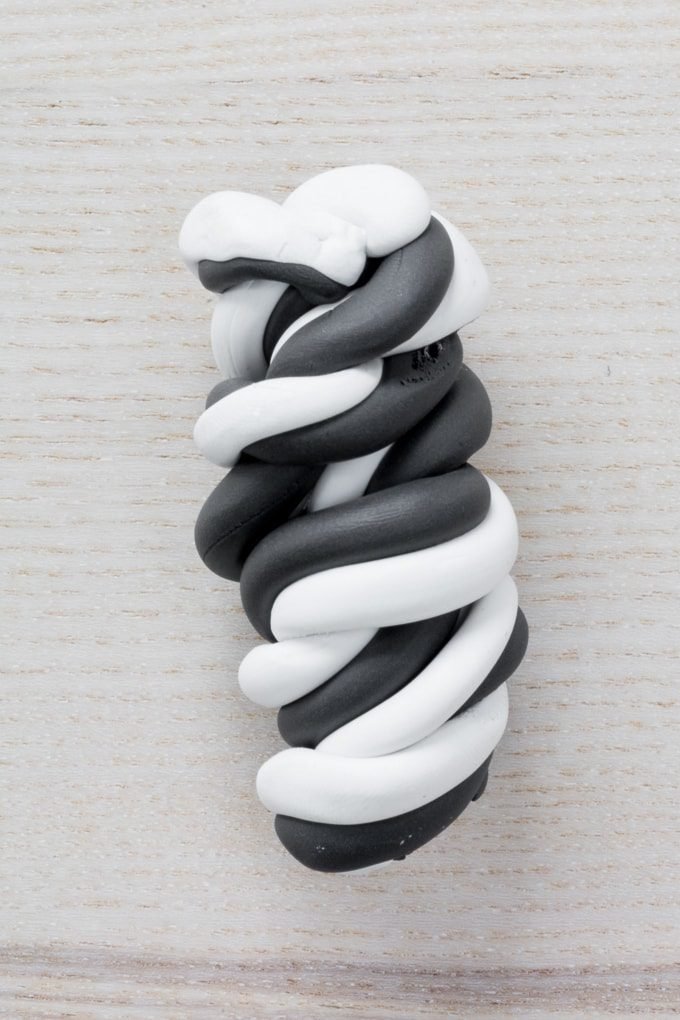
Then I broke in half and twisted again, rolling this to smooth it out. Then repeated once more. 🙂
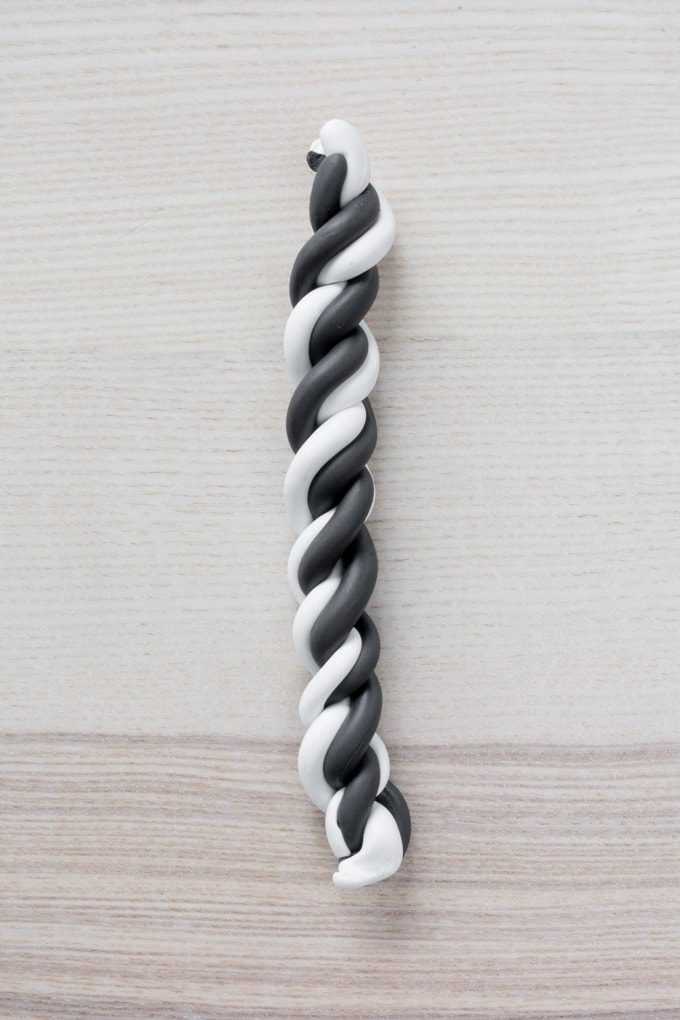
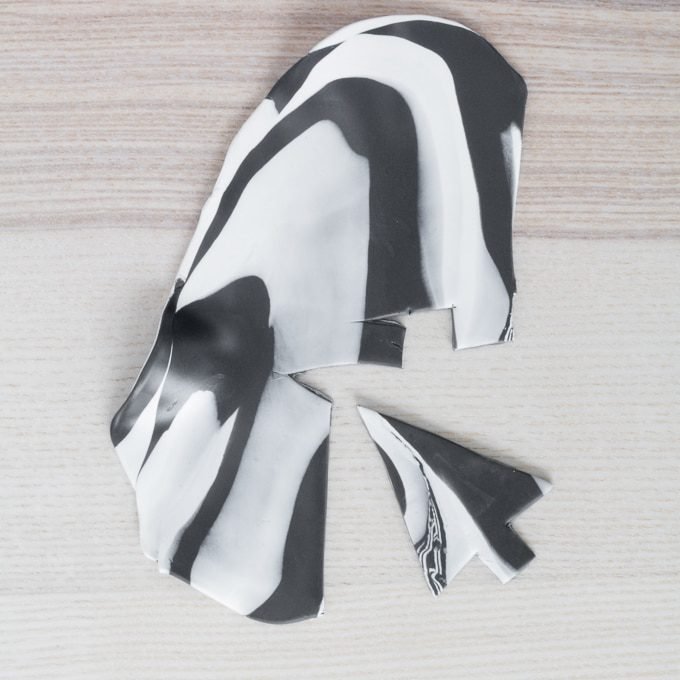
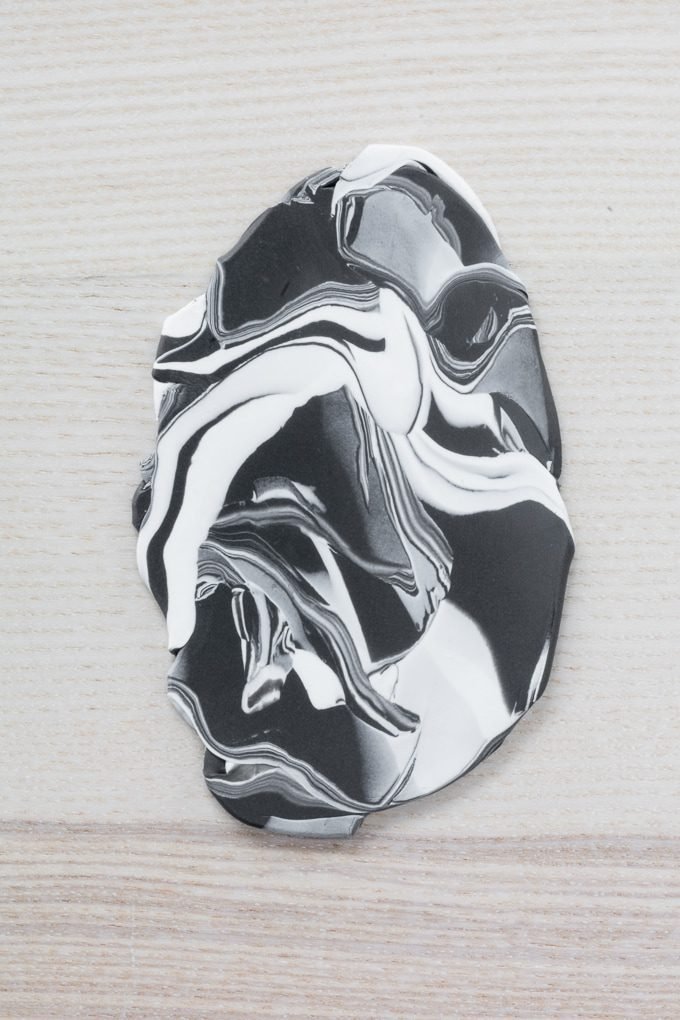
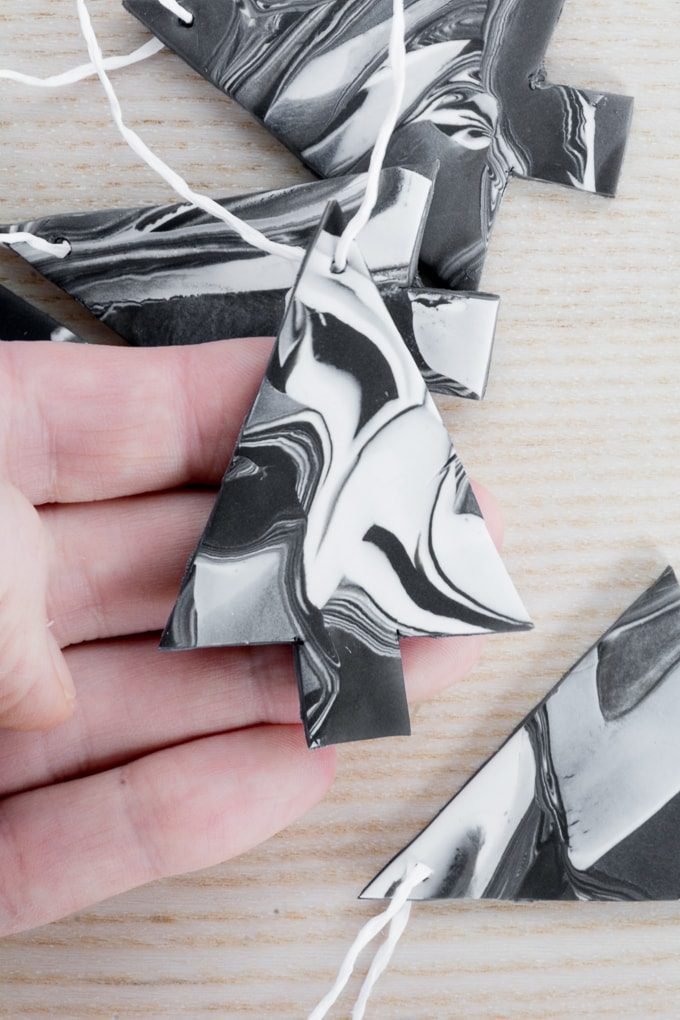
I then balled the shape together to get some more mixing and flatted it to my working space using my hands. I used my rolling pin to roll the clay out into a flat shape.
Push down harder in some spots to further blend out the colors and create interesting patterns. Roll until you’ve achieve the desired thickness of your ornaments. (Remember that too thick could be too heavy depending on the type of tree you have.)
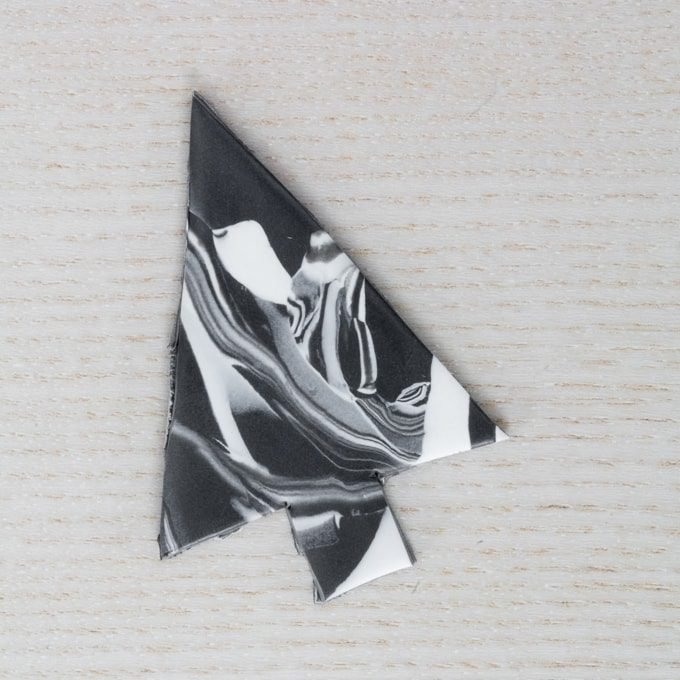
If you’re using the tree printable template, make sure you’ve printed that, cut it out, and traced it on to cardboard, foam, or another reasonably thick surface. (I used a piece of an old folder.)
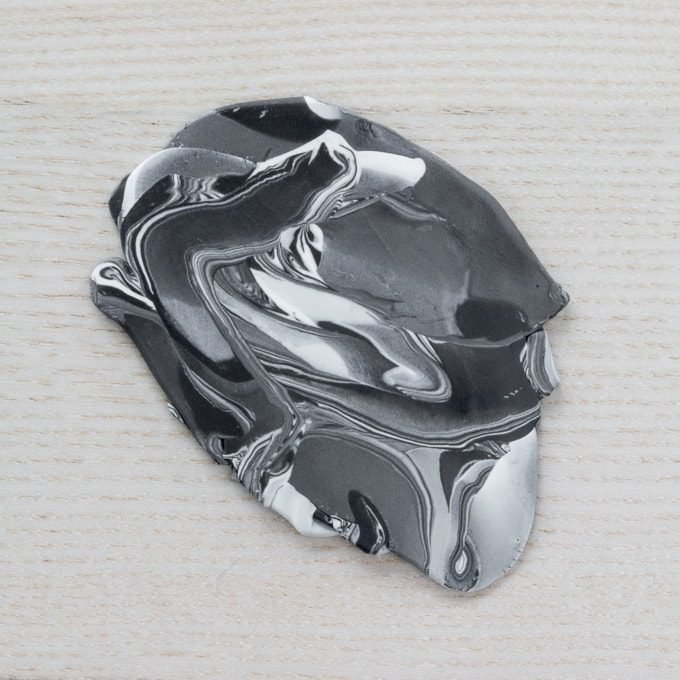
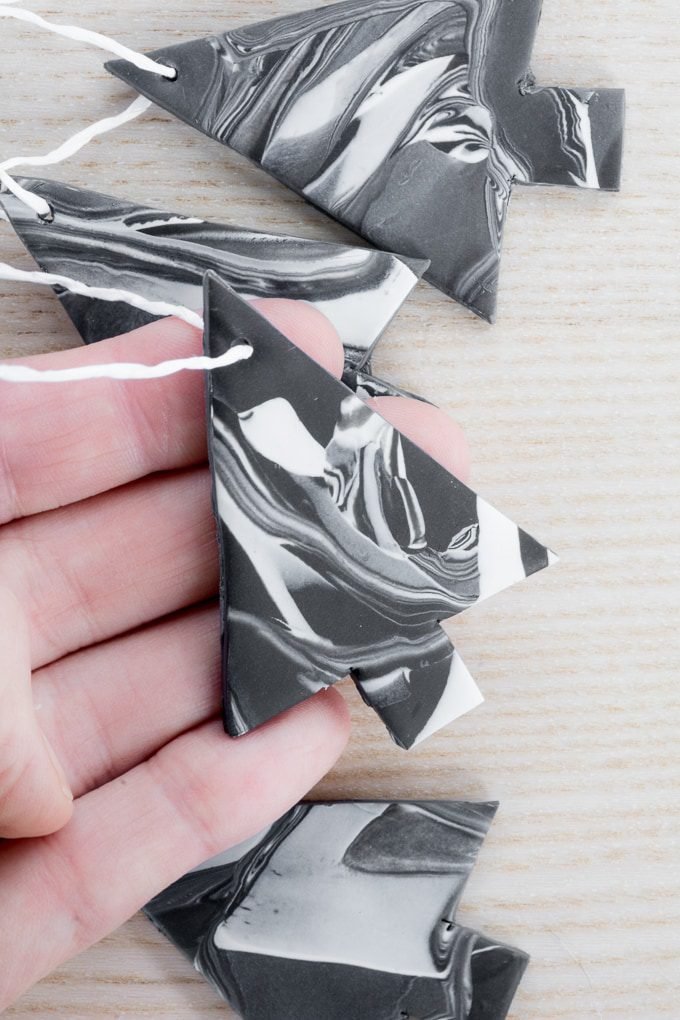
Them cut that out, set it on the rolled out clay, and carefully cut the tree shape out. While you’re cutting out your trees, you’ll end up with leftovers. I just rolled the leftovers in with the next batch of clay to roll out and cut from to hopefully end up with very little waste.
This method also further mixes the colors, too, creating some more blended patterns that I really liked.

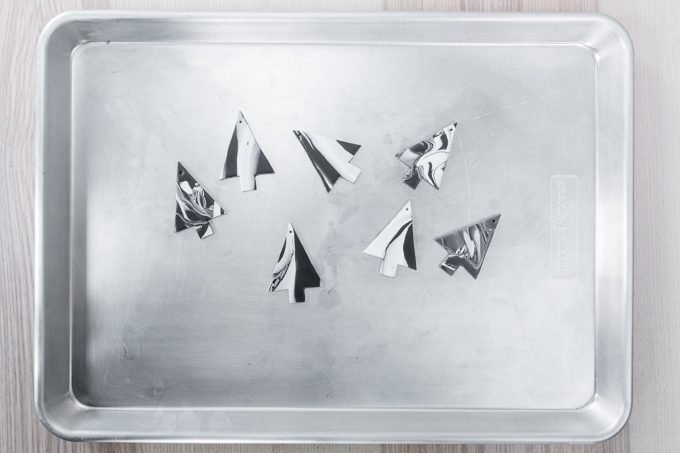
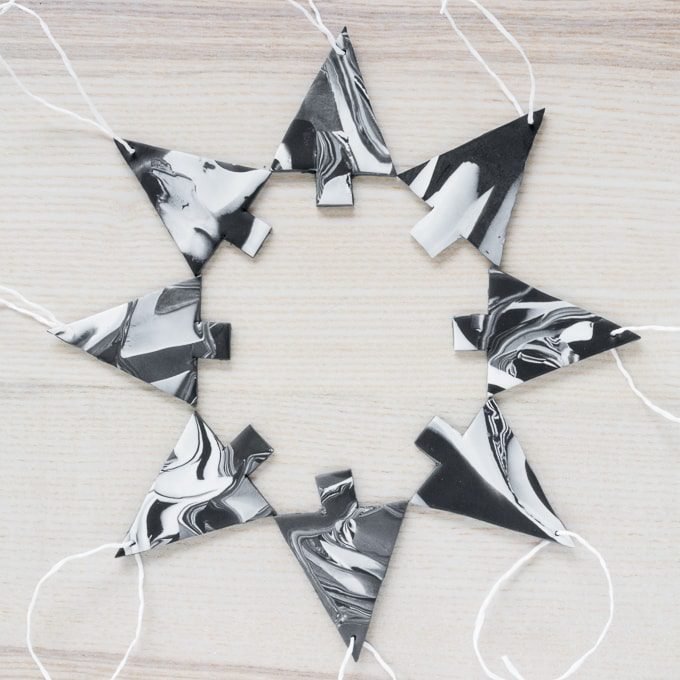
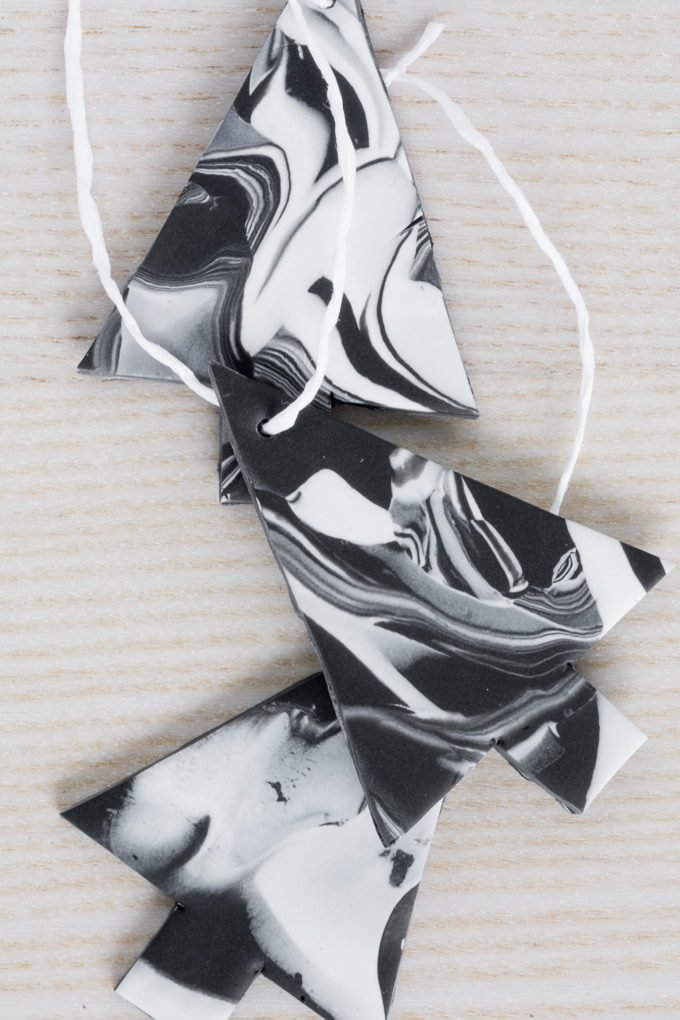
When I was done cutting, I used a tooth pick to create a small ornament string hole in the top of each tree. Then I baked all of the ornaments according to the directions on the Sculpey package. Follow the directions for your brand carefully.
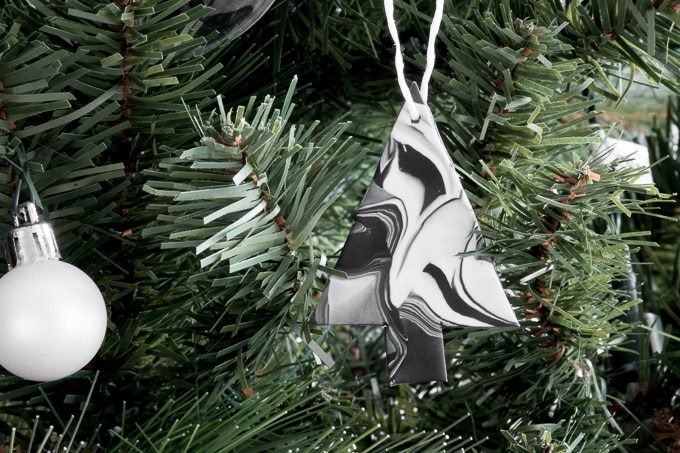
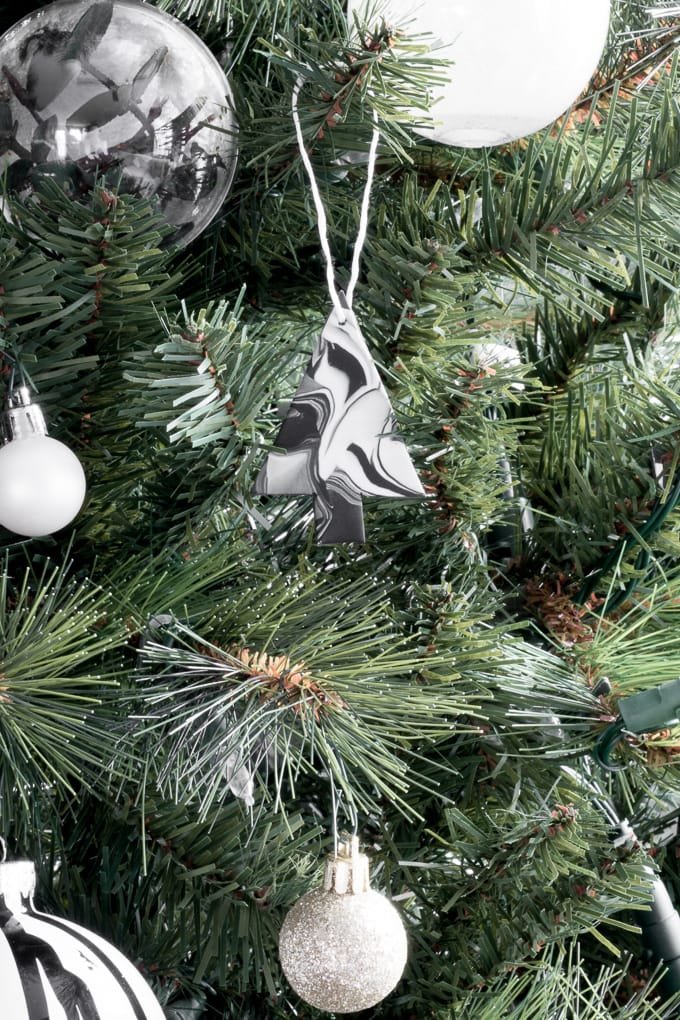
Once they were finished baking and had cooled, I tied some twine on and hung.
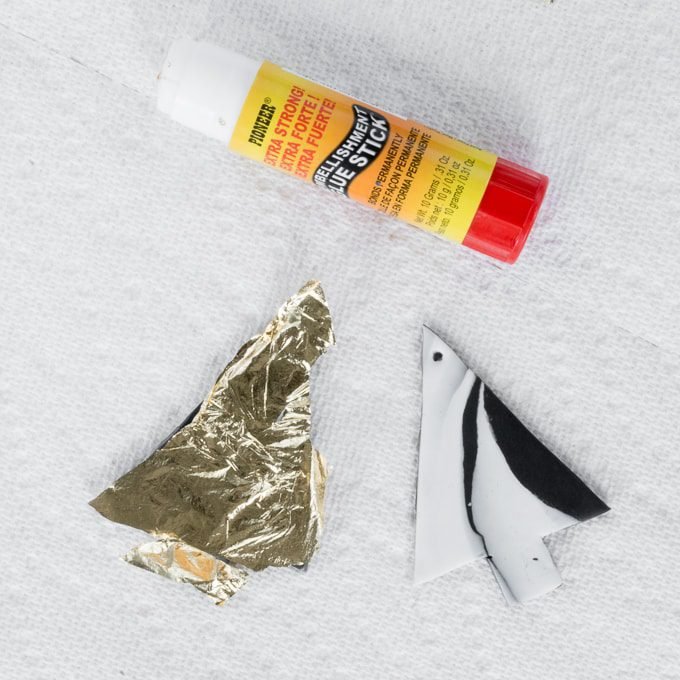
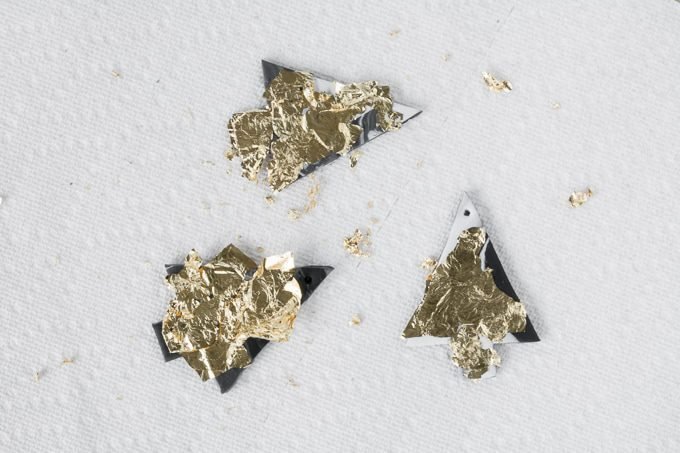
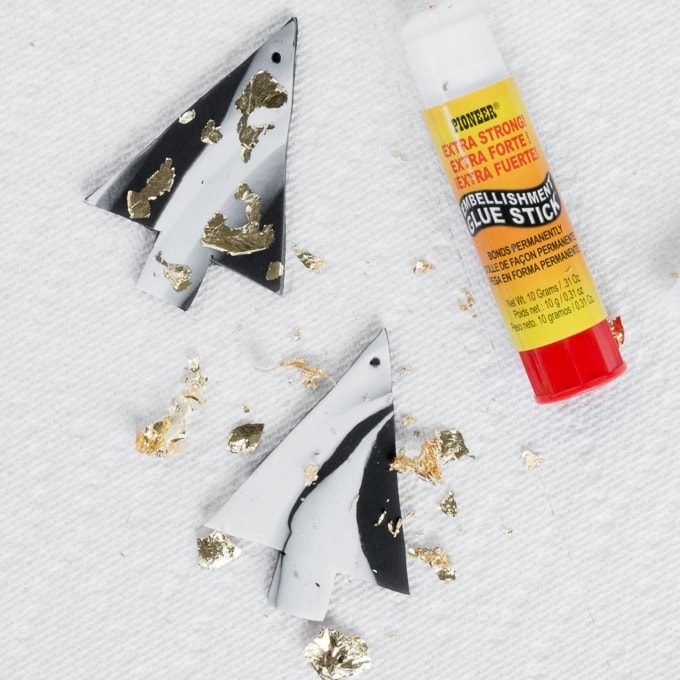
Optional step: I used a glue stick and some gold leaf foil to add some fleck of gold detailing to these as well, focusing on the edges. I used a method similar to what I did for these golf leafed ball ornaments.
**Very important: If you add gold leaf, add it AFTER you bake the ornaments, NOT before.
Like these clay ornaments? Check out my easy DIY wood bead Christmas ornaments, my paint stirrer Christmas tree ornaments, and my DIY Washi tape gift tags!
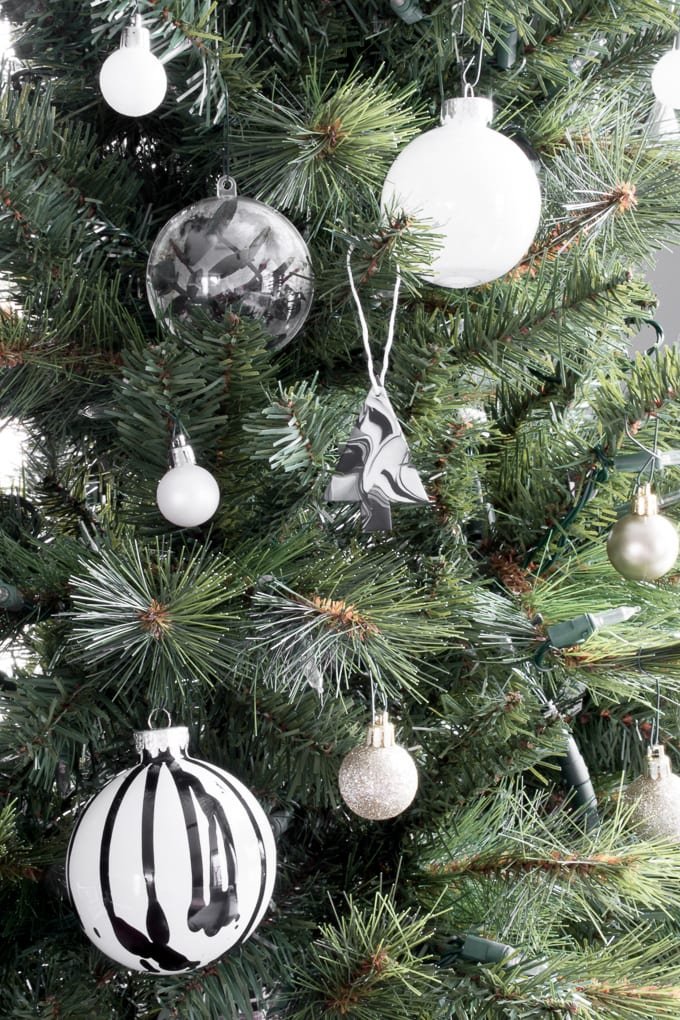
Here are a few of them hung on my tree:
Share my marbled Christmas ornaments using clay!


0 Comments