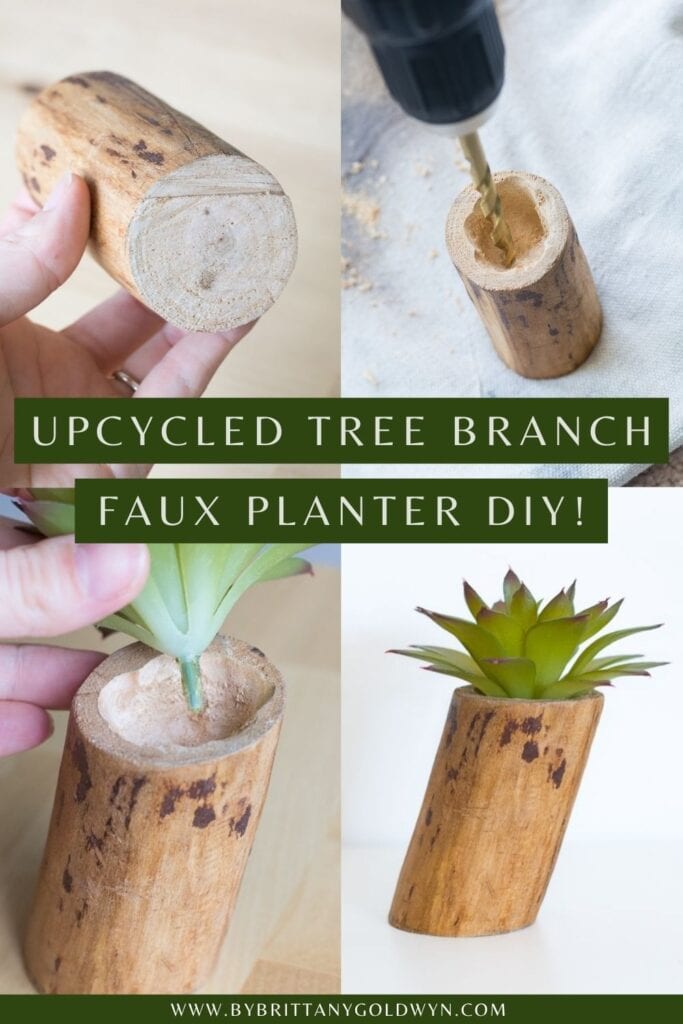
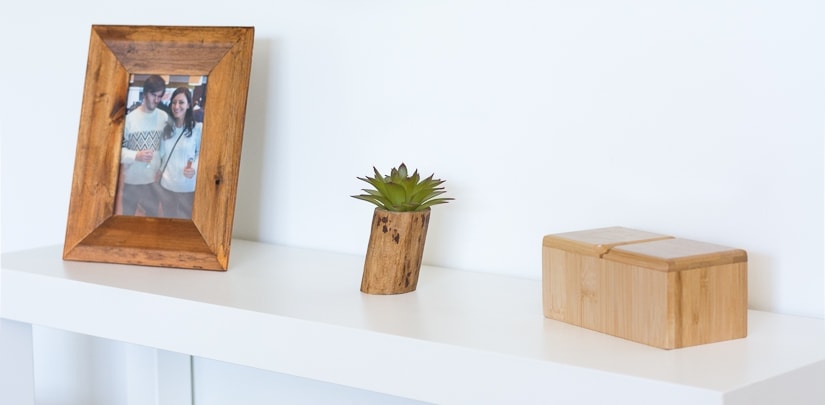
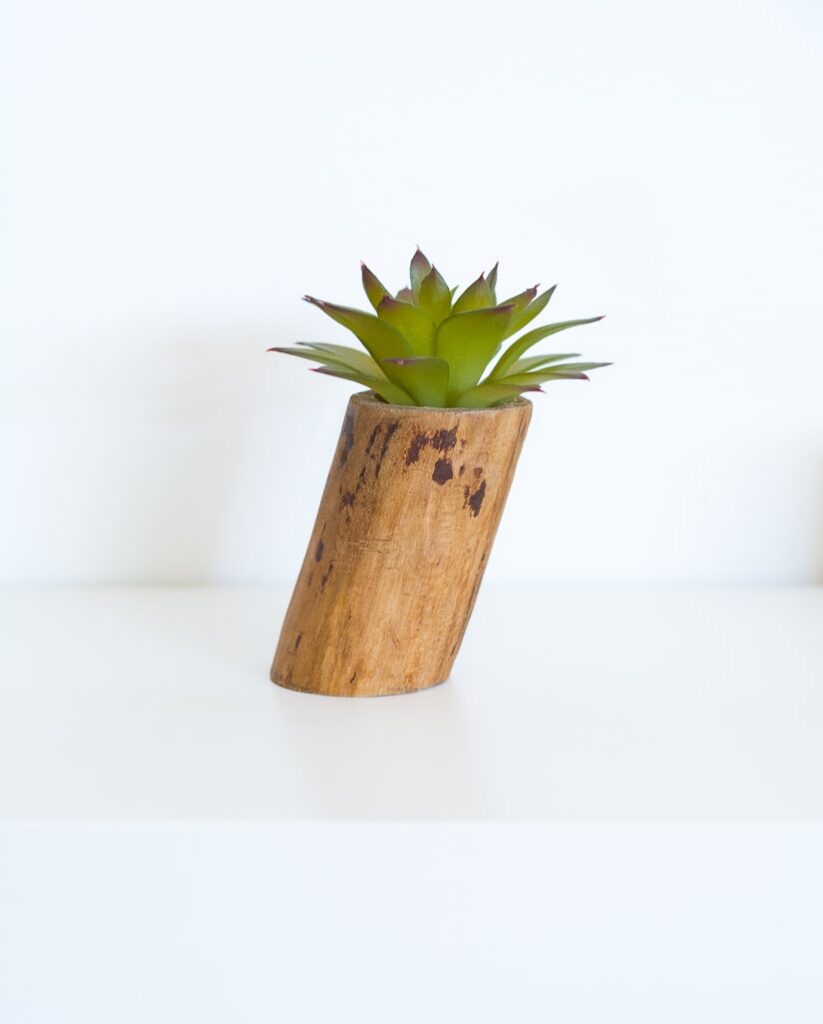
Learn how I took a small piece of a tree branch, finished it, and drilled a hole to make a tiny tree branch planter. Perfect for air plants!
How to make a tiny tree branch planter, perfect for air plants or faux plants!
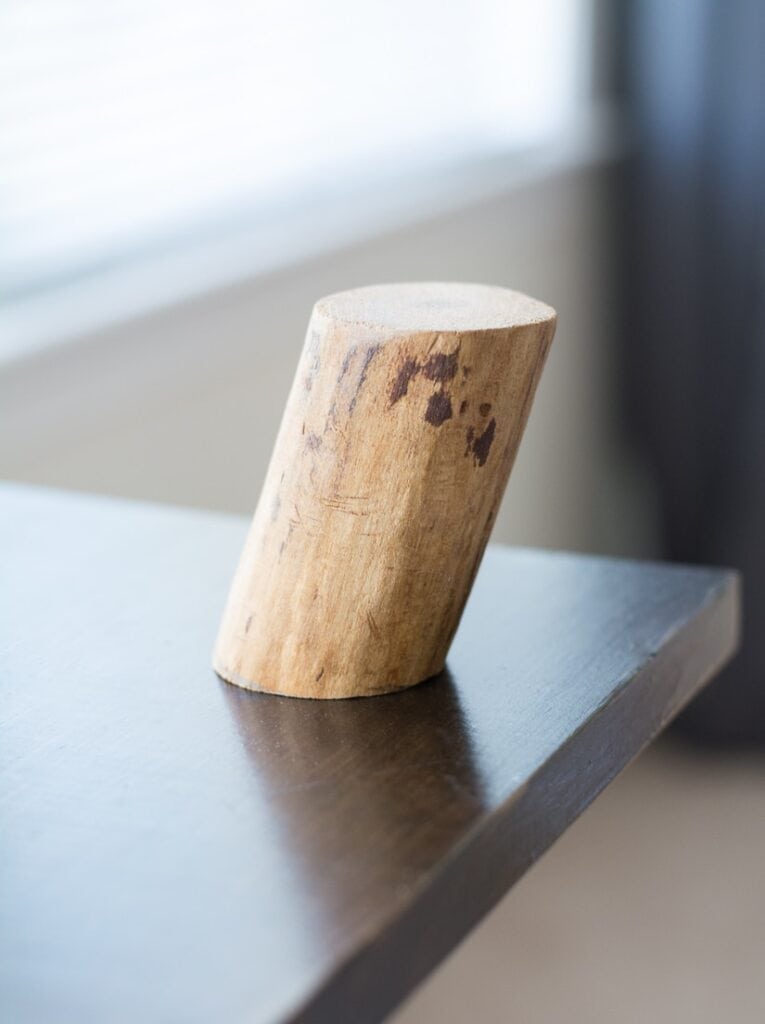
This tiny tree branch planter is actually an upcycled project from my DIY tree branch cat tree scraps! So technically it’s an upcycle from an upcycle, considering I count the branch-to-cat-tree conversion as the first upcycle. I put so much work into scraping, sanding, staining, and sealing those branches, so when we leveled the tops of each branch, we ended up with some pretty little branch pieces.
One of them was so perfect that I just couldn’t bear to throw it out. While it isn’t really big enough to be a real planter, you can use it for a faux plant or even better—an air plant! They don’t need soil, so you don’t need to worry about drainage or soil.

I knew I’d come up with a project idea, and here it is–a tiny planter for a faux succulent. This project was very easy for me to tackle in about 30 minutes since I had done most of the hard work finishing the branch months ago.
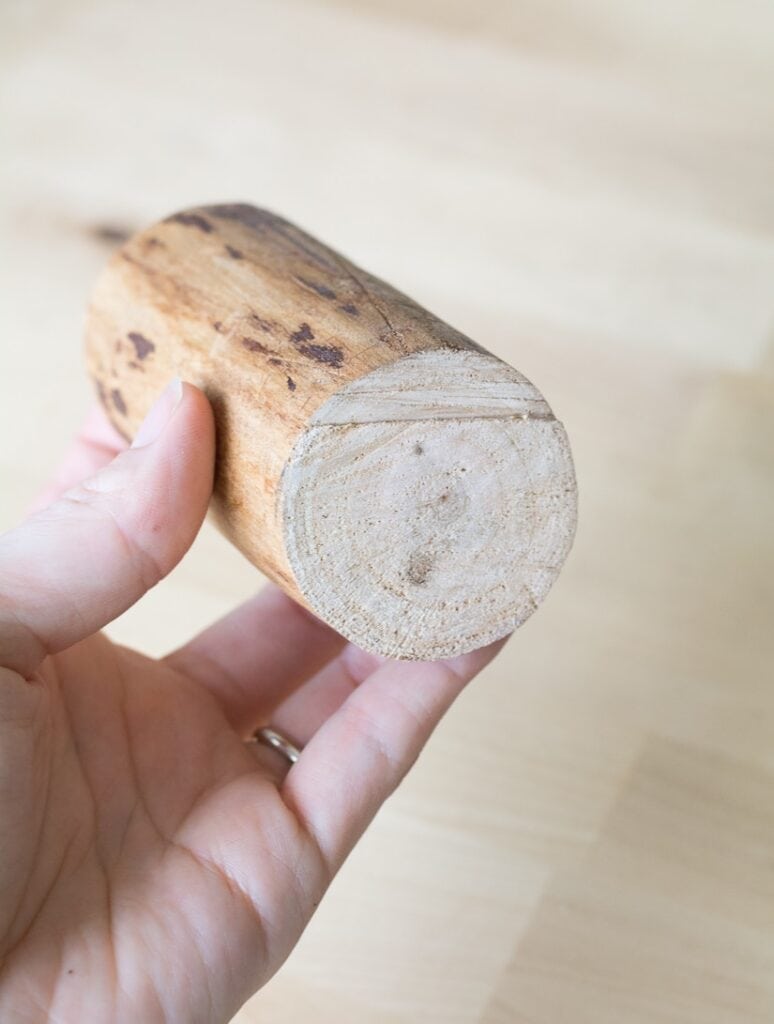
If you’re starting from scratch with a branch, you’ll want to check out my detailed post on how to strip and finish branches for decor here. It walks you through how I removed the bark, polished the raw branch, stained it, and sealed it to protect it.
Staining is a cosmetic change that you can skip, but I do recommend removing the bark and sealing the branch. Removing the bark ensures there are no critters living underneath, and sealing the branch protects it.
With that in mind, here is my supplies list:
- Small piece of a tree branch
- Stain, assorted sandpaper, and finish
- Drill with various sized drill bits
- Single faux succulent or an air plant
And here’s how to make a tiny tree branch planter!
(Remember to wear an appropriate mask while working with paints, stains, and finishes. Follow the directions and warnings from your particular brand.)
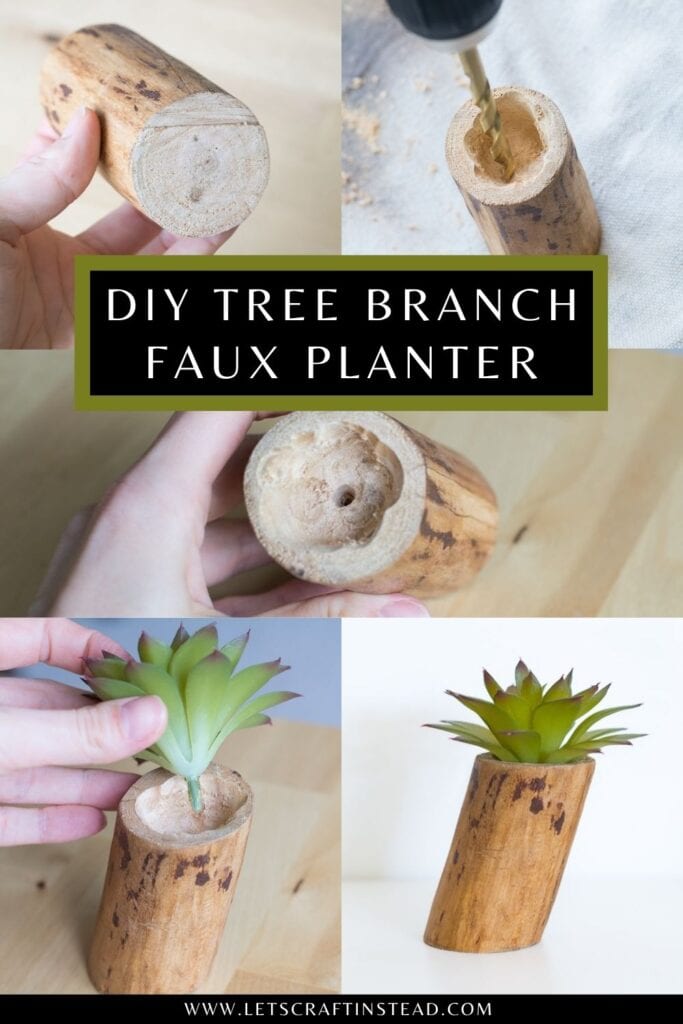
Step 1: Strip and finish your branch to your liking. I stained mine using Minwax Stain in Natural and finished it with Minwax Polyurethane in Satin.

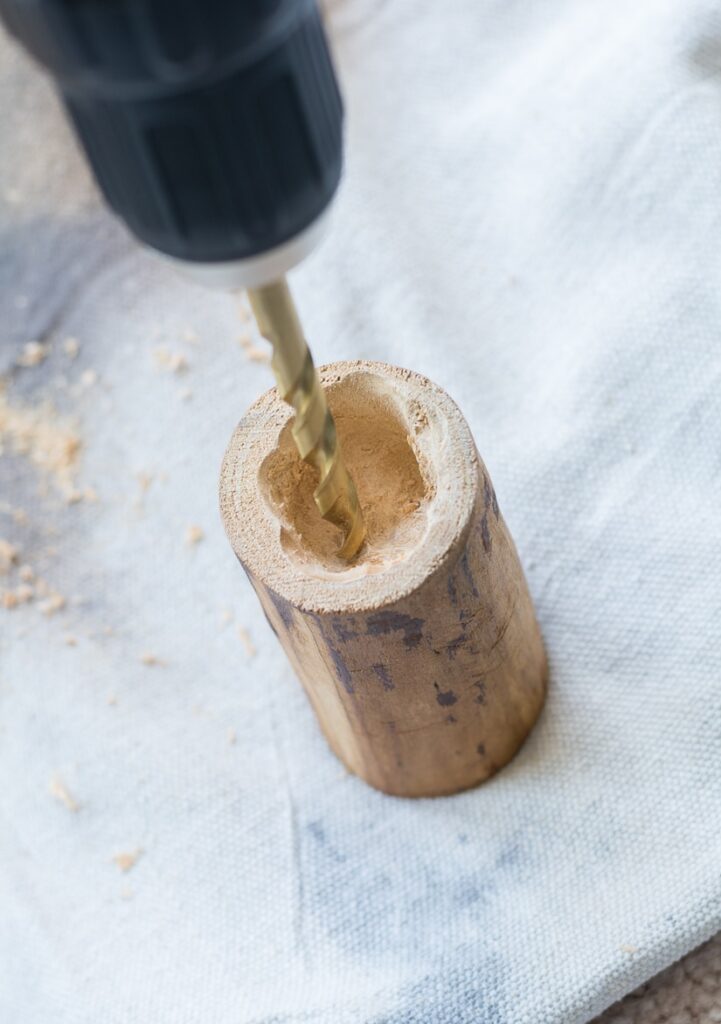
Step 2: Carve out the center of the branch using a drill and various drill bit sizes.


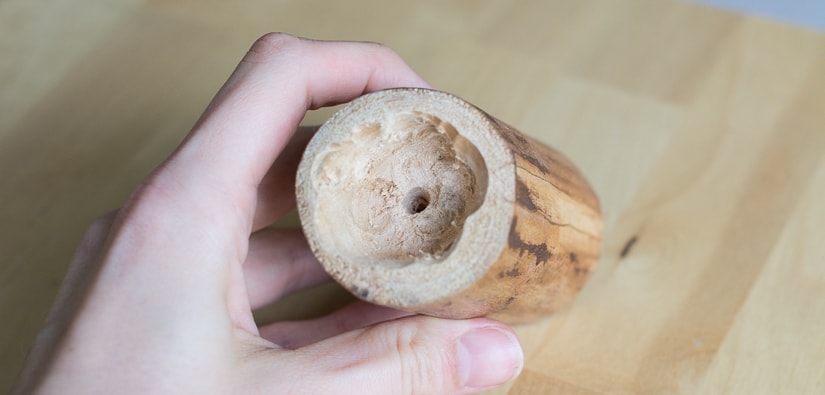
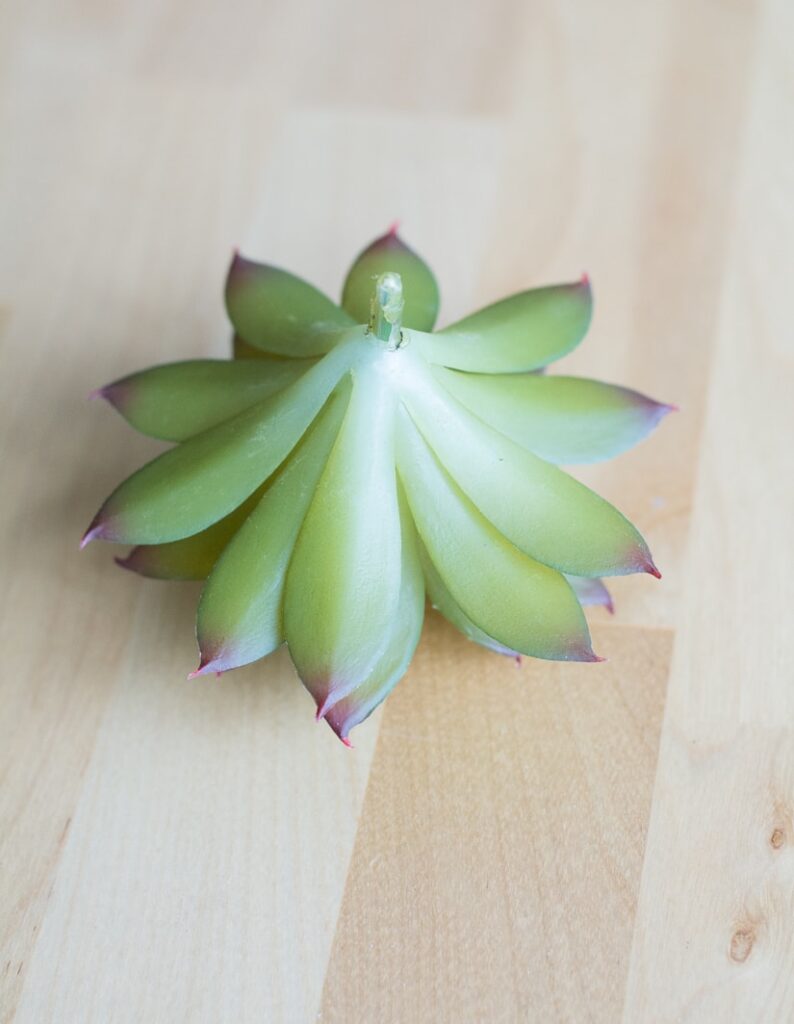
Step 3: Once you have the opening carved out, grab a drill bit that’s about the size of your faux succulent’s stem and drill a hole about a half inch down. Then cut your stem down and put it into the hole. Easy!
You can use a dab of glue here if you’re having trouble keeping the succulent in place. If you don’t want to use a faux succulent or fake plant, you can use this as an air plant holder. Perfect!
I love knowing that I made something so cute out of something that I was ready to throw away. Even if you’re starting from scratch with a branch, this is a very low cost project that you can easily customize by using different branch sizes, stains, and faux plant types.


If you’re planting a real plant in this, make your carved hole deep enough to comfortably fit the roots of whatever plant you’re planting. So likely deeper than this. You’ll also probably want to seal the area you carve out with poly.
Like this cutie? Check out my tips for how to turn an old tea tin into a planter, how to make a polymer clay pot, and how to upcycle an old tin can into a planter!
Pin my post about how to make a tiny tree branch planter!