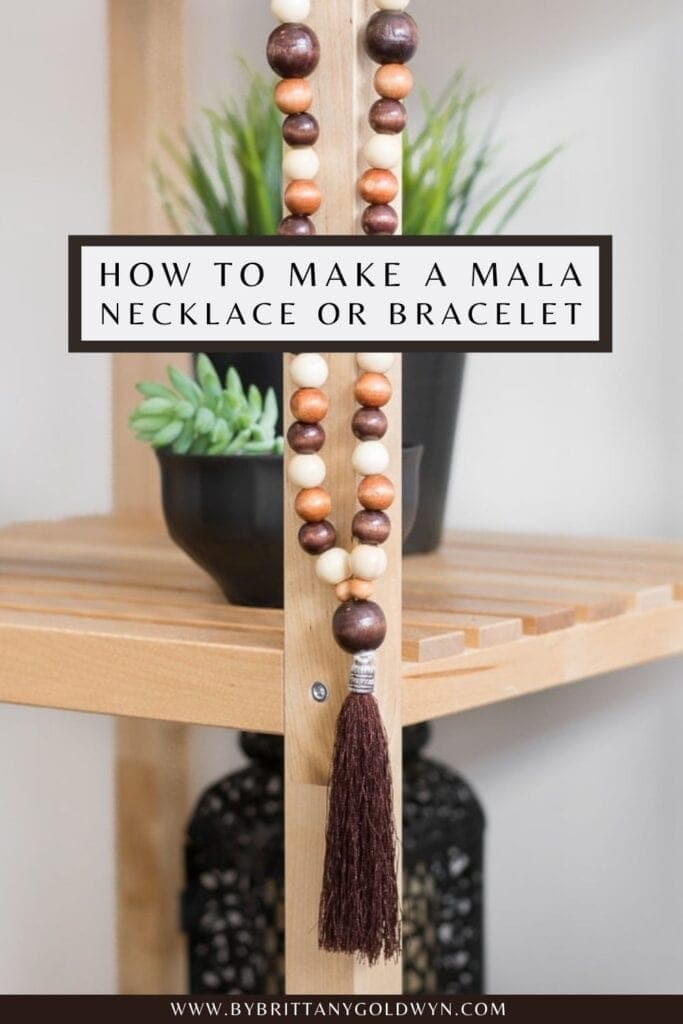
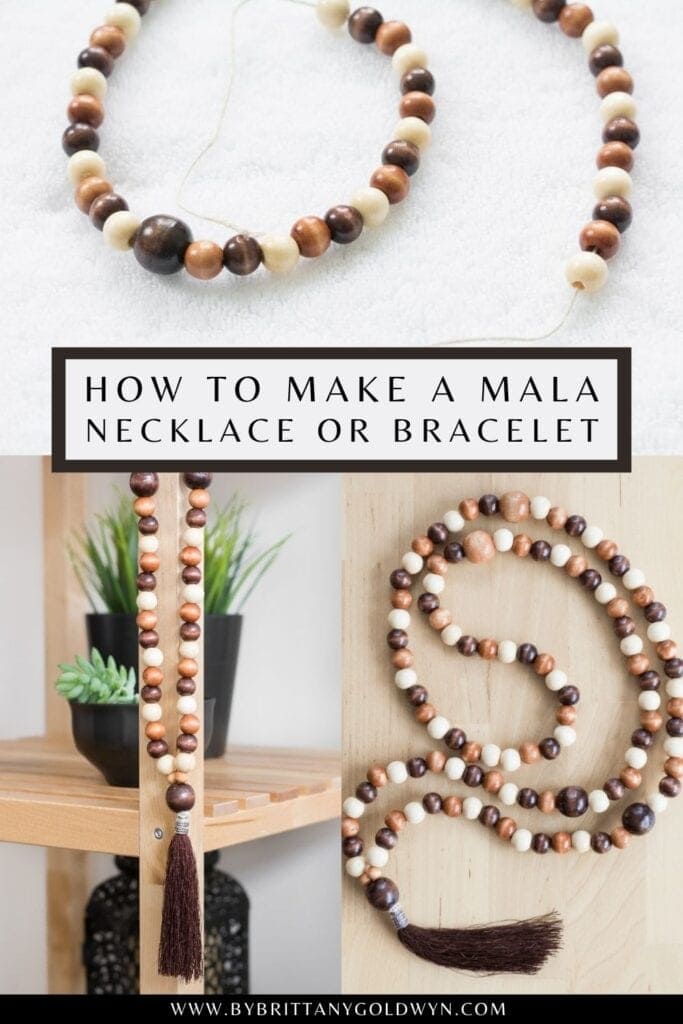
This simple tutorial will teach you how to make a mala necklace or bracelet—a great addition to your daily meditation routine.
How to Make a Mala Necklace
Today I’m updating an old post, so if you’re wondering why this project looks familiar, that’s why 😉 I thought it was high time I update and re-publish it with new photography and instructions. Plus is gave me an excuse to make a mala, which was a nice way to take a break from home projects.
So what’s a mala? A mala is typically used during meditation to help count mantras. Traditionally, a mala has 108 beads, a guru bead (which is a larger bead at the center), and a tassel. To get a basic overview of the mala and its use, you can read this article.
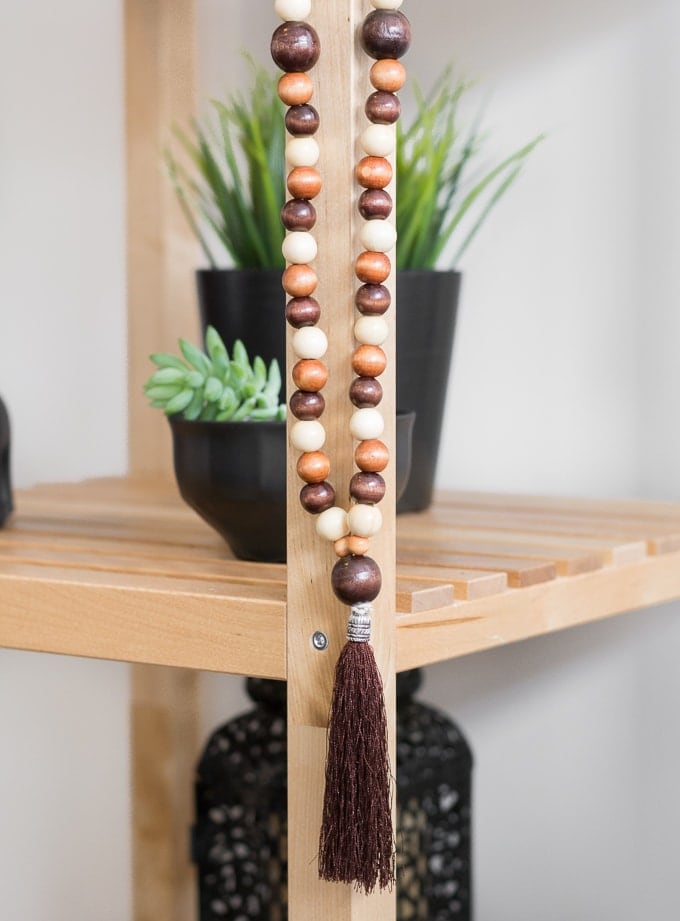
When you’re not using your mala, you can wear it as a necklace or hang it somewhere in your room (that’s what I do). That way, it serves as a reminder of why you meditate, what’s important in live, and all that good stuff.

Want to learn how to make a mala necklace? Read on!
Here’s what you need:
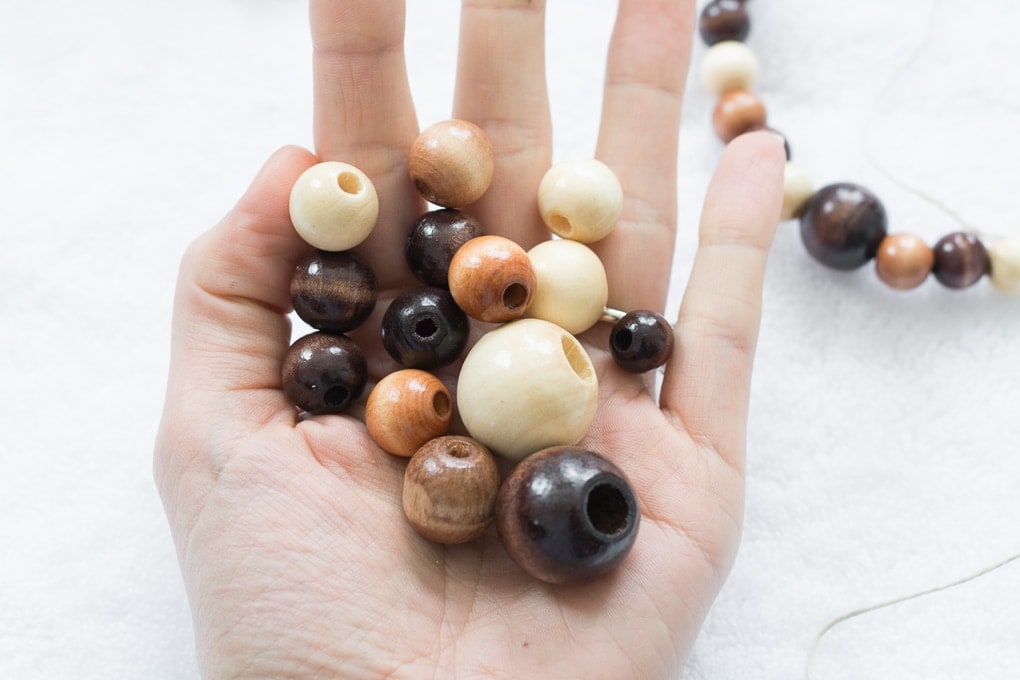
- 104 beads + 4 marker beads (browse porcelain beads here and wood beads )
- 1 guru bead (you can just use a larger bead like I did)
- Hemp cord or nylon thread
- 1 tassel
- Glue and scissors
- Towel or a beading board to help you keep your beads from rolling around
- Optional: 1 beading needle (Btw, this kind of silk beading cord come with a needle and it’s cheaper than nylon thread.)
And here’s how to make a mala necklace!
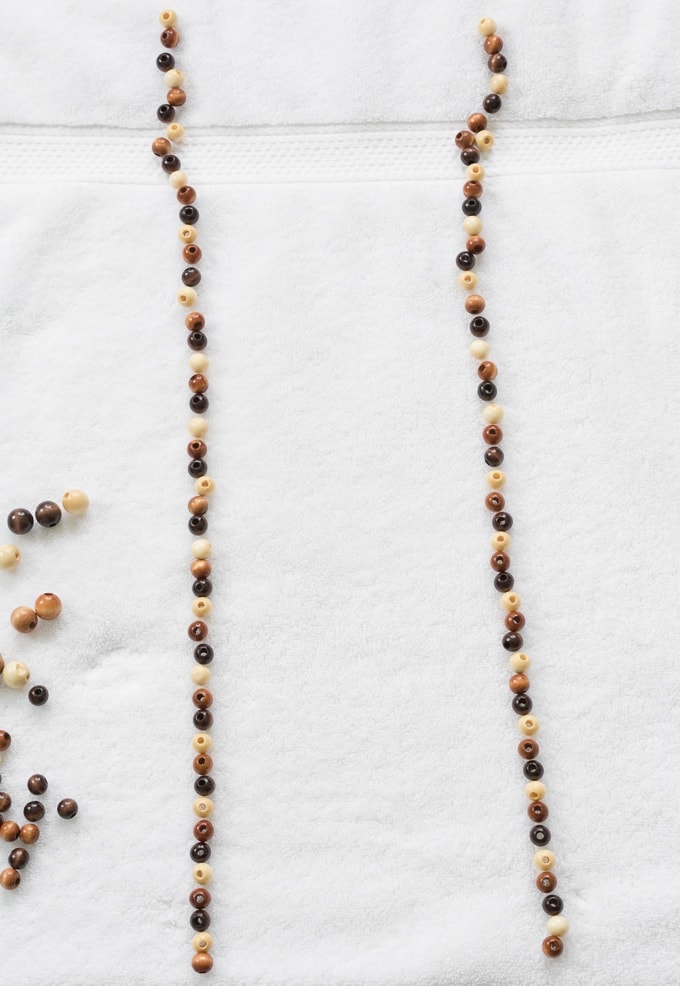
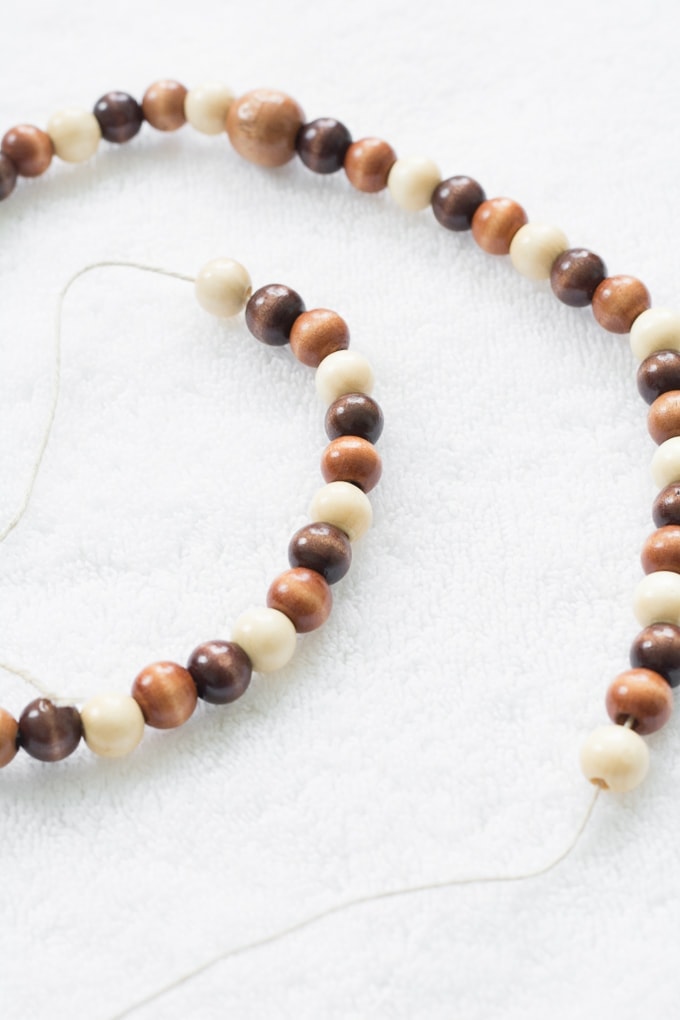
Step 1: Lay your towel out. The towel is a good alternative to a beading board because it helps to prevent the beads from rolling around as you arrange them. However, it isn’t as precise as a beading board and takes a little patience.
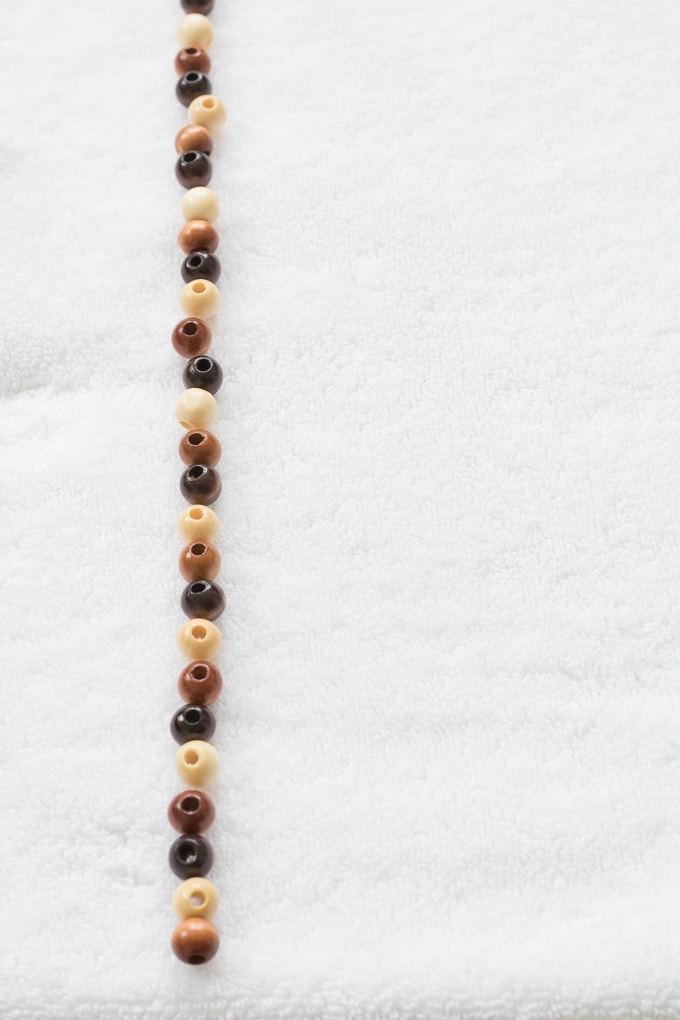
Begin arranging your beads in the order you’d like to string them. I used wood beads and lined them up in two rows of 54: 52 beads and 2 marker beads on each side.


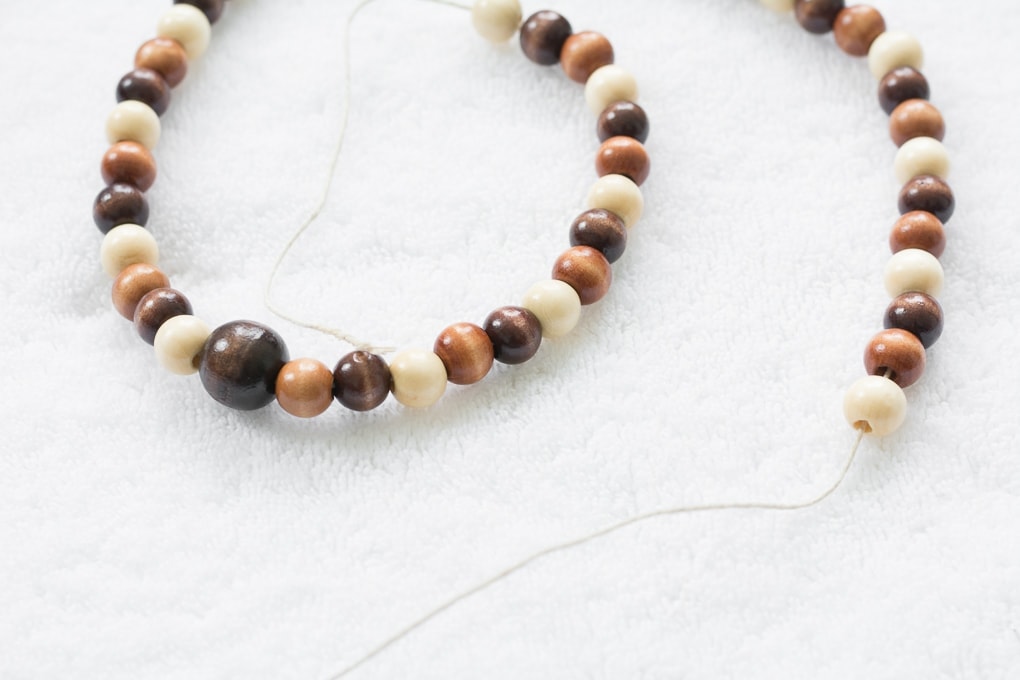
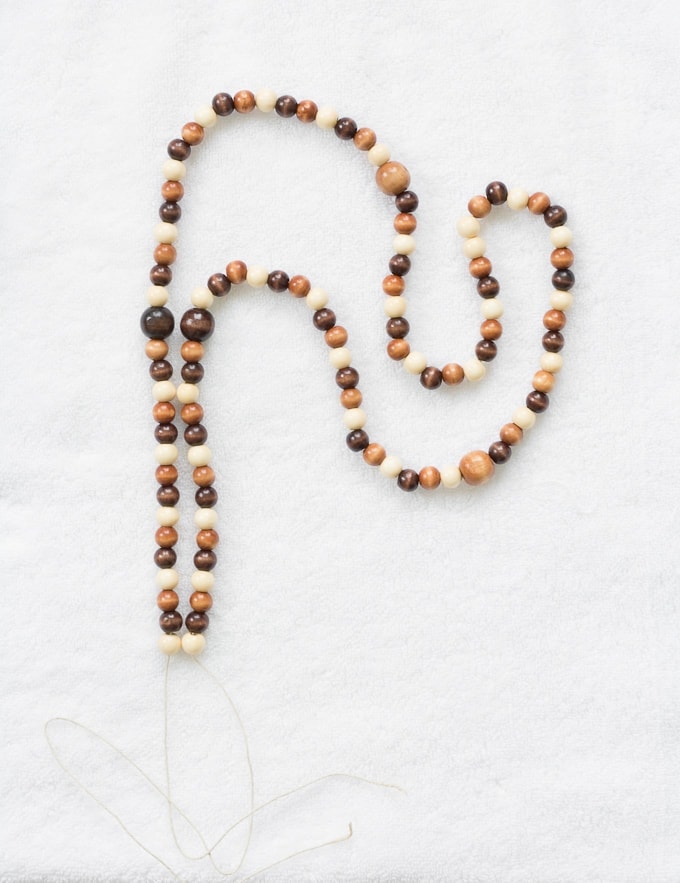
Step 2: String one of the rows onto one of the ends of your hemp. See the two bigger beads in the show below? Those are the marker beads. I didn’t use a beading needle, but it would certainly speed the process up and make it easier to get the string through the bead holes, especially if the holes on your beads are smaller. When my hemp started to fray, I just snipped the end to start fresh with a clean edge.
(Note: Mala necklaces are sometimes strung with knots between each bead. This requires a lot of patience and concentration 🙂 I didn’t put knots between each bead.)

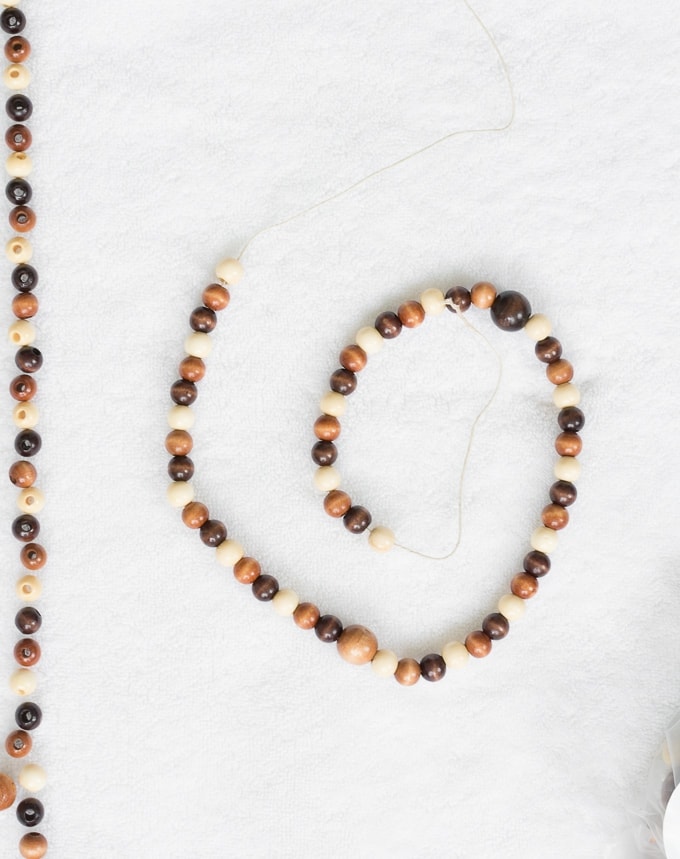


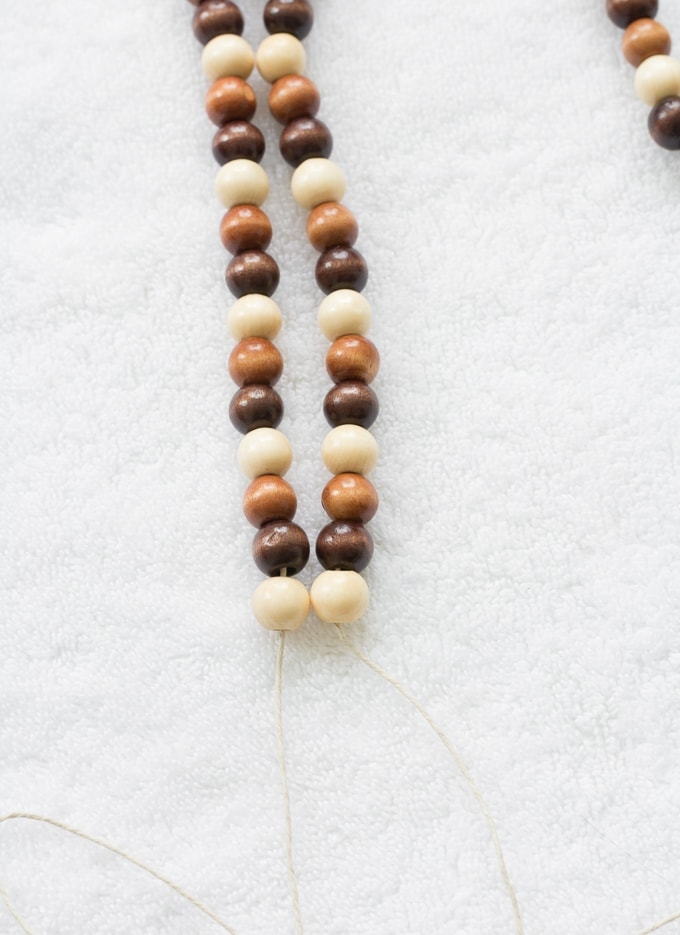
Step 3: Then string the other side of the beads onto the other end of the hemp. Notice how the beads are symmetrical? That’s the goal.


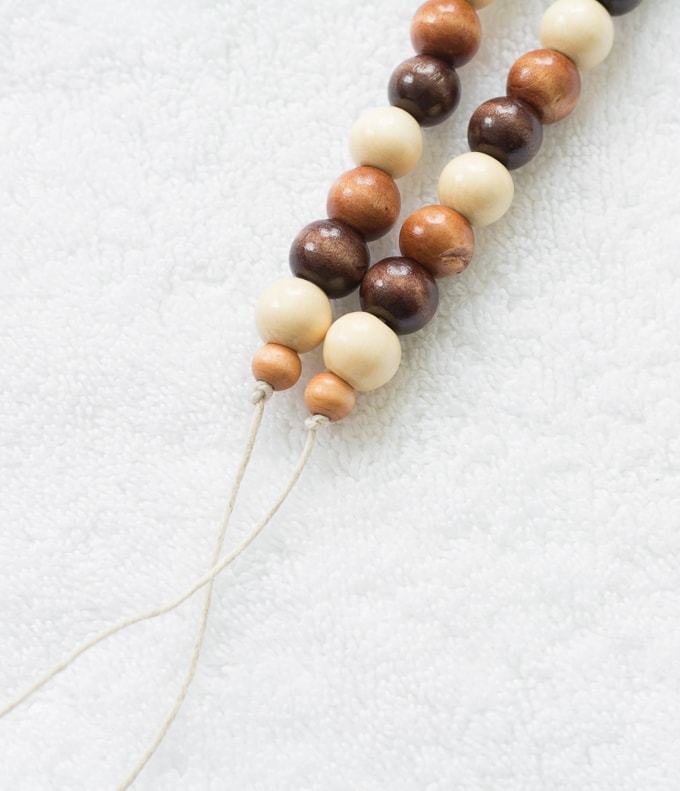
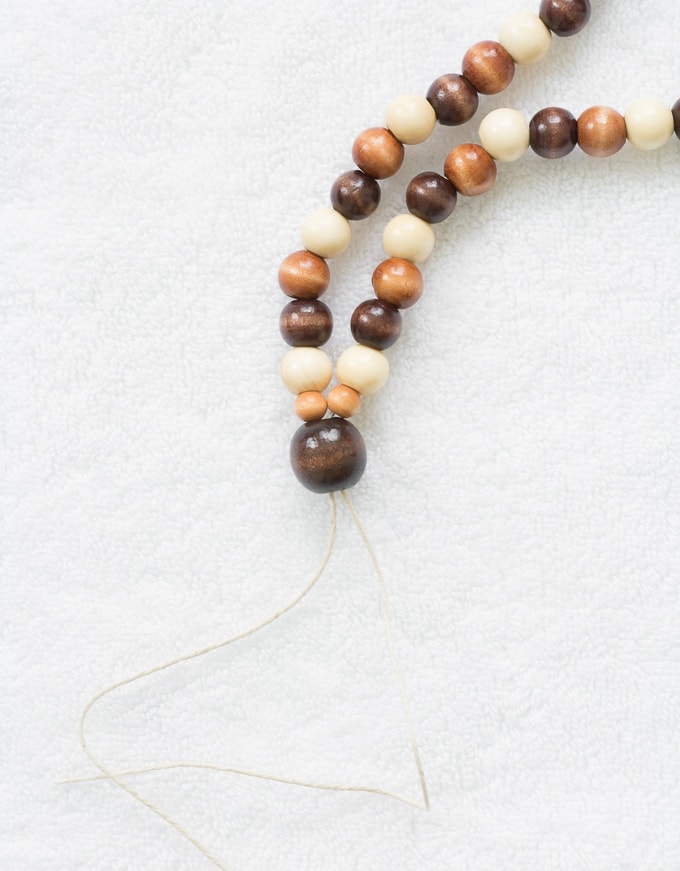
Step 4: Tie two tight knots at each end. If the holes in your beads are very big like mine are, you might want to add two smaller beads to hold the knots.


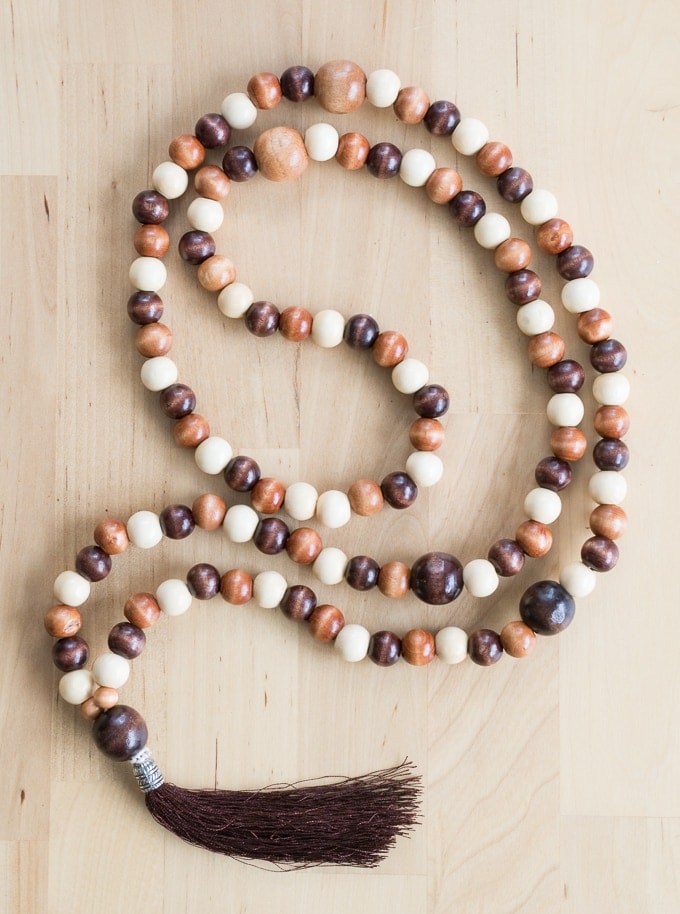
Step 5: String the guru bead up through both threads, then string the tassel on as well. Tie several tight knots around the tassel to secure everything in place and trim the excess. You might also want to add a dab of glue to secure your knots.

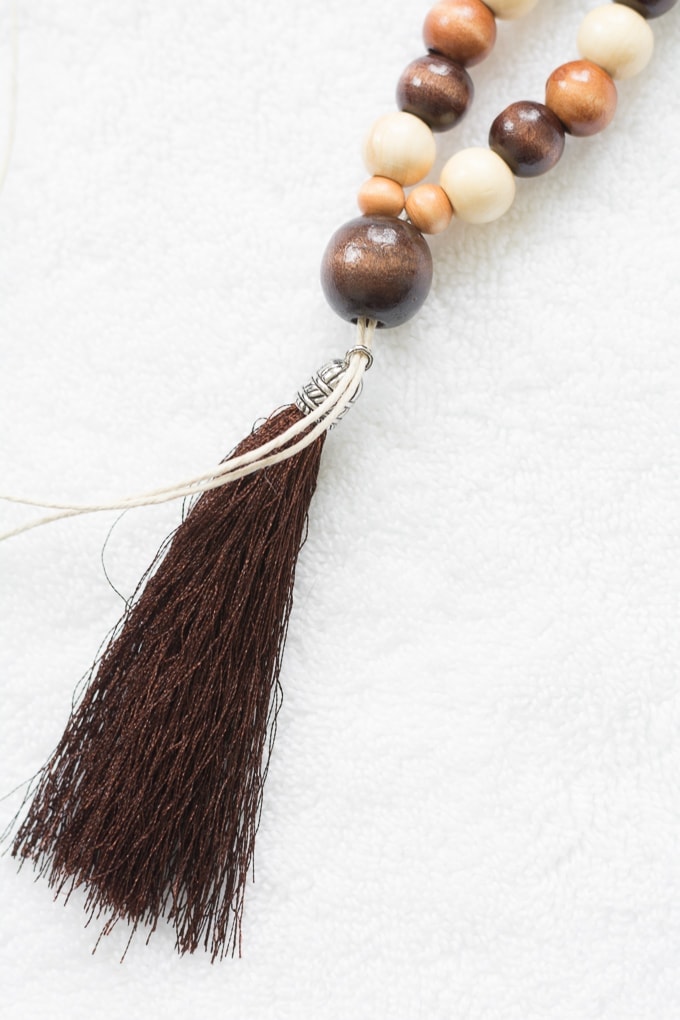

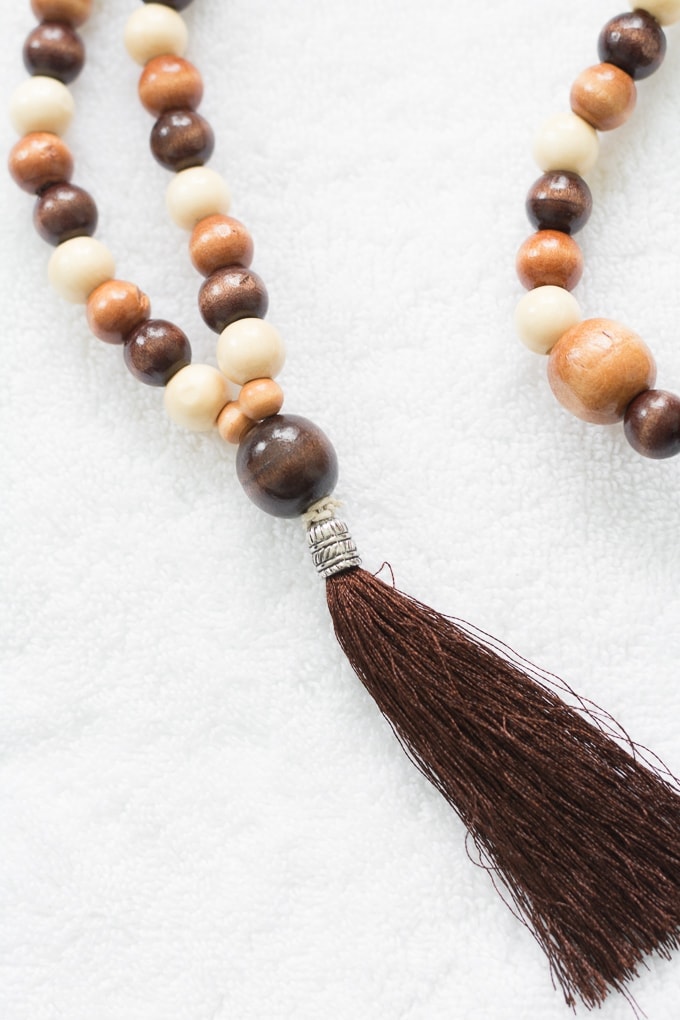

And that’s that. Now you’ve got a beautiful mala 🙂


Like this? Check out my DIY carpet powder recipe using rosemary and lavender, my tutorial for making homemade eucalyptus and lavender salt scrub, and my baked bath salts recipe!
Share my post about how to make a mala necklace on Pinterest!