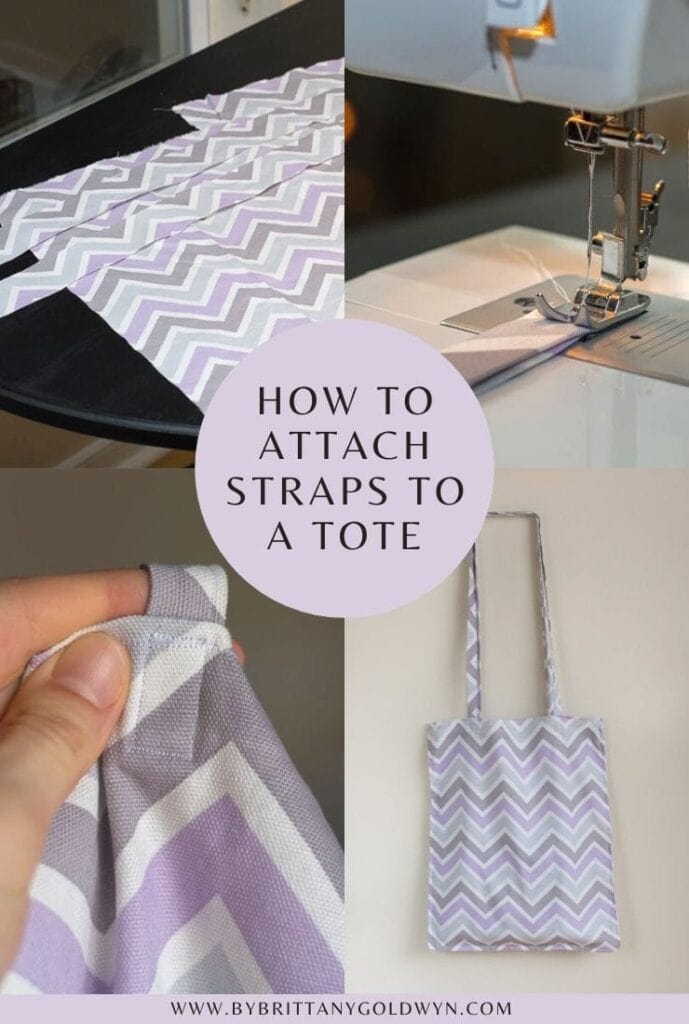
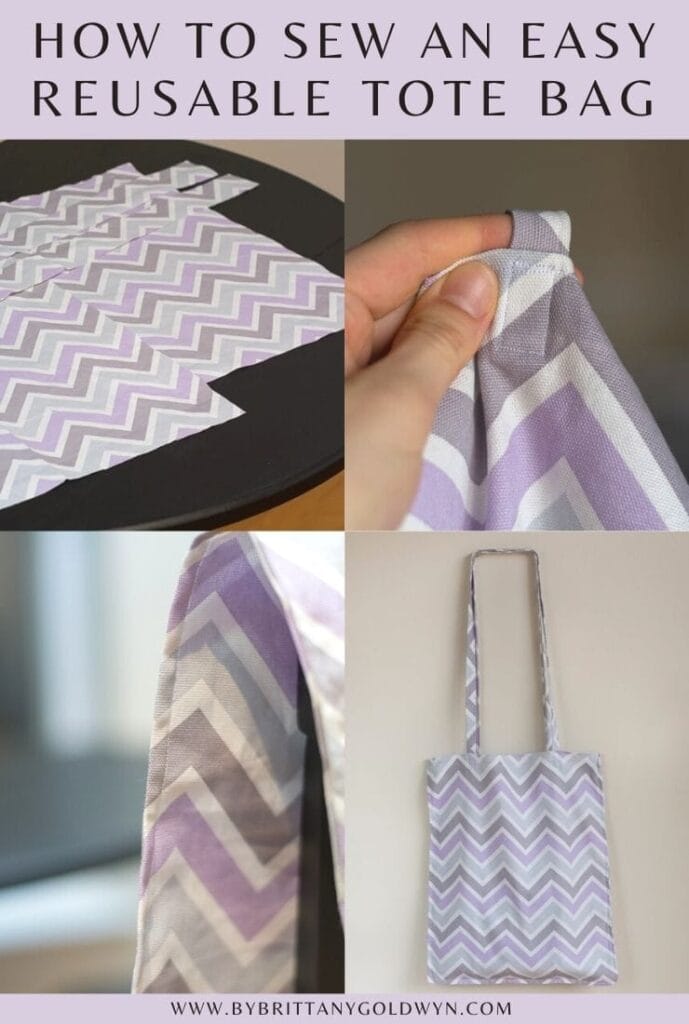
This post shares an easy DIY tote bag project, which is a perfect sewing project for beginners. Join me as I navigate my sewing machine to make my own bag, including tips on how to attach straps to a tote bag.
Easy DIY tote bag project & how to attach straps to a tote bag
One of my resolutions for 2015 is to sew more. My grandmother was a seamstress (and still sews), so I had a lot of exposure to sewing growing up. Her basement was her sewing room, and it was always covered in beautiful fabric remnants and leftover beading, both of which she’d often let us take home. We worked on a few projects together, like Christmas potholders for my parents, but that was about the extent of it.
I also had some exposure to sewing in a middle school home economics class (yes, that was still a thing in 1999). Fast forward to last year—I was furloughed from work, bored, and shopping for wedding veils. I was having a really hard time finding something simple and affordable, so I decided I’d learn to sew and make a veil myself.
Hey—I had nothing but time on my hands, and I figured I might as well make use of it. So I went out, found a sewing machine on sale, and brought it home. My then-fiancé thought furlough had driven me mad.
I did successfully make my veil, but after that, the sewing machine sat collecting dust in the closet (aside from a few minor projects like minor mending and DIY cat toys…yes, cat toys). Since 2015 is right around the corner, I figured I’d get a jump start on my resolution by completing a simple project: a reusable bag. The approach seemed simple…a bag with two sides and two straps. I can do that, and I did do that:


Like easy sewing projects? Have a look at my easy fabric scrap cat toys, my DIY sewing machine cover, my DIY wrap shawl, and my custom sewing machine cover project!
If you want to make one yourself, here’s what you need:
- Sturdy fabric. I used reupholstering fabric I found in the remnant bin at my local Jo-Ann. I bought one yard knowing that I wouldn’t need that much but thinking I would probably mess up something and need extra.
- Measuring tape & pins.
- Scissors (remember to use your fabric scissors).
- Iron & ironing board/pad.
- Sewing machine.
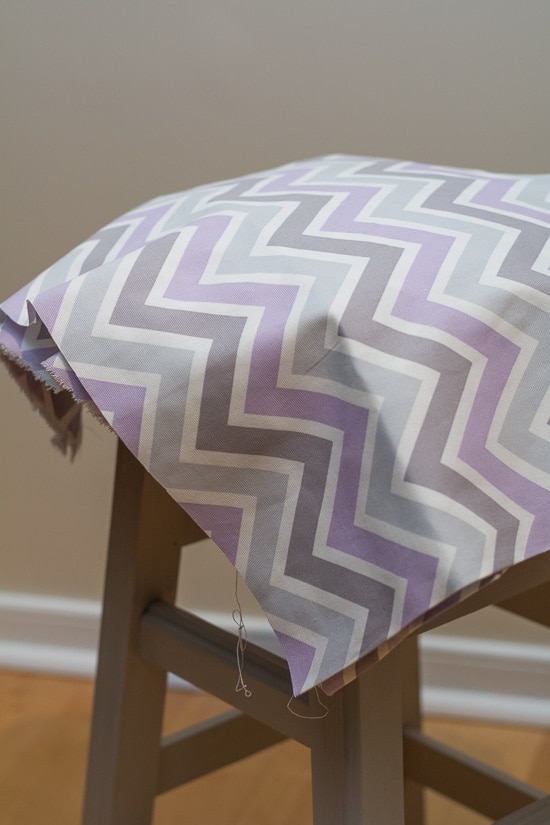
Here’s the fabric I chose. Remember to wash and dry your fabric before you use it! 🙂

And here’s how to make a DIY tote, including how to attach straps to a tote bag!
Step 1: Measure and cut the fabric
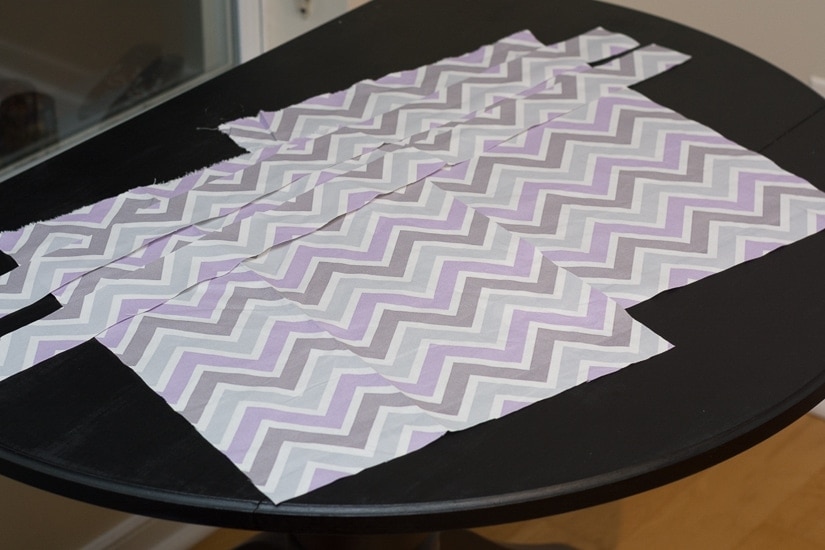
Measure and cut the pieces you need for the bag. You’ll be cutting two big rectangles for the body of the bag and two long, thin strips for the bag’s handles.
I used the measurements 20 x 15 inches for the two body pieces and 38 x 2.5 inches for the two strap pieces, but you can adjust those if you’d like your bag to be bigger or smaller. Remember to build in a seam allowance when measuring and cutting your fabric; the seam allowance is the area you’ll sew to make a seam.
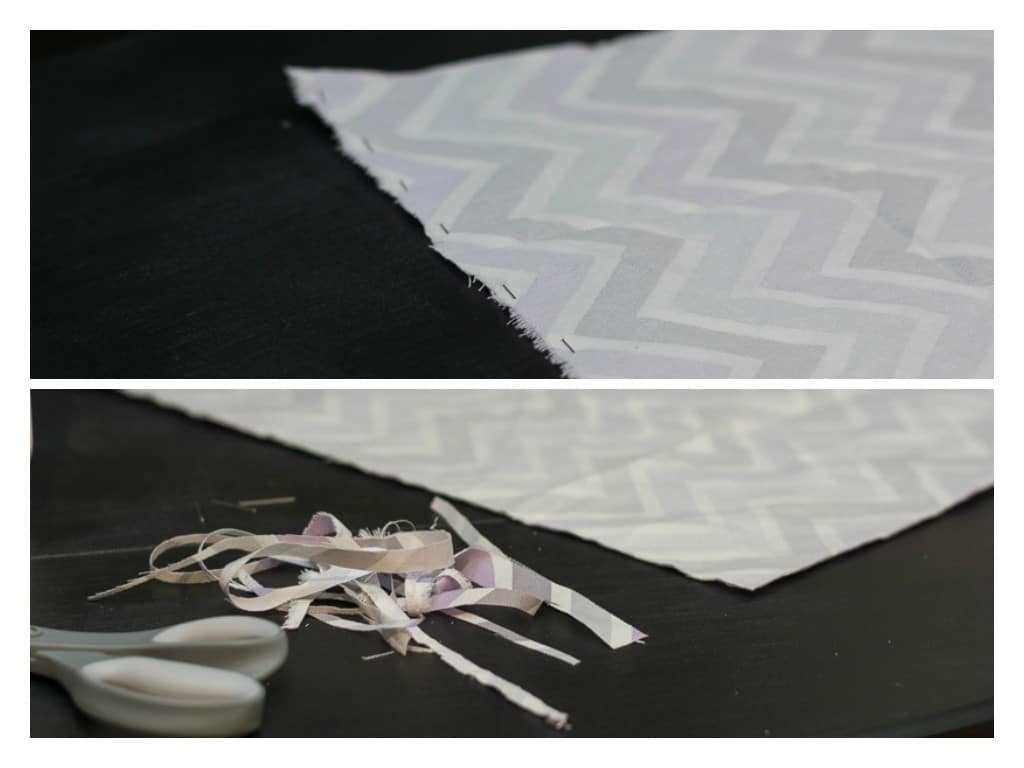
You can also use an existing bag as template for sizing. On your fabric, you can just make small marks on the wrong side of the fabric to indicate where you’ll need to cut. I made small dots with a little marker. Once you’ve measured and cut out your pieces, they’ll look like this:

Step 2: Pin and sew the tote bag body
Pin the two big pieces together with the right sides facing one another (see below, top photo). If you sucked at cutting your original pieces (like I did), you may need to do some trimming around your pieces to ensure all sides and corners match up (see below, bottom photo).
You are now ready to begin sewing. You’re going to sew together three sides of your two big pieces; do not sew the side you’d like to be the opening (i.e., the top) of your bag. Beginning with one side, stitch a straight seam on each of the three sides.
After you’ve sewn shut the three sides, trim the excess fabric from the seams, remove the pins, and flip the bag inside out. It will look something like the second pic below. Starting to look like a bag!

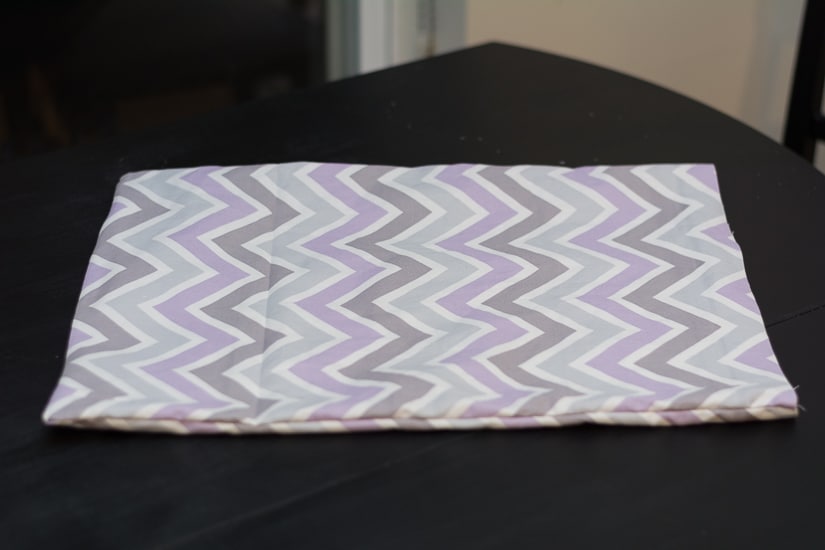

Step 3: Poke and press the tote bag corners
Take a blunt object like the eraser end of a pencil, round pen end, or knitting needle and poke into the inside of each corner to make them as sharp and defined as possible. Then iron your newly created strapless bag to flatten the seams. The bag will look like this!

Step 4: Sew a French seam
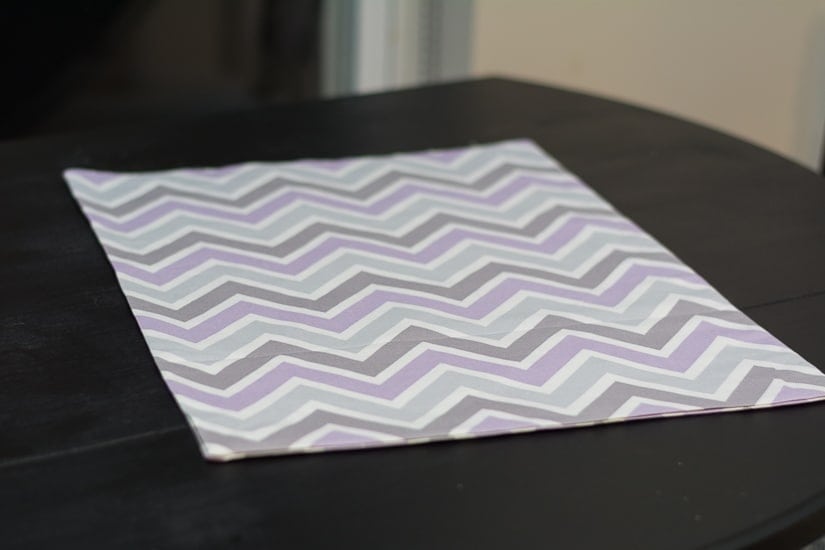
Next, you’re going to create a french seam, which will give your bag a clean look around the edges. This is optional, but I think it’s a nice touch—and it was easy! To create a french seam, you’ll simply sew a second straight seam along each side.
However, you’ll sew the second straight seam with the wrong sides of the fabric together, unlike in step 3. By sewing a second straight seam along each of the three sides, you’ll essentially be encapsulating the first seam. When finished, it will look like the next two photos.


Step 5: Hem the opening of the tote bag
You’ve now completed all three sides of the bag. Now, you just need to hem the opening of the bag. To do so, simply fold down the open (i.e., the top) part of the bag about an inch all the way around. Fold it down on the inside of the bag, not the outside. Pin or sew the fold in place; then, sew one straight line around the entire opening. Trim the excess fabric from your seam.
How to attach straps to a tote bag
The second part of the DIY tote bag is creating and attaching the straps. It’s not hard, but it’s a bit more detailed than the tote bag body. Here’s how to create tote bag straps from fabric—and how to attach straps to a tote bag.
Step 6: Create the tote bag straps
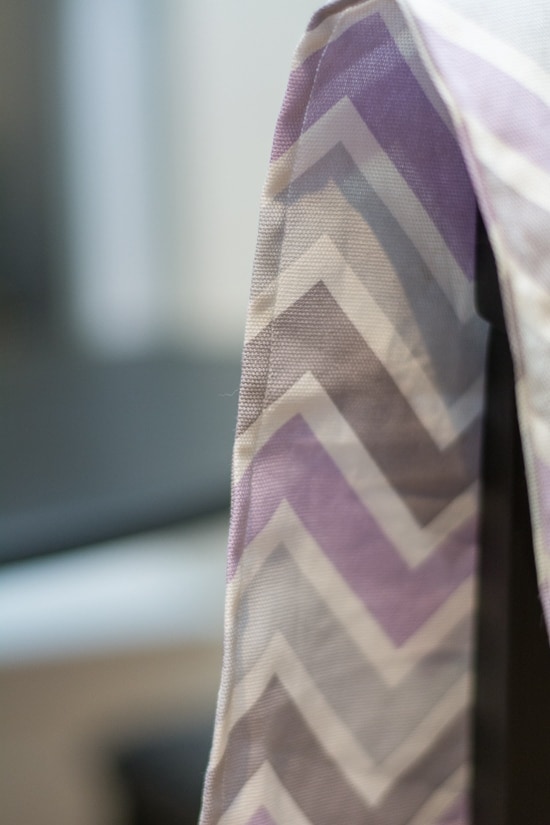
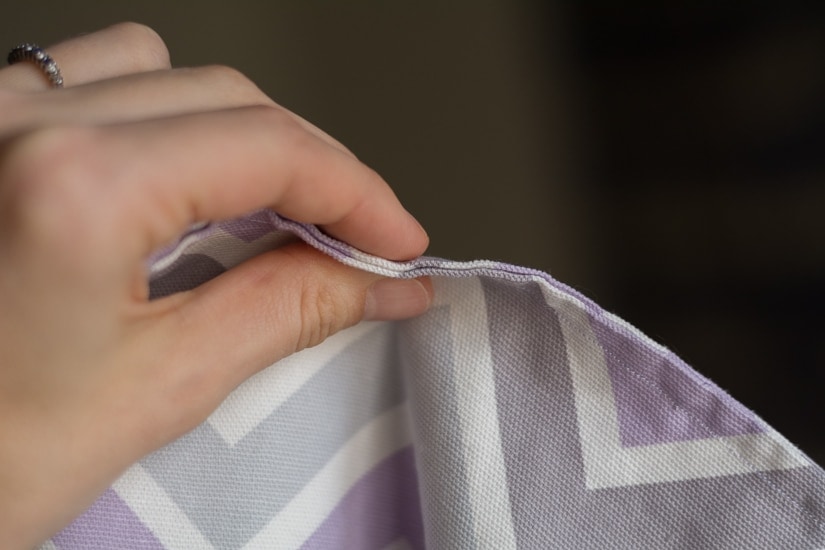
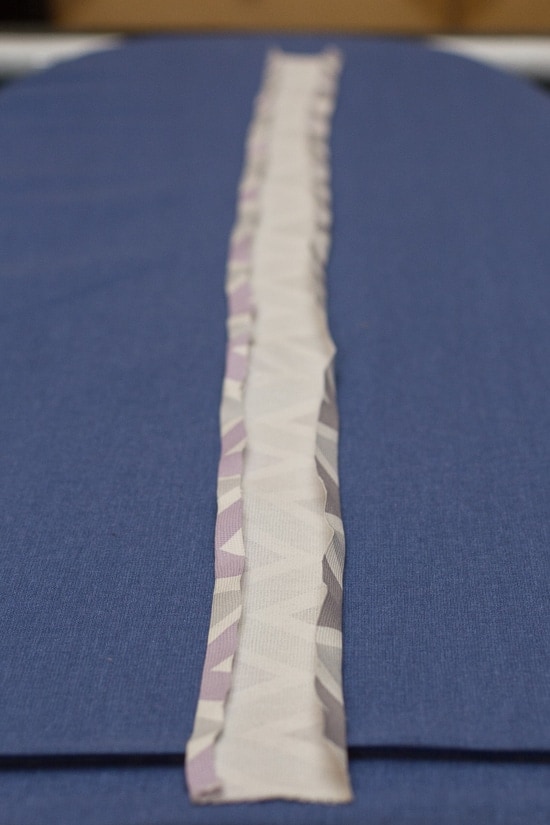
First lay one strap out on your ironing board/pad and fold along each of the long sides (see first photo below). It helps if you iron the folded sides down as you go; this negates the need for pins.
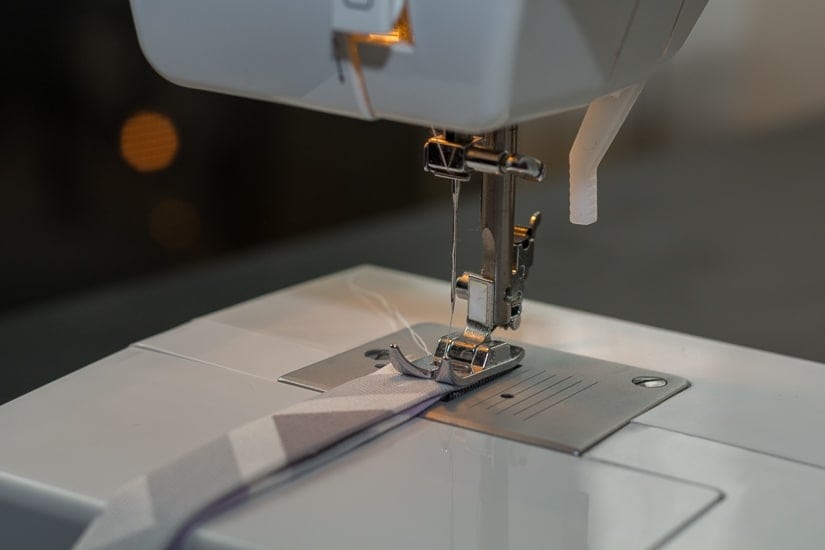
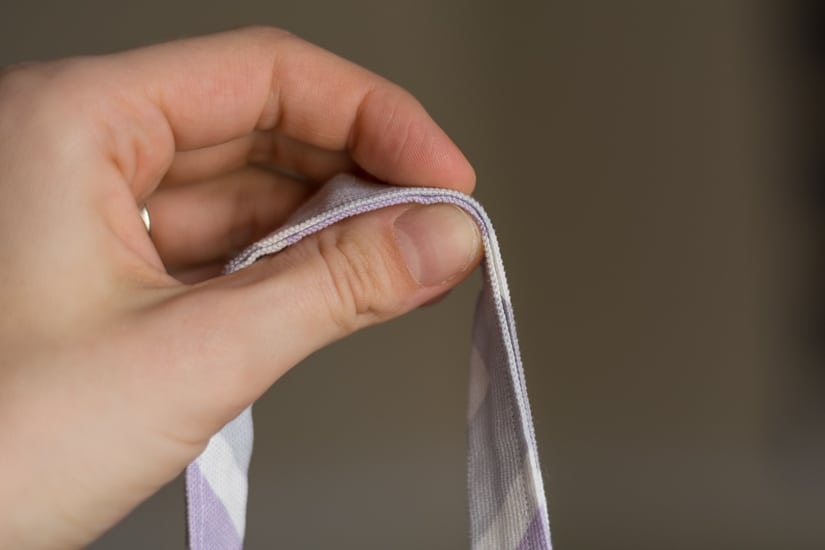
Once your strap looks like the first photo below, you’ll fold it in half once more and sew it shut using a straight seam down the entire length of the strap (see the second photo below). I also used the iron to define this fold and did not need pins, but you can use them if you need to. Repeat for second strap.


Step 7: How to attach the straps to the bag
Now you need to attach the straps to the tote bag. Place your tape measure along the top (opening) of your bag. On the inside of the bag, make small markings to indicate where to sew in your straps. The placement is up to you. You’ll sew in the straps on the inside of the bag.
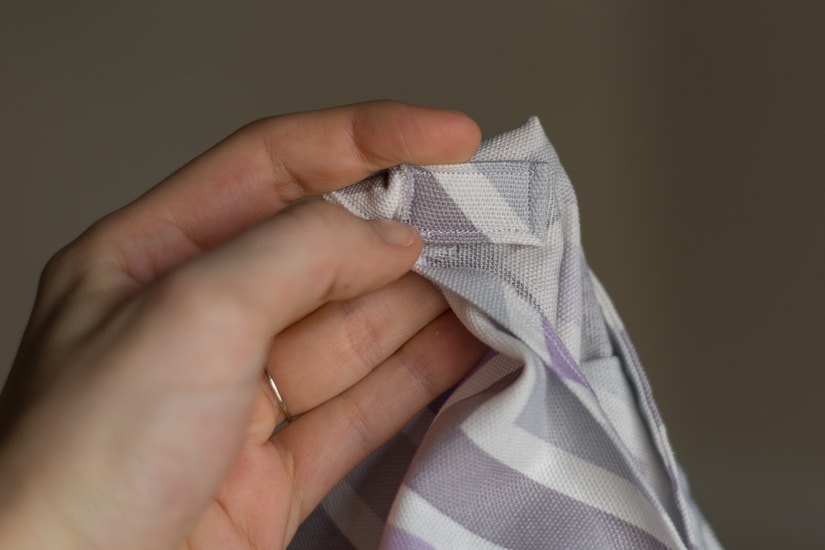
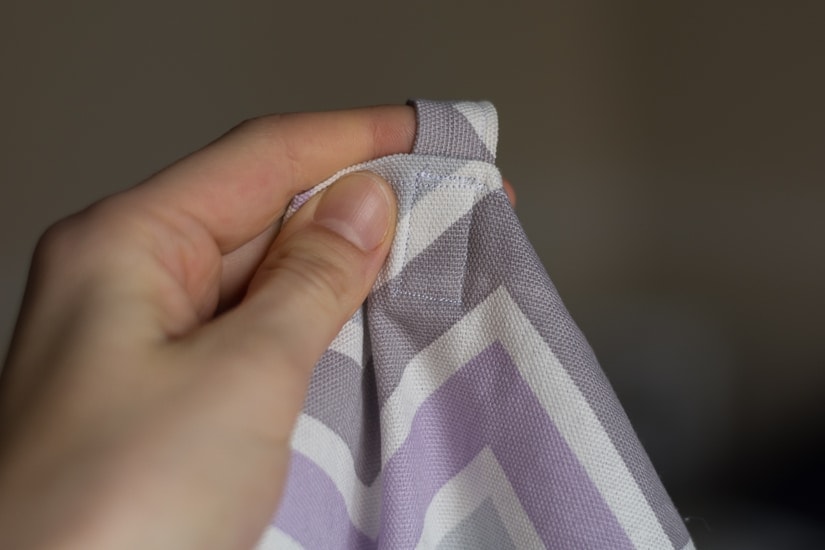
Fold the end of one strap over onto itself about one inch; then, place it on the inside of the bag at the marking you made in step 7. Folding the strap over onto itself helps to make it more stable when weight is put on it. Sew the end of the strap onto the bag by using a straight stitch to make a rectangle around the entire border.
You can do this twice if you’d like, but I felt like one rectangle was enough for this fabric. Repeat for all four ends of the straps.


And that’s that! Here is the finished tote bag, straps and all. Now get to sewing (and then shopping). Enjoy!
Pin This!