This content may contain affiliate links. See my full disclosure here.
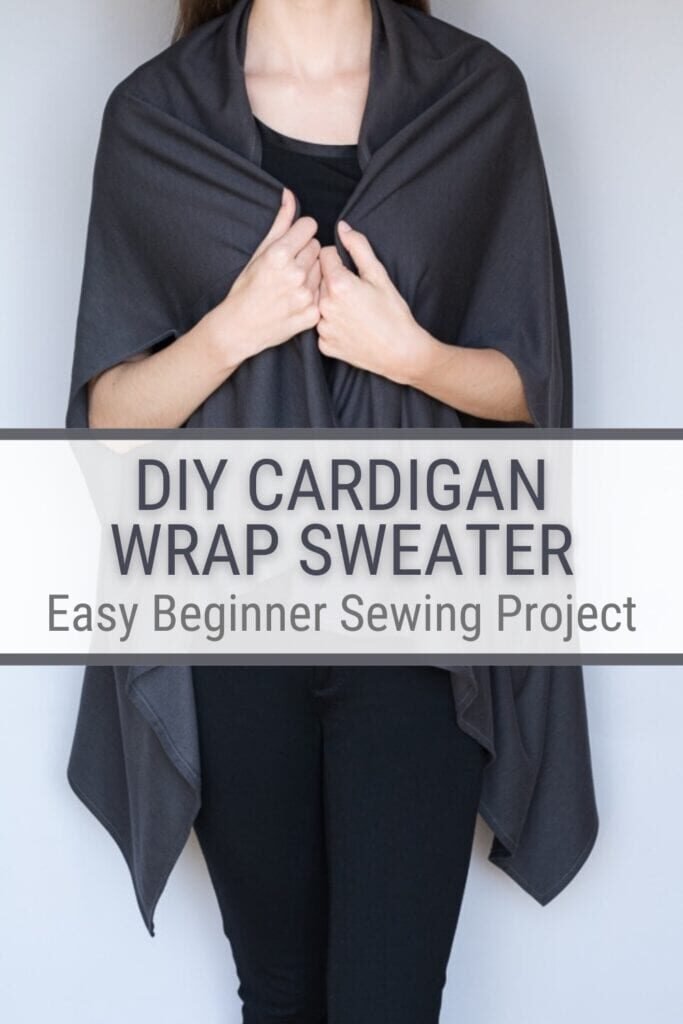
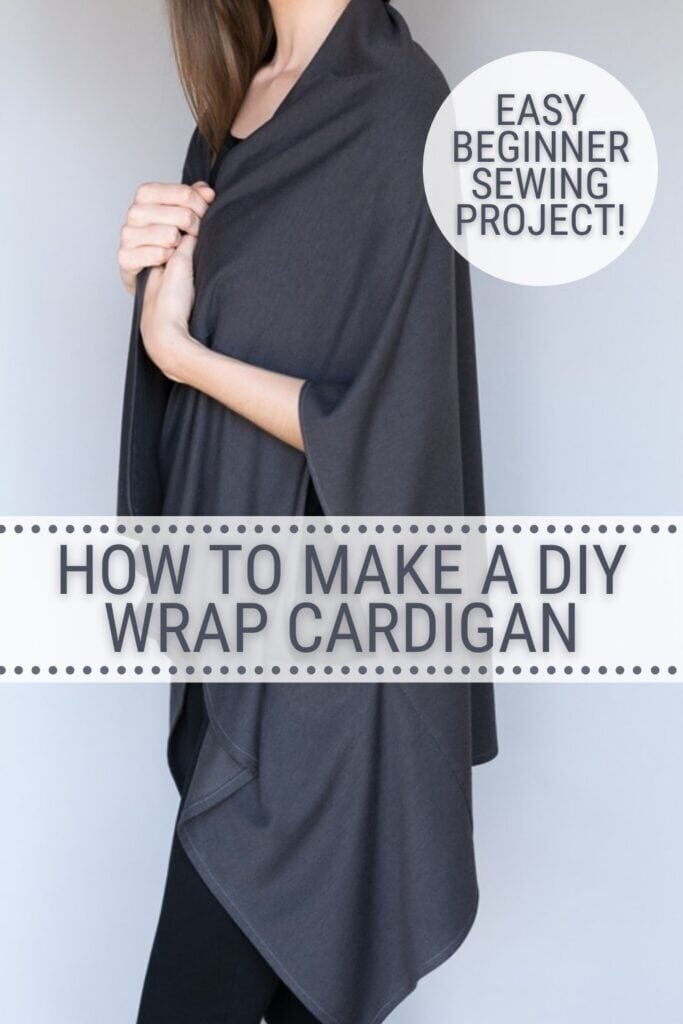
Learn how to sew a DIY wrap cardigan. Made without buttons or zippers, this easy project is the perfect clothing piece for beginners! Learn how to make it in just a few steps.
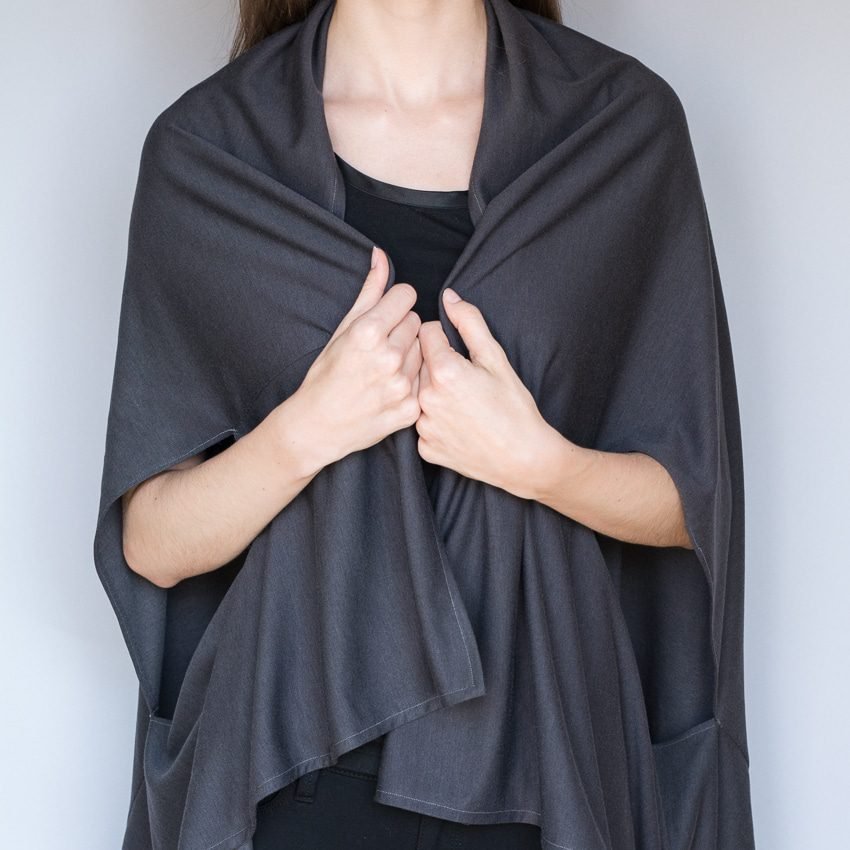
I love versatile pieces that I can use to give more life to my small wardrobe, so today I’m going to share how to make a DIY wrap cardigan. Because the wrap is an open wrap that doesn’t have any buttons, zippers, or hooks, it’s very easy to make. I chose a knit fabric for mine because it’s very soft and drapes nicely.
I also chose dark gray so that the wrap would go with almost anything. Since my office is freezing, I’ve decided to keep it at my desk at work. It was so easy to make—read on for the three steps to make one like it!
Like easy sewing projects? Check out my tutorials for how to sew a simple circle skirt, how to a super simple bridal veil, how to sew an envelope laptop sleep!
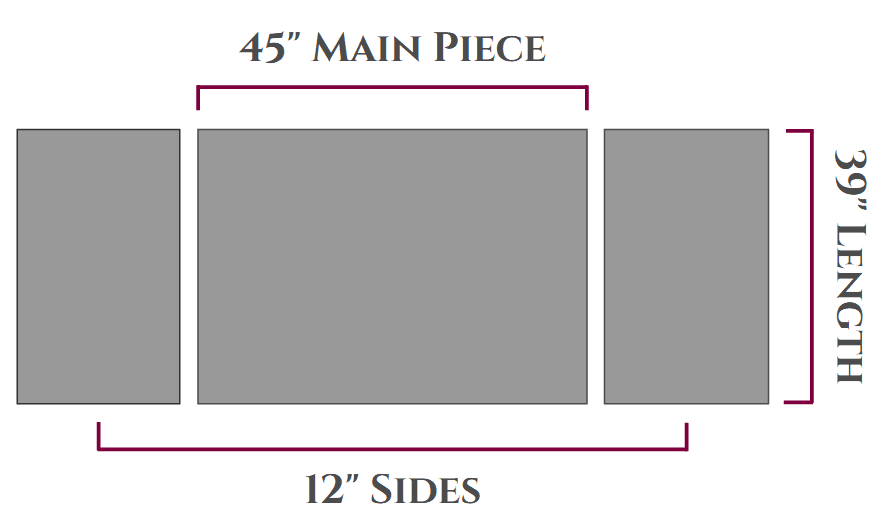
Step 1: Determine the measurements for your three pieces.
The main (middle) piece should be roughly three times the width of your hips from one side to the other (not your total hip measurement). The two side pieces should each be a bit less than the width of your hips. The length of all three pieces should be somewhere between 35″ and 40″ depending on where you’d like the wrap to hit. Build in a bit of a seam allowance.
Because this is an open wrap that drapes over you, the measurements are very forgiving. Below are the measurements I cut for a ~15″ hip width. I’m almost 5’10”, so I chose a longer length.
I measured my fabric and marked it with washable marker. Then I just cut the pieces out. If it’s easier for you, you can create a pattern on tracing (or tissue) paper, pin that to your fabric, and then cut the pieces out.
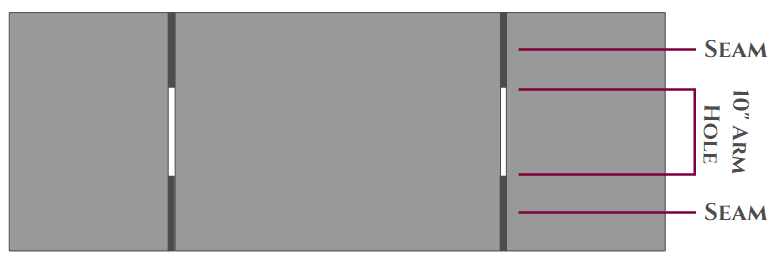
Step 2: Now you just need to sew the two side pieces on to the main piece. Pin one side to the main piece. Using a siz-zag stitch, sew a seam, but make sure to leave a ~10″ opening for your arm as illustrated below. Do the same for the other side.
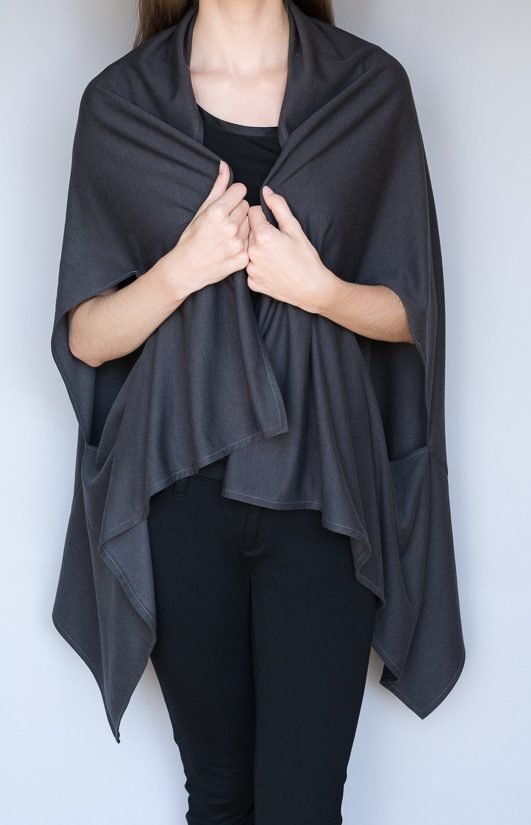
Step 3: Now that your wrap is one piece, hem all four sides. Then hem the openings you made for your arms. To make hemming easier, press the desired hem with an iron and some spray starch. Then trim the extra. fabric from the hem.
Really easy—here it is!

Pin this project!


0 Comments