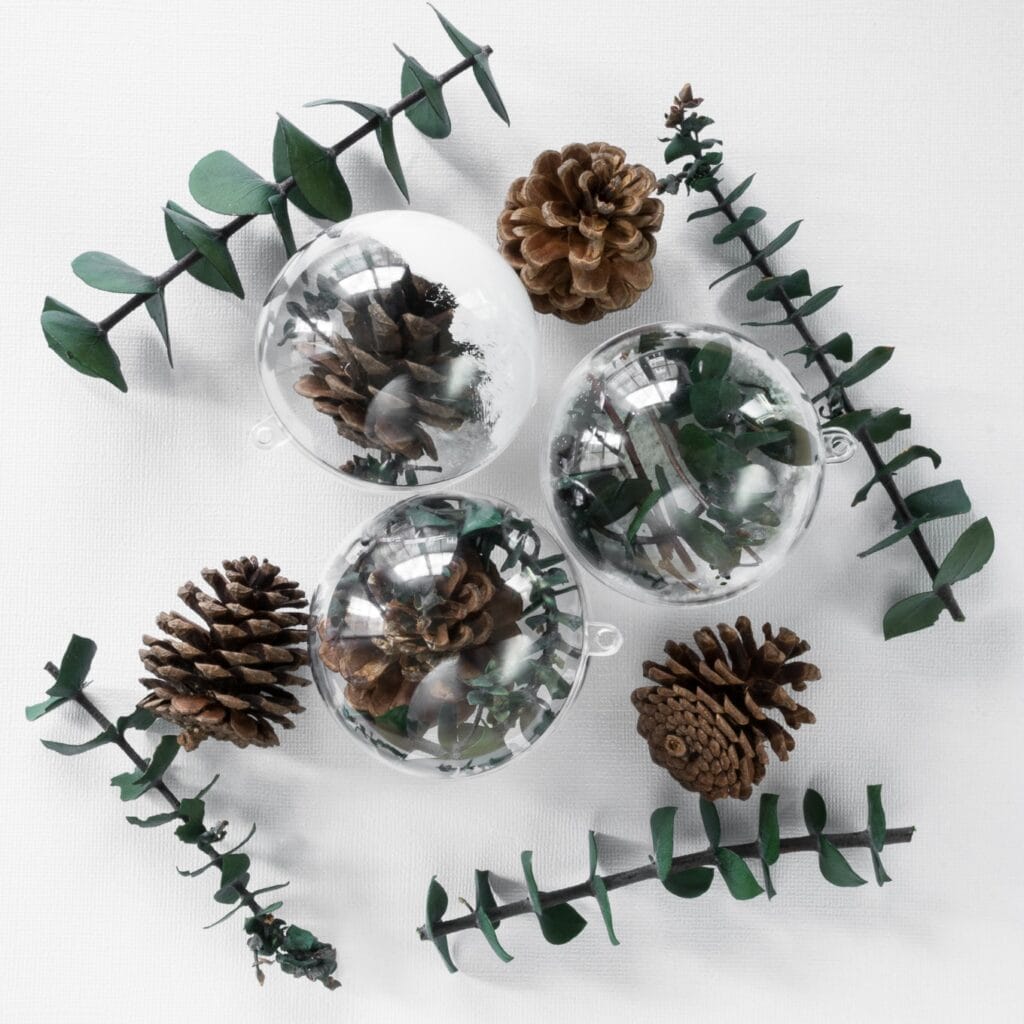
I’m sharing 7 different DIY projects for clear ball ornaments, each of which you can complete in 30 minutes or less. Today I’m making simple greenery-themed ornaments using some things you can grab from your backyard.
How to make gorgeous greenery-themed ornaments for Christmas!
Hey guys, welcome to day 2 of the week of Christmas ornaments DIYs. In the spirit of easy DIYs, today I’m making DIY winter scene ornaments using some things you can find in your backyard and a few other craft supplies. This would also be a great thing to do with kids who like to hunt around outdoors. And, of course, it’s thrifty, which I love.

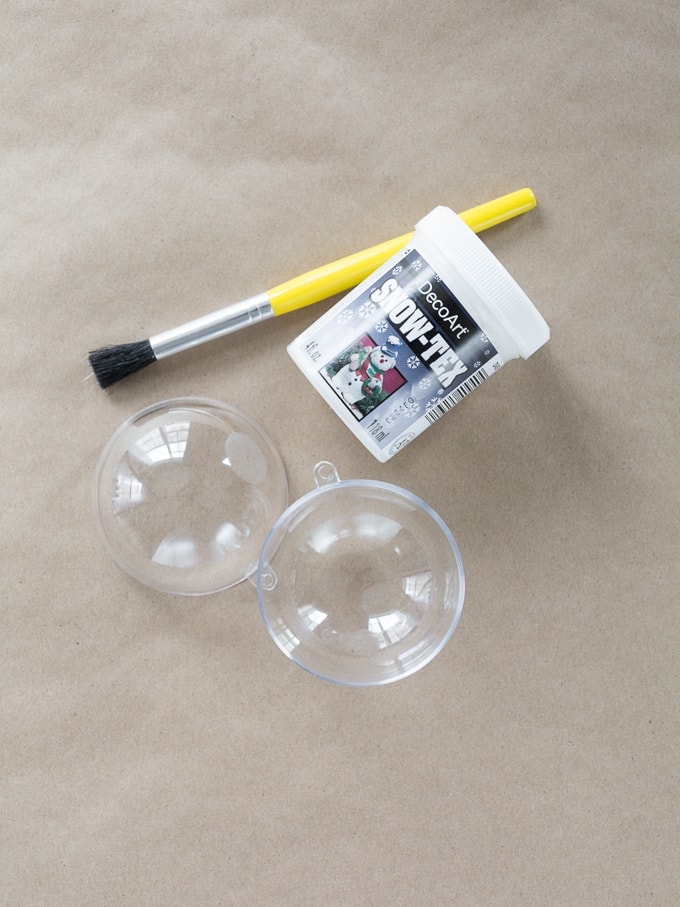
Here’s what I used…
- Clear plastic ball ornaments, the kind that can split in half
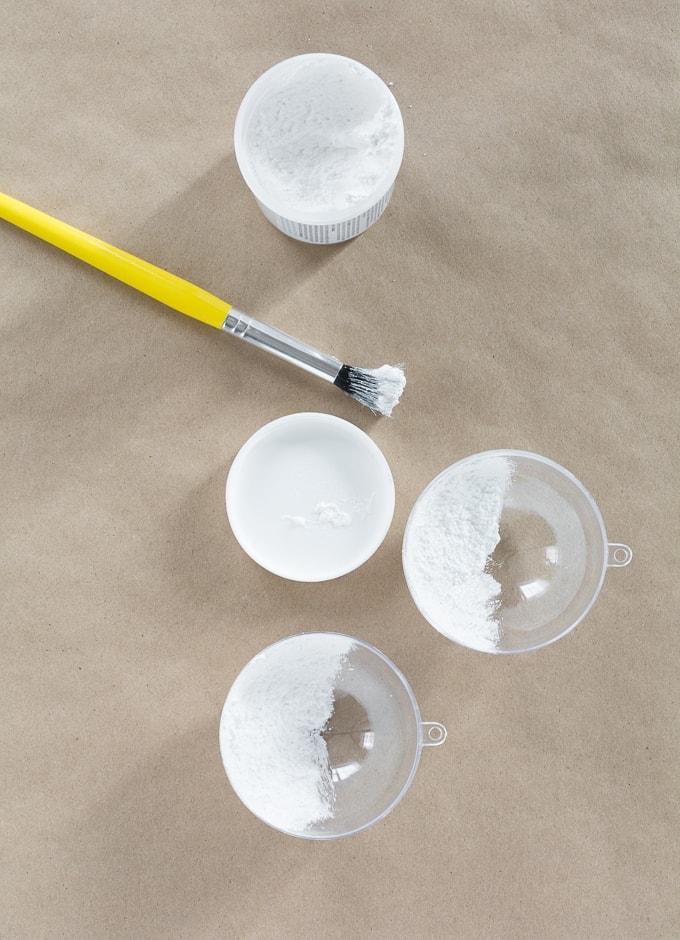
- DecoArt Snow Tex
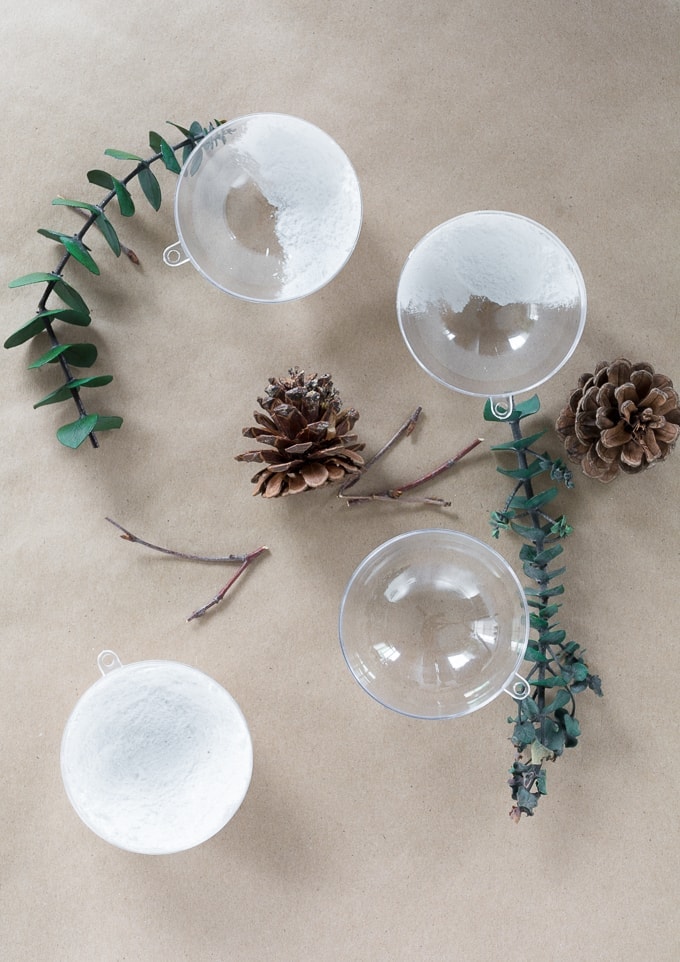
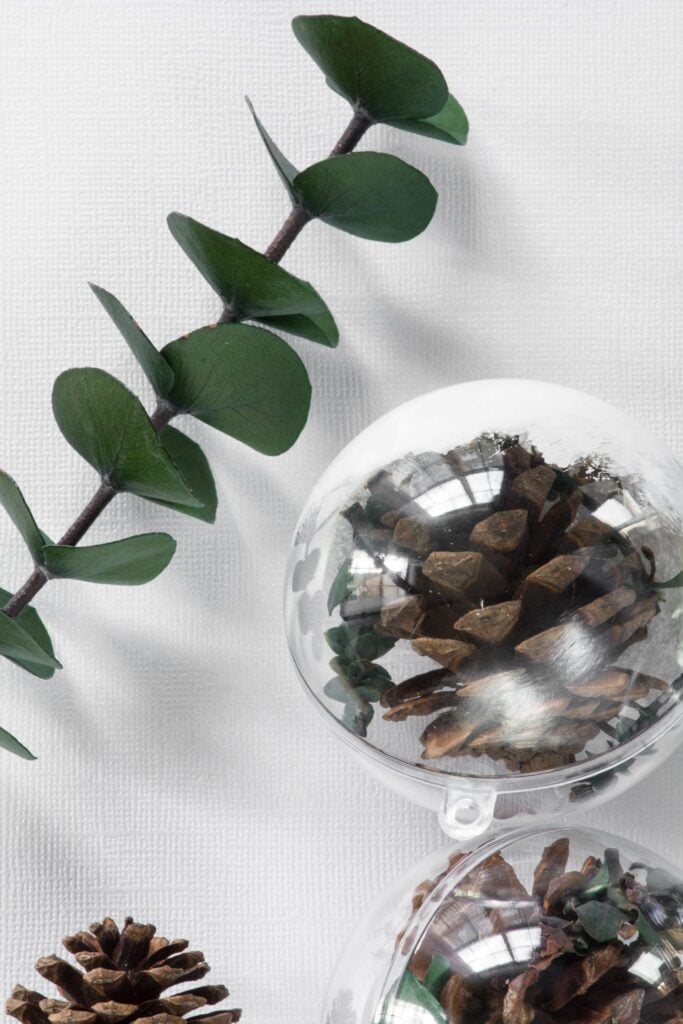
- Greenery (pine needles, eucalyptus), twigs, small pine cones
- Small paint brush
And here’s how I made simple greenery-themed ornaments!
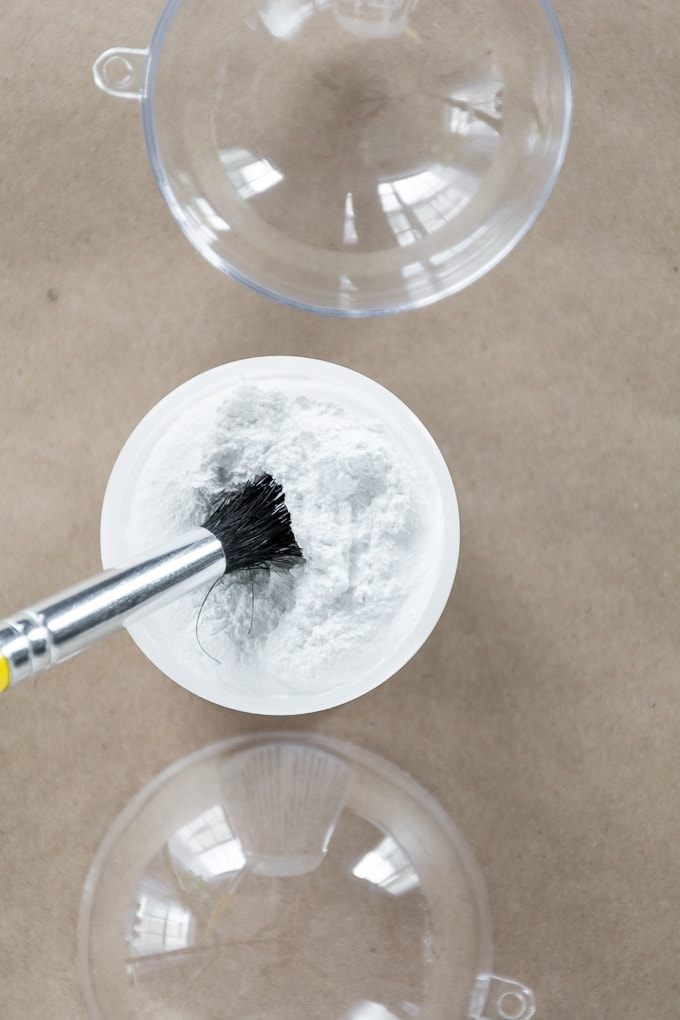
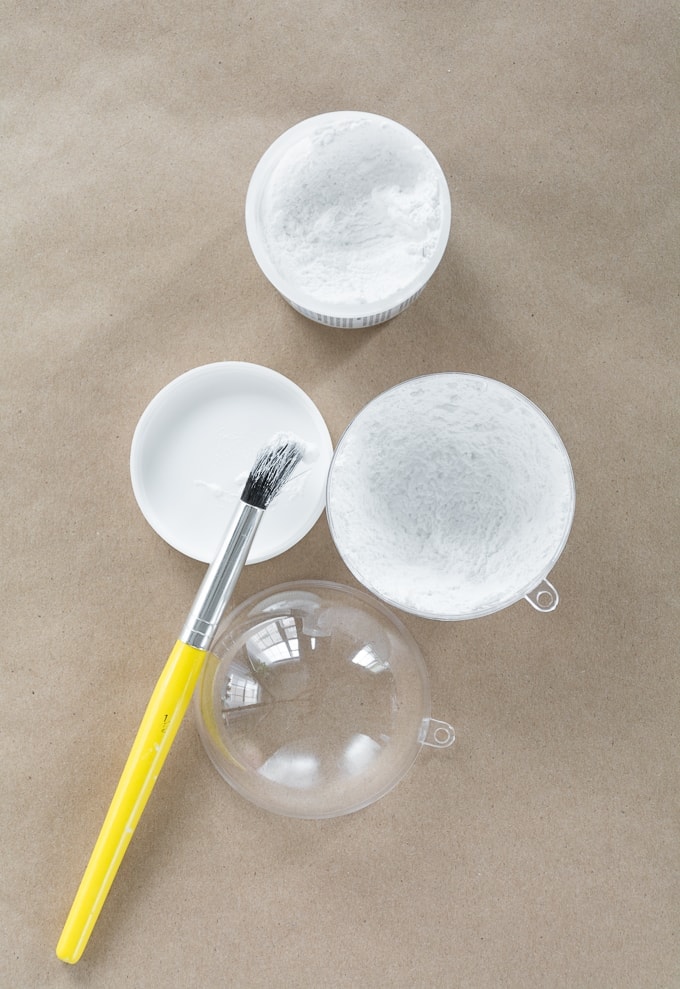
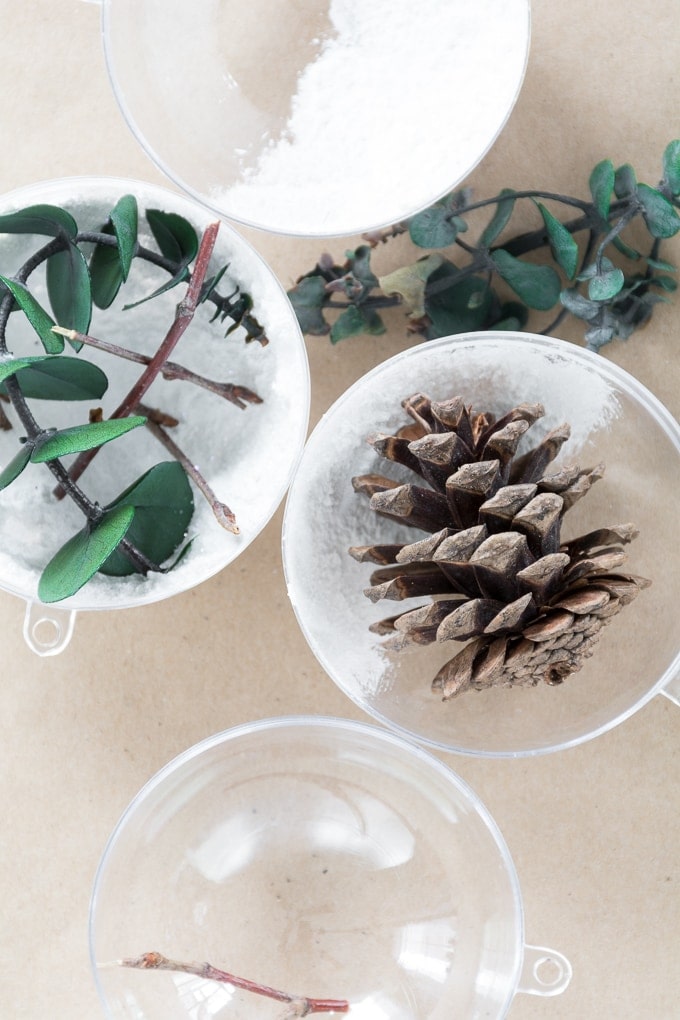
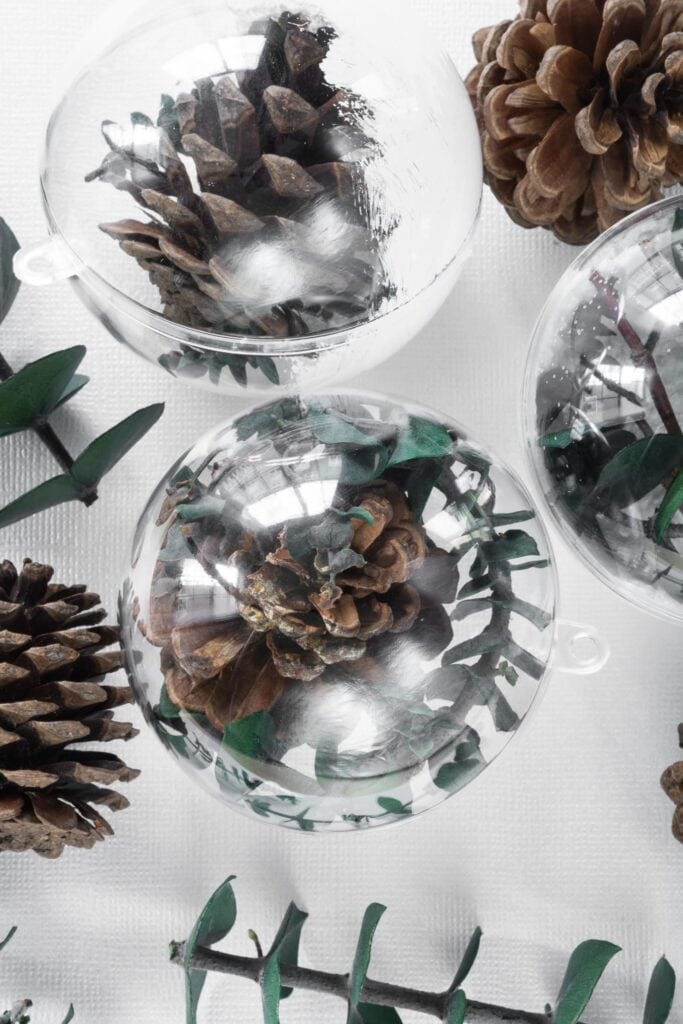
Step 1: Cover the inside of one half of your ornament with a solid color. This helps the scene stand out when the ornament is hung on the tree. I used a white faux snow that can be painted on and then sprinkled just a tiny bit of very fine white glitter in.
For some of the ornaments, I put the faux snow on the back half. For others, I did snow on the bottom half of each side.


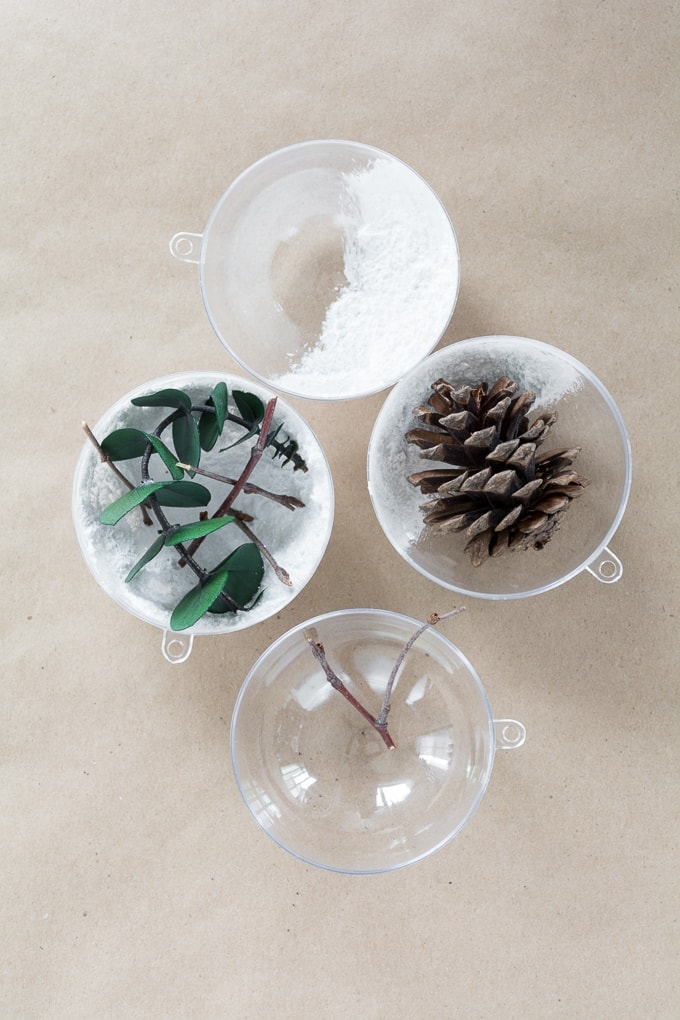
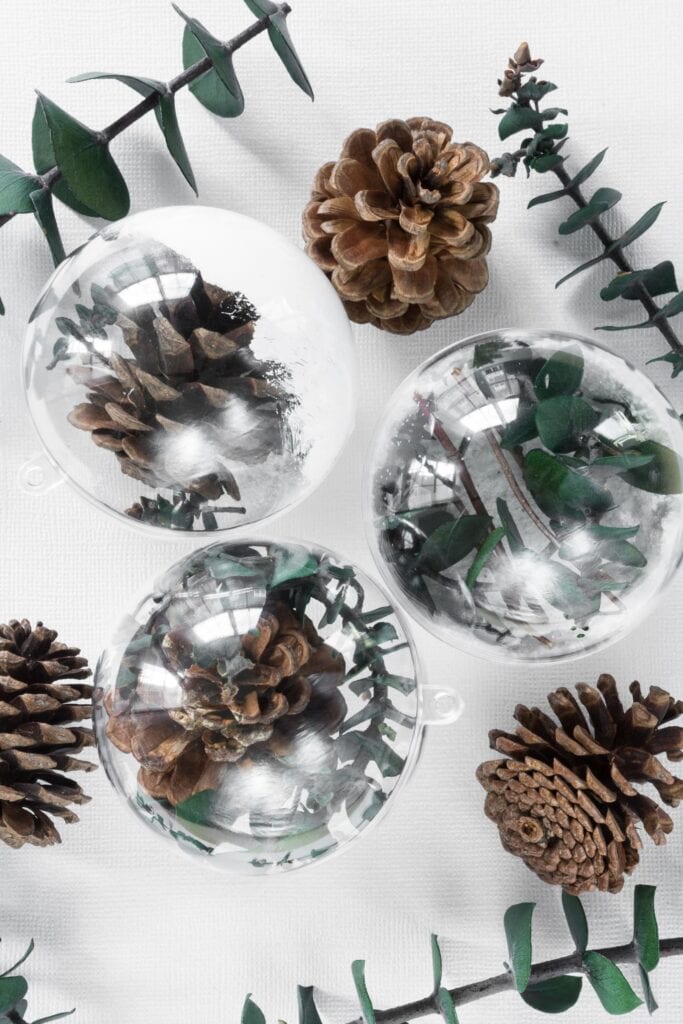
Step 2: Once the paint or snow is dry, add sprigs of greenery, twigs, small pine cones, whatever floats your boat.


Like these? Check out my easy DIY glitter ball ornaments, my DIY marbled clay ornaments, and my tips for how to paint on the inside of ornaments!
Step 3: Close the two sides and hang.


Pin my DIY greenery-themed ornaments!