This post shares two free cut files to help you make the cutest DIY twin coming home outfits! Or you can make these as DIY baby shower gifts for twins.
DIY Twin Coming Home Outfits—Perfect Baby Shower Gifts!
Hey guys! Today I’m sharing some ideas for cute DIY twin coming home outfits or baby shower gifts. If you like DIYing gifts, baby bodysuits are very practical gifts. If you have a summer baby, they can rock them alone. And if you have a winter baby, they are good for layering and keeping baby’s core warm. You can’t lose!
Today I am sharing two ideas for my friend Allison’s twin boys: The first is a “womb mates” pair of bodysuits that that I’m giving you guys access to the cut files for. I’m also using Cricut’s patterned iron-on for this design, so I’ll talk a bit about that two. The second is a project idea using Cricut’s Infusible Ink. So let’s jump in!

HERE’S WHAT I USED FOR THIS PROJECT:
And here’s how to make DIY baby shower gifts for twins!
Step 1: Prep the twin heart design in Design Space
First grab the cut files in Cricut’s Design Space. Note that you must be logged in to access this project. Add them on your Design Space canvas and size your pieces based on the size of your bodysuits.

Step 2: Cut and place the design
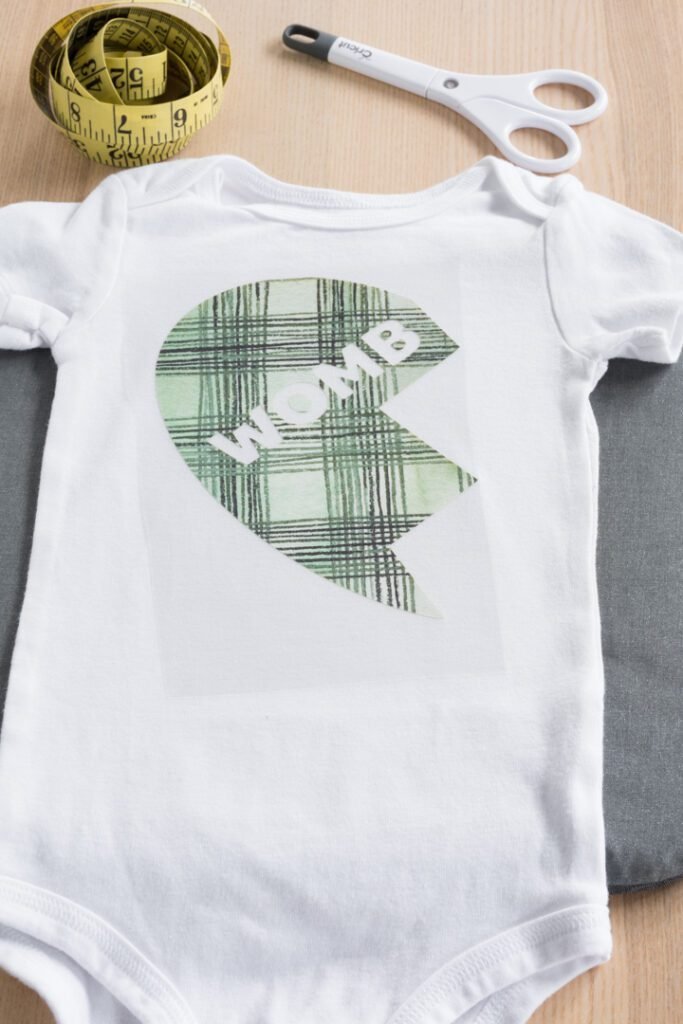
I used this green flannelish patterned iron-on because these are Canadian babies, and in my head, Canadians wear exclusively flannel. Don’t ruin this for me! Before you cut the design, make sure you mirror it, too. 🙂
And here are a few things about patterned iron-on, which I talked about at length in this post about using it with wood. First, when working with patterned iron-on, you should have the blue LightGrip mat, not the StandardGrip green mat you typically use with vinyl. I’m not sure why that is—maybe the patterned iron-on is more delicate?
Second, The “sticky” side looks a bit different, too. It’s a bit bumpier looking to me. And third, the patterned iron on requires a slightly different cutting approach to get the perfect kiss cut, which leaves the liner in tact. You can use patterned iron-on with all Cricut machines, but don’t just select “iron-on” from your Cricut’s dial. For Explore machines, turns your dial to Custom first. On Makers, just select it as you would any other material.
Step 3: Transfer the design
Use Cricut’s Heat Guide to figure out what settings you need to use for your EasyPress. This depends on the EasyPress you’re working with (original or EasyPress 2), the material you’re working with (100% cotton or otherwise), and the type of material, which in this case is of course patterned iron-on.
A heads up about working with patterned iron-on. I do think it has a smell that’s a bit different from regular iron-on. Also, make sure you don’t apply the heat for longer than the recommended time. It can start to give the patterned iron-on a “pixelated” look because it starts to overheat.
It’s a cold peel, meaning you let the design cool completely because you remove the liner. It’s a bit harder to pull the liner off than if it were a warm peel or regular iron-on. Just be careful, and if pieces of the design come up, just apply a bit more heat from the back of the bodysuit so you don’t hurt the pattern.


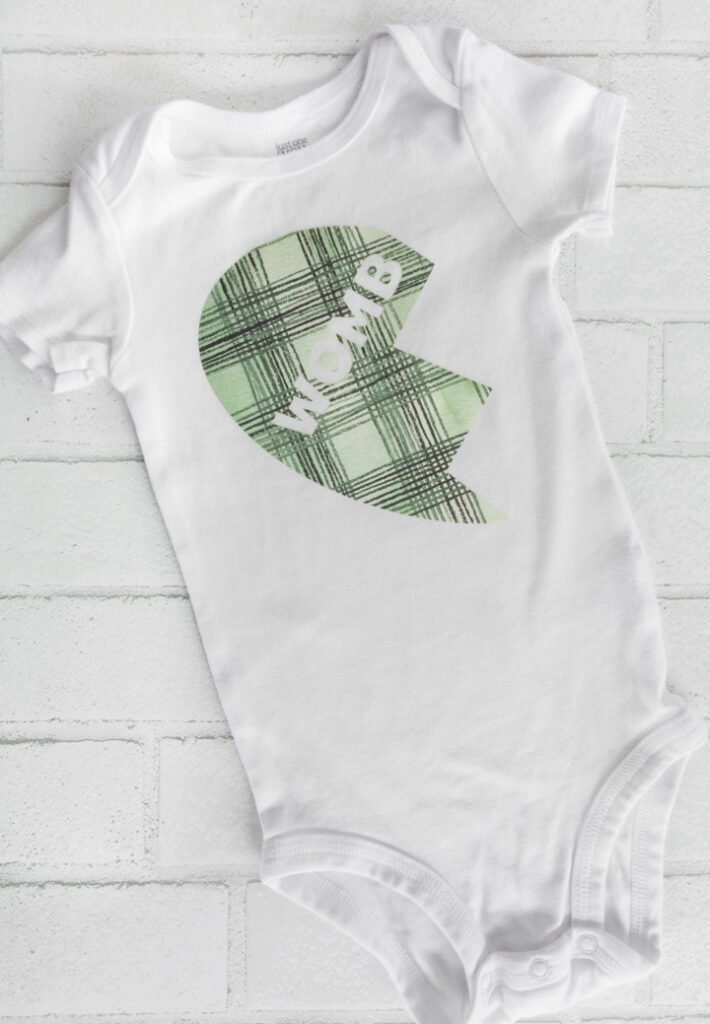
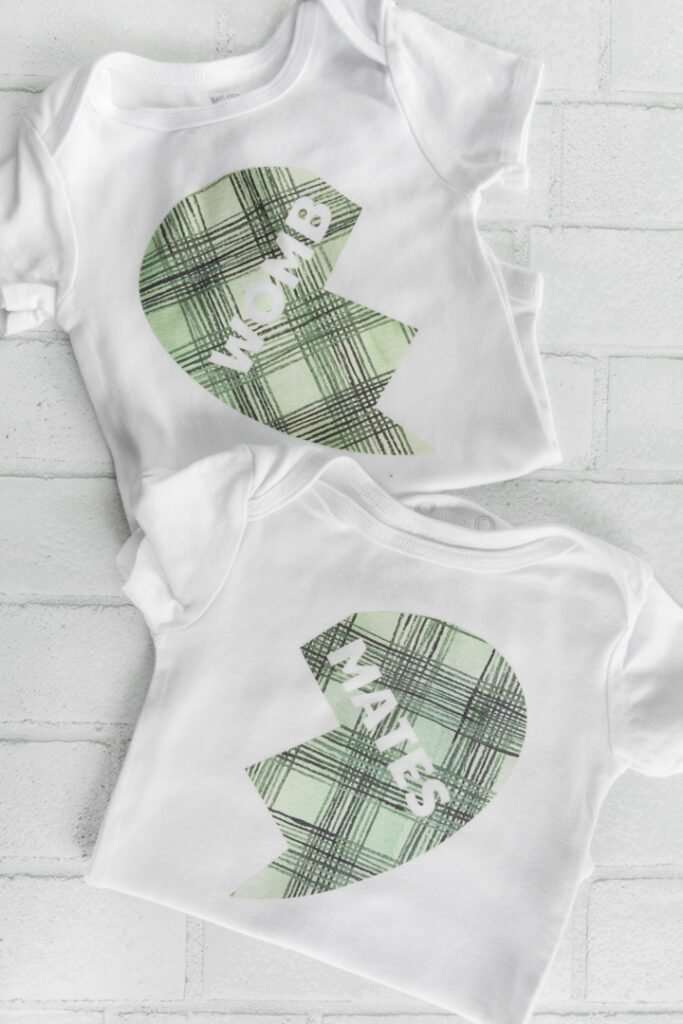
And here are the finished twin outfits!

DIY Baby Shower Gifts for Twins Using Infusible Ink
And here’s the second one! I unfortunately don’t have the rights to share the vine circle file with you guys, but you can find a similar one online and use it for your own personal project by searching for “free leaf border image” or “free leaf border .svg.” For the font, I just used a free system font in Canva.
HERE’S WHAT I USED FOR THIS PROJECT:
For more Infusible Ink projects, check out my personalized Infusible Ink baby bodysuits, my custom Infusible Ink plant-themed coasters, my review of the new Infusible Ink blanks, and my detailed tutorial for using the Cricut Mug Press!
And here’s how I made the cutest DIY twin coming home outfits!
Step 1: Cut the patterns
After I sized and cut the patterns in Design Space (make sure to mirror!), I weeded the negative space out of the designs. This was the hardest part of this project but one that I was looking forward to testing out! I wanted to see exactly how intricate I could make an Infusible Ink design. Would it be easy or a huge pain to weed a really intricate design?
I was actually really shocked at how easy it was to weed this intricate of a design. I did have to use the tweezers to pull out some of the smaller sections, but over all I am really pleased with the process. And with how beautifully it transferred.

Step 2: Prep the bodysuit blanks
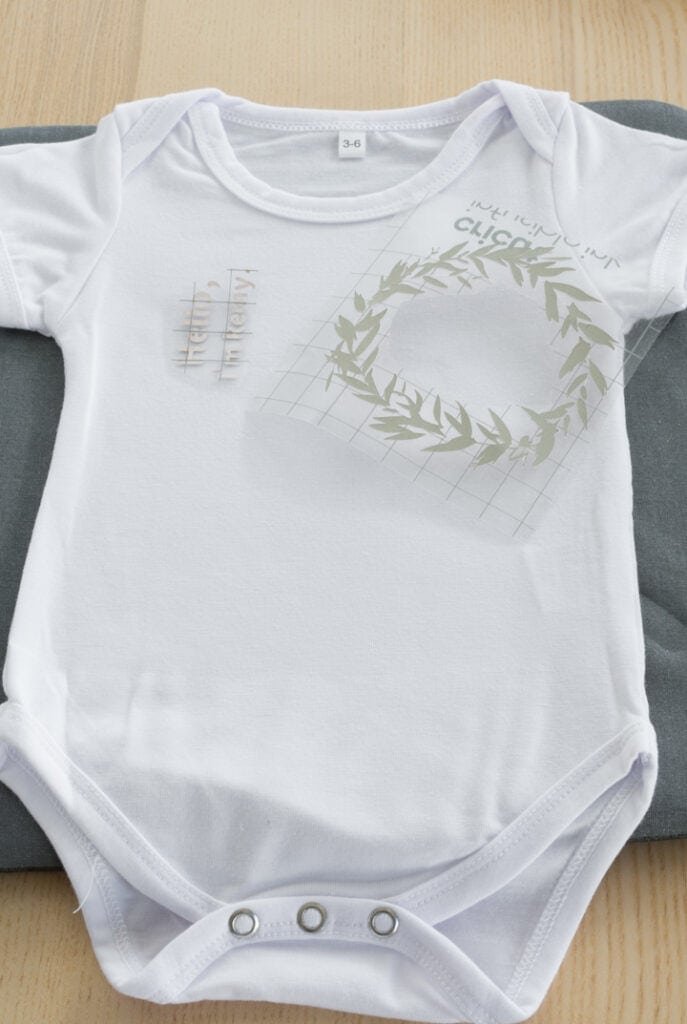
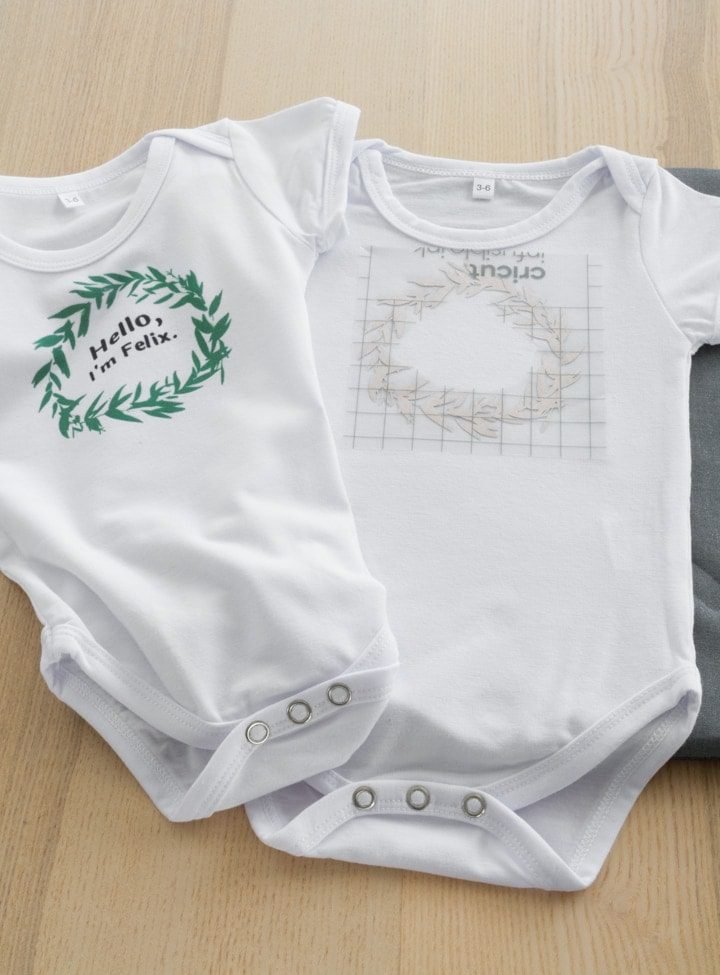
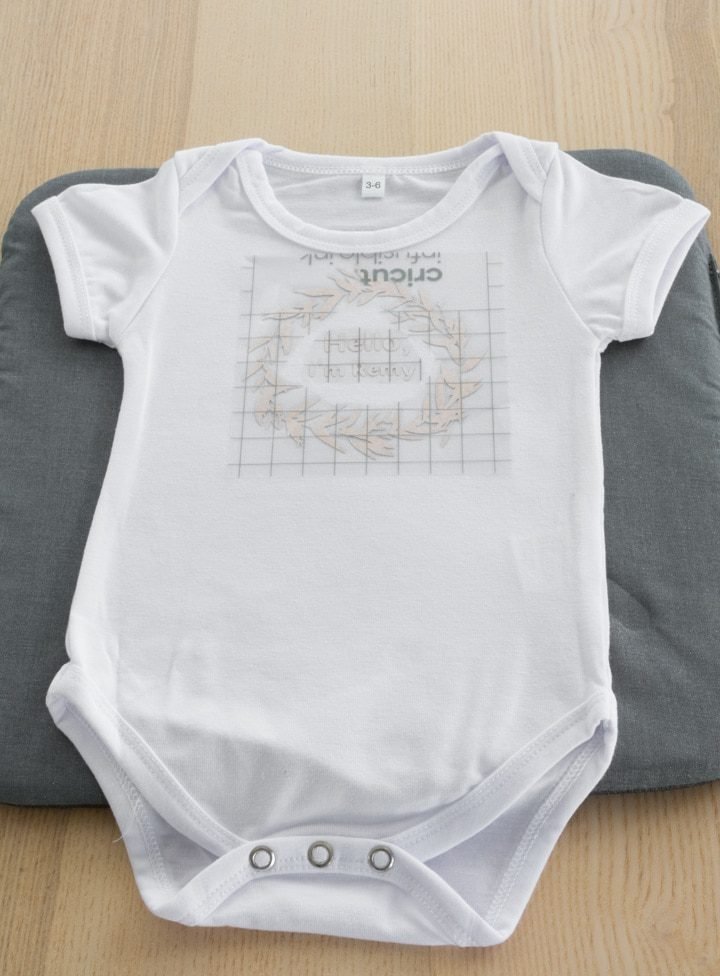
I followed the instructions for preparing the bodysuit blanks, which basically just means lint rolling the bodysuits, preheating them to remove wrinkles and any excess moisture, and then letting them cool completely. You can see below that I did the first bodysuit and then set it next to the blank one to try to mirror the placement as much as I could.
Remember now to apply the weeded Infusible Ink design to the bodysuit until it cools completely. You may smudge off some of the color/design and ruin your blank!
Step 3: Transfer the Infusible Ink designs
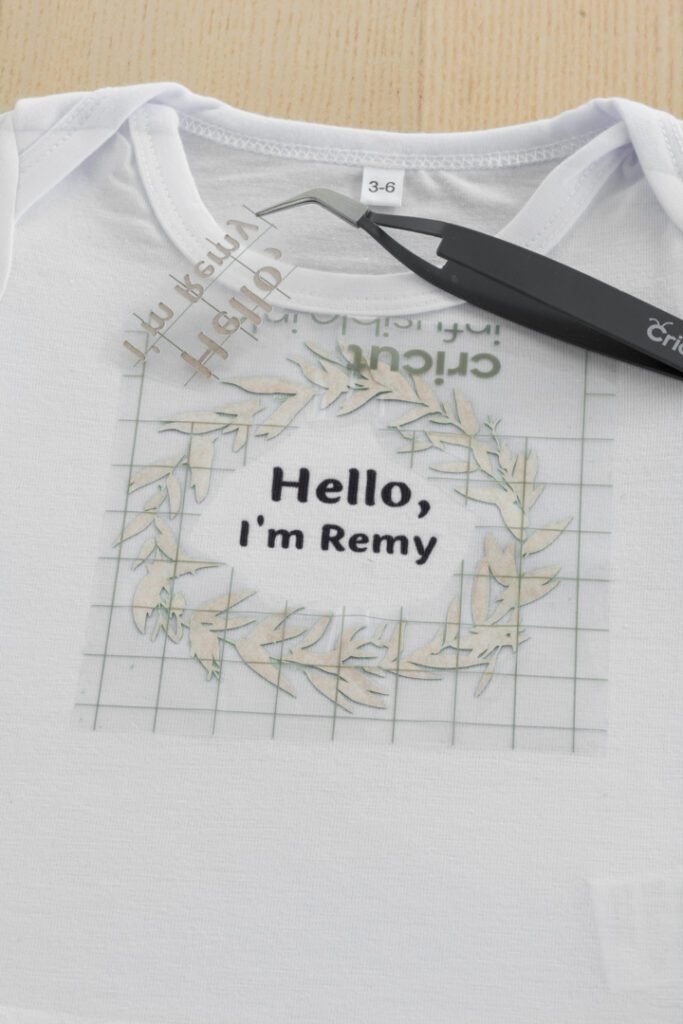
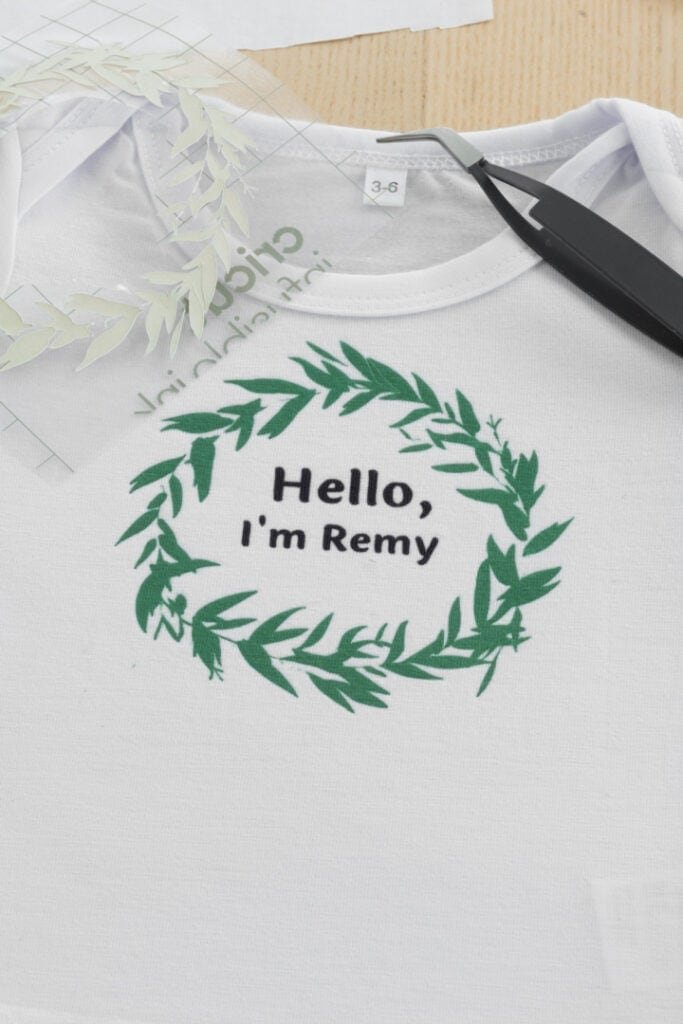
Next I followed the guidelines in Cricut’s heat guide to transfer the designs. I cut the liner area out of the middle of the plant wreath thingy so that I could put the “Hello, I’m Remy” text in the middle. I didn’t want multiple layers of the liner.

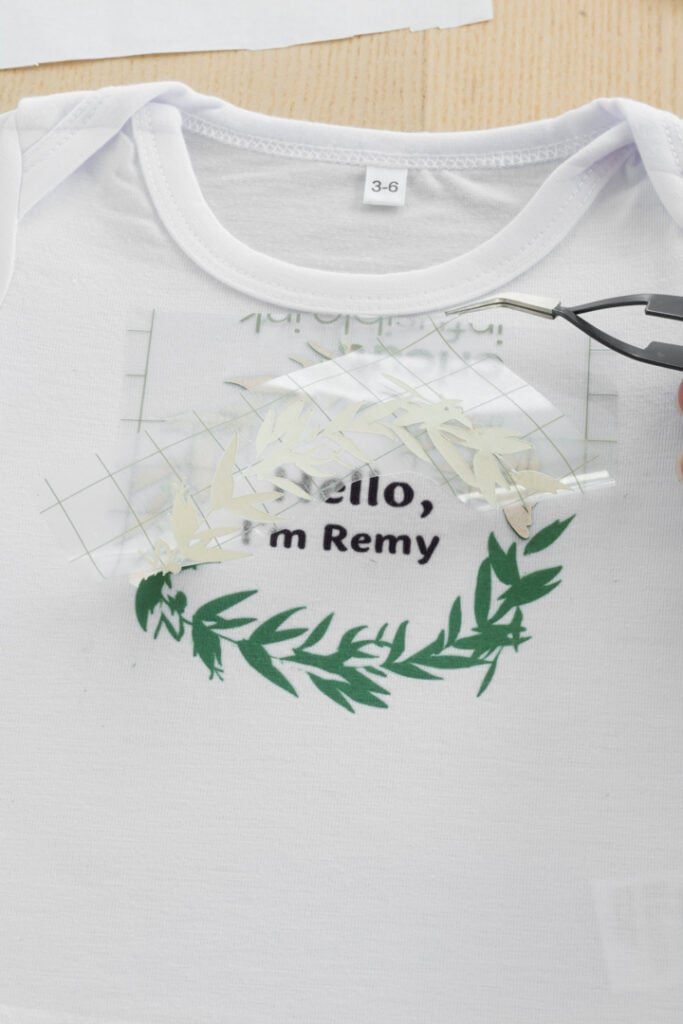
For this transfer, I used an EasyPress 2 at 385 degrees. You can see the transferred design around the edges below. I used tweezers to gently remove the two parts of the design, pulling up the text part first and then the leaf wreath.
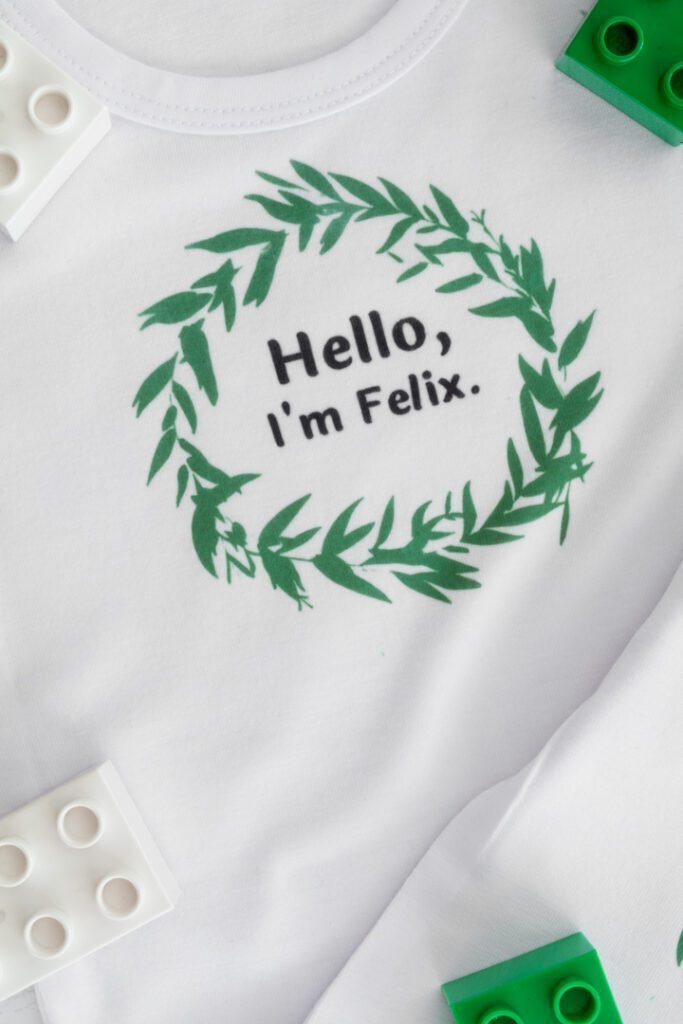
I was really pleased with how this transferred! Not only did the Infusible Ink weed really well, even on such an intricate design, but it transferred beautifully as well. One warning, though—since there are so many small pieces you’ll pull off when weeding a design like this, make sure you get all of them off the liner! If any tiny bits stay on, they will transfer to your blank and you’ll end up with some colored specks.

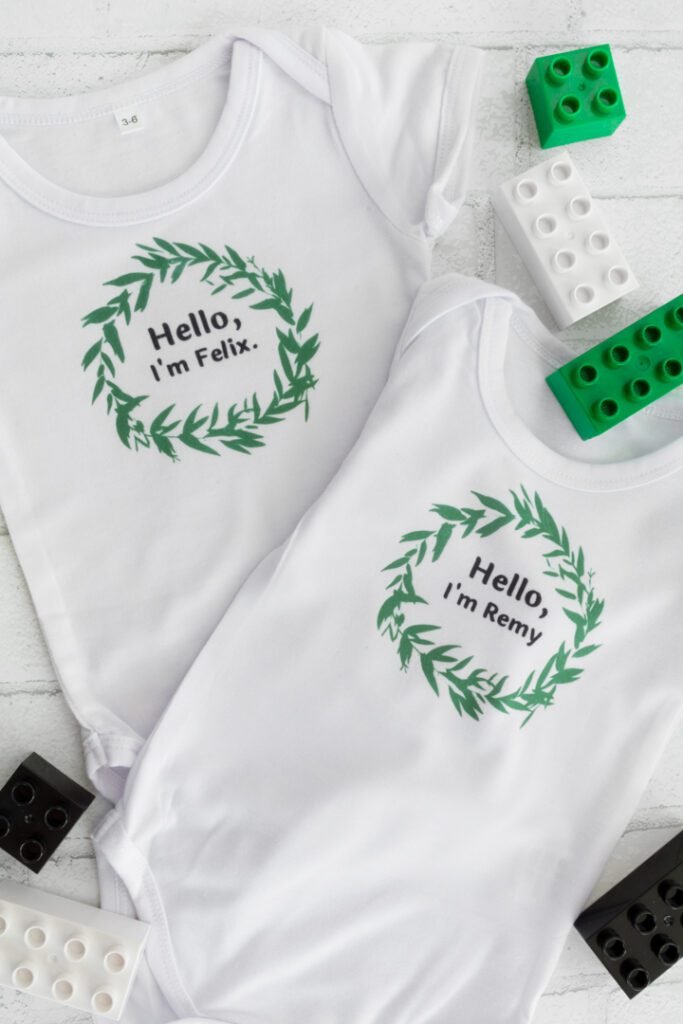
And here are the finished DIY twin coming home outfits!
I am SO happy with how these turned out. Except that when I started uploading some of these photos…I realized that the period fell off of the end of “Remy” sometime between weeding the design and transferring it! Did you guys notice that?! I’ve been a copyeditor for 8 years at my day job now…so it is killing me!
But not enough to remake them. That’d be super wasteful…and these designs took a while to weed 🙂 All told, they do look very professional thanks to the Infusible Ink, and I’m really excited to see these on Allison’s boys.
Share my ideas for DIY Twin Coming Home Outfits on Pinterest!


0 Comments