This content may contain affiliate links. See my full disclosure here.
Learn how I used my Cricut to make a customized craft caddy! I added a peeking monster face to the $3 craft caddy to make it fun for a toddler—an easy vinyl crafting project.
Customized craft caddy: $3 Target bullseye section project!
I took a couple days of vacation a few weeks ago. And although I didn’t go anywhere because we can’t really go anywhere, I took some time to catch up on errands, do some shopping for myself, and do some projects. When I was at Target to pick up some more pull ups, I saw the cutest little colorful school storage solutions.
R has been so in to coloring and other simple crafts lately. And since things have been so boring for her at home most of the time, I decided to pick up a cute little $3 green caddy to put her craft supplies in. She is 2, so she loves anything with a handle that she can carry around. And of course I decided to do a quick Cricut customization on it. Here’s how I did it!
If you’re new to Cricut, check out my “Which Cricut Should I Buy?” post that provides a detailed overview of the Cricut Joy, Cricut Explore Air 2, and Cricut Maker machines!
Here’s what I used:
And here’s how I made my customized craft caddy!
Step 1: Open project in Design Space
I looked at a few different cute monster files already in Design Space and settled on this one, #MB34AD56 in Design Space. I then added a rectangle and used the Design Space “slice” effect to create a little peeking monster. See the sliced version here if you don’t want to slice your own. You can also check out my post on how to slice text and objects in Design Space for a full tutorial on this!


Step 2: Cut and weed monster design
Since this was a smaller project, I used my Cricut Joy and a small mat to cut this. I needed to use a mat because I was using regular vinyl I’ve had for a while. You can only ditch the mat on the Cricut Joy when using Smart Materials.


For more Cricut kid content, check out my DIY matching/memory game project, my customized kids play apron, and my post on how to personalize a cheap LCD tablet!
Step 3: Transfer design to craft caddy
Time to customize this craft caddy! One of the monster eyes popped off while I was weeding the negative space from the cut design, so I just added it to the transfer tape myself. Then I used the transfer tap to transfer the design to my craft caddy.
It looks so cute! And this whole project took me about 30 minutes, including searching for the perfect monster file to use. I really love the Cricut Joy because it’s so easy to pull out of a drawer, set up, and cut small pieces on.


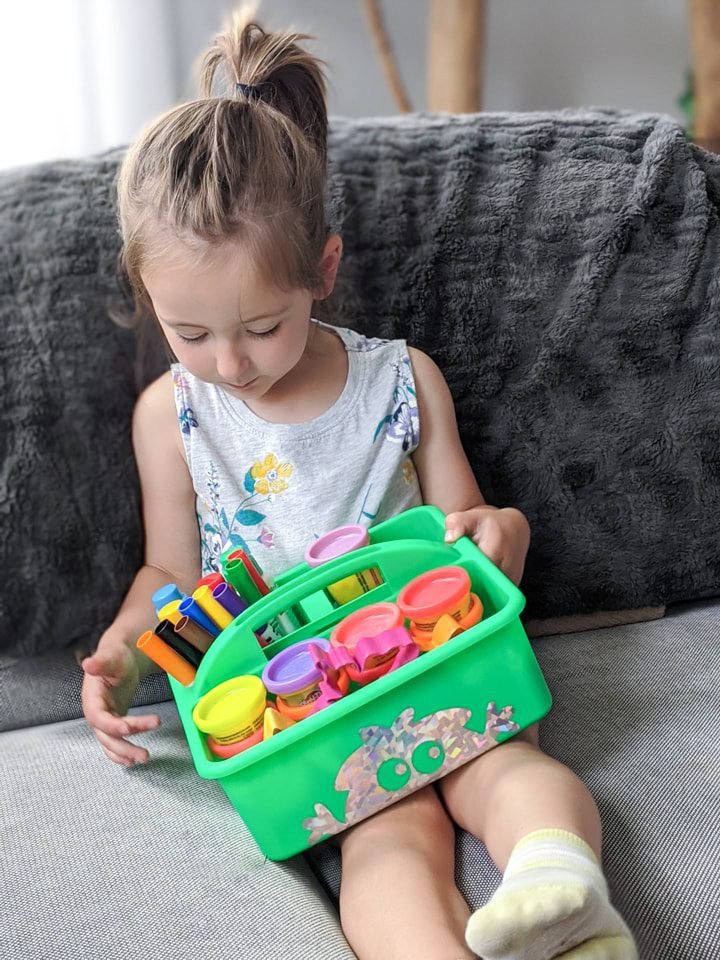
And here’s the finished customized craft caddy!
My little monster loved it! She said it was a “fuzzly” because it kind of looks like the cute little monster fuzzly things from Abby Hatcher Fuzzly Catcher, her current favorite show. 🙂 And that’s that! A $3 caddy, some scrap vinyl, and my Cricut machine is all it took.


0 Comments