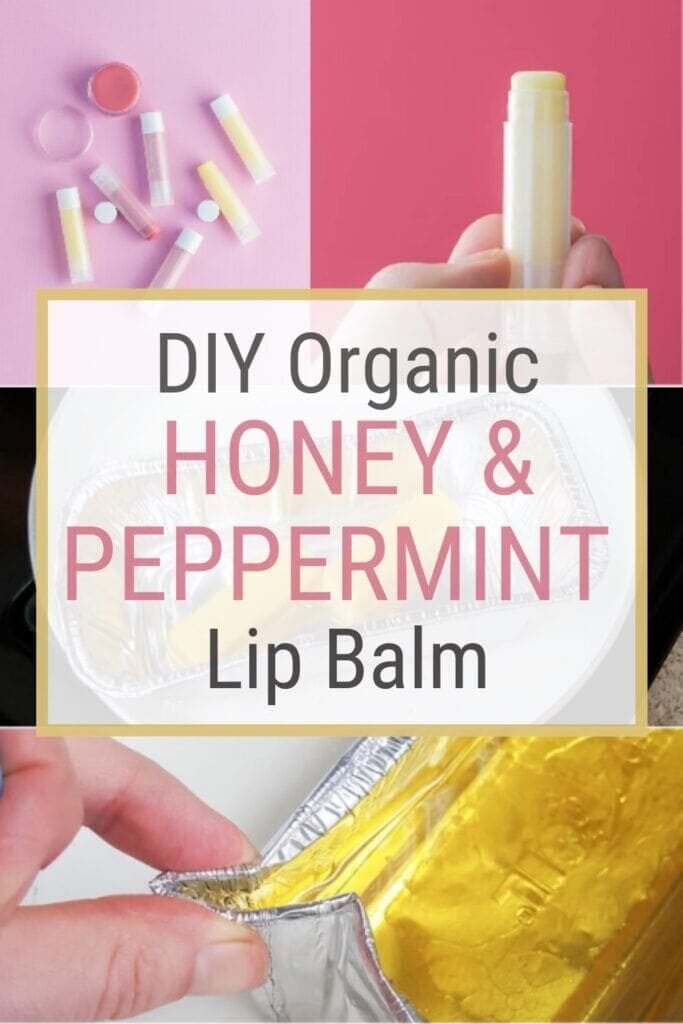
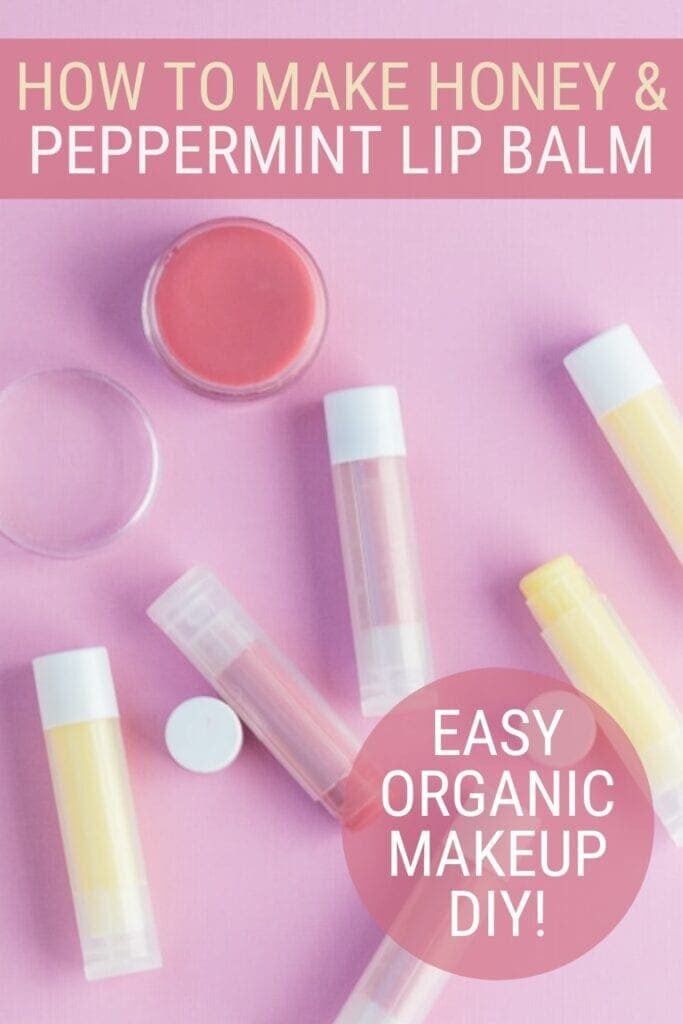
Learn how to make DIY beeswax lip balm with honey and peppermint, as well as just a few easy ingredients and an hour in the kitchen!
I am doing a DIY lip balm post a year after I’d intended to. That has to be a record, right? Do I get a prize? No? Ok.
I made my first batch of DIY lip balm last year at this time. I was happy with the result (after revising the recipe three times during the cooking and testing process) and have kept it at my desk at work for the past year. Well I finally ran out a few months ago and am just now getting around to cooking up another batch.
I decided to revise the recipe again, though, because this time I’d planned to put the balm into tubes instead of little lip gloss pots. That meant that I had to ensure the mixture was solid enough to not get smushed in the lip balm tube, but I didn’t want to lose any of the sheen or softness by adding too much beeswax back in.
So after a little experimenting in the kitchen, I settled on a recipe that I think turned out quite well. I also added in honey for this round. I love it combined with the peppermint.
(Don’t use any ingredients you’re allergic to, and always spot test new ingredients to make sure you don’t have a reaction to them. Do not use any homemade products without consulting with an appropriate medical professional first.)
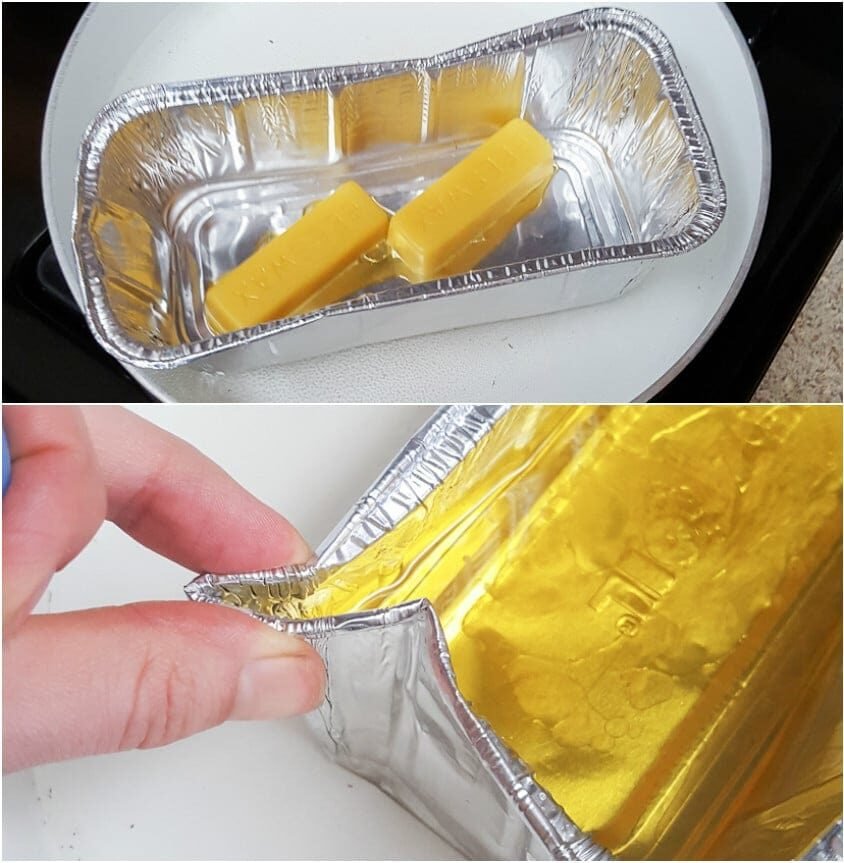
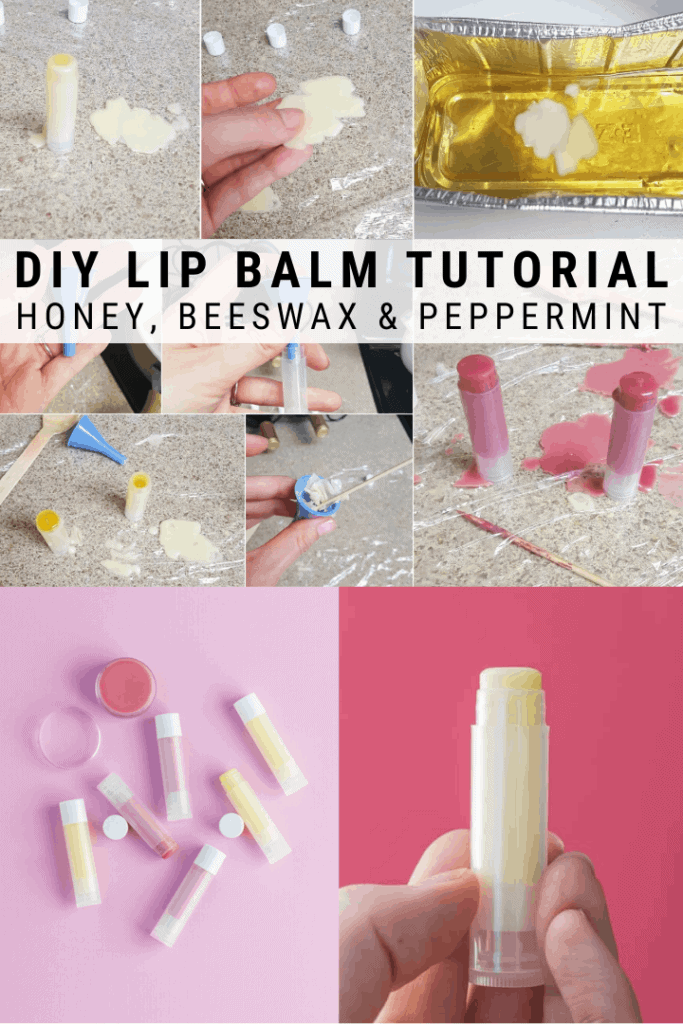
First I heated up about an inch or two of water in my pan. While the water was heating, I put the disposable aluminum tin in the pan and dumped the beeswax, coconut oil, shea butter, and honey into the tin (not the pan!). This is a double boiler method. Never heat beeswax without a double boiler method.
I stirred the mixture in the tin until it melted completely, then I turned the heat down to low and added the peppermint and rosemary oils. The goal here is to keep the mixture warm, but not so hot that I couldn’t handle the tin. When it was safe to touch the tin, I pinched one of its corners to make a little spout.
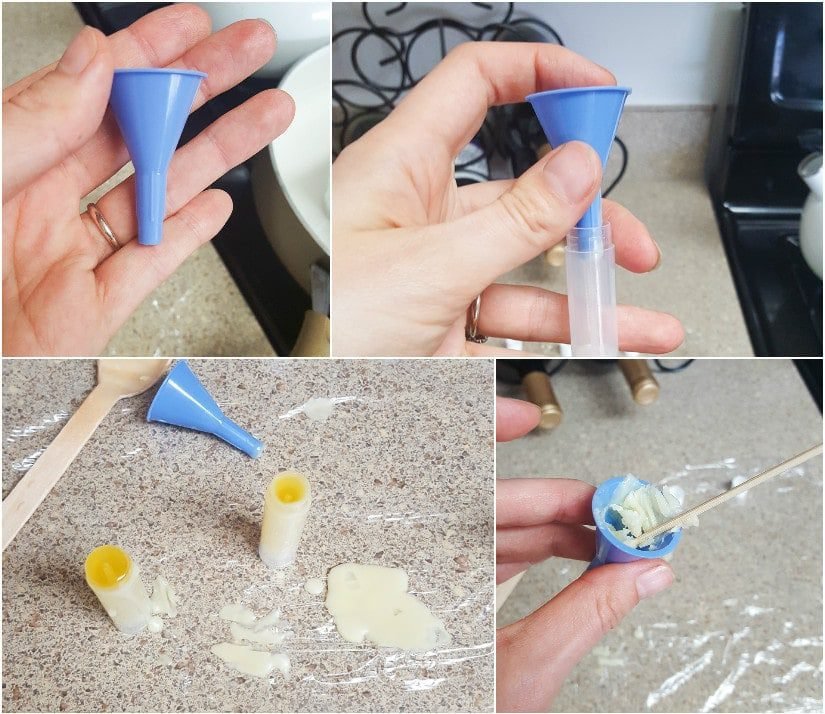
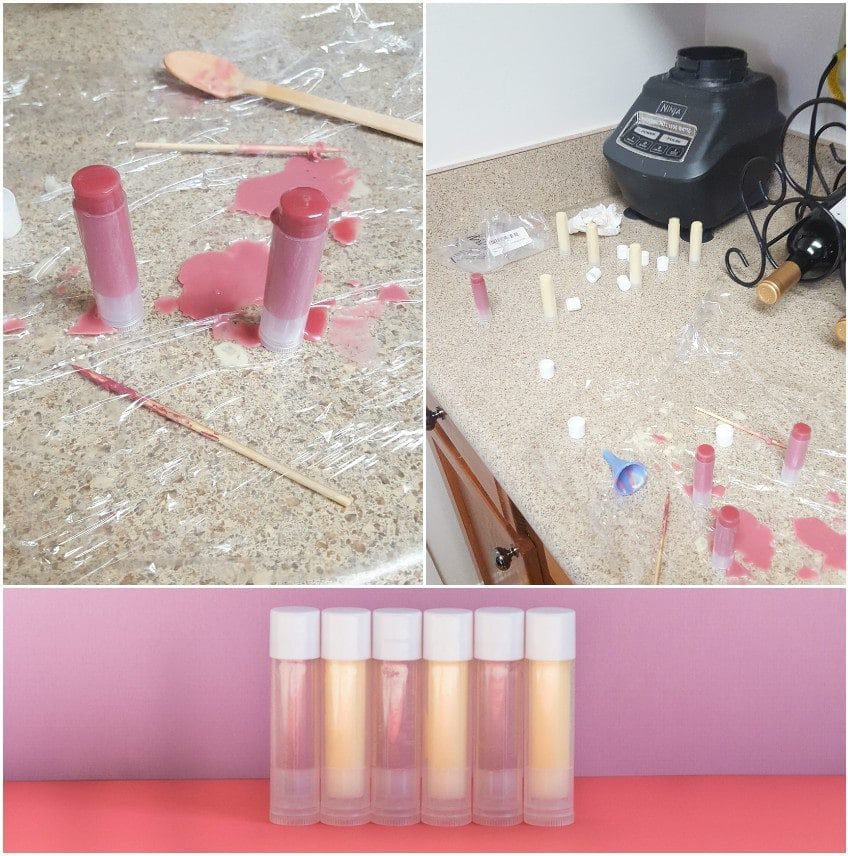
I laid a piece of saran wrap on my work space, then I grabbed my funnel and started pouring into the tubes! The tubes will fill up fast, but don’t worry—it’s fine if they overflow a bit. In fact, I prefer overflowing them because it gives the tip a nice smooth, rounded, professional-looking finish. Spillage is easy to clean up once it solidifies, which will happen quickly!
As I was pouring, my funnel began to clog. When that happened, I just grabbed a toothpick, scooped out the wax, and dumped it right back into the aluminum tin to re-melt it. I did the same with any spillage.
Like this DIY lip balm? Check out my DIY eucalyptus salt scrub recipe, my baked bath salts recipe, and my shea and lavender whipped body butter tutorial!
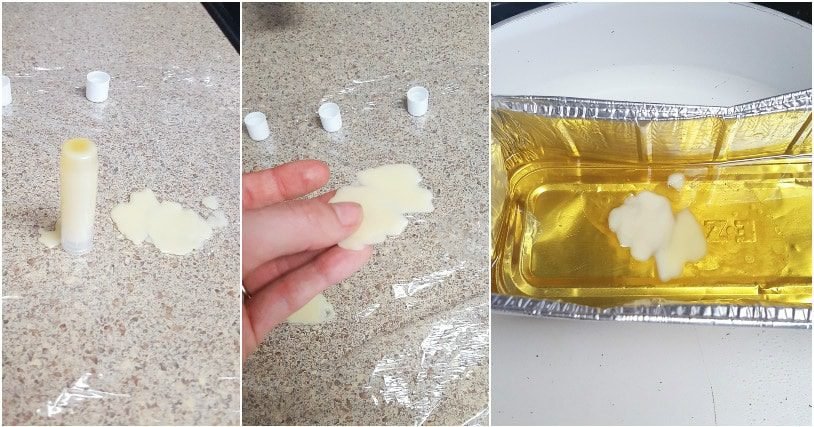
When I’d finished pouring and the liquid in the tubes had solidified but was still warm, I grabbed a paper towel and wiped off overflow from the sides of the tubes. This is easiest to do when the balm is still a bit warm. If the tubes were extra sticky, I put the caps on them and gave them a rinse with a bit of soap and water.
The saran wrap made clean up super easy since I could just ball it up and chuck it. Same with the aluminum tin. I actually had some leftover mixture, so I just wrapped it up and popped it in the fridge. I made a double batch and ran out of tubes, so I am saving my tin of wax to make some more as soon as the rest of the tubes arrive.
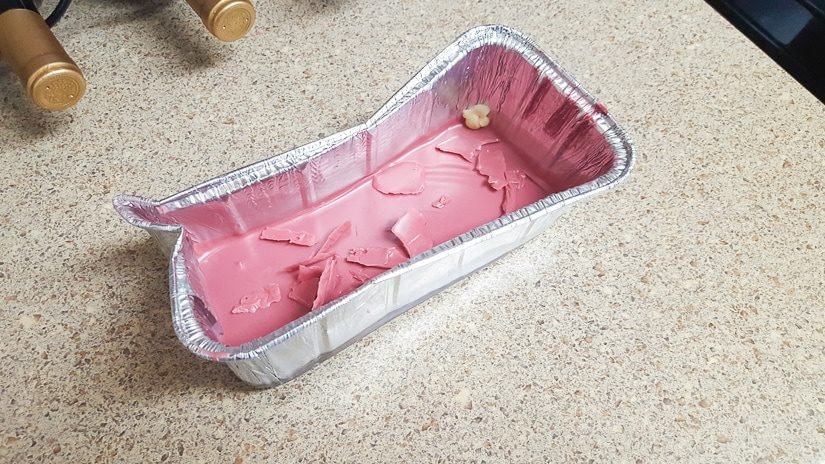
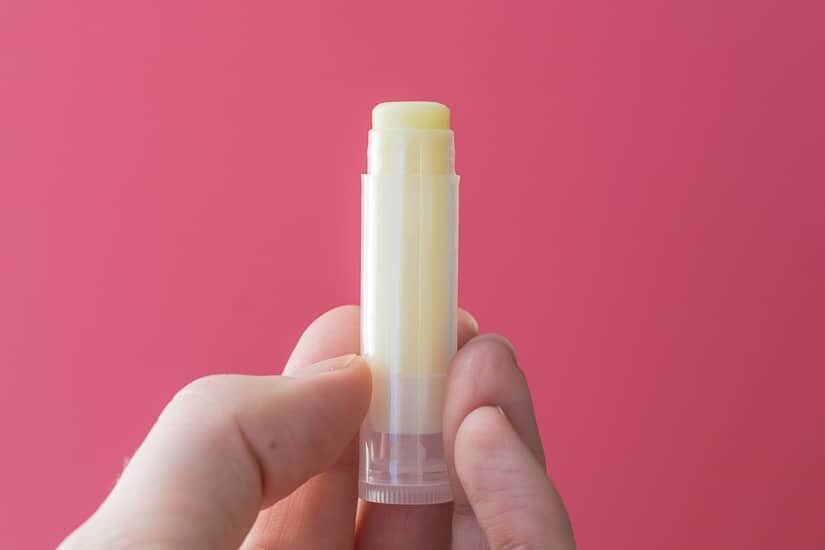
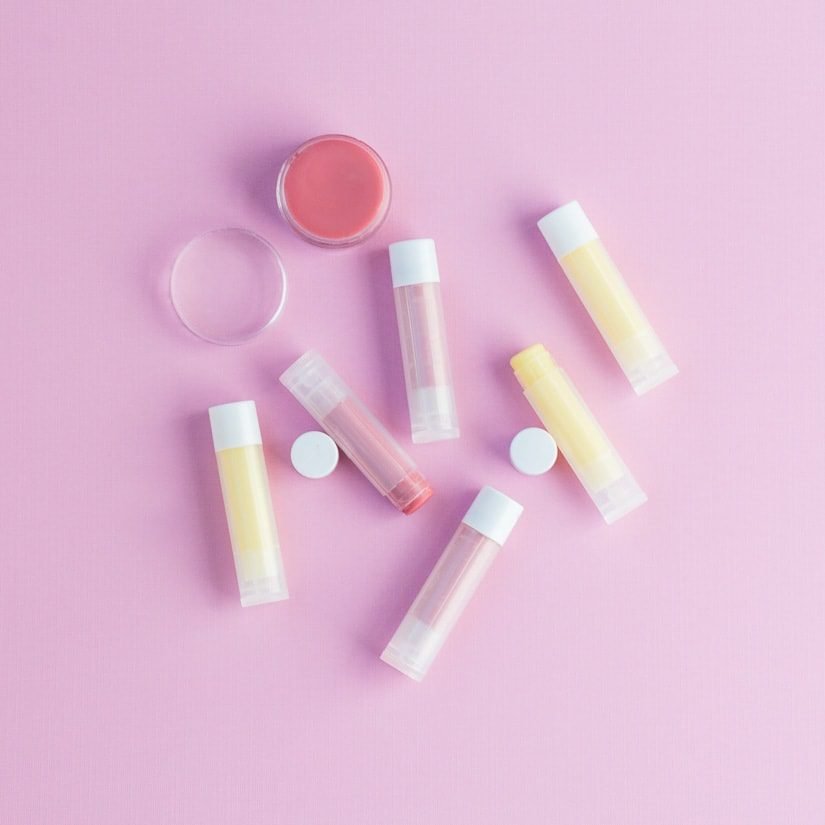
And there you have it! I had a leftover lip balm tub from last year, so I filled that as well. 🙂


0 Comments