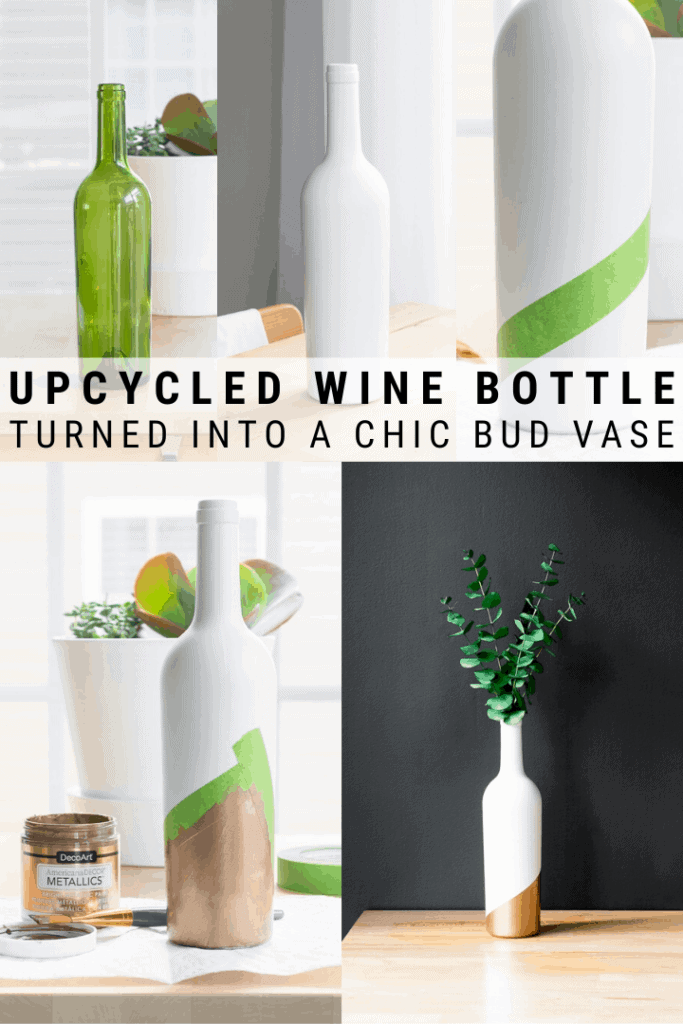
This post shares how to make an upcycled wine bottle vase using an old wine bottle and some paint. It’s the perfect addition to a stylish, thrifty home!
Upcycled Wine Bottle Vase
It’s about that time again…time for this month’s 10-Minute DIY feature! This month’s theme is upcycling, which is always a fun theme. For my upcycle, I’ll be making a wine bottle bud vase.
Cute, right? I know many of you probably end up with a few empty wine bottles (or four) on the reg, so this is an awesome project to repurpose an empty bottle.

Here’s what I used:
- Wine bottle
- Oil and paper towel
- Soap and water
- Rustoleum Painter’s Touch spray paint in Flat White
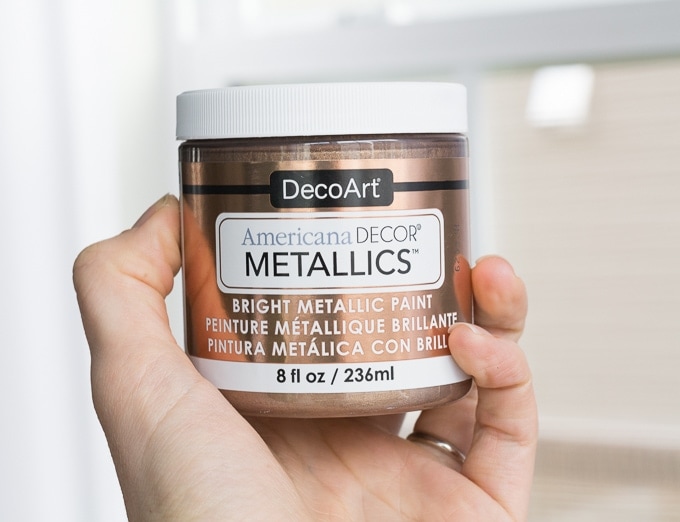
- DecoArt Americana Decor Metallics in Antique Bronze
- FrogTape
And here’s how to make an upcycled wine bottle vase!
(Remember to wear an appropriate mask while working with paints, stains, and finishes. Follow the directions and warnings from your particular brand.)
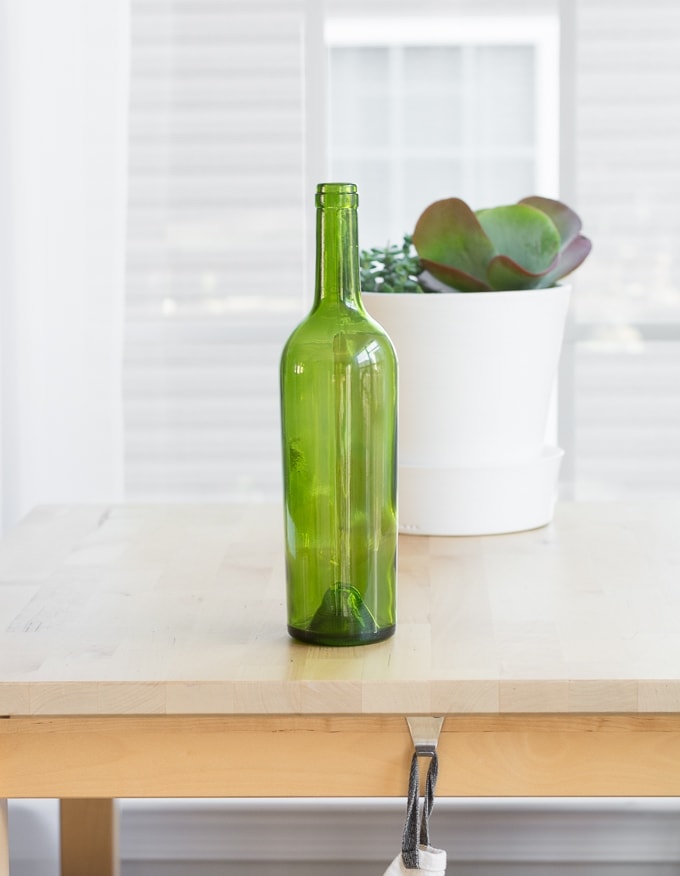
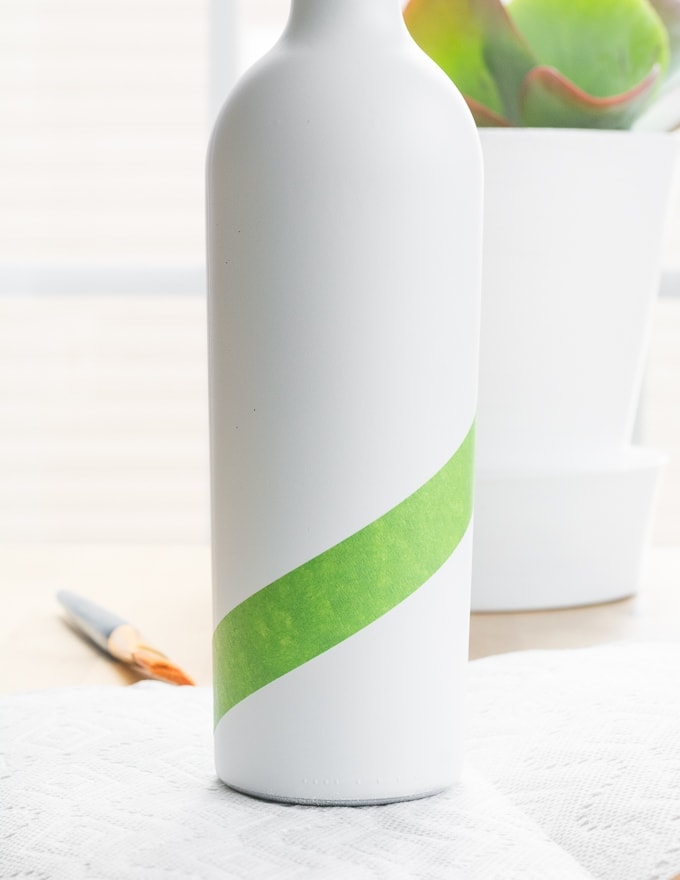
Step 1: Remove any stickers from the wine bottle by soaking the bottle in soapy water. If there is still residue on the bottle after soaking, see this quick tip post on how to remove sticker residue from old bottles and jars. 🙂
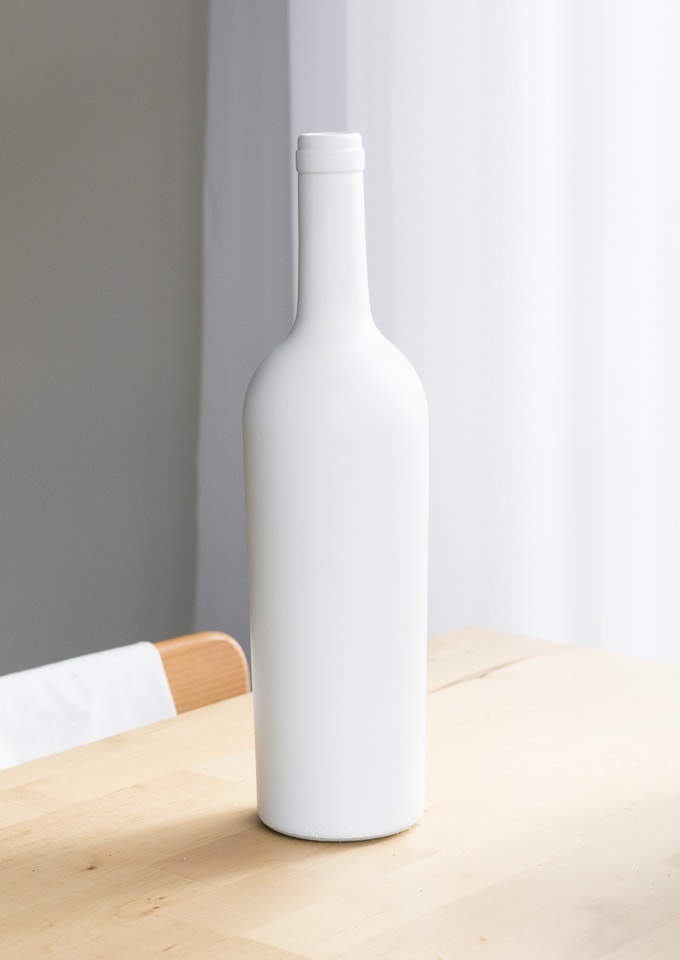
Step 2: Once you have a clean bottle, paint is using Flat White spray paint. I love this spray paint—it goes on very evenly with a few coats and looks very stylish.


Step 3: After the spray paint has dried completely, grab some FrogTape and tape off a geometric design on the bottom of the bottle. Don’t stress too much about this. I just slapped that tape on in a design I thought looked cool. Just make sure the tape is securely in place so you don’t get any paint bleed.
Step 4: Paint in the design using an accent color; I used DecoArt Americana Decor Metallics in Antique Bronze, which is one of my favorite paint colors. (I used Antique Bronze on this dresser, some of these plants pots, and this big ceramic pot.) The look of the metallic color on the matte white bottle looked awesome.


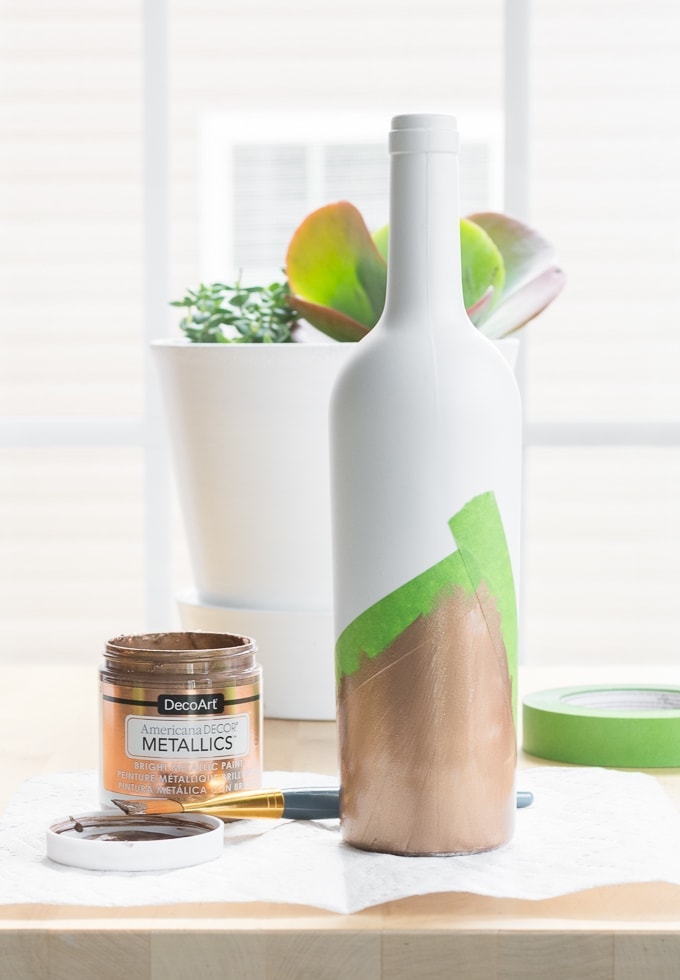

Tip: If I need to do two coats of paint, I like to peel off the painter’s tape immediately after painting the first coat and then let the design dry. Then I re-tape the design for the second coat. This helps to keep your lines really clean.
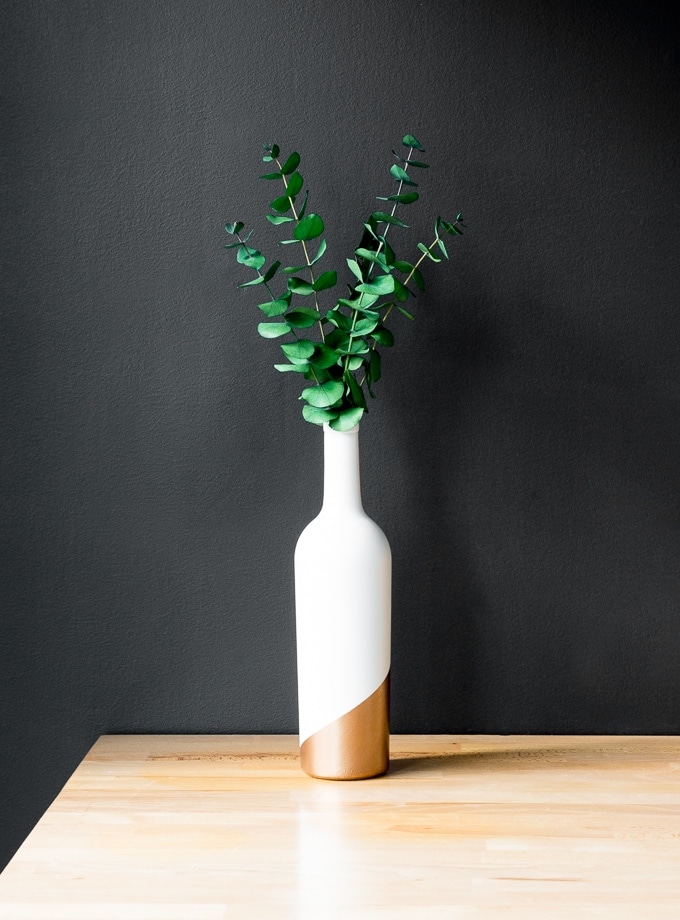
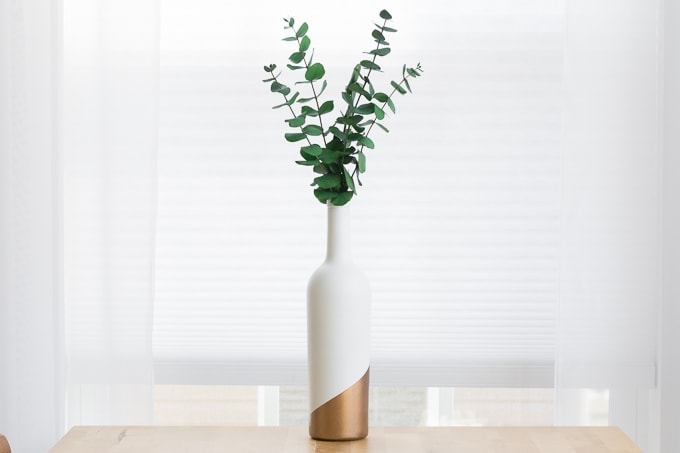
Once your design is dry, pop some greenery in and you’re done. What do you think? Free is the best 😉

For more thrifty paint projects, check out my mini scrap wood painted plant stands tutorial, my upcycled tea tin planter, my post on how to paint thrifted clay pots, and my post about painting art using a feather duster!
Share this project on Pinterest: