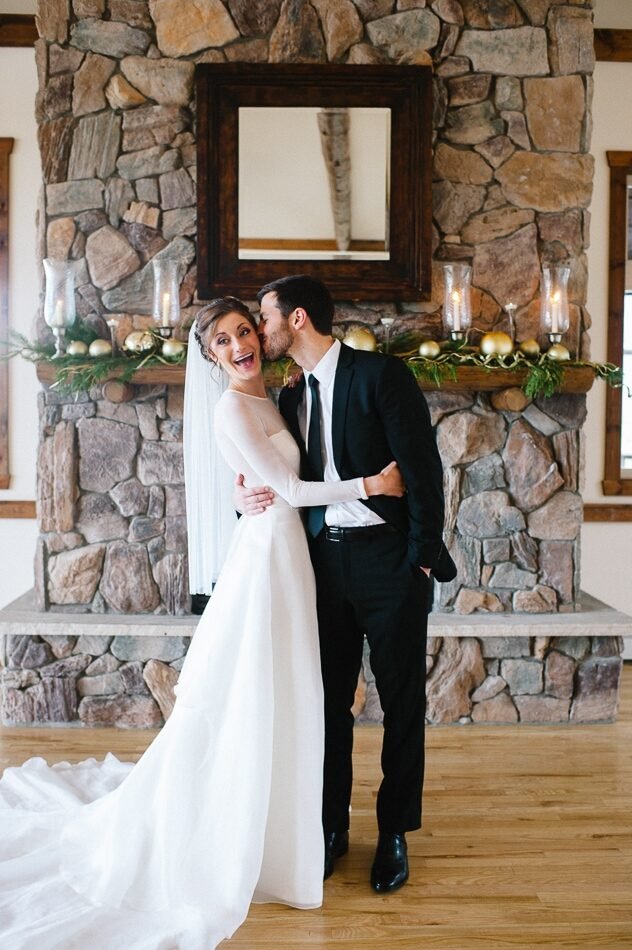
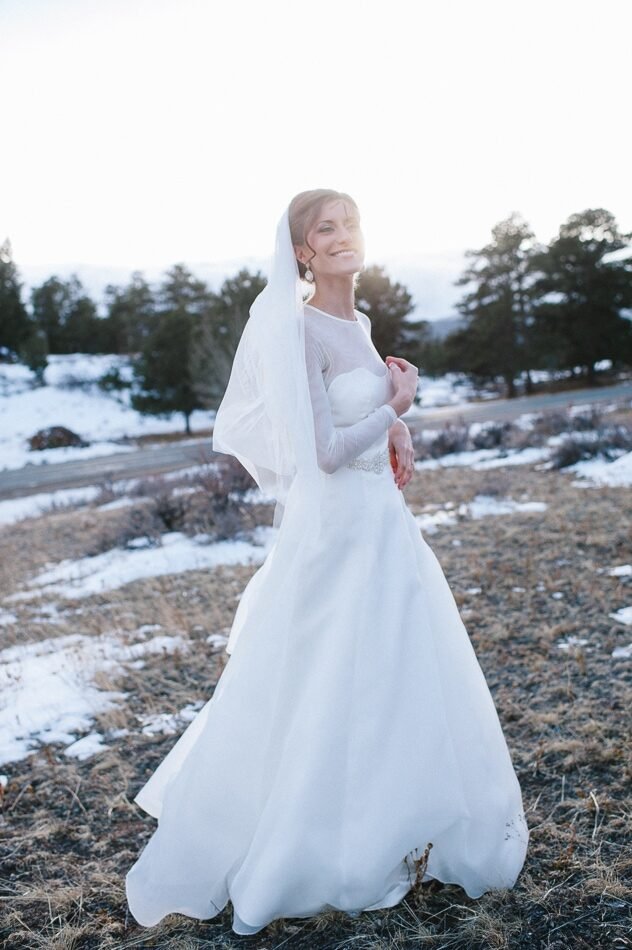
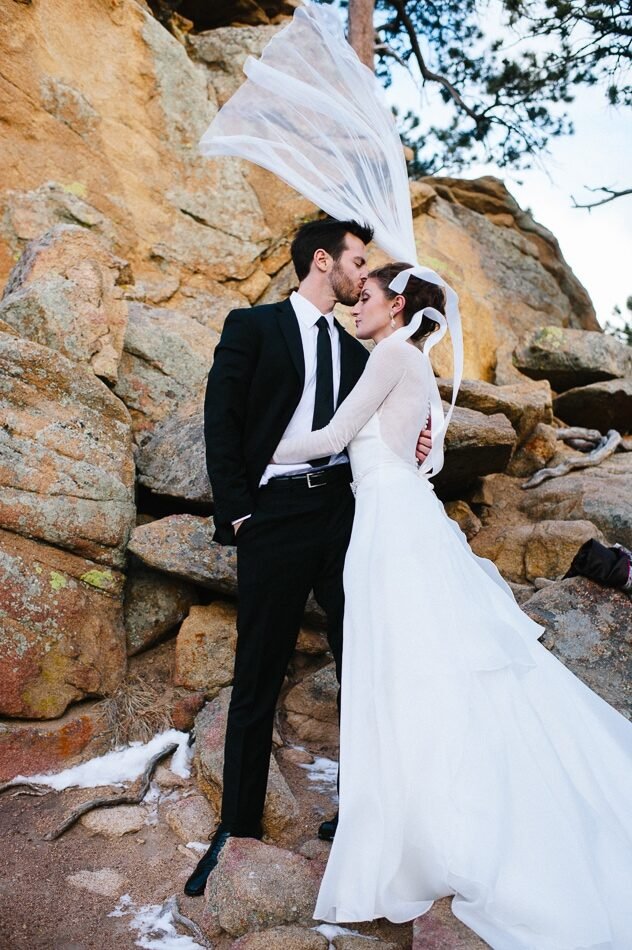
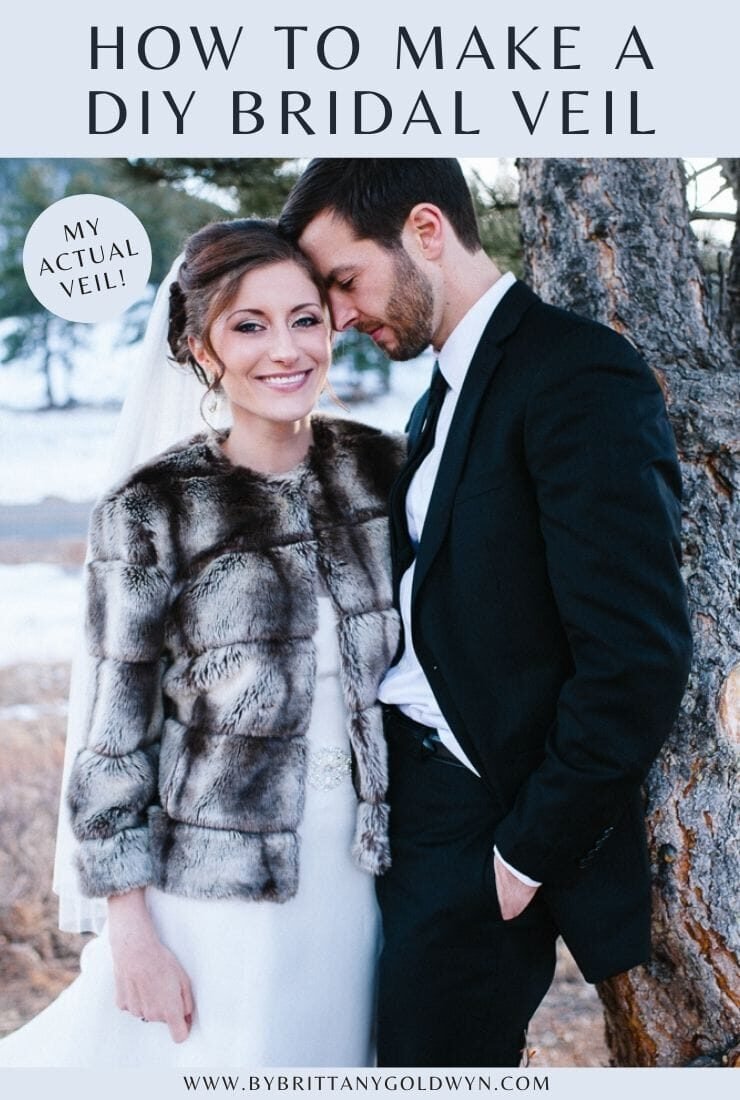
This post shares all about how to make a bridal veil with a comb. If you’re looking for a tutorial on how to make a DIY veil, I’ve got you covered. I made my own veil for my wedding, and it was perfect!
We had a great wedding. It was a low-key afternoon in Colorado with only our parents there. I found my dress secondhand. We did almost everything with a non-traditional approach. But since I wore a wedding dress, I also wanted to wear a veil.
I’m not particularly old-fashioned; I just liked the idea of a veil. However, I quickly realized that veils are expensive. I wanted to keep it simple…I didn’t want beading, sequins, lace, or multiple tiers. So, after being unable to find exactly what I wanted, I decided to make my own.
I’m going to walk you through the steps to make a DIY veil like mine. But before I do that, I want to talk about two major things that will influence how your veil looks: fabric and poof.
Choosing your veil fabric
I did a lot of research on veil fabrics before deciding to buy my fabric. I didn’t want the veil to be too stiff— I wanted it to be soft and flexible. But I also knew I couldn’t afford silk tulle (Kate Middleton’s veil was silk tulle; see how soft it was?). During my research, I found a very helpful fabric comparison graphic from custom veil designer Veils by Roxanne.
In that comparison, the fabric on the far left, bridal illusion, is the most commonly used fabric for bridal veils. It’s just tulle, and tulle is cheap. It is stiffer than most other veil fabrics, which you can see pretty clearly by comparing it to the other fabrics in the lineup.
You’ll notice that the veil fabric I wanted, silk tulle, is pretty much the exact opposite of the popular and affordable fabric I could easily purchase at my local fabric store. 🙁 But wait! What is this “English net” fabric? It looks a lot like silk tulle, so I did a little research.
And here’s the deal: If you want something that has a silk tulle look and feel without having a silk tulle price tag, English net is your answer! In fact, this is the exact fabric I ordered, and I was extremely pleased with it.
How much poof do you want?
The second thing you need to consider is the poofy factor. Do you want a more voluminous veil that has more height near the crown of your head? If so, a stiffer fabric, like tulle, will be your best bet, but you also want to consider the width of your veil.
The wider the piece of fabric you have, the poofier the veil will be when it’s all bunched up and put on a comb. That said, whatever fabric you prefer, the instructions in this tutorial remain the same. So, if you’d like to make a simple bridal veil, read on!
Supplies for a DIY veil with a comb
- Fabric–for this tutorial, I’m using tulle. If you want the fabric I used for my actual veil, look for English net.
- Iron and ironing board/pad
- Sewing machine
- Needle, thread, & scissors
- Measuring tape and something to mark your fabric
- Comb (plastic, wire, they both work–it will be hidden in your hair)
How to make a bridal veil with a comb, step by step
Step 1: Iron and lay out the fabric
Gently iron out any kinks or folds in your fabric. Then, lay the fabric on large, flat surface. I’ll be using a piece of fabric that’s 55″ wide and 30″ long, so the finished product will give you an idea of how the measurements I’m using look.
Step 2: Measure and cut
Using your measuring tape, mark where you’ll need to cut. Since I’m leaving the edges of the veil raw (i.e., I am not adding a ribbon trim or something similar), I cut very carefully. Using super sharp sewing scissors helps with this—or better yet, using a rotary cutter!
If you want to round the two corners on the bottom of your veil, it’s easy! Just grab something round to trace, which will ensure that each corner is evenly cut. I didn’t round my corners.
Like easy sewing projects? Check out my tutorials for how to sew a simple knit skirt, a DIY wrap cardigan, and an envelope laptop sleeve!
Step 3: Sew the first gathering line
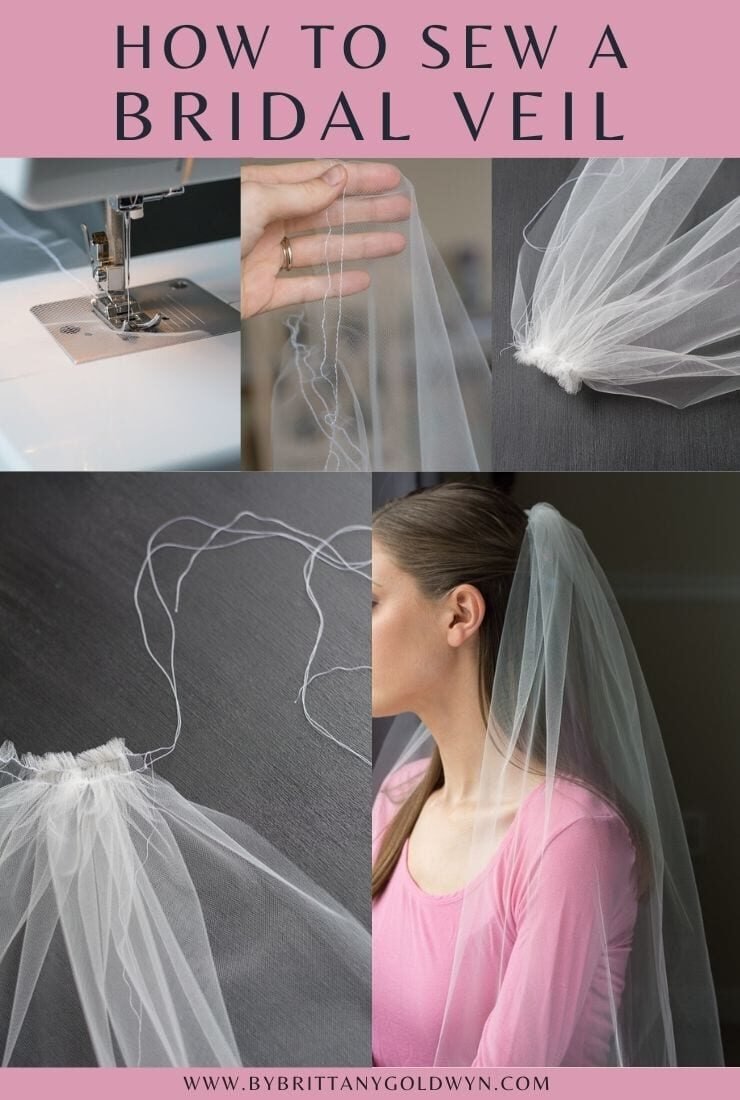
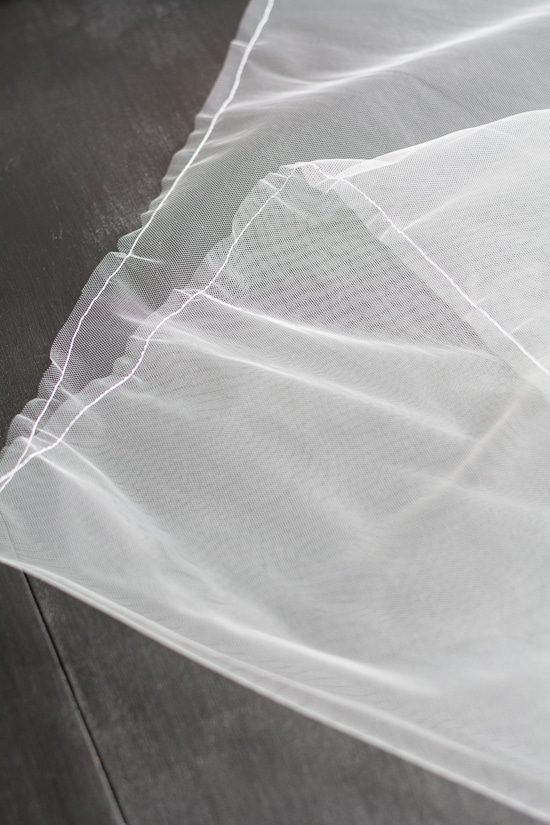
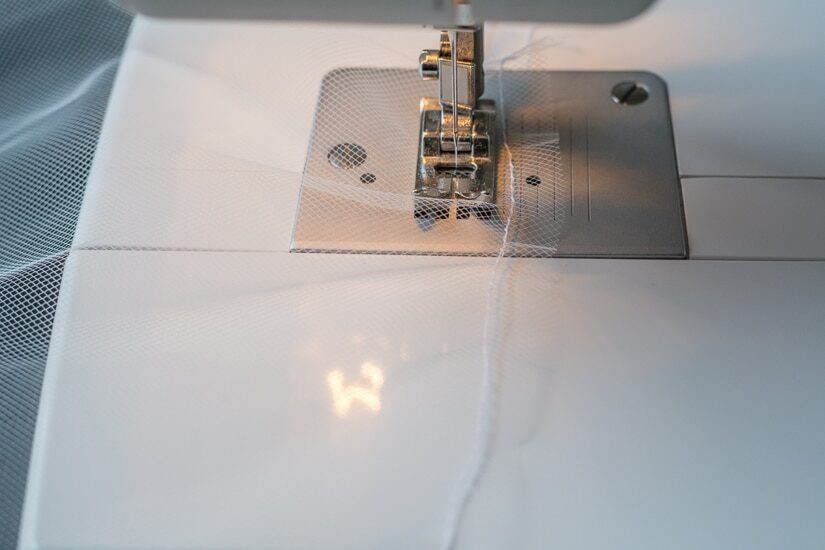
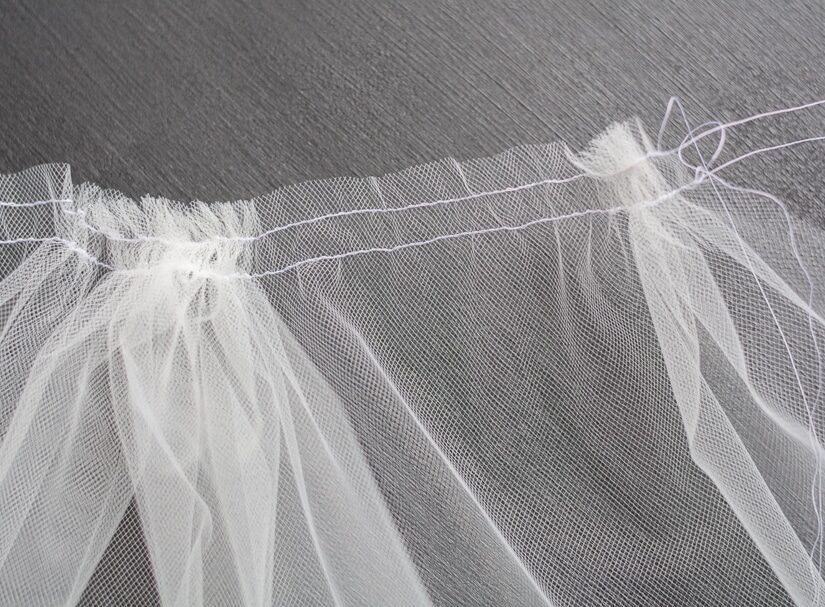
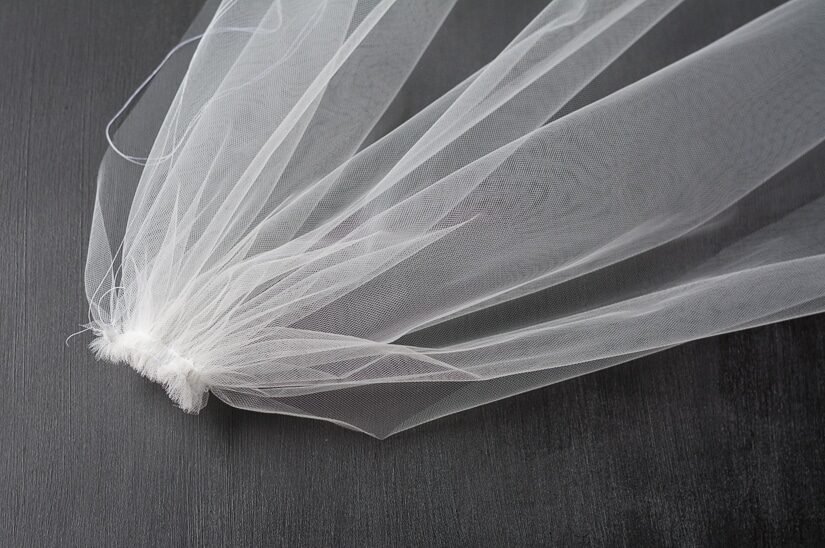
It’s time to sew. Set your sewing machine on the longest stitch length and sew a straight line of stitches along the top (one of the width sides) of the veil. Make sure to leave a long tail from your bobbin thread. The tulle will probably gather just a bit as you’re sewing—that’s fine.
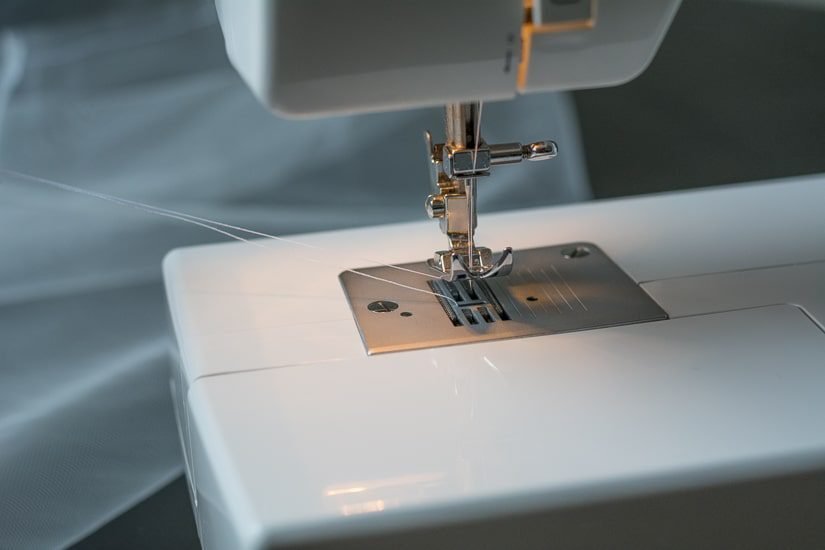
Step 4: Sew the second gathering line
Flatten the fabric out, smoothing out any gathered areas that bunched up while you were sewing the first line. Then sew a second straight line of stitches about one-half inch below the first line of stitches. Leave a long tail from your bobbin thread here as well.
You now have two parallel lines of stitches. These are the basis of your entire DIY veil! Congratulations. That was the hardest part of this whole tutorial 🙂
Step 5: Gather the veil
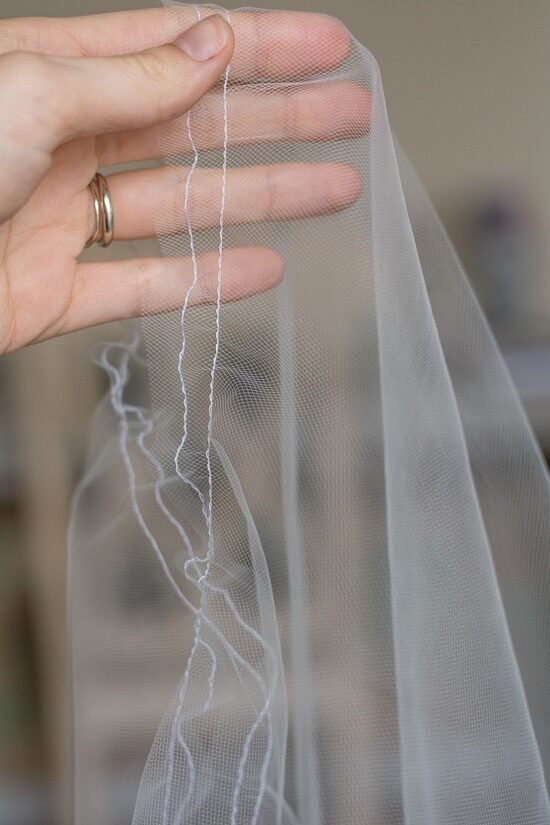
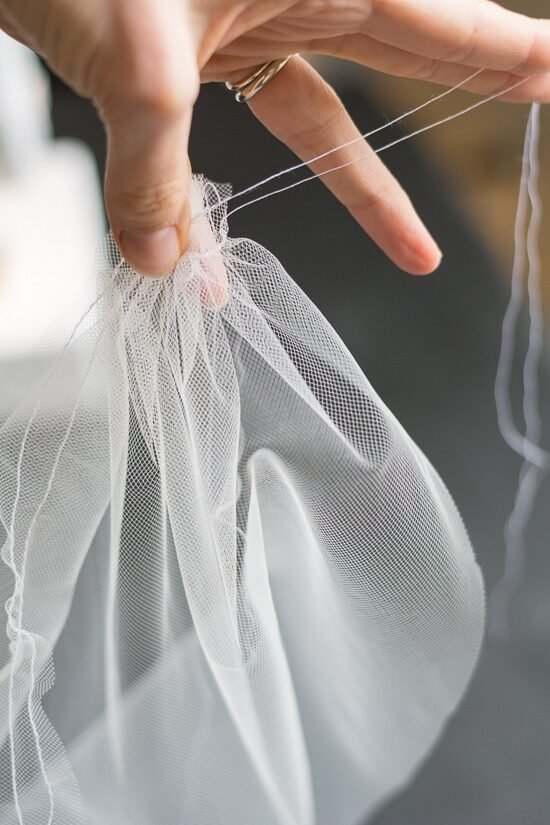
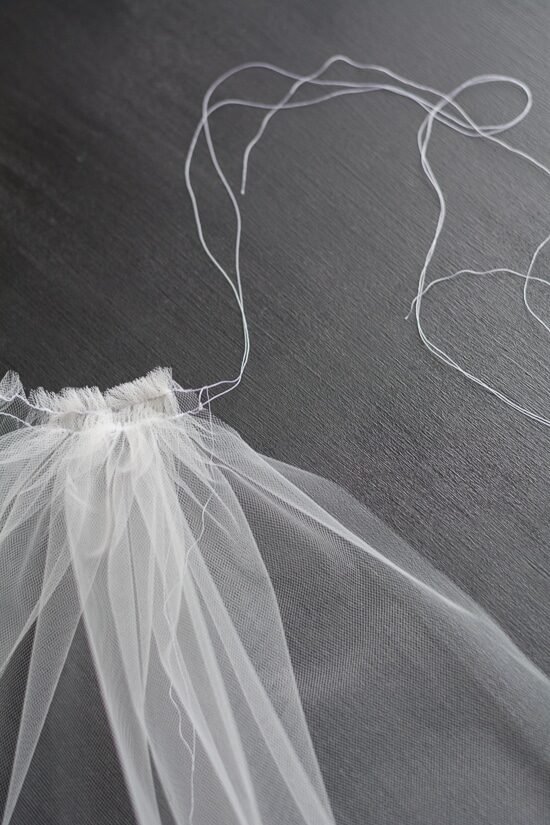
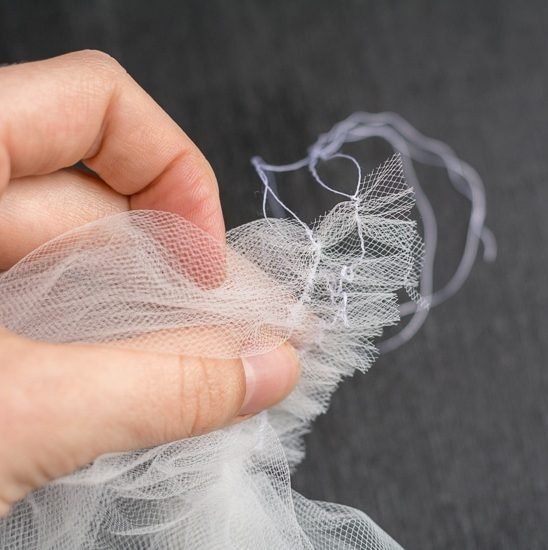
Now it’s time to gather the fabric to morph it from a piece of flat tulle into a veil. To do so, hold the veil and gently pull the bobbin thread tails for each straight line of stitches.
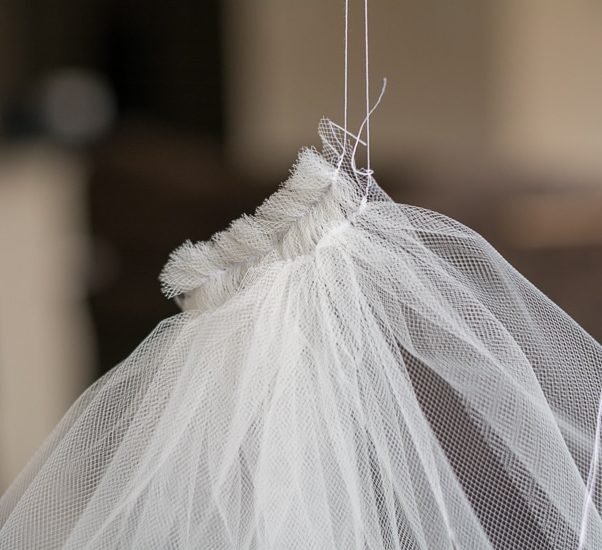
Your fabric will begin to gather. If you end up with a bottle neck of bunching fabric, you can help it along. When your fabric is gathered enough to be the same length as your comb, tie the threads at each end several times to ensure they stay put.
Don’t worry about adding glue or anything; you’ll further stabilize it with a comb. Trim the excess thread, as well as any excess tulle from the top.
How to attach a veil to a comb
Step 6: Sew the veil onto the comb
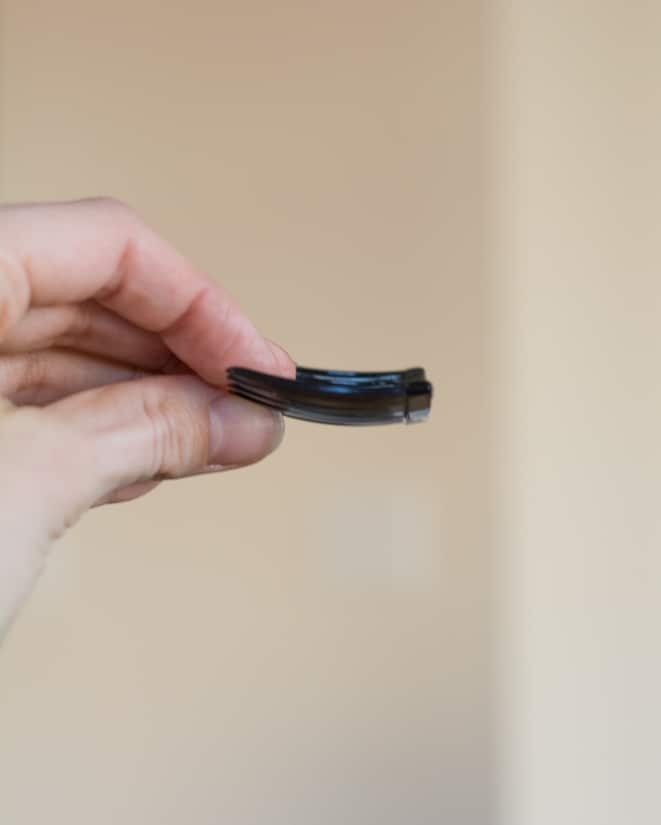
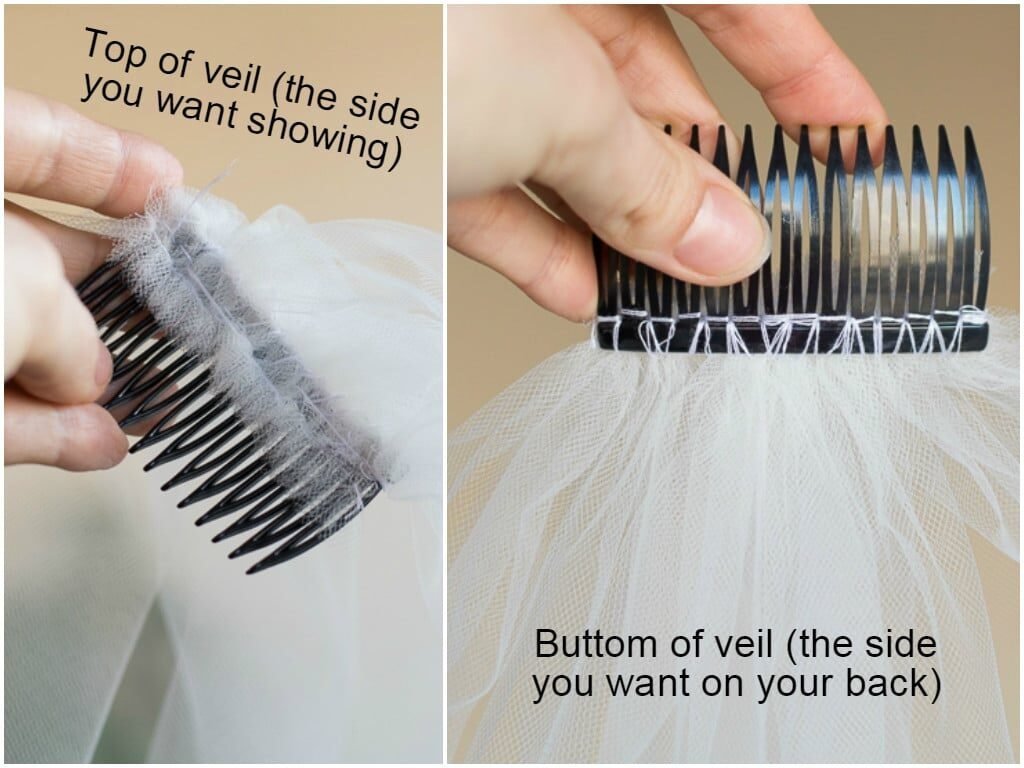
The veil is done, but you need a way to attach it to your head. Grab your comb and set it so that it’s curving up. Then lay the gathered edge of the veil on the comb. Ensure the side of the veil that you’d like to be on top is facing UP. Little graphic explaining this below since it’s kinda hard to explain.
Use your needle and thread to sew the veil onto the comb by sewing stitches around each comb tooth. I think I did the entire length of the comb, and then I stitched back over everything for extra security. Tie knots in the threads on the end. You can also add a dab of glue for extra security.
Step 7: Wear and customize your veil
Put it in your hair with the comb teeth facing down and with the comb curving toward your head. And that’s it! Wasn’t it easy? This is a simple DIY veil, but there are lots of ways you can customize yours.
You can use colored tulle instead of white/ivory; adhere rhinestones, ribbon, or decoration to the comb to cover up the stitches; or sew the veil onto another type of comb. Whatever you want. I loved keeping mine simple and easy 🙂
Can you make a veil without a sewing machine?
You can complete this tutorial without a sewing machine. Simply use a needle and thread and sew two straight lines of thread just as my tutorial outlines in steps 3 and 4. Since sewing by hand does take a bit longer, you can increase the size of each stitch, but I wouldn’t go above and 1/4 of an inch.
Once you sew the two lines, leave two “tails” of thread just as this tutorial shows. Then gently pull and gather the tulle along the threads to create your veil. Hand-sew the veil onto a comb.
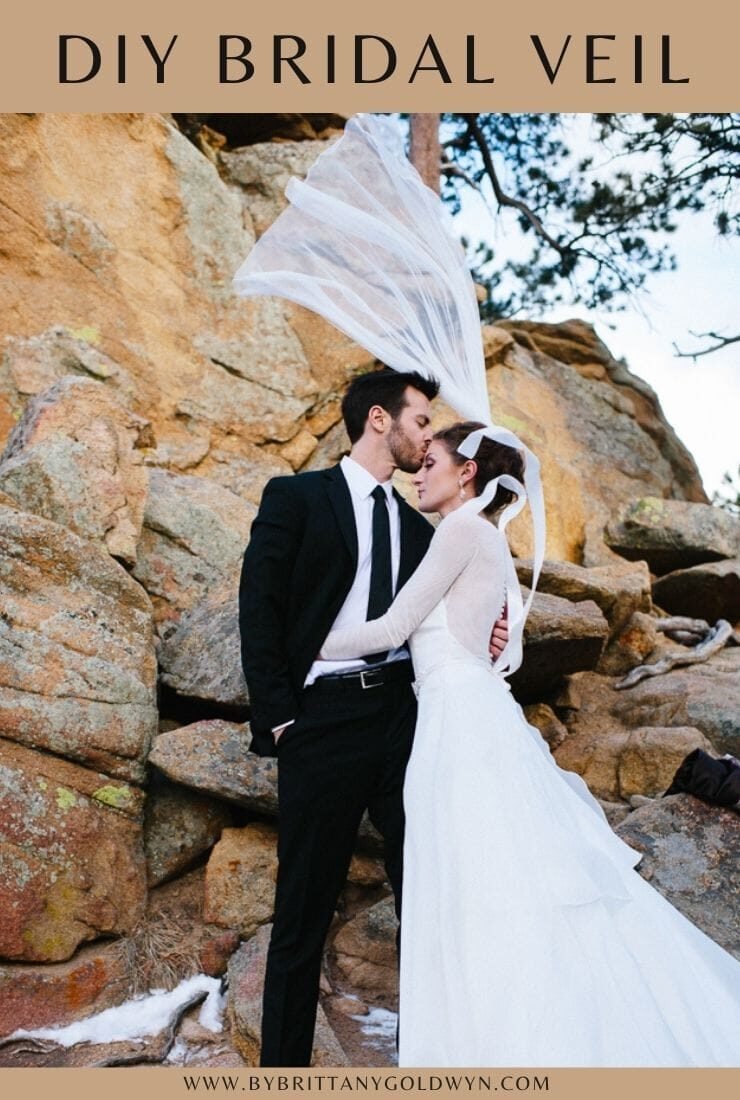
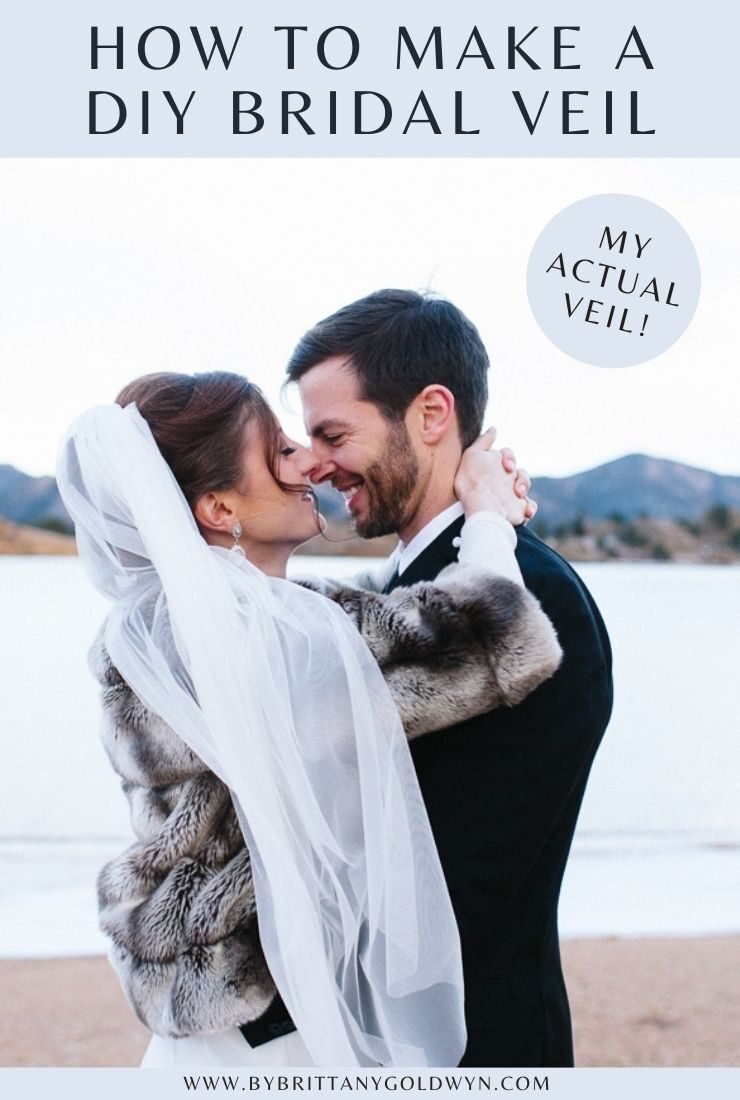
My finished DIY veil
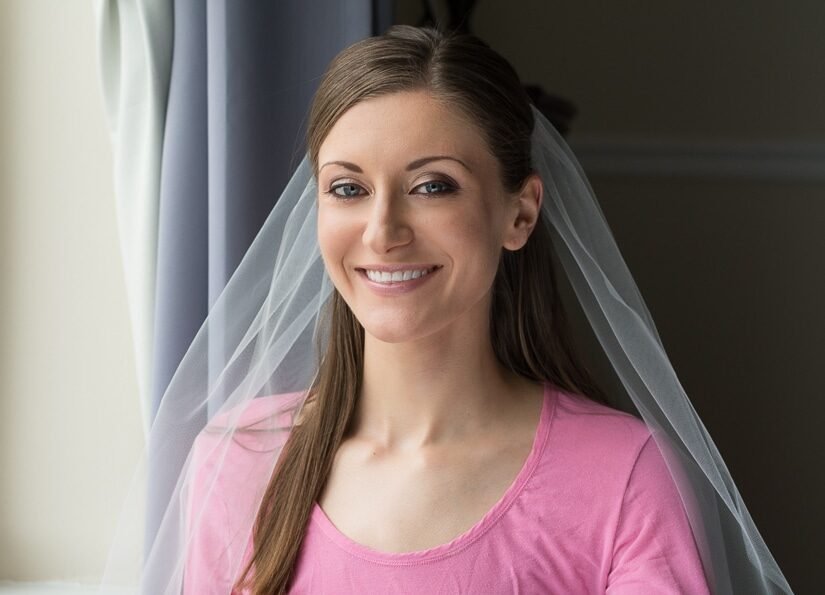
I truly hope that this tutorial helps you…it was a very rewarding project! Here are a few more gratuitous wedding photos (by Michele Hart Photography) that show the veil in different states of battling the elements 🙂 (We eloped on New Year’s Eve in Colorado.)