This content may contain affiliate links. See my full disclosure here.
This post will teach you how to make DIY polymer clay coasters with a monochrome marbled pattern using polymer clay. It’s easy, practical, and looks great sitting on your table. This post originally appeared on bybrittanygoldwyn.com.
Mike recently asked me where all of our concrete coasters had gone. He had one left over on his deck, and it was starting to look a little nasty and worn. But I had no idea where the others had gone. I assume they were either lost or broken in our last move or suffered a fatality during my manic nesting last year.
(Not sweet nesting like you hear about…I’m talking like real, serious, not-to-be-interrupted-for-fear-of-snapping nesting.)
I also have plans to make a new coffee table top for our steel a-frame legs…we’re getting an amazing coffee-table-sized live-edge slab my grandparents scored for us. (THANK YOU!) To protect that, mostly, I decided to make a few new coasters. That’s it, folks, I’ve officially become a mom now that I’ll be harassing people to use coasters.
Step 1: Choose your colors. I’m using black and white. If you’re using white, make sure you roll that out before any other colors so you don’t stain your hands or your work space.
Choose your colors. I’m using black and white. If you’re using white, make sure you roll that out before any other colors so you don’t stain your hands or your work space.
Kneed and roll each color clay around until you have a smooth ball. It might be a bit difficult to work with at first—it will get easier as you work it.
For more fun crafts, check out my DIY resin and wood serving tray, my tips for making jewelry with resin, and my experiment with ice dyeing napkins!
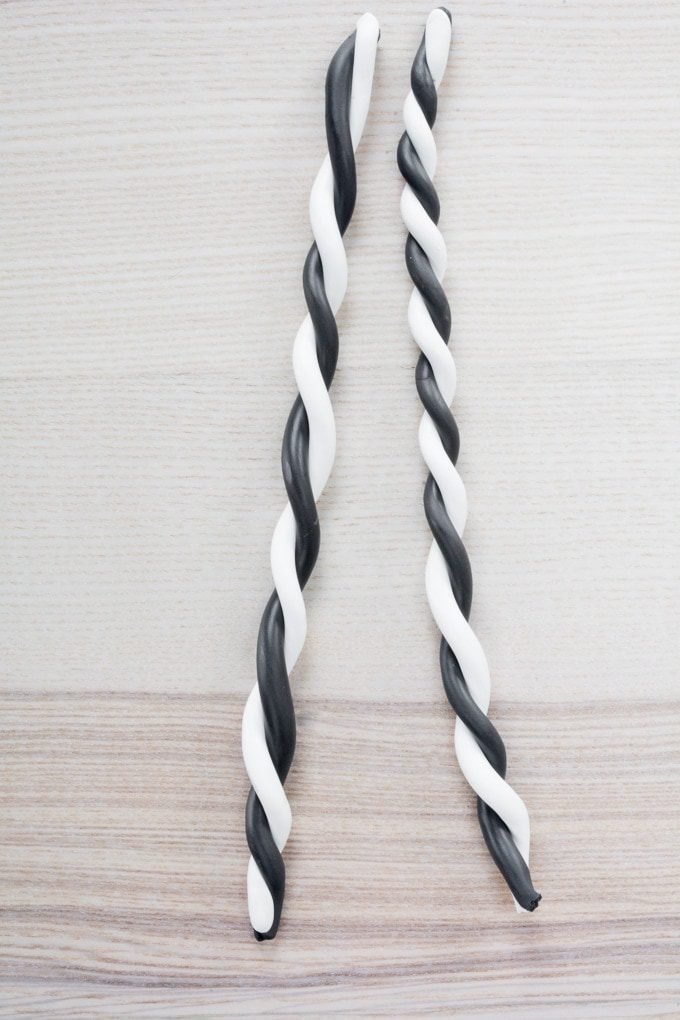
Step 2: Take each ball and roll it into a long string. If you keep the strings relatively thick, the colors will be bolder because there will be less bleed and mixing. If you want them to blend more, roll them thinner. I did a bit of both, separating the strings as I rolled them out.

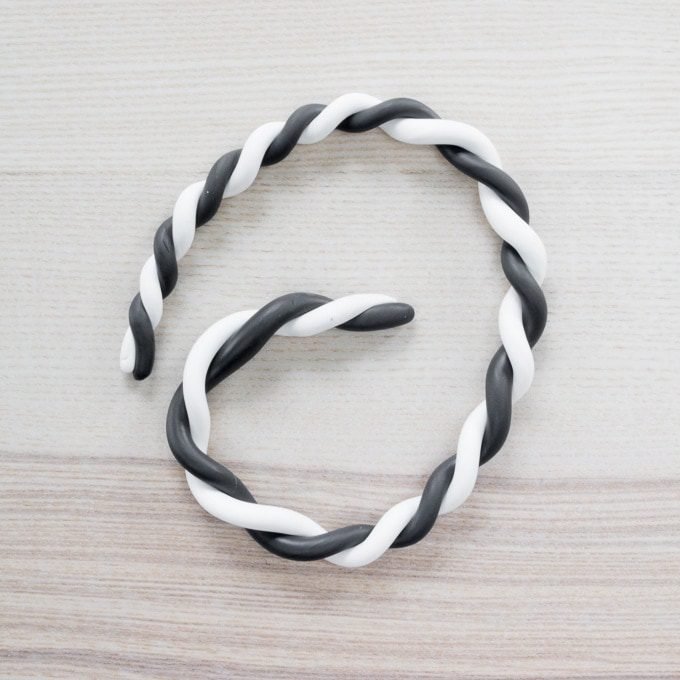
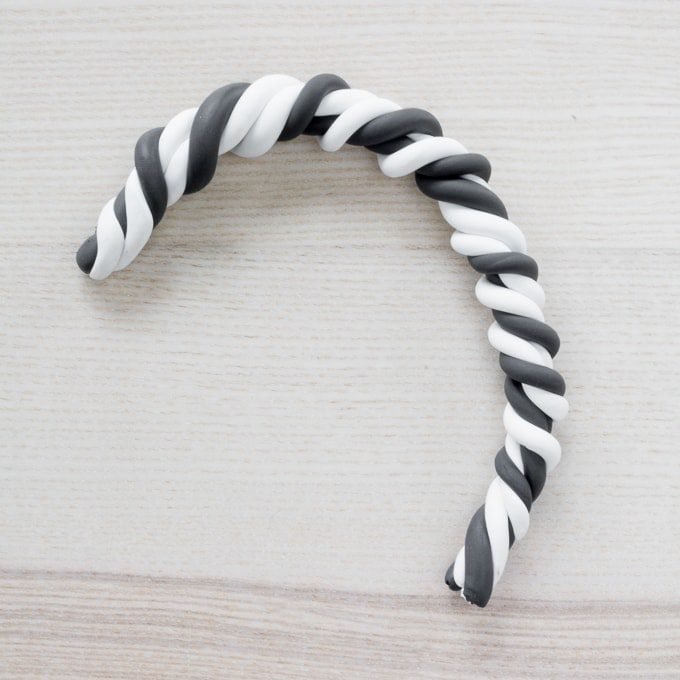
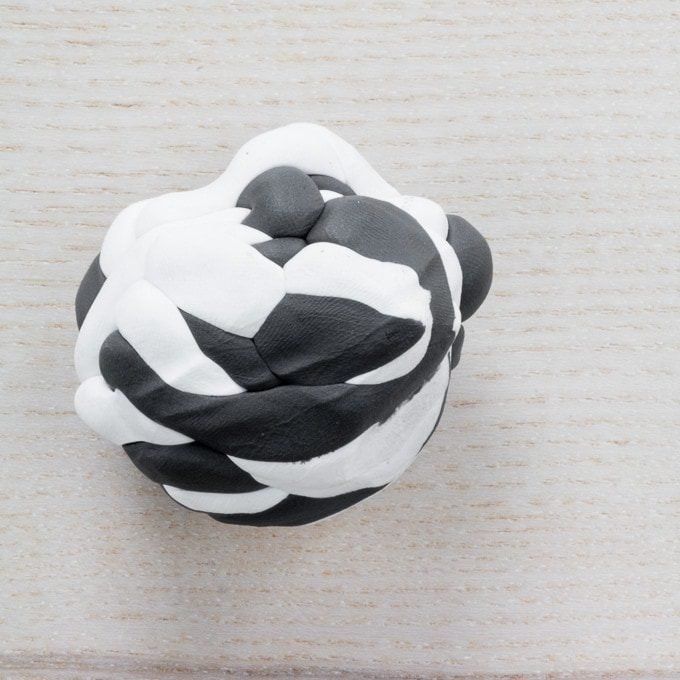
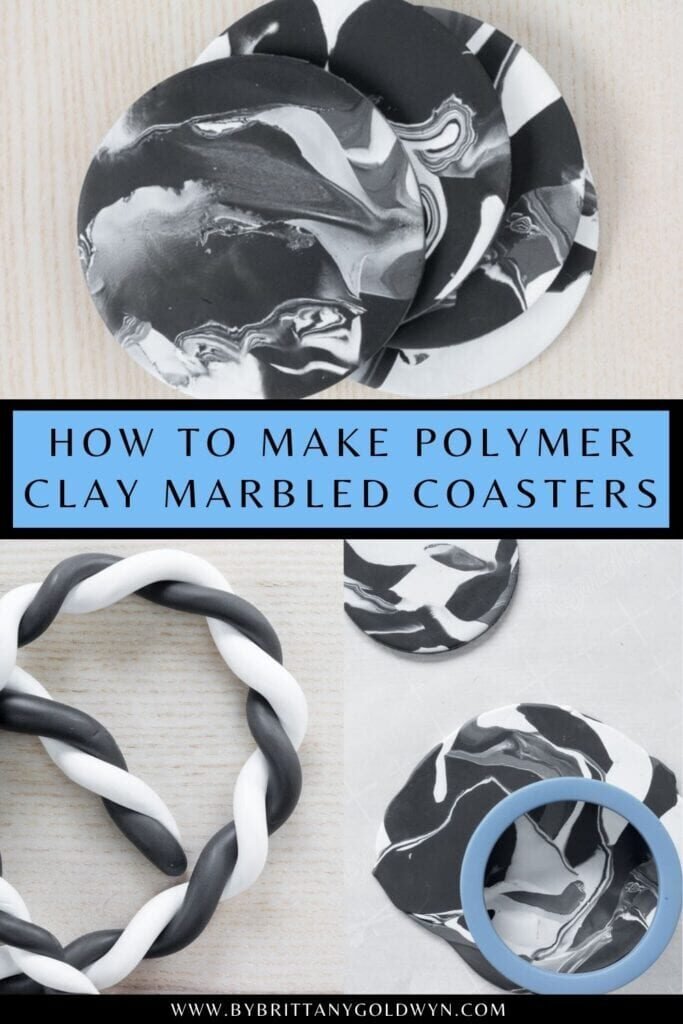
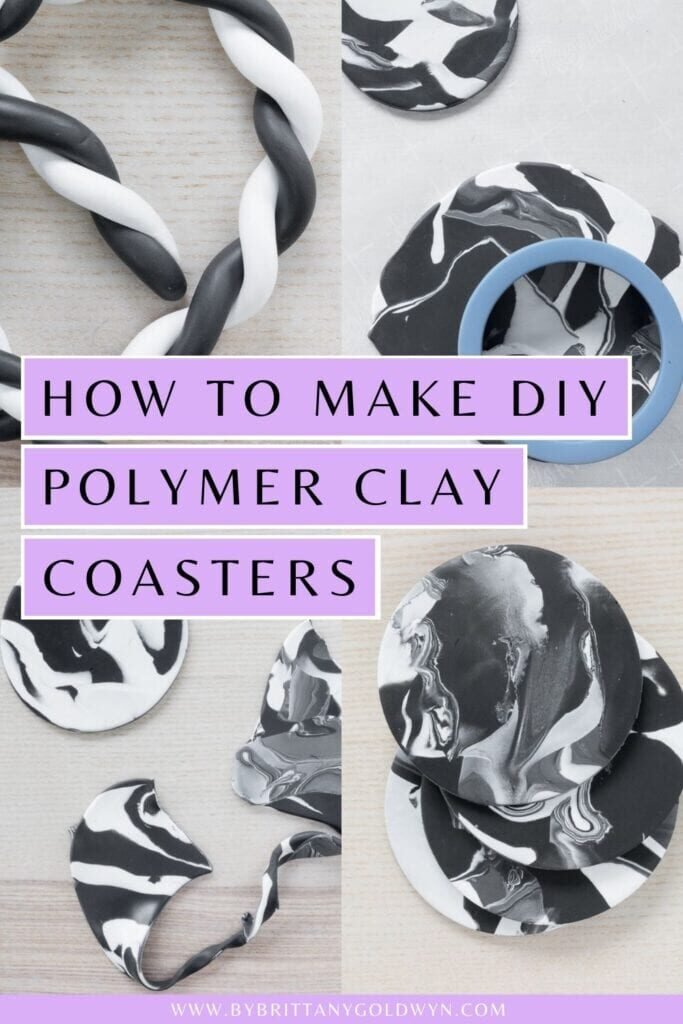
Step 3: I paired a black and white string for each coaster, twisting them together like so. This was a strangely relaxing process.
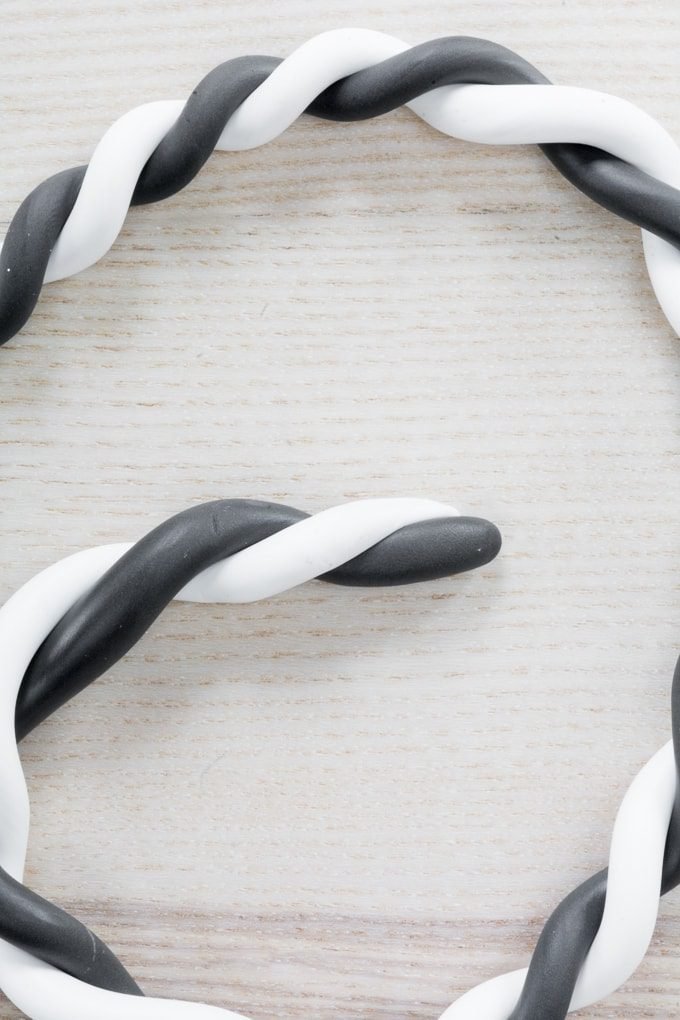
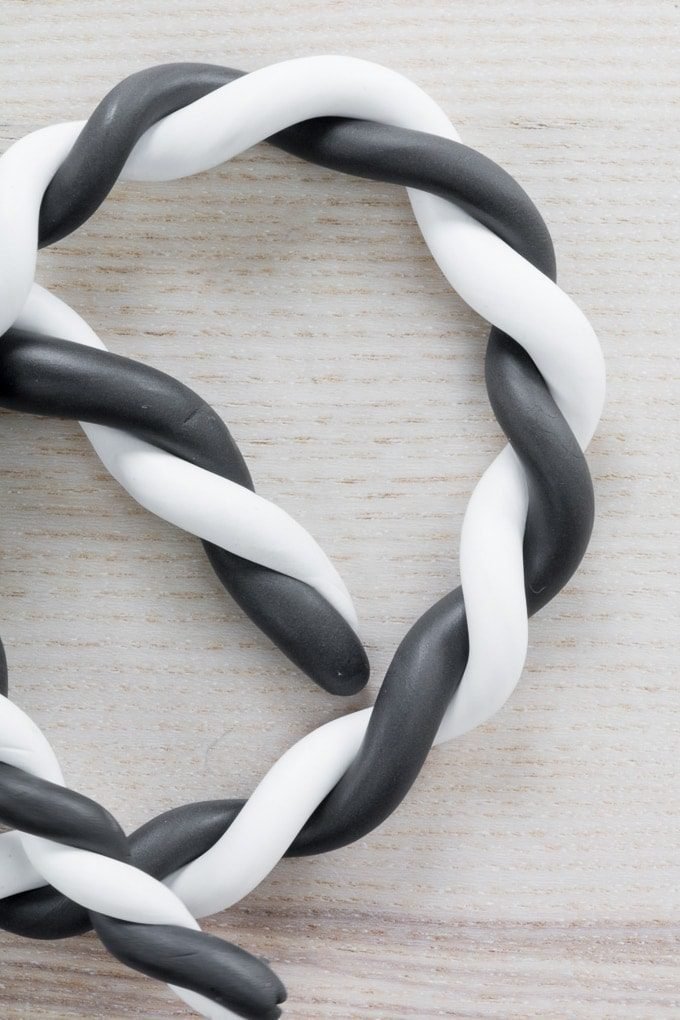
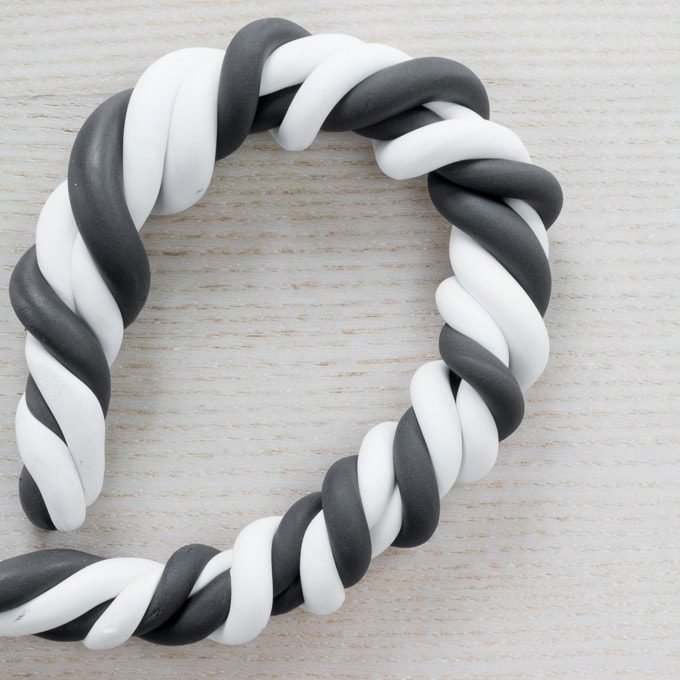
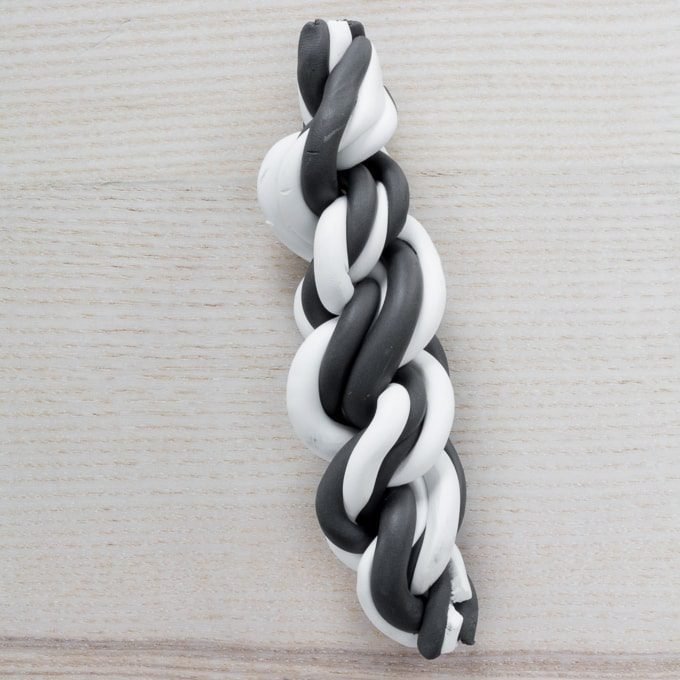
Step 4: Then I “cut” that in half with my hands and twisted again. And then did it again! (Fourth pic below) By “cut,” I mean I just used my hands to rip it in half.
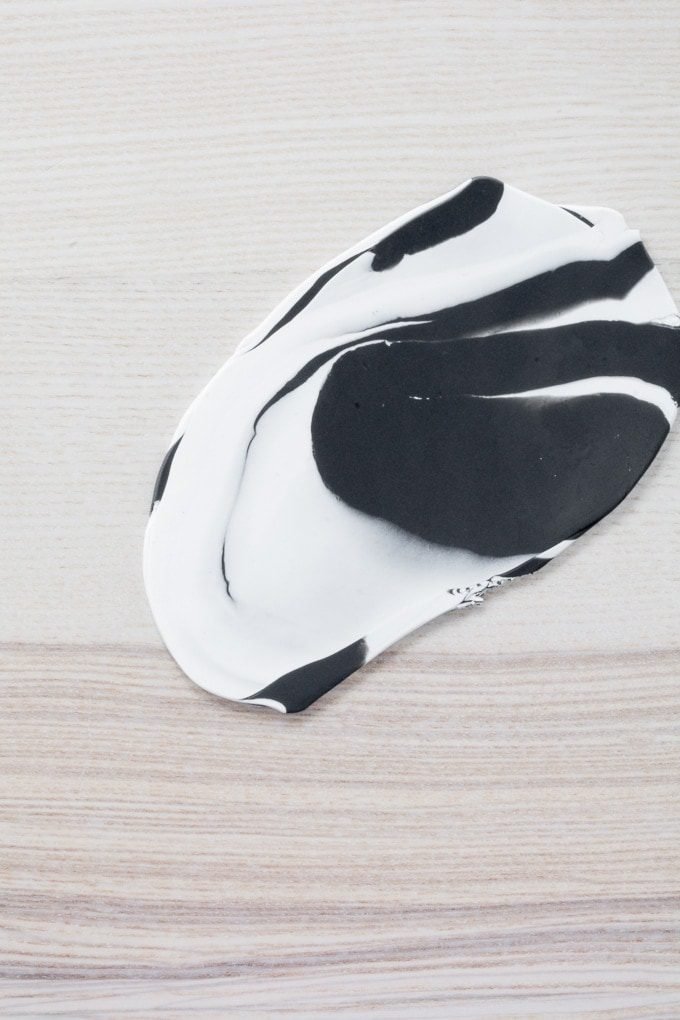
Step 5: Next I used my rolling pin to roll out the clay. Push down harder in some spots to further blend out the colors and create interesting patterns.
Depending on how much clay you used and the desired thickness and size of your coasters, you could get multiple coasters cut out. Don’t get too frustrated rolling this out. This clay can be very tough.
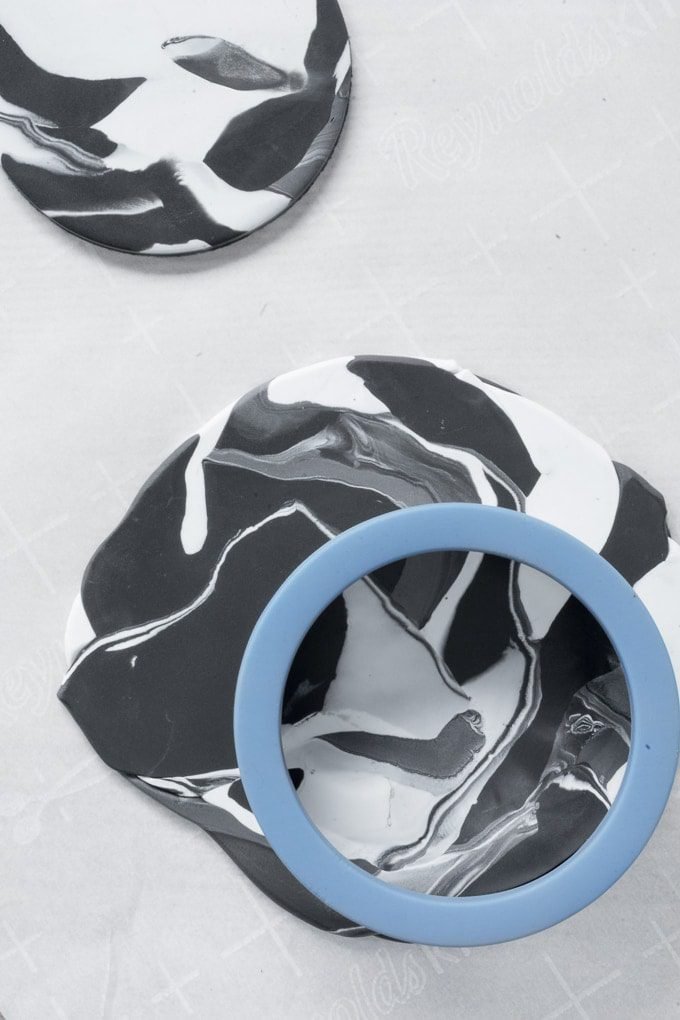
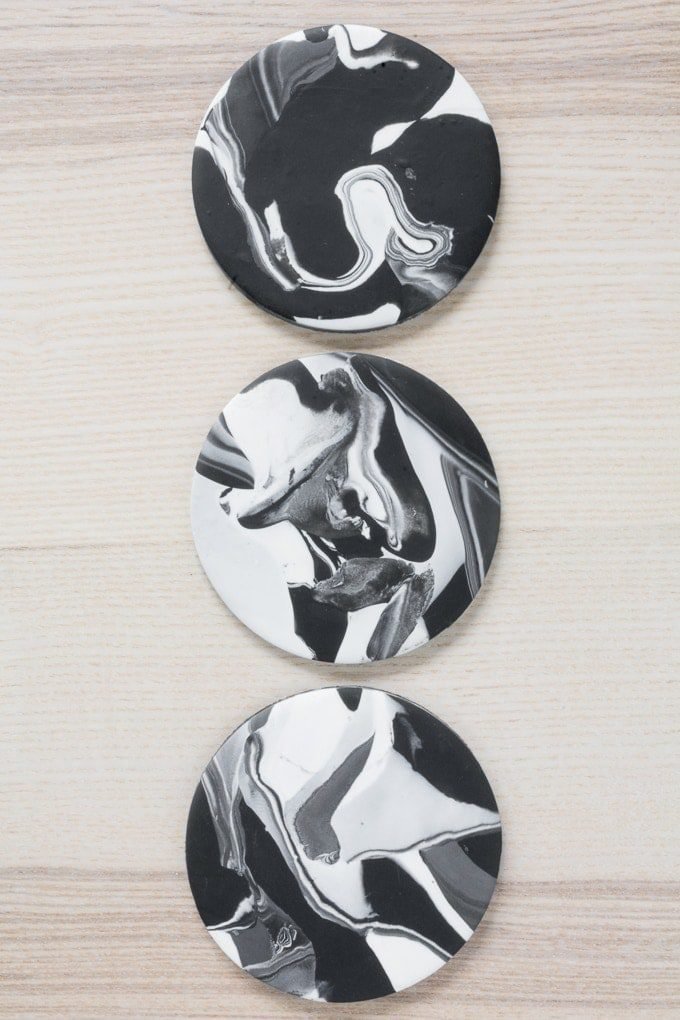
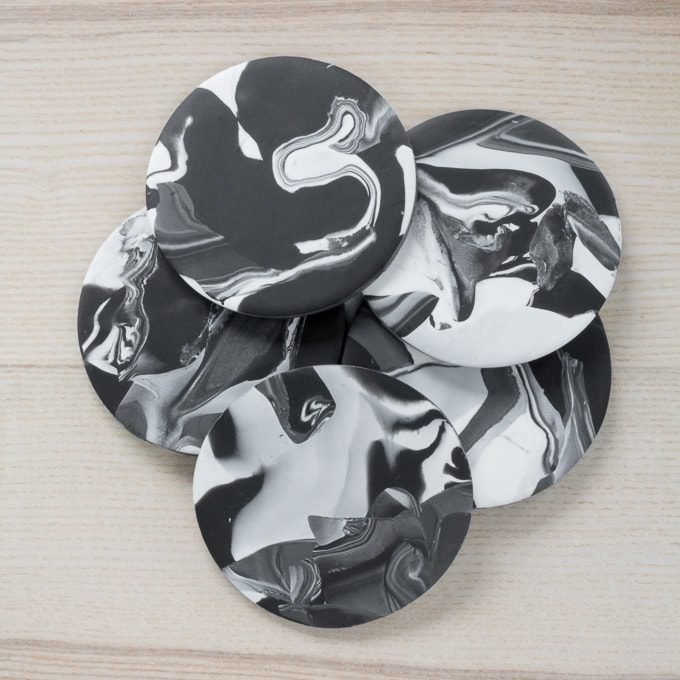
Step 6: I used a cookie cutter to cut out the coaster shapes. It’s just a plain circular cookie cutter. You could use any cookie cutter you’d like—hexagon, heart, square, whatever.
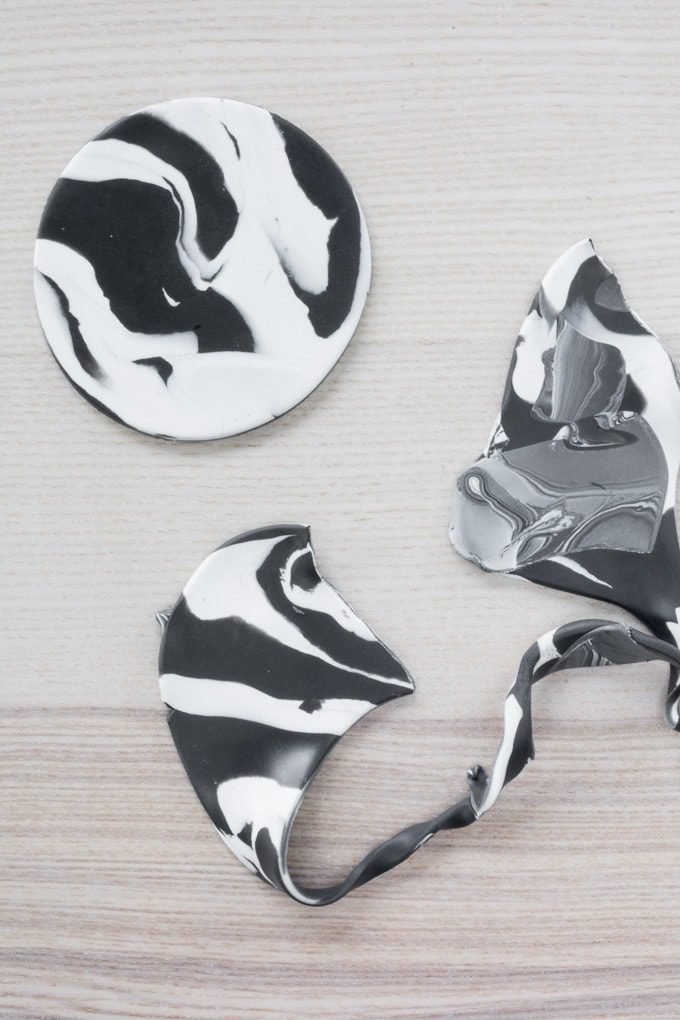
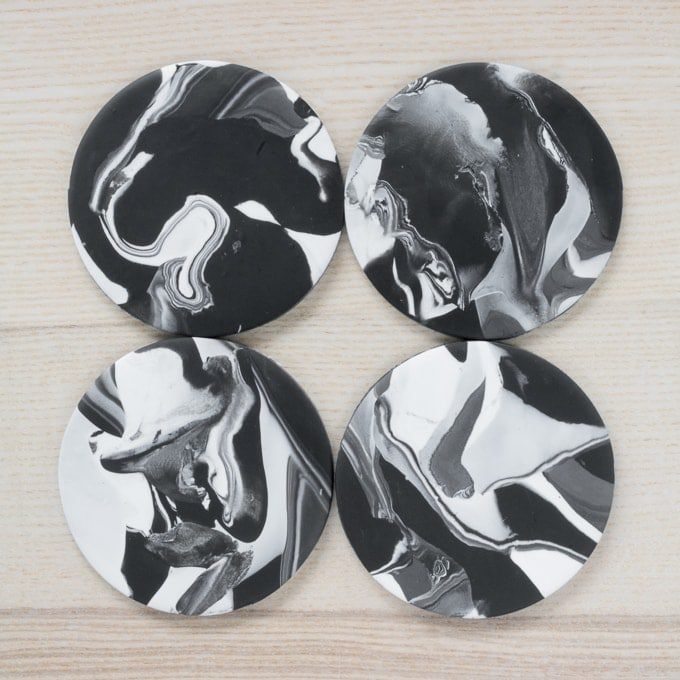
Then I took the scrap pieces of clay from each cut and re-rolled them into fresh clay. This creates more interesting and different patterns because the clay starts to blend even more. You can definitely see the difference in blending in the pics below.
If you want them all to look this blended, just do a bit more mixing and kneading before you start cutting. There’s no right or wrong answer for this process!
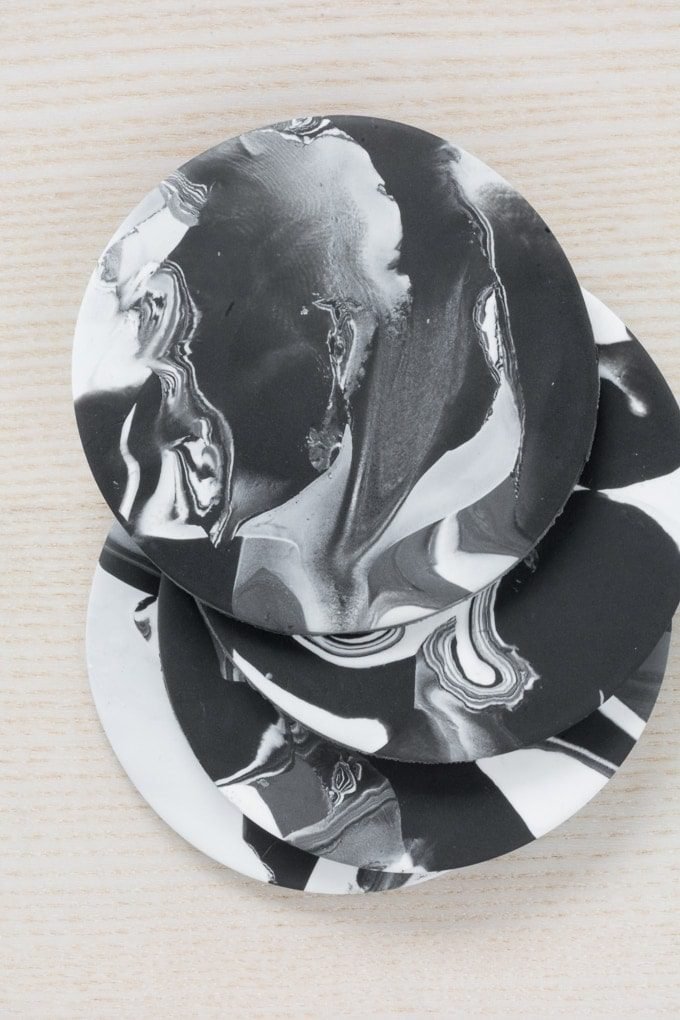
Step 7: I baked all of my coasters in my oven according to the directions on the Sculpey package. Follow the directions for your brand carefully. Do NOT over cook…they will start to bubble up and not look so cute.
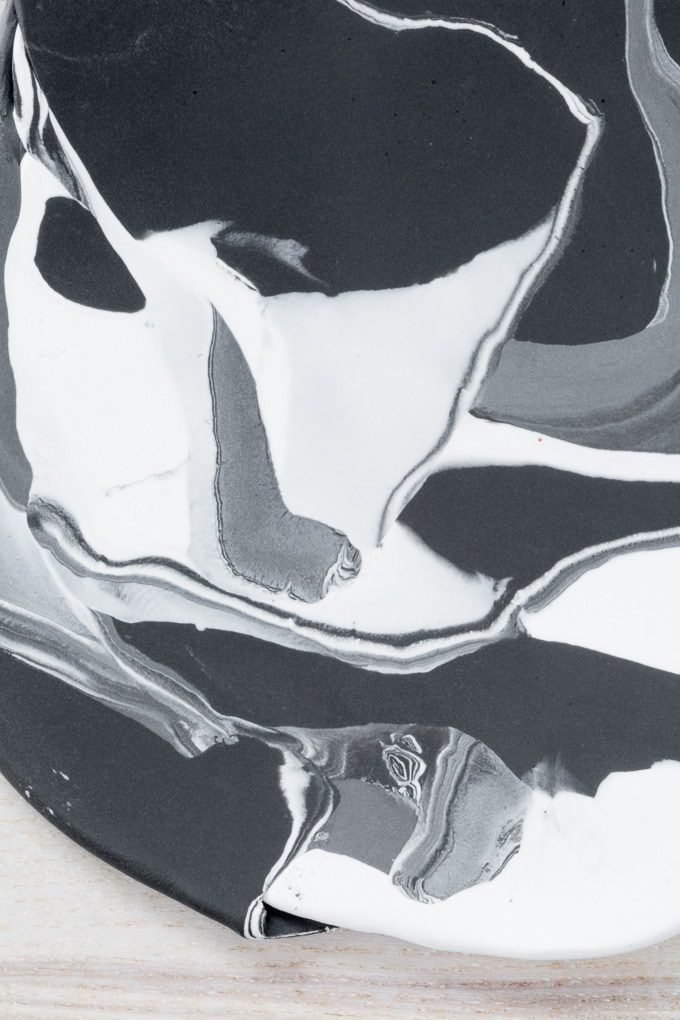
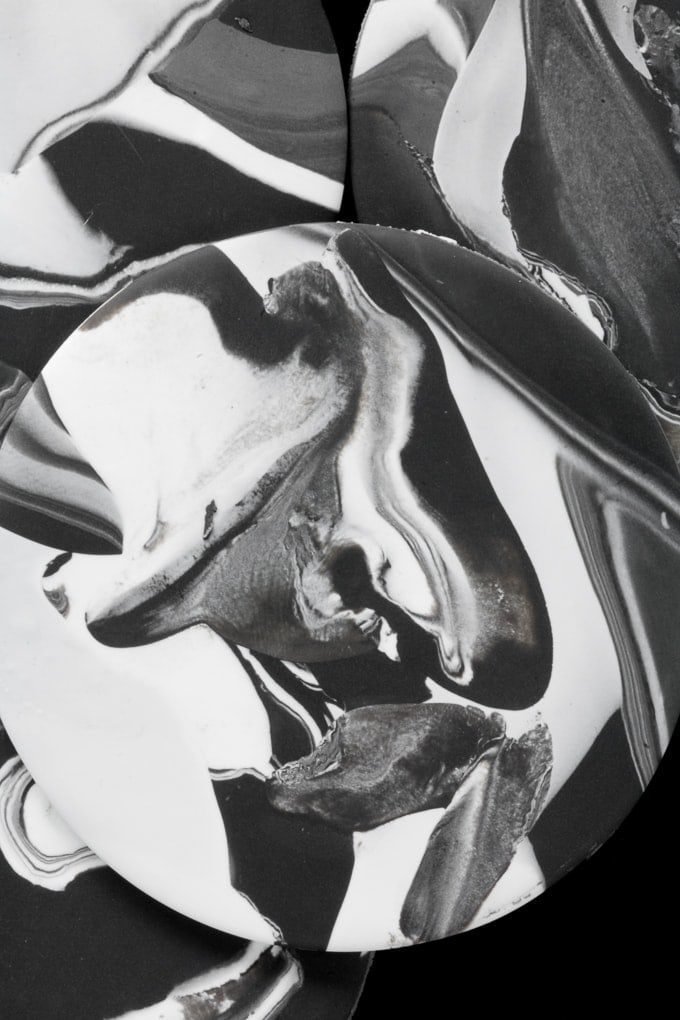
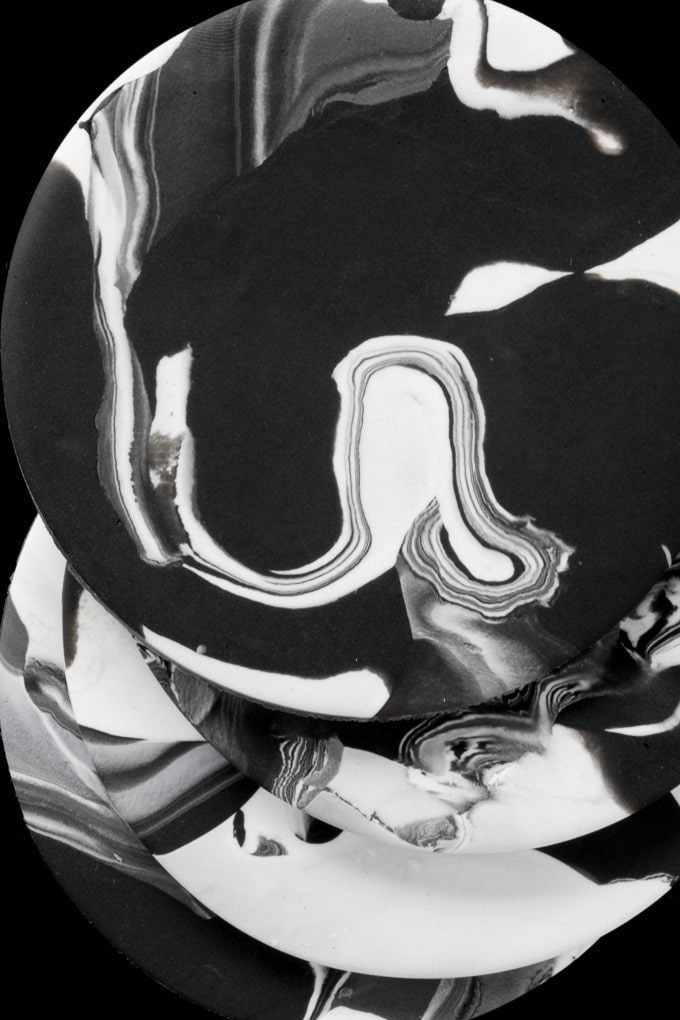
Aaaand they’re amazing! I didn’t seal them because baking cures the clay, making it hard. I love all of the different patterns I ended up with.
Pin my DIY polymer clay coasters with a marbled pattern!


0 Comments