This content may contain affiliate links. See my full disclosure here.
Looking for an amazing last-minute crafty gift for kids? Check out my personalized LCD tablet project using my Cricut!
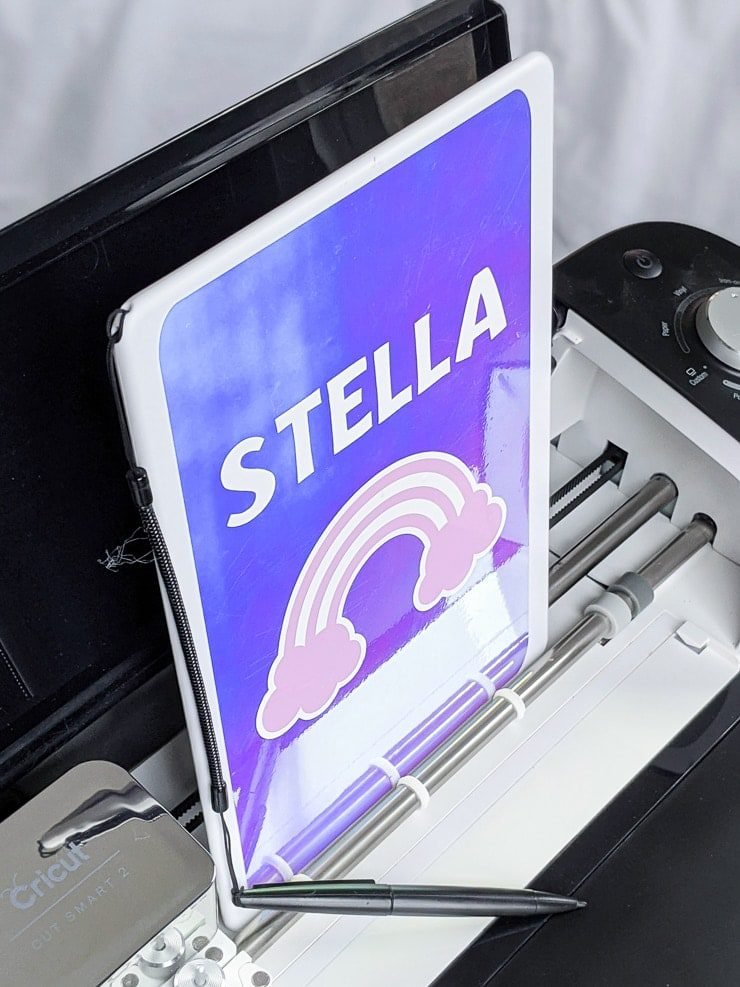
Hey guys! Today I am sharing a quick little craft that you must see if you’ve got a little one in your life. I recently got a little LCD writing tablet for R and used my Cricut to customize it with her name and a picture. I didn’t take pics or a video or anything, but it went over so well that I had to do another one for her little friend Stella.
R has spent a lot of time scribbling on this tablet, and it’s perfect for a car toy. I highly recommend this as an easy and affordable gift that you can personalize to your liking. And this time I took pictures and a video! This whole DIY cost me about 10 bucks—the cost of the tablet—and I used vinyl I already had in my stash.

So an LCD tablet is perfect for little ones because it isn’t nearly as expensive or fragile as a regular tablet. It’s just an LCD screen that looks black or gray, but when you press a stylus pen to it, it writes. In this one, in a pre-determined rainbow pattern. And then you can just click one button to erase it and start over.
But how does an LCD tablet work? They are also called writing tablets. They have resistive screens with a layer of crystals (LCD = Liquid Crystal Display) between them. These crystals change in appearance when you apply pressure with the stylus, making them reflective.
These reflective areas contrast very well against the dark screen. And the only time you use the battery power is when you press the erase button. This button will create a small charge that sends the crystals back into their normal state (not reflective).
So they are super cheap, very thin and lightweight, do not have glare, last a long time on a single battery, and don’t leave behind residue after erasing the screen. You can also lock designs. And you can replace the battery once it dies.


I chose an LCD writing tablet with a neutral color for this tutorial, and I also looked for one that had a mostly flat back. Some of the LCD tablets have rectangles and whatnot on the back, meaning it would have been harder for me to cut a piece of vinyl to cover the entire back. I thought the opal holographic vinyl would look good on the neutral gray.
To make this piece, I just searched for “rectangle with rounded corners” in Design Space. Then I sized it up based on the tablet’s measurements. It was the perfect size!
But it was tricky to apply without ending up with bubbles, so I stuck it down on one end first and then used my brayer to roll it on slowly. I then used the scrap that came with my Cricut tool set to push out any remaining air bubbles from under the vinyl. If you have stubborn bubbles, you can peel the vinyl up and reapply.


For more easy Cricut kid projects, check out my cheap customized craft caddy tutorial, my DIY wall decals for a modern kids room project, and my tutorial on how to use your Cricut to make a matching/memory game!
Next I cut out the background of the rainbow image (it was two layers in Design Space) and the letters for the name. I chose white vinyl for these. These were much easier to add to the tablet because they were smaller. Using transfer tape also helps a ton!
To get rid of bubbles in these images, I just used the scraper. I didn’t have any in the letters, but I did have one or two pop up on the rainbow background.


And last I used a little piece of pink lavender vinyl to cut the top layer of the rainbow. I thought this color would really bring out the pinks and purples in the holographic vinyl! I applied this over the white base using transfer tape.


Isn’t it adorable? I just packaged it right back up for Stella’s Christmas present. It’s such a cheap and easy gift that I know she’ll love!

Pin my personalized LCD tablet tutorial!


0 Comments