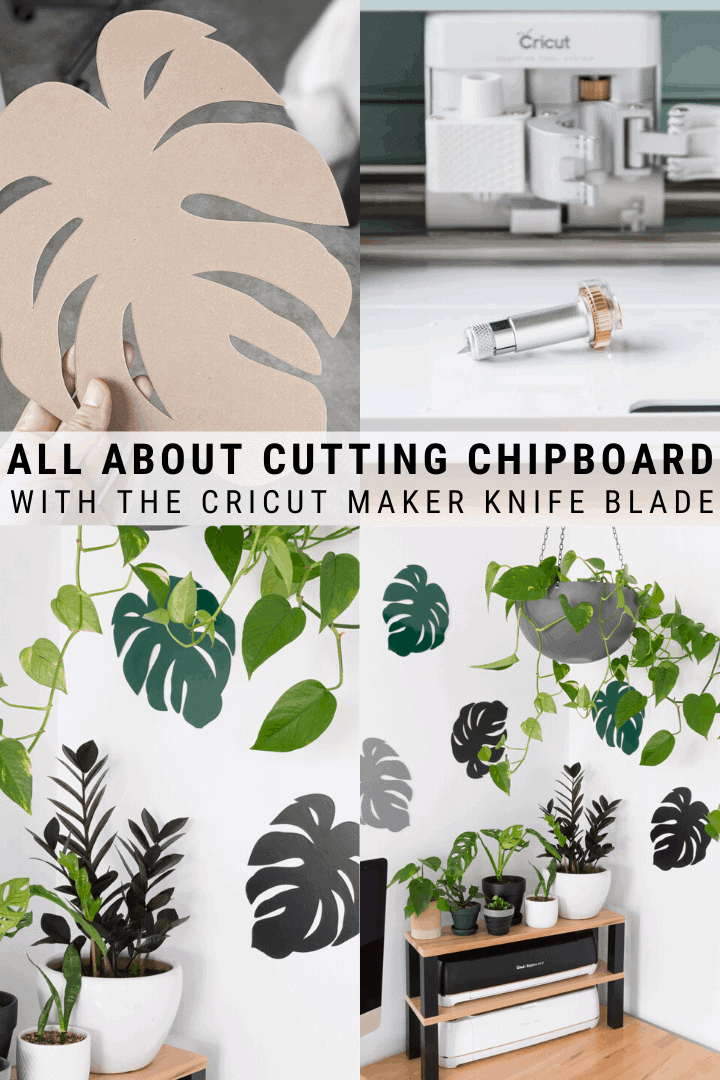
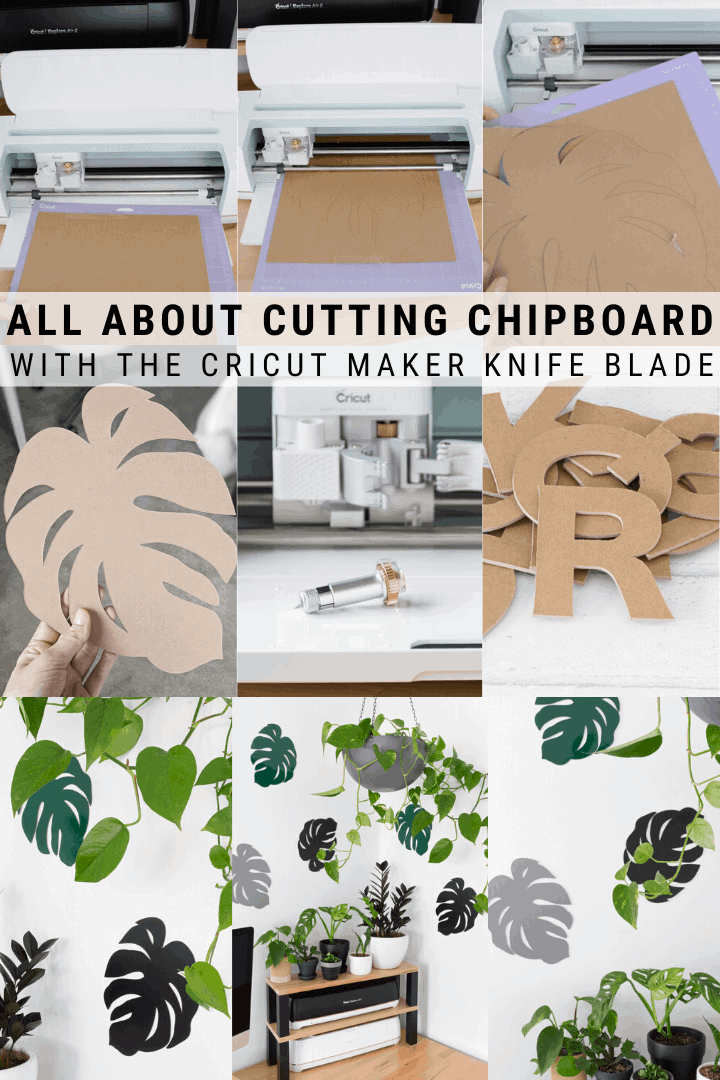
Yes, a Cricut can cut chipboard. Thick chipboard (1.5mm to 2mm) needs a Cricut Maker with the knife blade, while thin 0.37mm light chipboard can be cut on the Explore Air 2 with the fine-point blade. Below I share how I cut chipboard monstera leaves on my Maker, including mat prep, design size limits, how long the cut takes and what to do when the blade gets stuck.
What is chipboard?
Chipboard is a versatile crafting material: think of it as a thicker, stiffer, more resilient cardboard. The thicker the chipboard, the stronger it is. The biggest difference from cardboard is that chipboard isn’t corrugated, so it isn’t hollow inside and is much stiffer. (A Cricut can also cut corrugated cardboard.) Because it comes in lots of thicknesses, it’s used for everything from book covers to furniture and crafts.
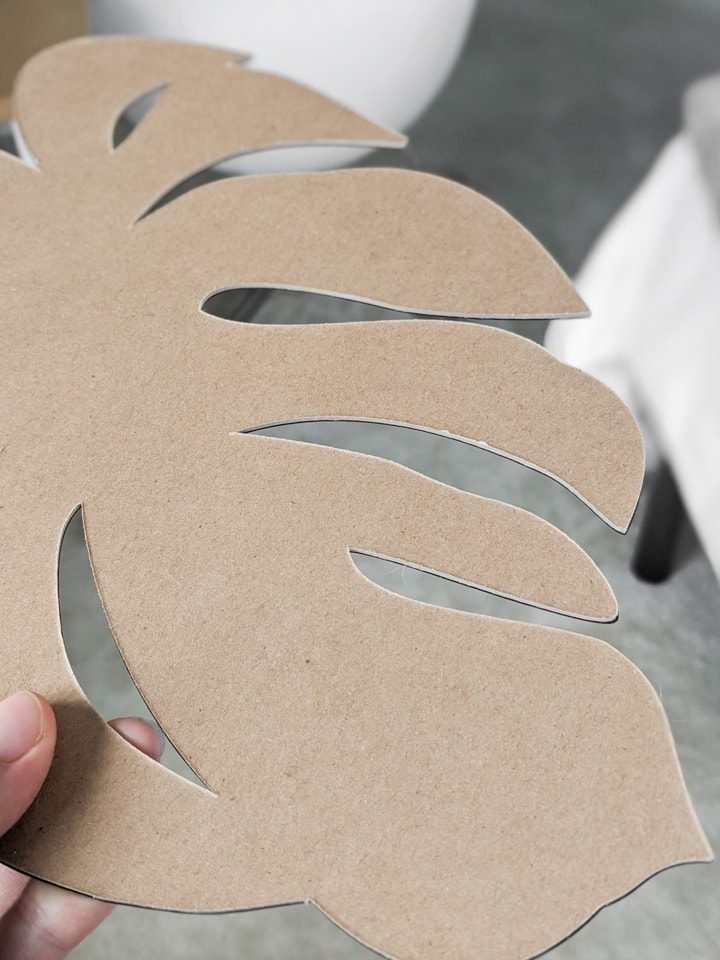
It’s also cheaper than wood. When I made these monstera leaves, I knew I’d be covering them in vinyl, so why spend extra on Cricut’s basswood? That said, basswood leaves only half covered in vinyl, so the wood grain shows, would look pretty cool. Maybe next project!
Which Cricut machine and blade you need
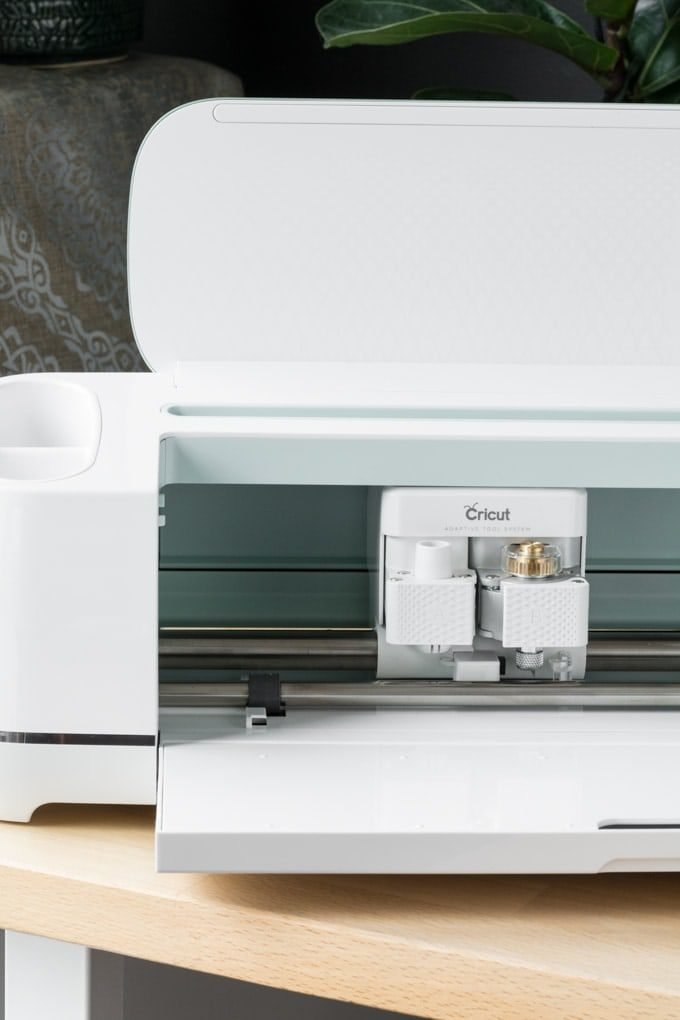
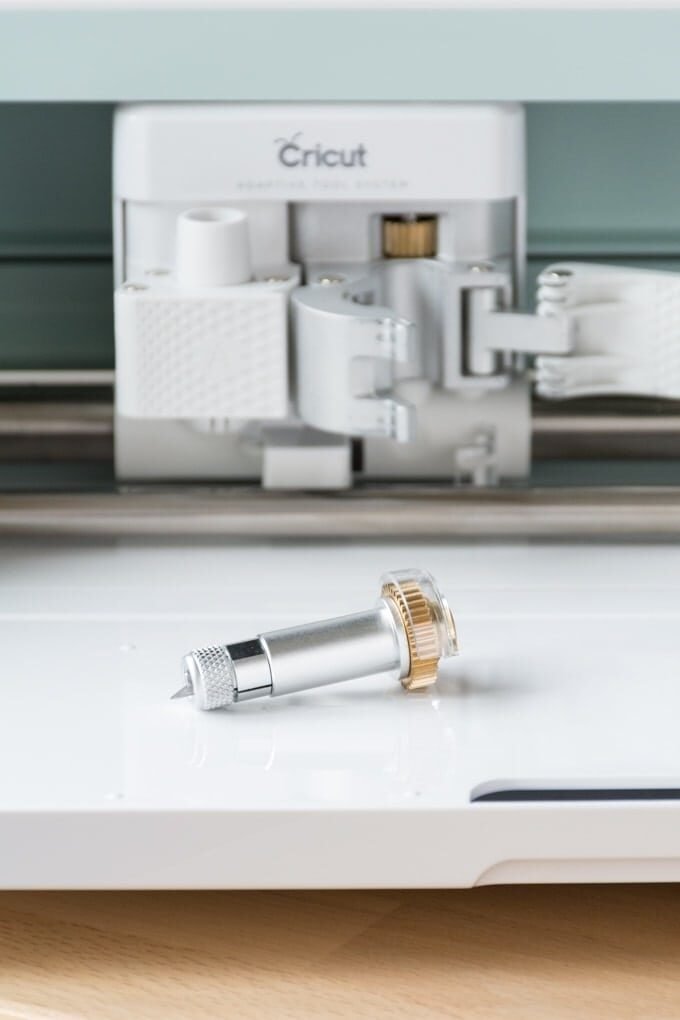
To cut thick chipboard, you need a Cricut Maker and its knife blade. A deep-point blade or the regular fine-point blade won’t cut it. Cricut makes these types of chipboard:
- 2mm chipboard: the thickest chipboard your Cricut can cut, marketed for wall art, frames and decor. It’s sturdy and not very pliable. It comes in packs of five 11 x 11 inch sheets.
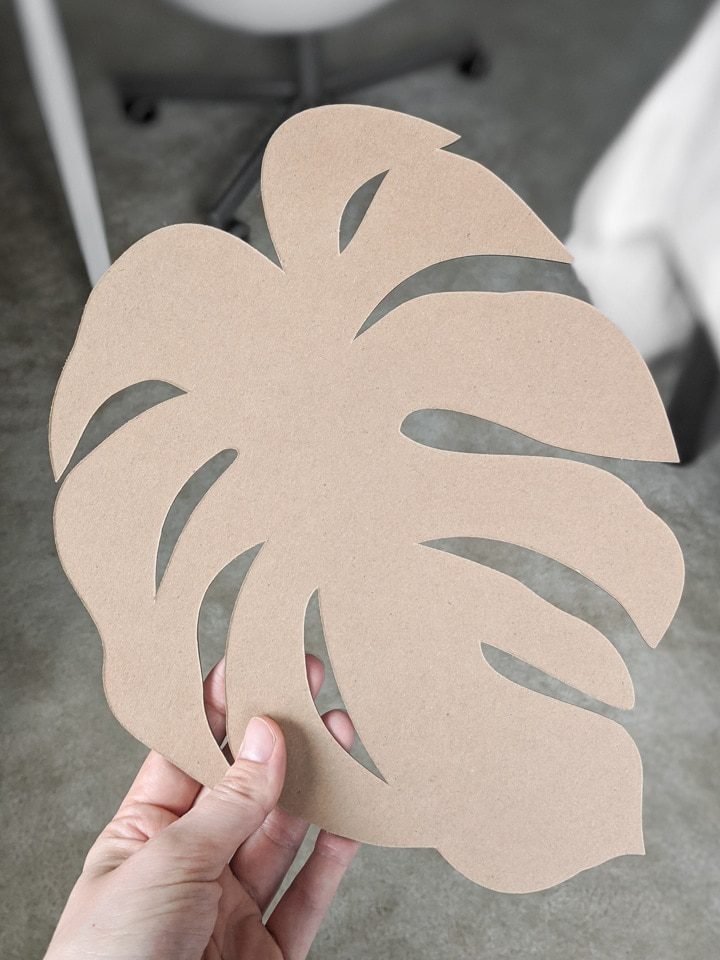
- 1.5mm plain kraft chipboard: also five 11 x 11 inch sheets, a little thinner but still much sturdier than cardboard. This is what I used for my monstera leaves.
- 1.5mm damask sampler: the same size and pack, with a damask print already on the chipboard.
- 0.37mm light chipboard: thin enough for the Explore Air 2 with the fine-point blade (the Maker can cut it with the fine-point blade too). It isn’t really useful for structural crafts.
Chipboard thickness in millimeters, inches and points
Chipboard is sold in different units depending on the brand, which makes it easy to buy the wrong weight. Craft and office suppliers often list it in points (pt), where 1 point is one-thousandth of an inch.
| Thickness | Inches (approx.) | Points (approx.) | Cricut machine |
|---|---|---|---|
| 0.37mm (light chipboard) | 0.015 in | 15 pt | Explore Air 2 or Maker, fine-point blade |
| 1.5mm | 0.059 in | 59 pt | Maker, knife blade |
| 2mm | 0.079 in | 79 pt | Maker, knife blade |
What you need
- Cricut Maker with the knife blade (or an Explore Air 2 with the fine-point blade for 0.37mm chipboard only)
- Chipboard (I used Cricut’s 1.5mm plain kraft chipboard)
- Purple StrongGrip mat
- Painter’s tape
- Your design in Design Space
- Optional: adhesive vinyl, paint or gesso to decorate
How to cut chipboard with a Cricut Maker
- Prep the chipboard. Cricut recommends taking chipboard out of the package and letting it lie flat for 24 hours before cutting. I’ll be honest: I didn’t, and it was fine.
- Set up your design. In Design Space, keep your design within 10.5 x 10.5 inches, and don’t include any cuts (including interior cuts) smaller than about 3/4 x 3/4 inch. Keep designs away from the edges of the chipboard, because the knife blade can be damaged if it crosses the edge, and it’s an expensive blade.
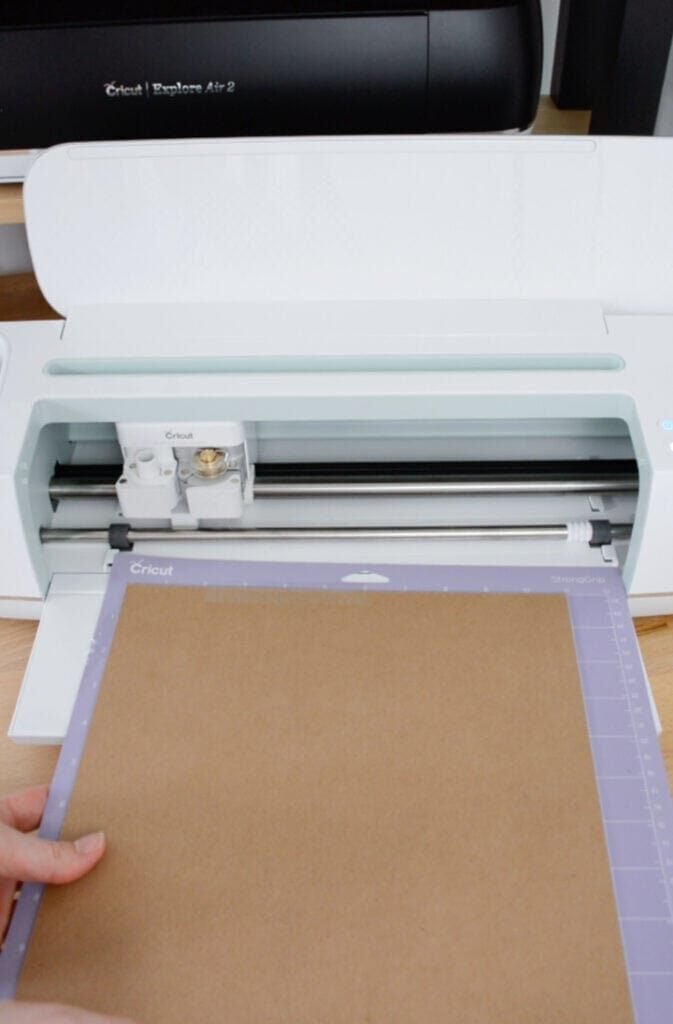
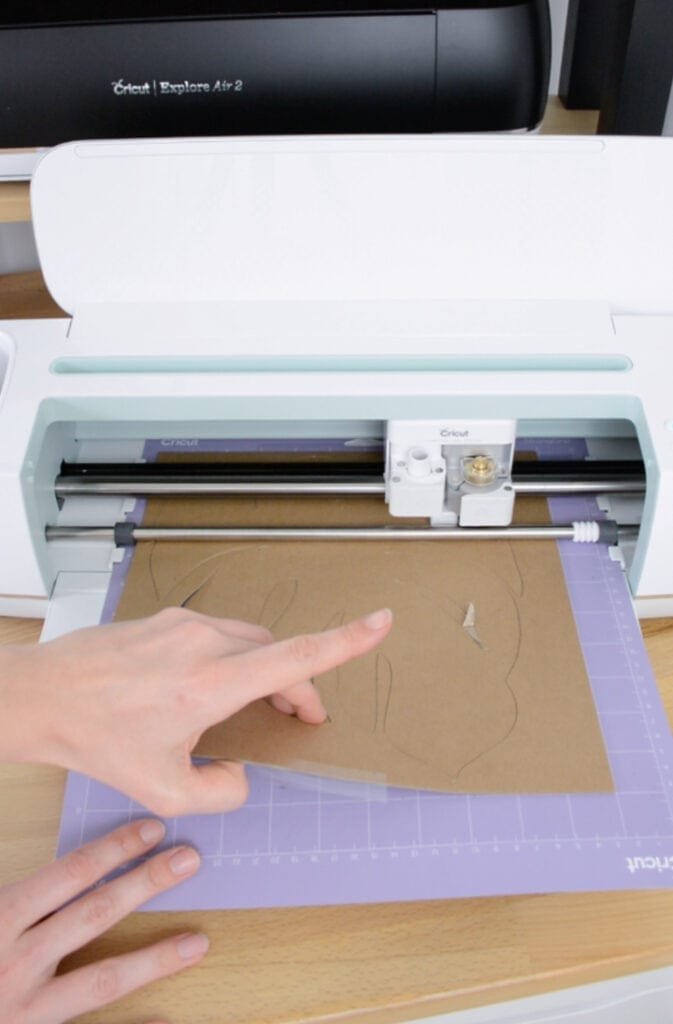
- Put the chipboard on a clean StrongGrip mat. Make sure the mat is free of debris so you get a firm, even seal, then tape all the sides down with painter’s tape.

- Move the star wheels. Slide the white star wheels all the way to the right. Otherwise they can roll over the thick chipboard and leave imprints in your design. That’s why Cricut chipboard is 11 x 11 inches: it leaves an extra inch on the right of a 12 x 12 mat for the star wheels.
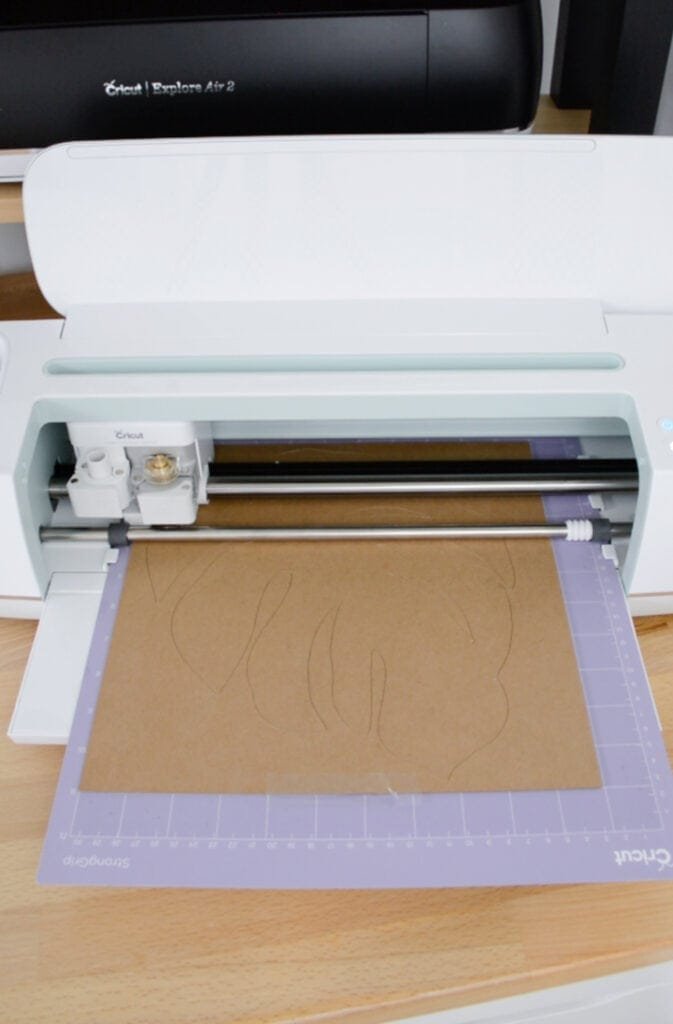
- Start the cut and keep an eye on it. Design Space shows an estimated time and number of passes. The knife blade goes over the design several times, applying more pressure each pass, so it takes a while. Check every few minutes and pick off any stray bits of chipboard or debris, which could jam the machine or ruin the cut.
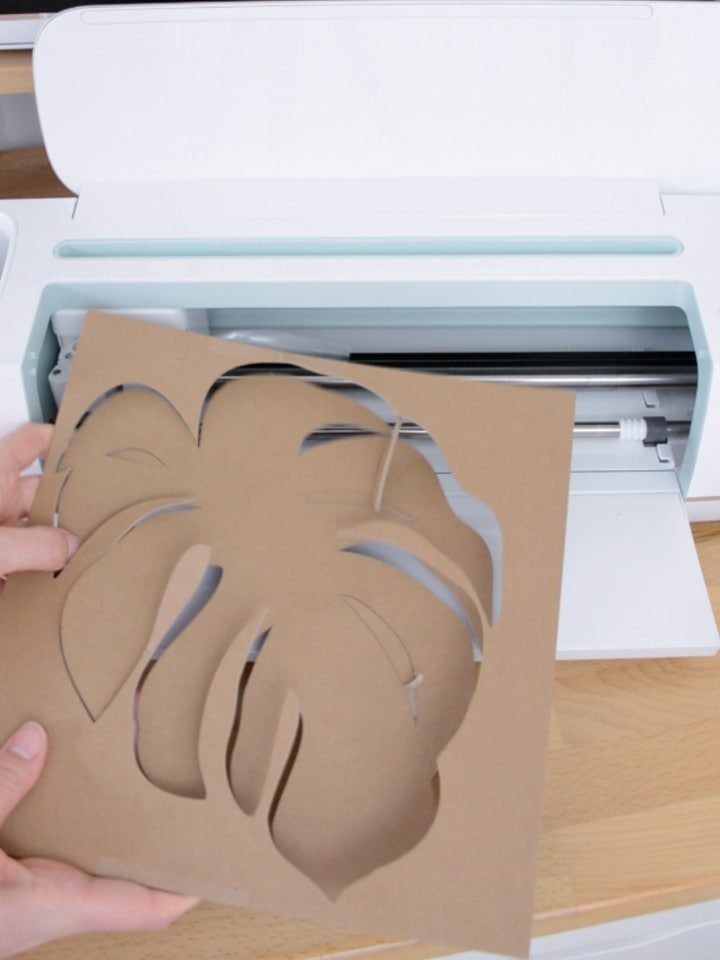
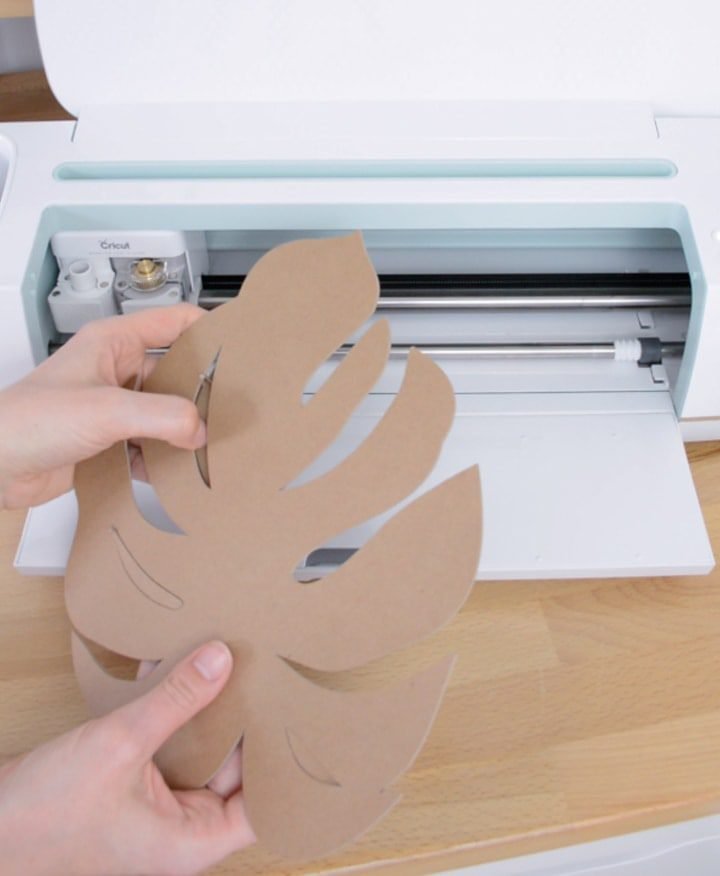
- Check before unloading. When the cut finishes, Design Space asks whether you need more passes. Don’t unload the mat yet! Gently lift a corner of the design to see if it cut all the way through. If not, press the Cricut “C” button for another pass, as many times as you need, then unload.
Troubleshooting: when the knife blade gets stuck
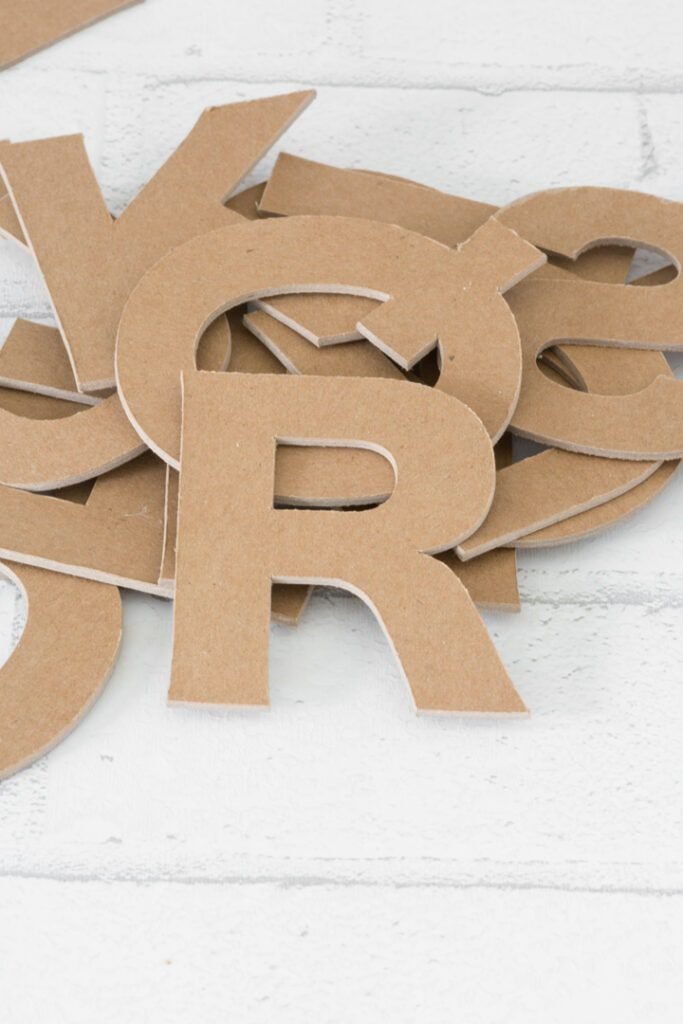
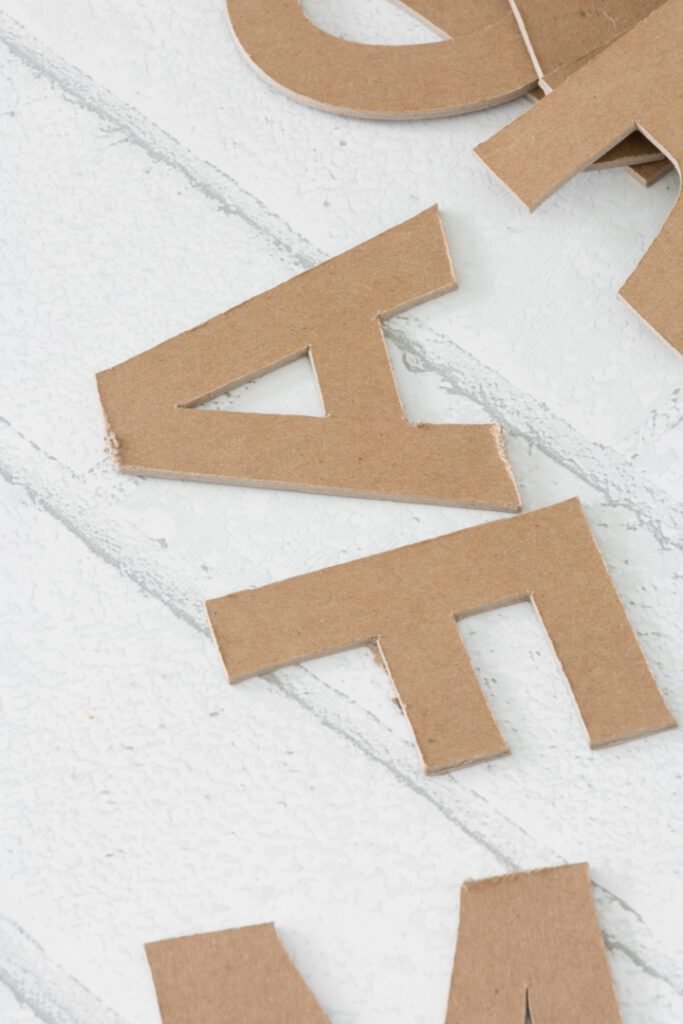
When I tried cutting smaller letters out of chipboard, my blade kept getting stuck, always in the same spot. If this happens, check for loose material. In all but one case, I was able to remove the loose bits and retry the cut (sometimes a few times) until it worked.
On one sheet, though, the blade simply couldn’t cut all the letters. The machine kept stopping in the same spot and beeping with an error, and eventually the chipboard was shredding too much. I had to toss that piece and start again. This is where I started seeing the edges get rough:
Tips for cutting chipboard
- Keep your blade sharp. The sharper the knife blade, the fewer problems you’ll have.
- Avoid intricate designs. Tiny details are hard for the machine to navigate and can break after cutting, so chipboard suits bold shapes best.
- Have something else to do. Thick materials take longer, and intricate designs take longer still.
- Other brands work, with caveats. Cricut doesn’t recommend other brands and can’t guarantee results, and bad spots in the board can damage the knife blade. If you try one, keep it under 2.4mm thick for the Maker and use the table above to compare thicknesses.
How to cut chipboard without a Cricut
For straight lines and simple shapes, you can cut chipboard by hand:
- Use a sharp craft knife and a metal ruler on a self-healing mat, making several light passes along the same line rather than forcing the blade through in one go. That keeps the edge cleaner and is safer.
- Change the blade often. Chipboard dulls blades quickly, and a dull blade tears the fibers instead of cutting them.
- Scissors work on thin chipboard like 0.37mm or cereal-box weight, but they crush the edge of 1.5mm to 2mm board.
- A paper trimmer handles straight cuts on thin chipboard; check its maximum thickness first.
For curves, lettering and repeated shapes like my monstera leaves, a cutting machine with a knife blade gives far more consistent results.
Painting, sealing and decorating chipboard
Raw chipboard is absorbent, so it soaks up paint and can warp if it gets too wet.
- Apply a thin first coat of acrylic paint or gesso as a primer, then build up color in thin layers.
- Let each coat dry with the piece lying flat. A heavy book on top (once it’s dry to the touch) helps stop curling.
- Wipe off cutting dust before applying adhesive vinyl; vinyl sticks better to a smooth, clean surface.
- Craft glue or hot glue works for gluing layers. Clamp or weight pieces while craft glue dries.
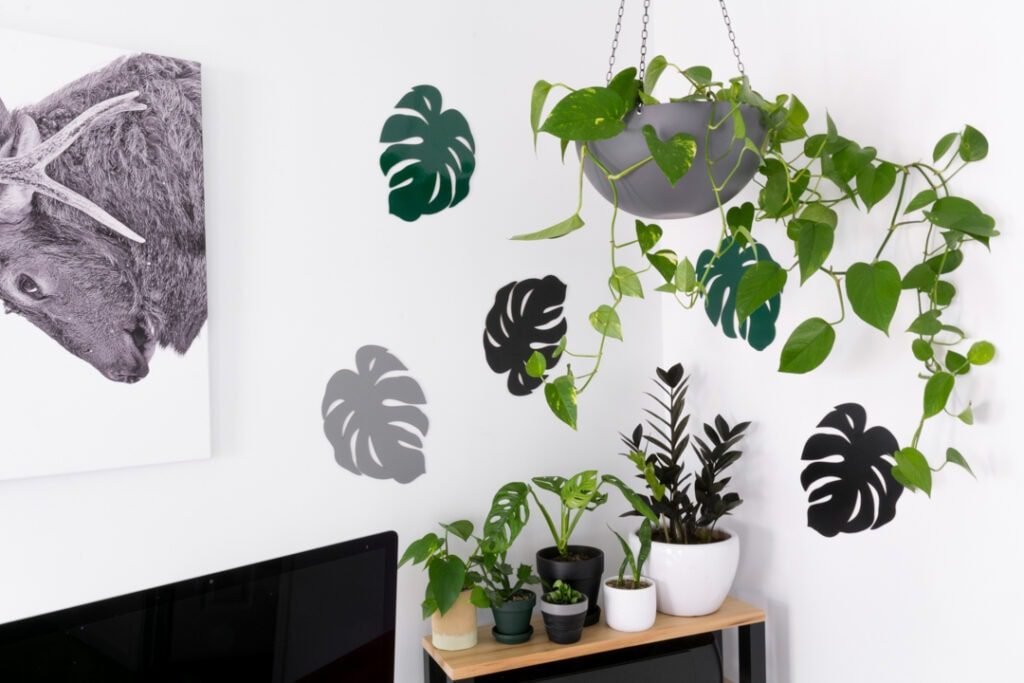
My finished chipboard monstera leaves
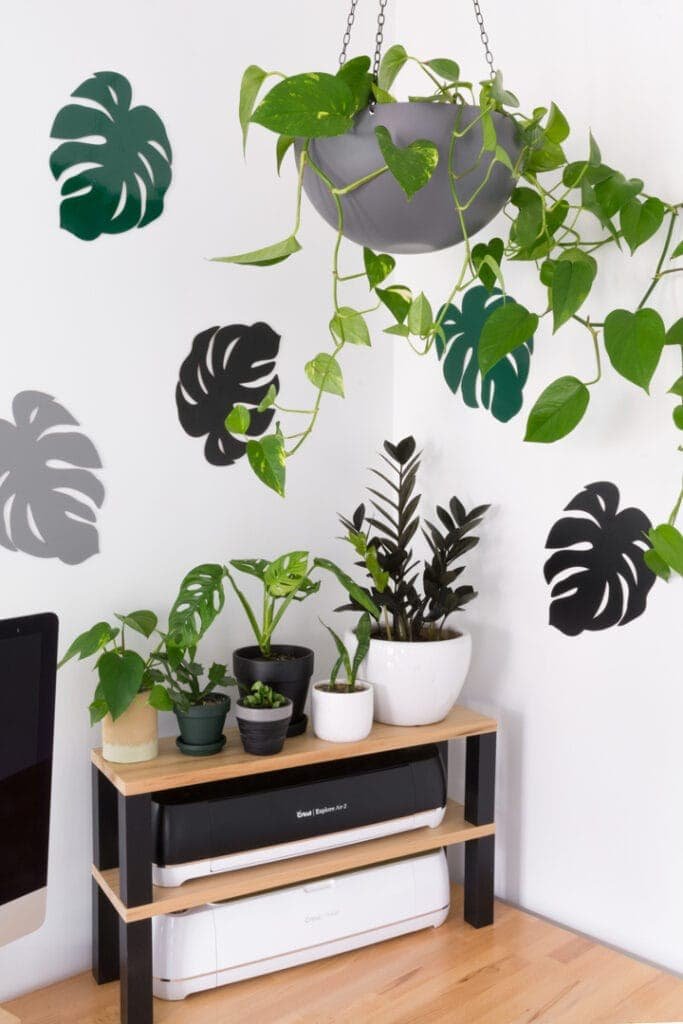
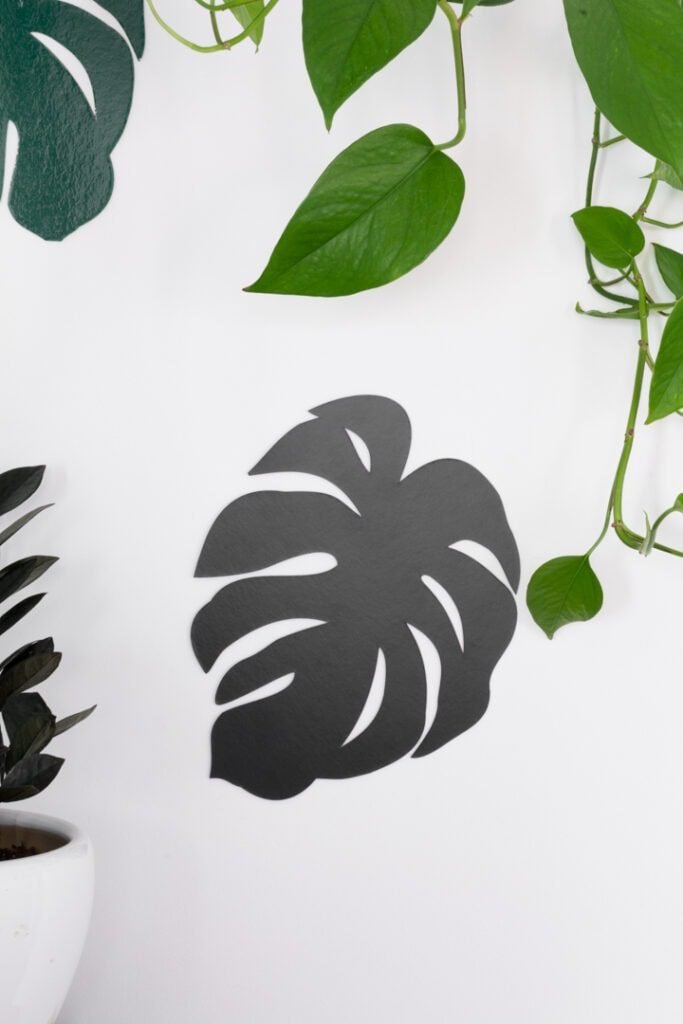
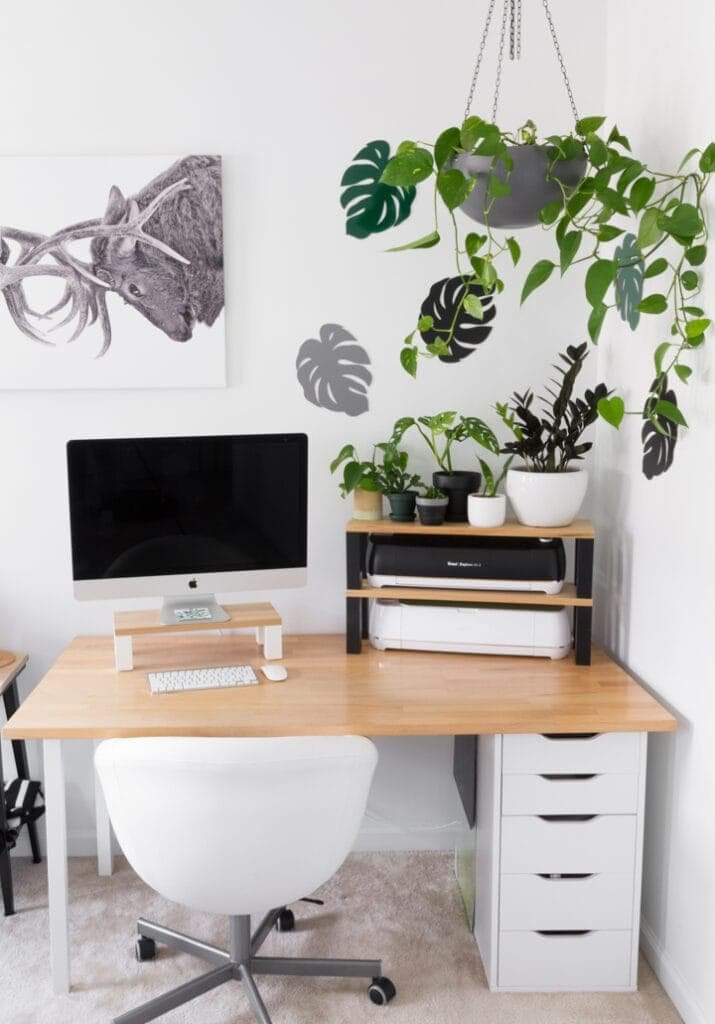
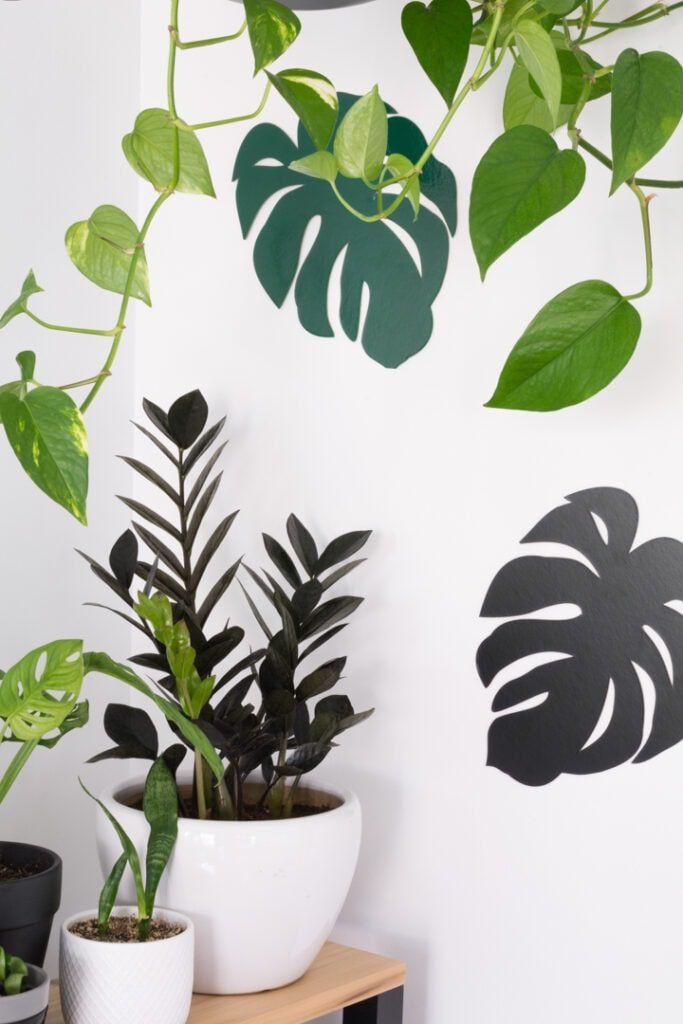
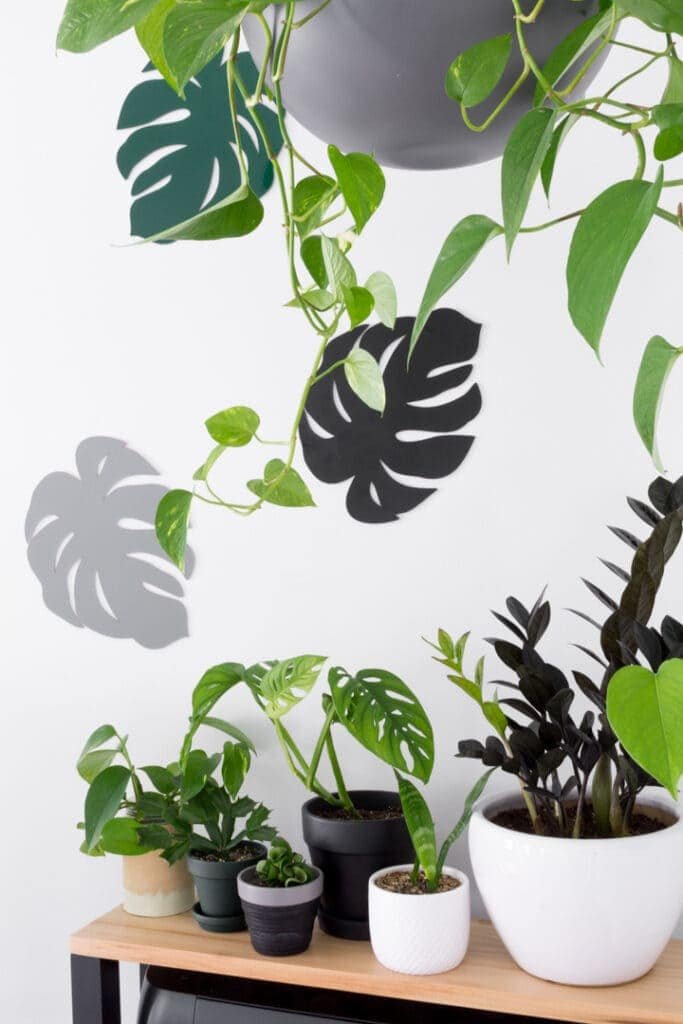
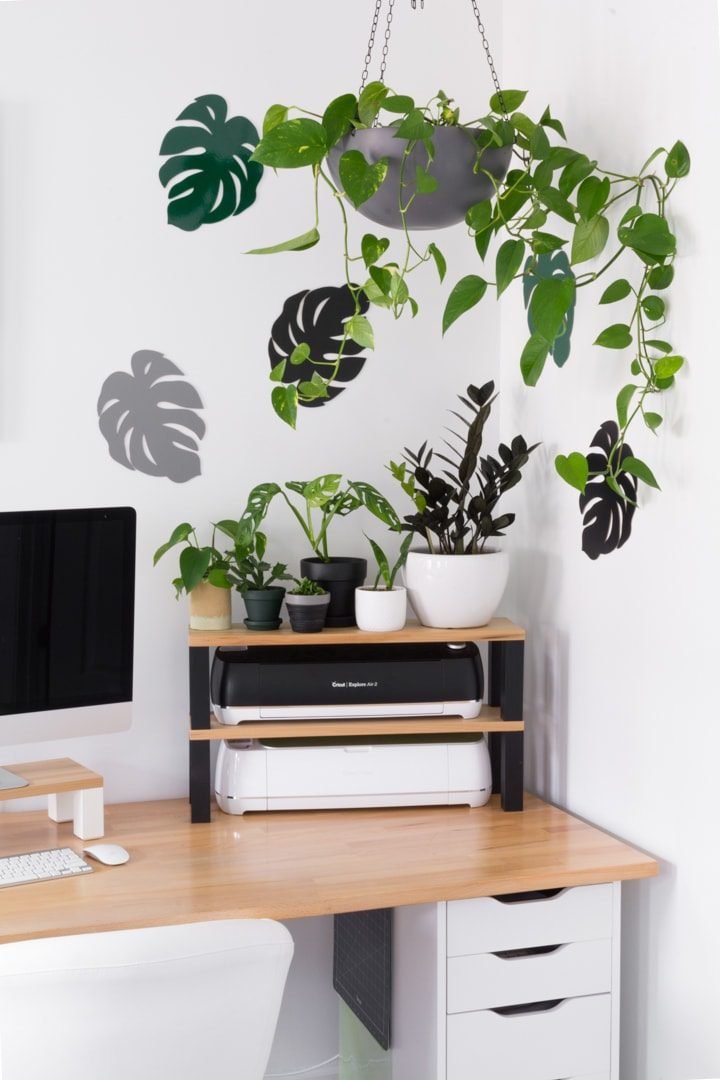
I covered the leaves using the same pattern cut from gray, black and hunter green vinyl I had in my Cricut materials drawer. They give the blank white walls of my new little workspace corner a nice facelift.
Cutting chipboard FAQ
Can a Cricut cut chipboard?
Yes. Thick 1.5mm and 2mm chipboard needs a Cricut Maker with the knife blade. Thin 0.37mm light chipboard can be cut on the Explore Air 2 (or the Maker) with the fine-point blade.
Can the Explore Air 2 or Explore 3 use the knife blade?
No. The knife blade only works in the Cricut Maker machines. The Explore machines can only cut thin 0.37mm light chipboard with the fine-point blade.
Which mat should I use for chipboard?
Use the purple StrongGrip mat, make sure it’s clean so the chipboard seals firmly, and tape the edges with painter’s tape. Move the white star wheels all the way to the right before cutting.
Why does my chipboard cut leave fuzzy edges?
Usually the blade is getting dull, the chipboard shifted on the mat, or the cut needed another pass. Check the cut before unloading the mat and add passes if needed. Lightly sanding the edges with a fine sanding block tidies up small fuzz.
What’s the smallest detail I can cut in chipboard?
Keep every cut, including interior details, no smaller than about 3/4 inch by 3/4 inch. Smaller details may not cut cleanly and can break afterward.
More Cricut guides
- How to use the Cricut Maker’s knife blade to cut wood
- 15 Cricut wood and chipboard projects to make today
- How to make DIY wall decals with a Cricut
- Which Cricut should I buy?