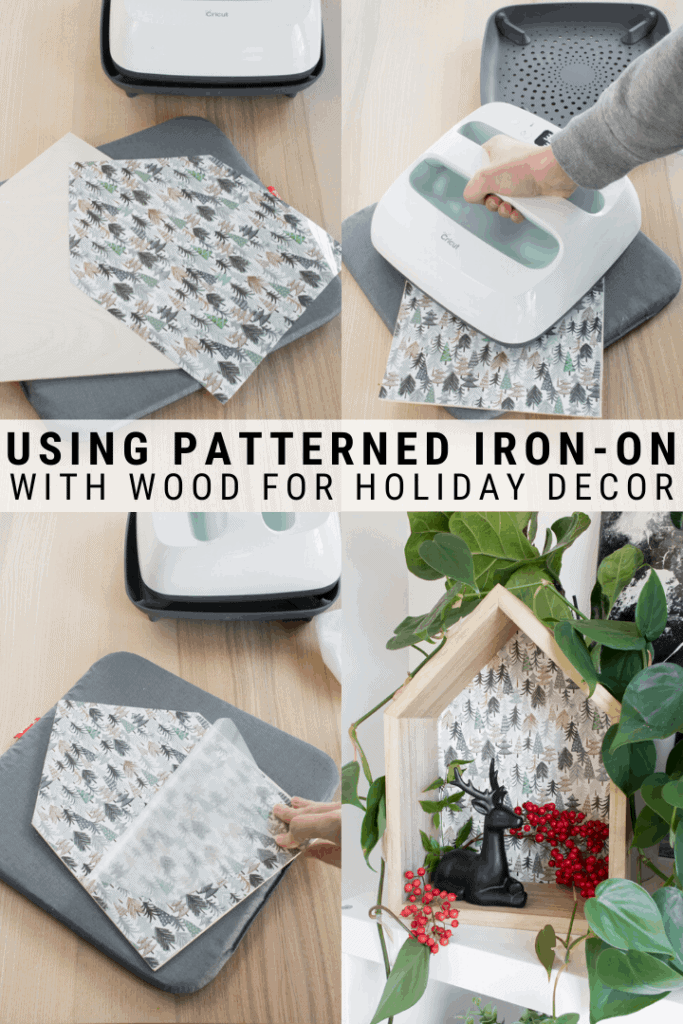
This post shares all about using Cricut patterned iron-on with wood to create beautiful modern winter decor! I’m using a fabulous winter-themed Iron-On Sampler to customize a plain wooden house. See the full tutorial!
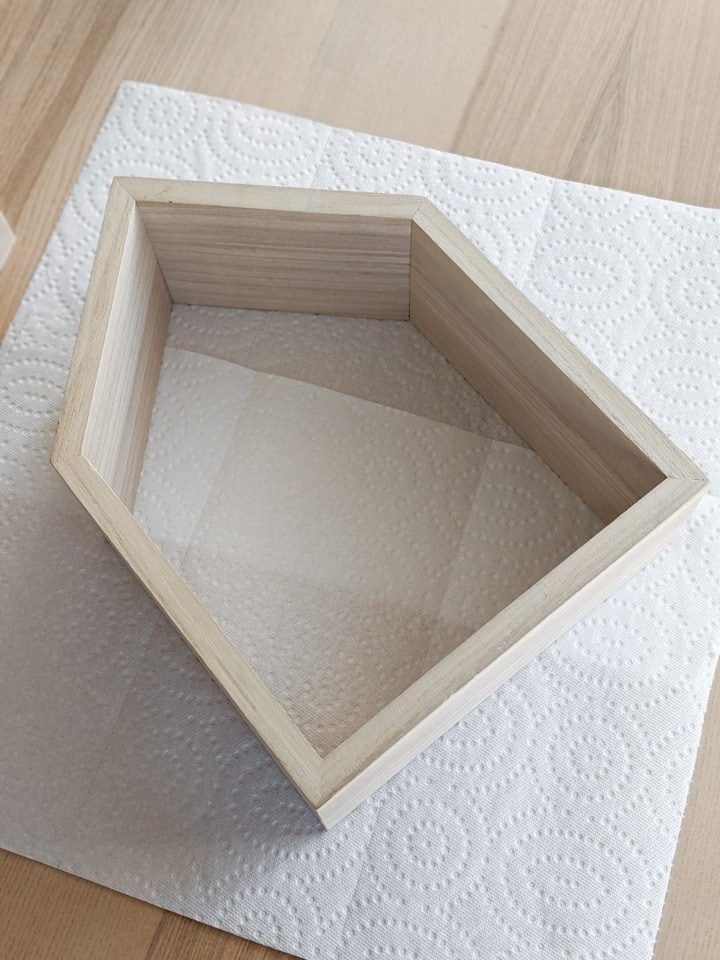
Today I am sharing a fun little craft I did on my birthday. Yes, I had the day off and treated myself to a bit of a morning crafting session. I’d had this unfinished wooden house sitting in my craft closet for a bit. It was originally part of a three-pack I got for the first (and failed) iteration of this project.
We’re not going to talk about what a failure that one was. Resin oozing out the poorly sealed back side. The red berries I’d originally used turning brown. The acrylic spray I’d originally used over the leaves bubbling up and yellowing. Honestly it was a nightmare. And luckily I only sacrificed two of the houses for that!
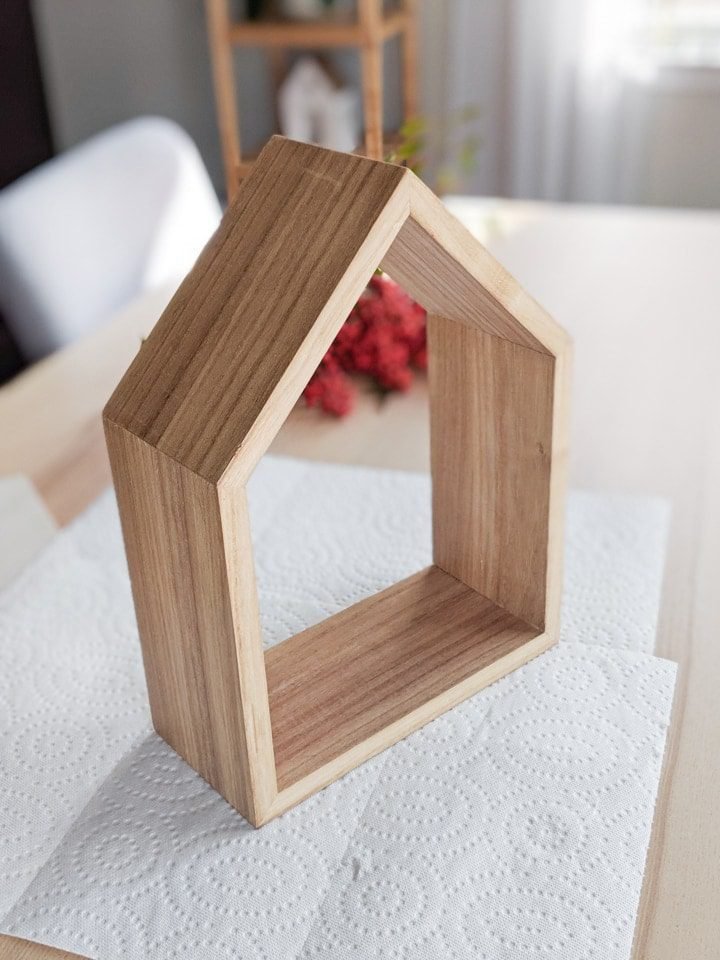
I wanted to do something fun and simple with the third. God knows I didn’t want the third house to be a fail. So I decided to use some beautiful winter-themed iron-on and do a post about using Cricut patterned iron-on with wood to make some modern holiday decor. (I also did a post the EasyPress Mini and using glitter iron-on with wood, too.)
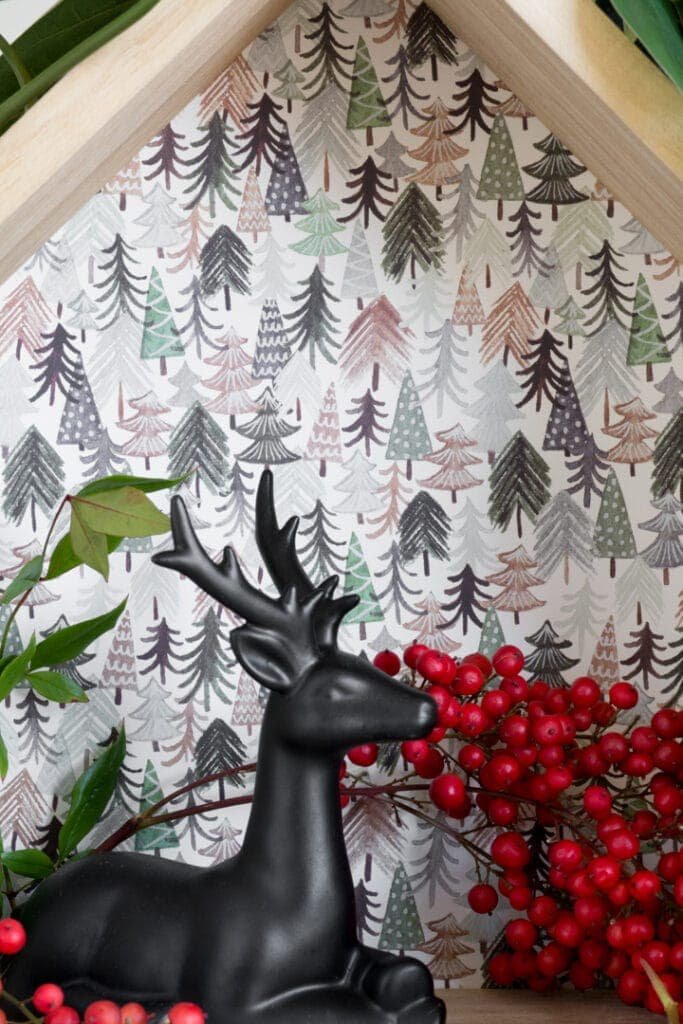
I love this sampler! There are so many cute ones to choose from. I almost went with the Nordic-inspired Christmas sampler, but I decided to get that one in regular vinyl and go with the winter one for this project. The prints are so pretty and understated without being in-your-face holidays.
You can cut pretty much anything out of this material, and you can also use it with layered designs (up to three layers). This patterned iron-on has Cricut’s “StrongBond Guarantee” as well, meaning it delivers superior performance. Use it as directed, and the results will last. If not, Cricut will replace it! (Note that I haven’t tried this in real life, I’m just going off of their website…)
There are three key differences I want to talk about. First, when working with patterned iron-on, you should have the blue LightGrip mat, not the StandardGrip green mat you typically use with vinyl. I’m not sure why that is—maybe the patterned iron-on is more delicate?
Second, The “sticky” side—or the side that faces down and adheres onto your material—looks different, too. I’ve tried to capture that in this photo, but it’s hard to tell.

And, finally, the patterned iron on requires a slightly different cutting approach to get the perfect kiss cut. (A kiss cut cuts the material but leaves the liner in tact.) You can use patterned iron-on with all Cricut machines, but don’t just select “iron-on” from your Cricut’s dial.
Here’s what you need to do for Cricut Explore and Cricut Maker machines—and whichever machine you’re using, Cricut recommends always doing a test cut:
- Explore Machines: Use a premium fine-point blade. Turn the dial on your machine to “Custom” and select “Patterned Iron-on” from the list of custom materials that come up in Design Space.
- Maker Machines: Use a premium fine-point blade. Select “Browse all materials,” in Design Space, then select “Patterned Iron-on.”
Check out my detailed guide to using the Cricut Maker Knife Blade, how to slice text in Cricut Design Space, my EasyPress 2 guide, and my tutorial for using holographic mosaic iron-on! Also check out my latest project for my printer stand and storage for my Cricut machines!
But Cricut’s patterned iron-on material is pretty similar to regular iron-on. You place it face down on your mat before loading it into the machine, mirror the imagines in Design Space, and use the same weeding tools.
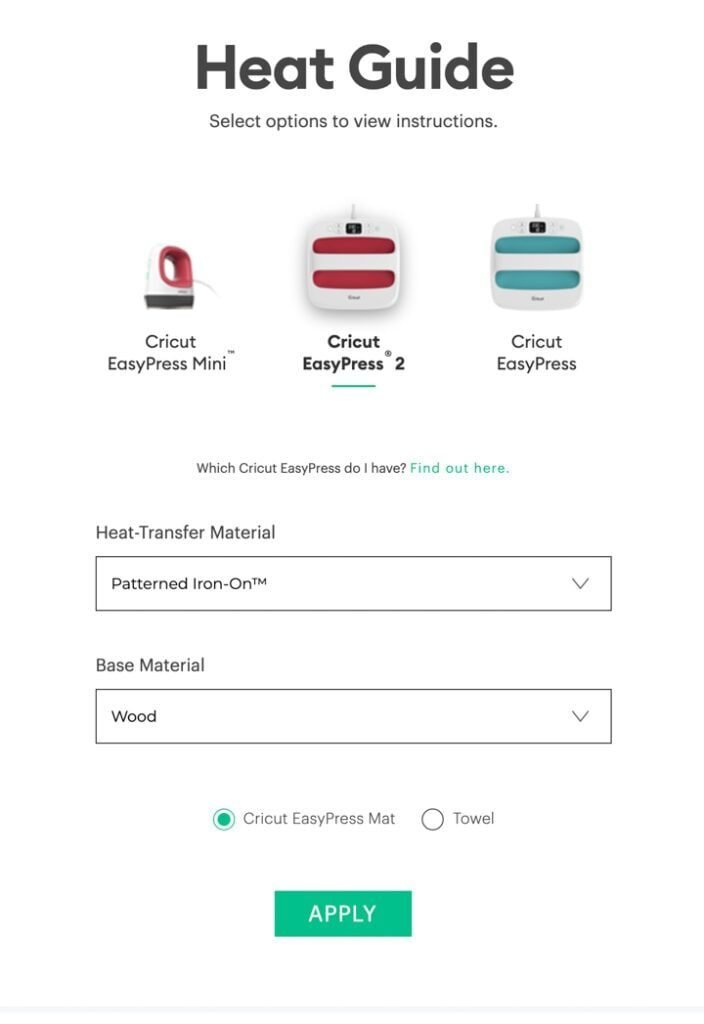
When apply Cricut patterned iron-on to items, you also want to take the same prep steps to ensure your transfer lasts for the long haul. Use the Cricut Heat Guide to figure out how much heat you’ll need to apply based on your base material. Then follow the heat transfer instructions exactly, including preheating, the length of time you need to apply heat, the temperature required, and what type of peel you’ll need.
You’ll also need to make sure your item is clean. For fabric, make sure to prewash since items can be treated with chemicals in stores. (The chemicals won’t hurt you, they just could interfere with the transfer process and make your design not stick as well.) Prewashing will also get any shrinkage out of the way before transferring your design.
If using iron-on on a material other than fabric, make sure the surface is clean, free of any debris, and totally dry (if you’d wiped it down, painted it, or something else).
First I used DecoArt’s DuraClear varnish in a satin finish to apply a coat of varnish to the entire wooden house. I wanted to keep the unfinished wood look to go with the tree pattern, but I wanted to add some sort of finish. The crystal clear satin finish adds a nice extra touch to this piece.
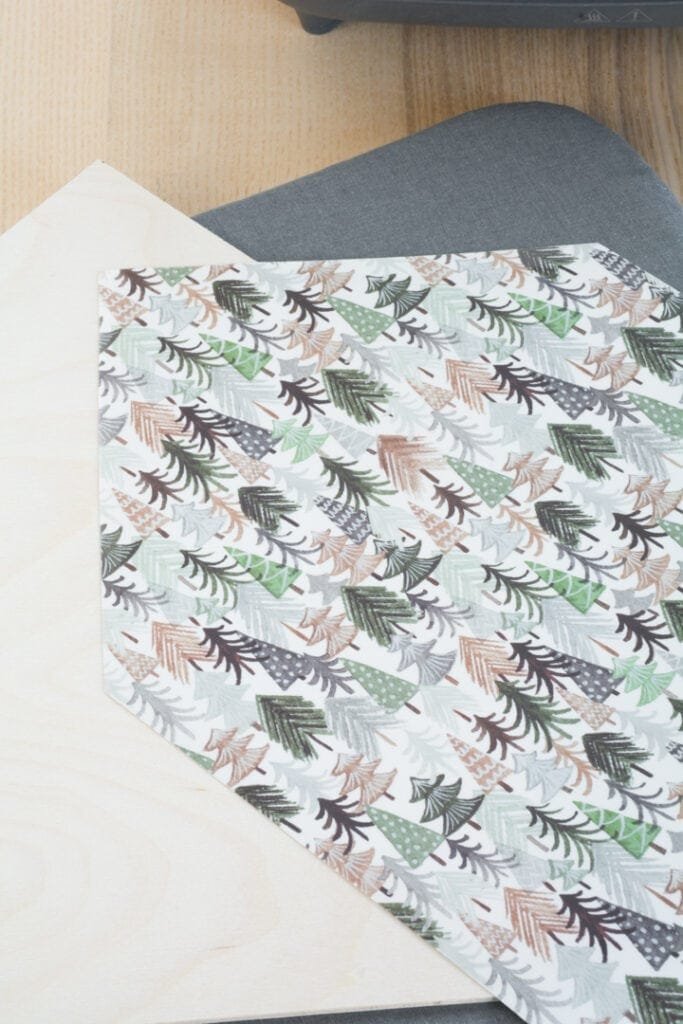
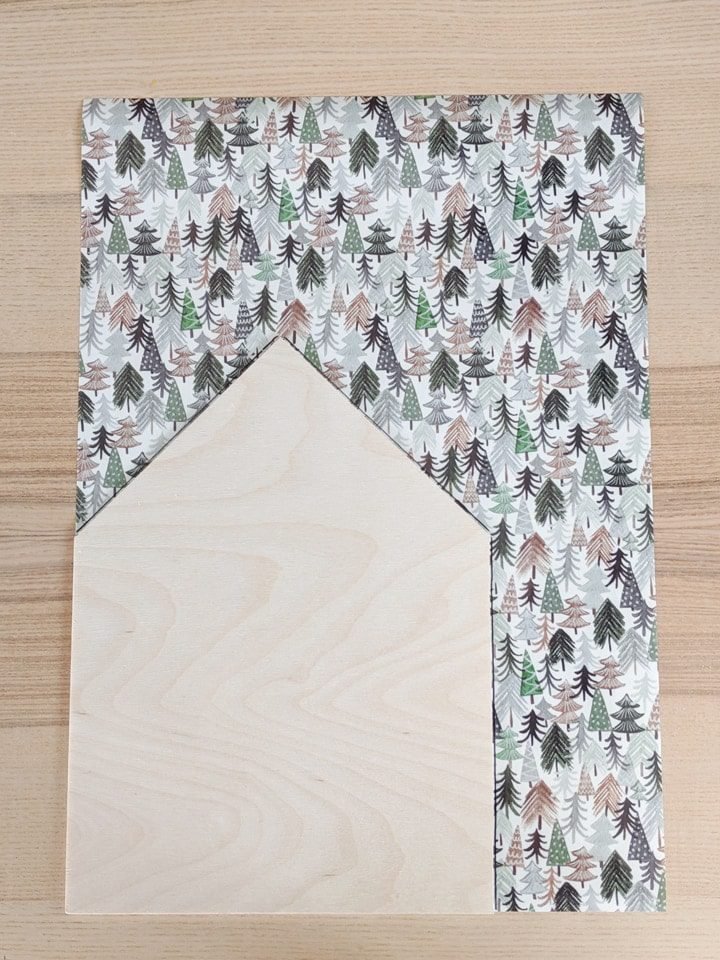
Next I used a saw to cut a piece of very thin plywood in the shape of the house. I used a smaller piece of craft plywood from the craft store. They have very nice thin pieces that are perfect for this project.
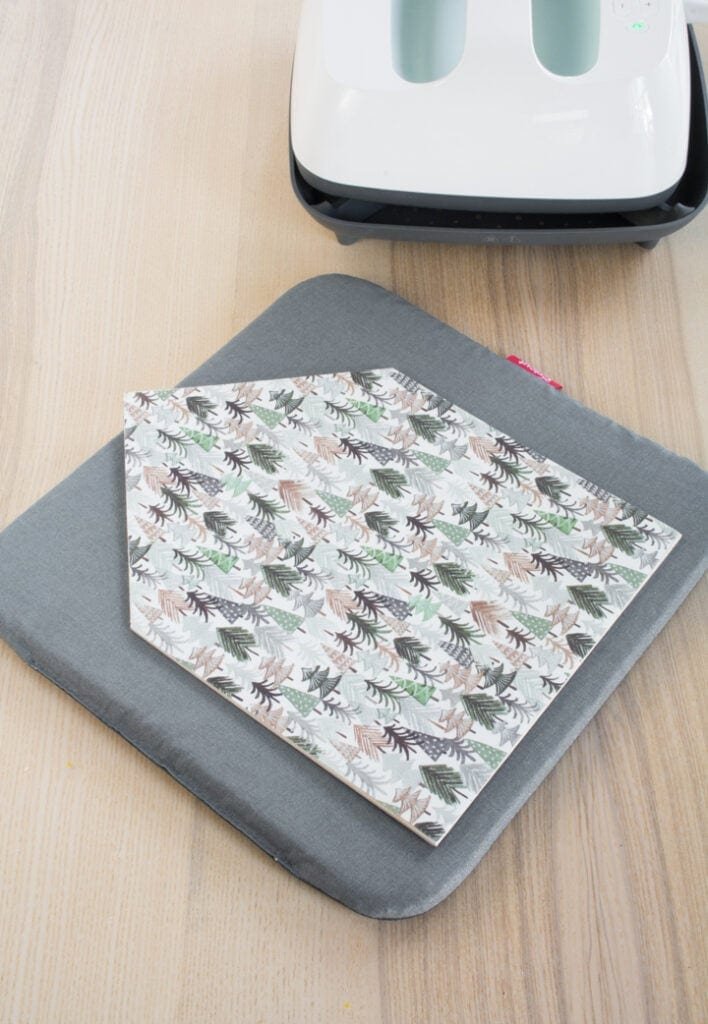
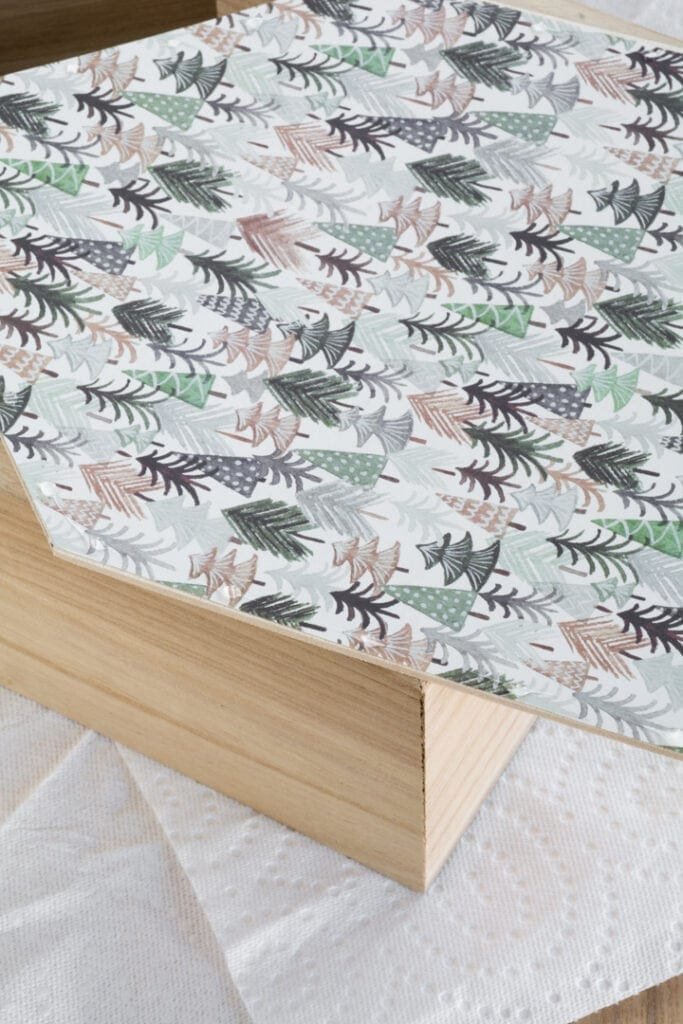
Then I laid the back piece down onto the patterned iron-on material and drew an outline. I then used scissors to cut this out. Yes! I didn’t even use my Cricut for this project 🙂 I knew I wanted the entire back piece covered, and there were no intricate cuts or designs. So I just cut by hand.
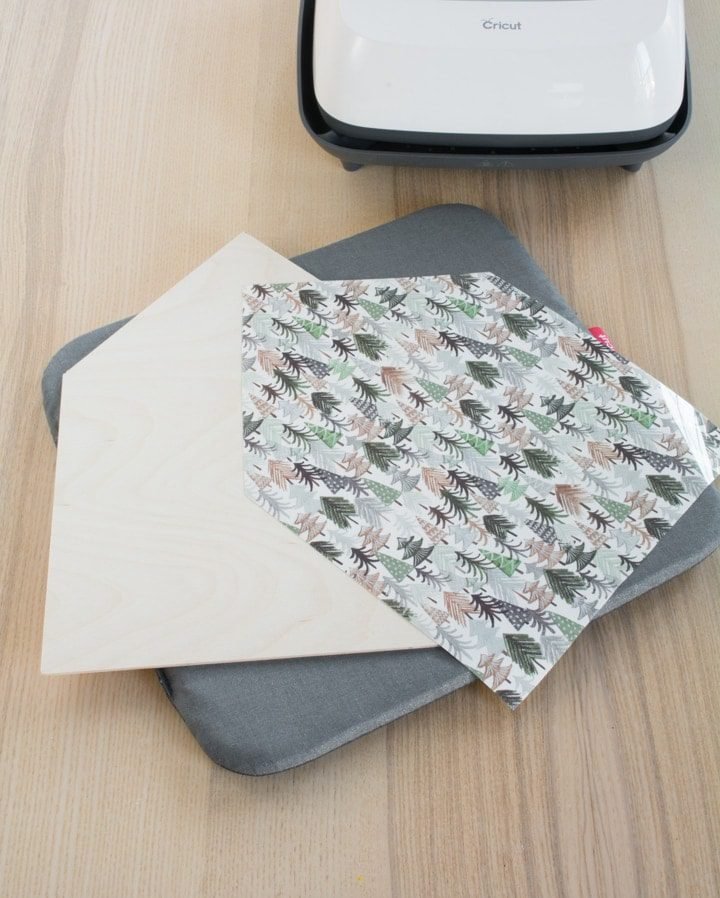
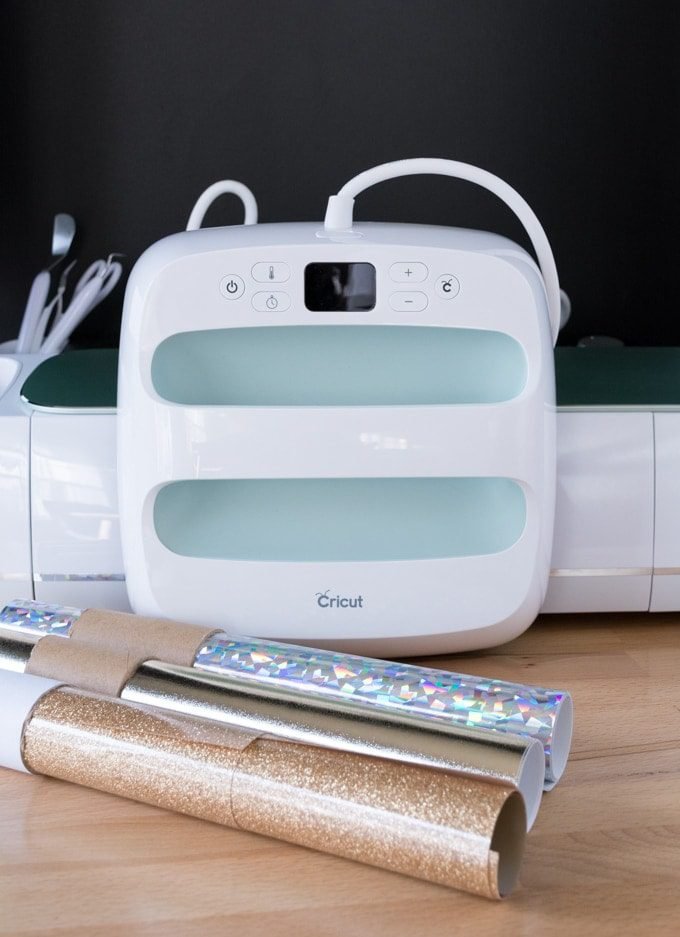
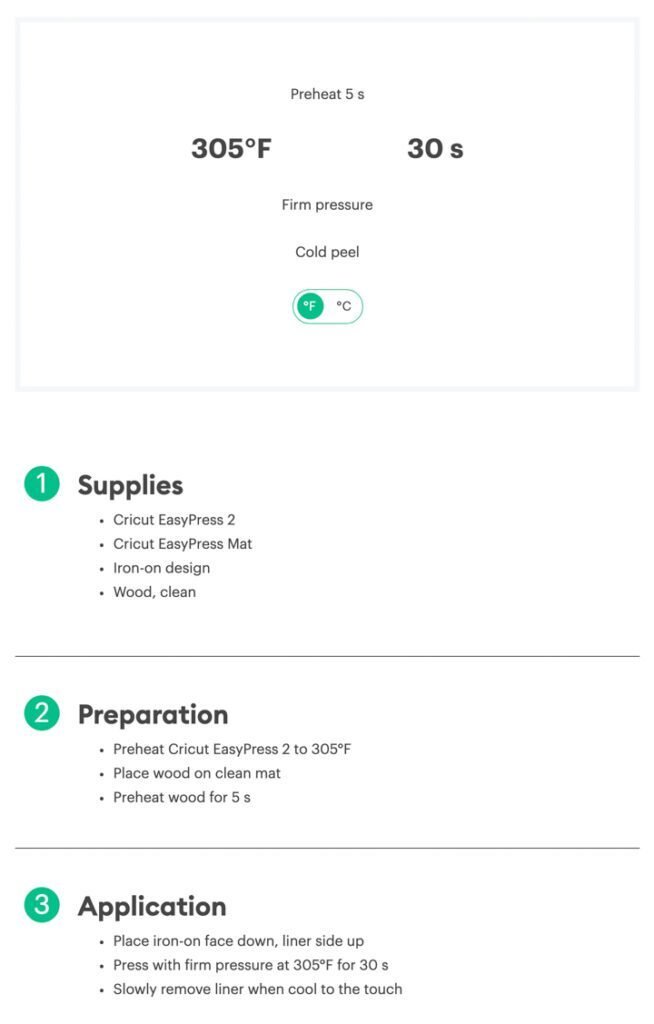
First I used the Cricut Heat Guide to select EasyPress 2, Patterned Iron-On, Wood, and Cricut EasyPress Mat for my materials. This gave me all of the settings I needed to know to preheat the wooden base and transfer the iron-on material to the backing.
Oh…don’t be freaked out if there’s a bit of a smell while transferring the patterned iron-on. I noticed a smell that I’ve never noticed with regular iron-on. At first I thought something was wrong, but everything transferred just fine.

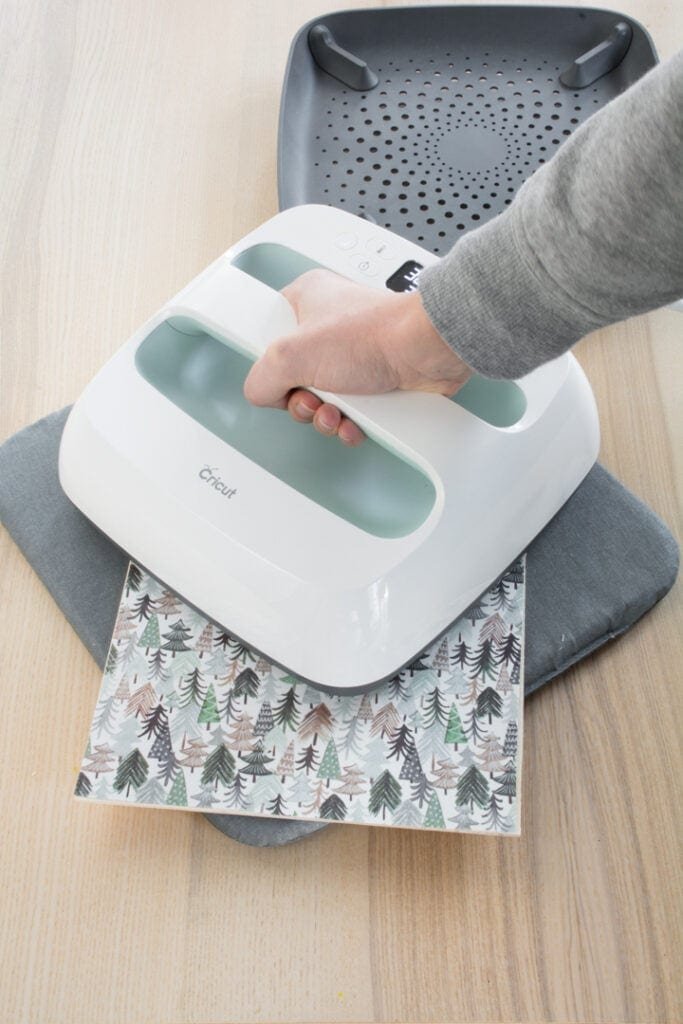
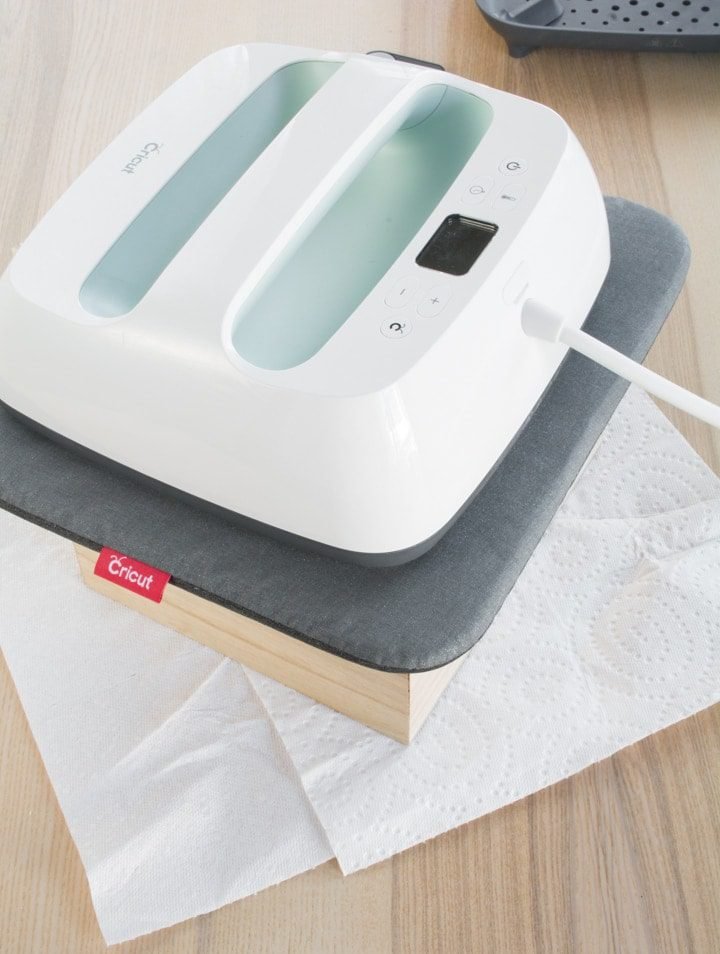
My design that I’m transferring was larger than my EasyPress’s heat plate, so I want to talk a bit about how to transfer a large iron-on design. You’ll need to move your EasyPress around a bit, which can be intimidating. I was afraid I’d apply way too much heat to overlapping sections, but it turns out that’s not as big of an issue as I thought it’d be!
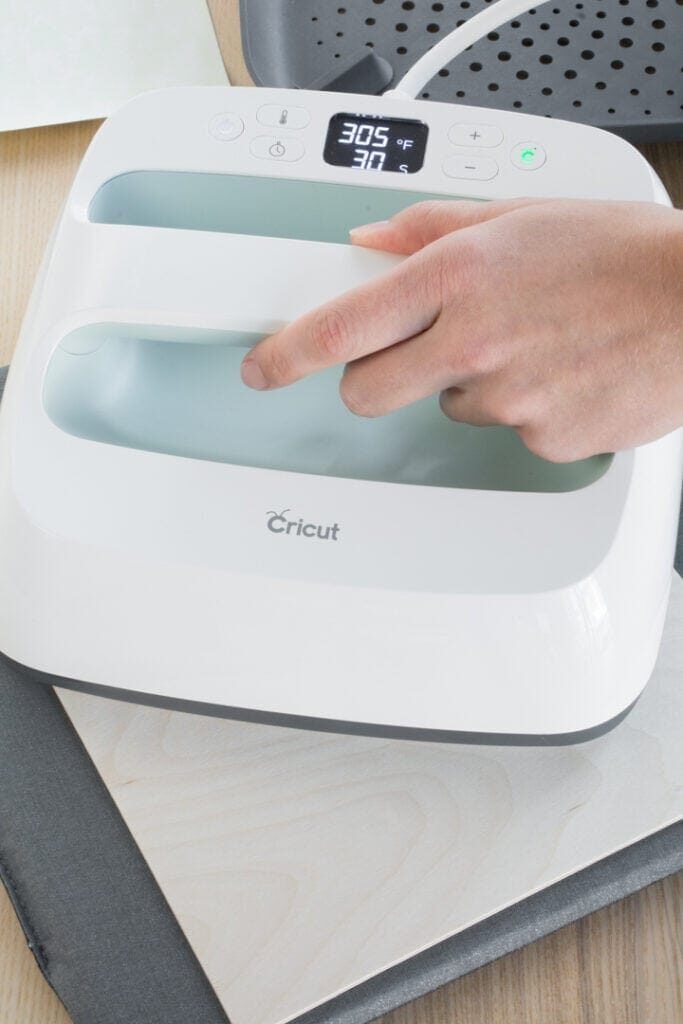
Here’s how I did it. After my EasyPress had heated up completely and I’d preheated my base material, I placed my iron-on design. Then I decided I’d transfer the design in two sections: the bottom of the house shape and the top.
I did the bottom first, heating for the recommended amount of time. Then I moved the EasyPress immediately to the second section and repeated this. I made a small mark so I’d know exactly where to position the EasyPress for the second transfer. Don’t worry if you double-heat in some spots.
When you apply the recommended amount of heat to the back of your base material, use the same method. Work in sections. (Mine was wood and didn’t require applying heat from the back.)
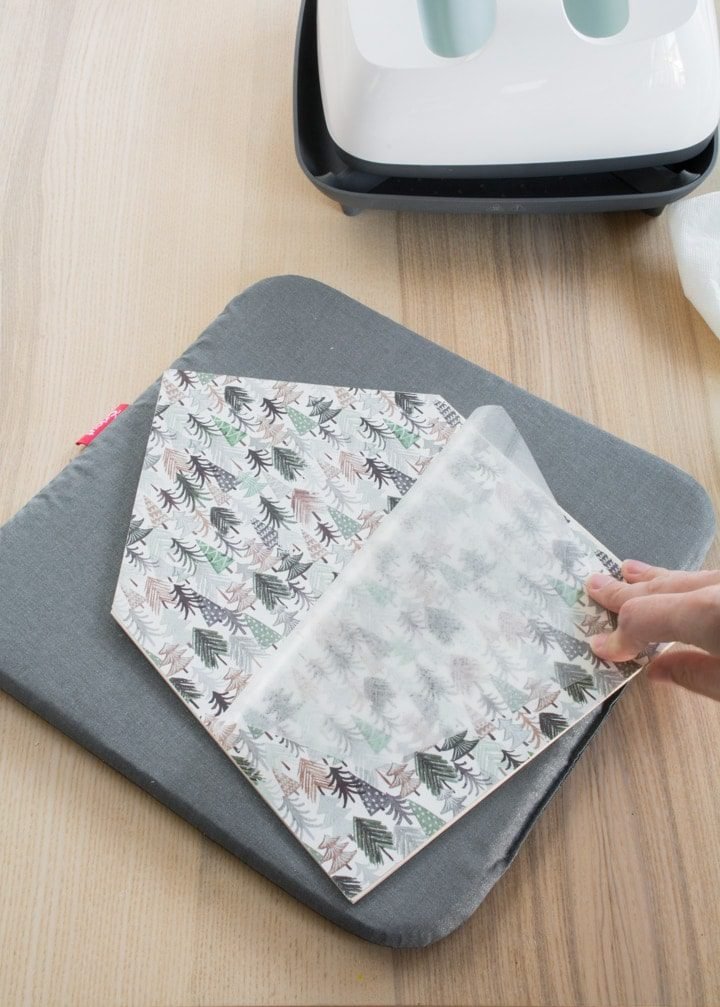
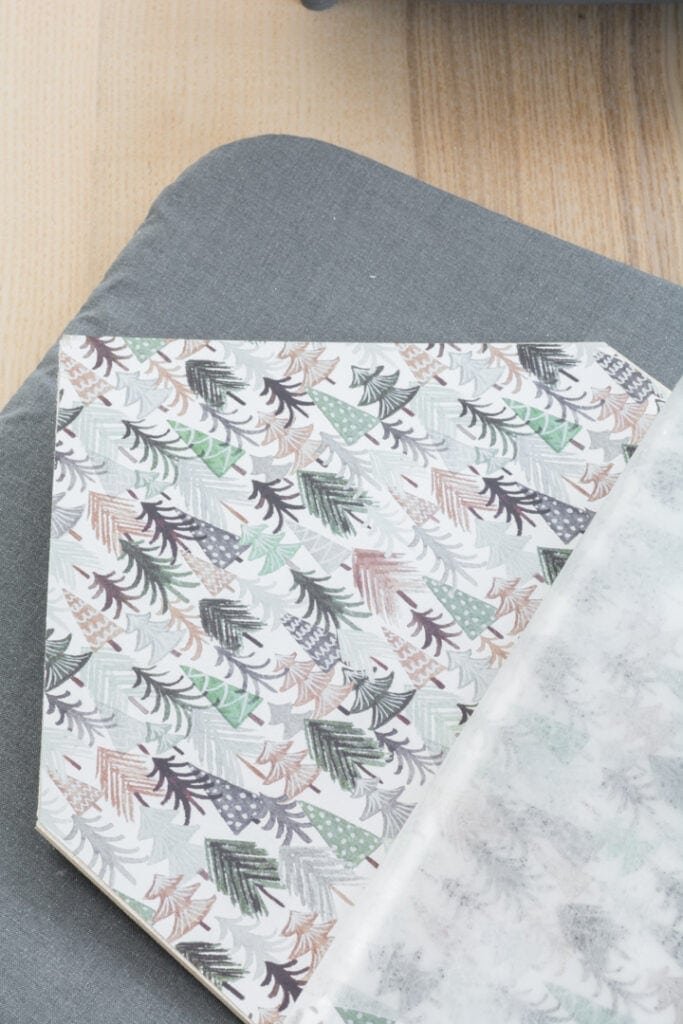
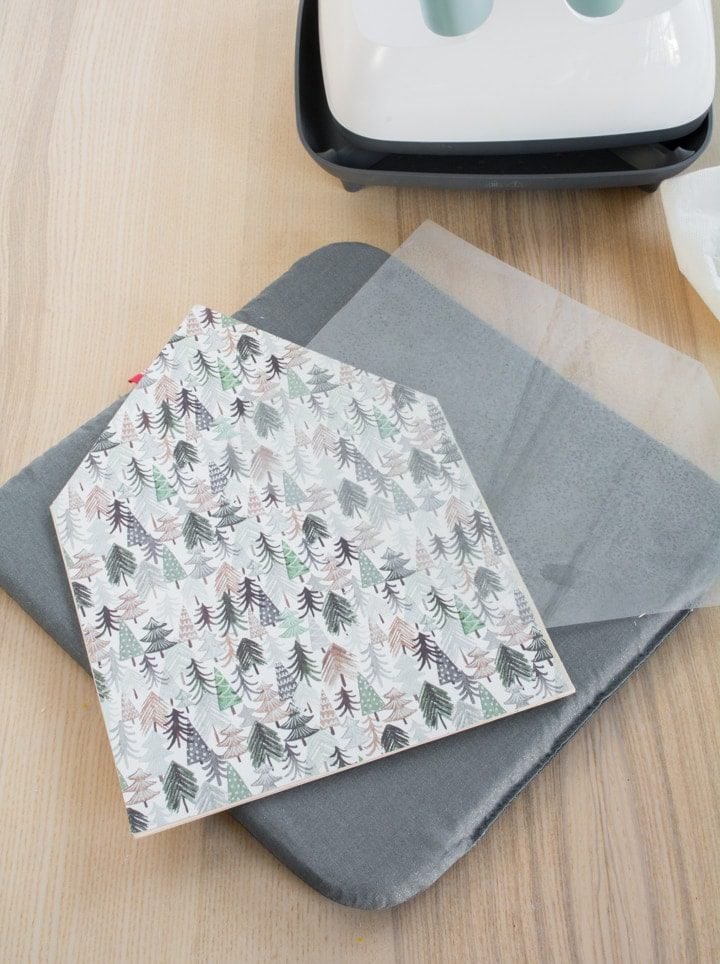
The heat guide said to do a cool peel for this project. I waited until the piece was sufficiently cool and then peeled the clear liner off. Then I ran a thin line of strong glue along the border of the wood backing piece. On the patterned iron-on side, because that’s what we’ll press up against the back of the house.
You can use anything heavy to apply pressure while the glue dries. I actually ended up using my EasyPress mat and EasyPress, which is pretty heavy, to apply pressure. It was perfect. (Just make sure the EasyPress has cooled!)
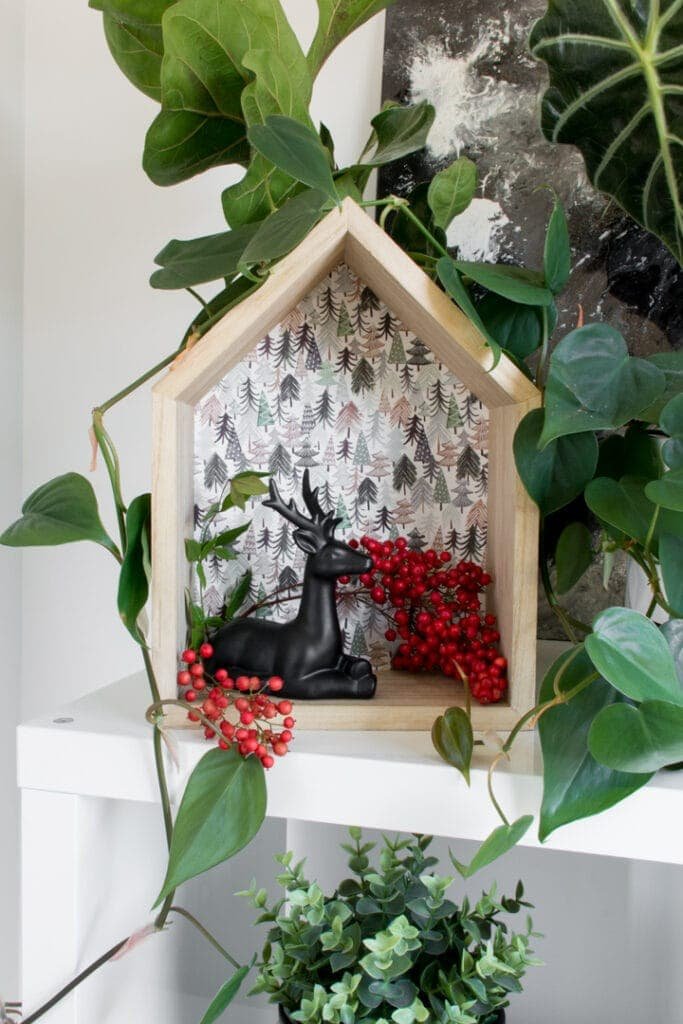
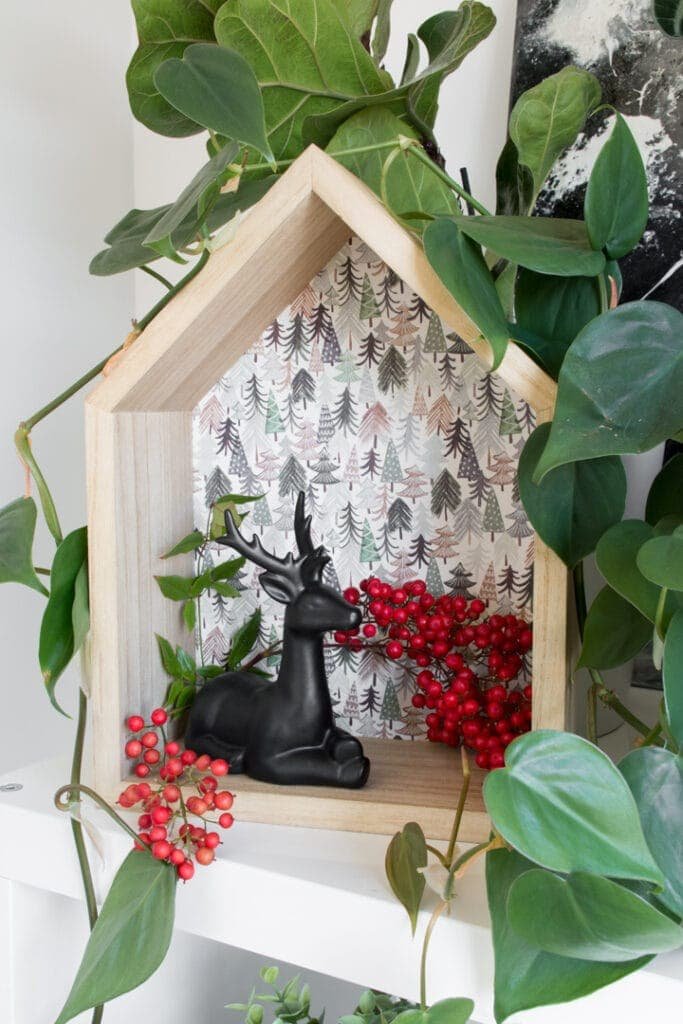
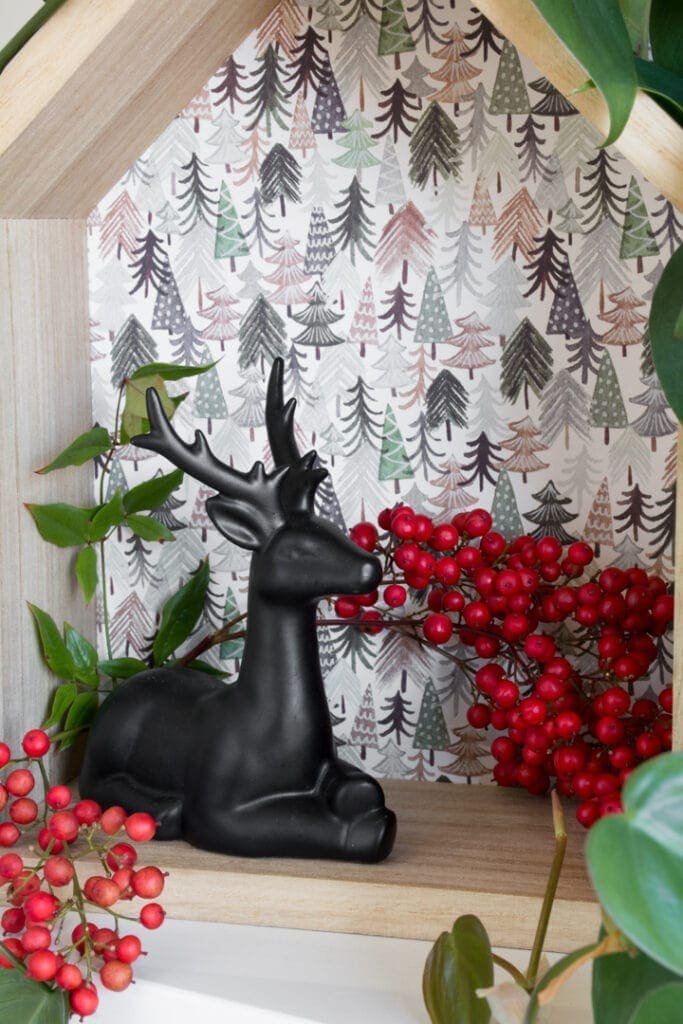
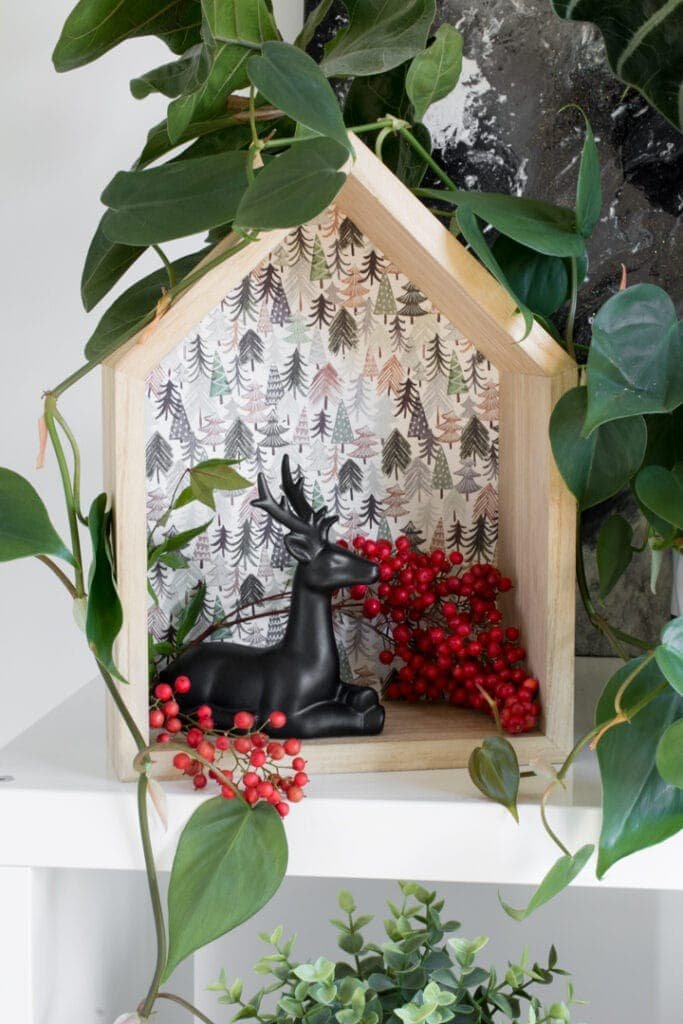
And here’s the finished piece! I added some freshly cut red berries I snipped off at my mom’s house and a little deer I’ve had for a few years. I got it years ago from I don’t even remember when and spray painted it matte black.
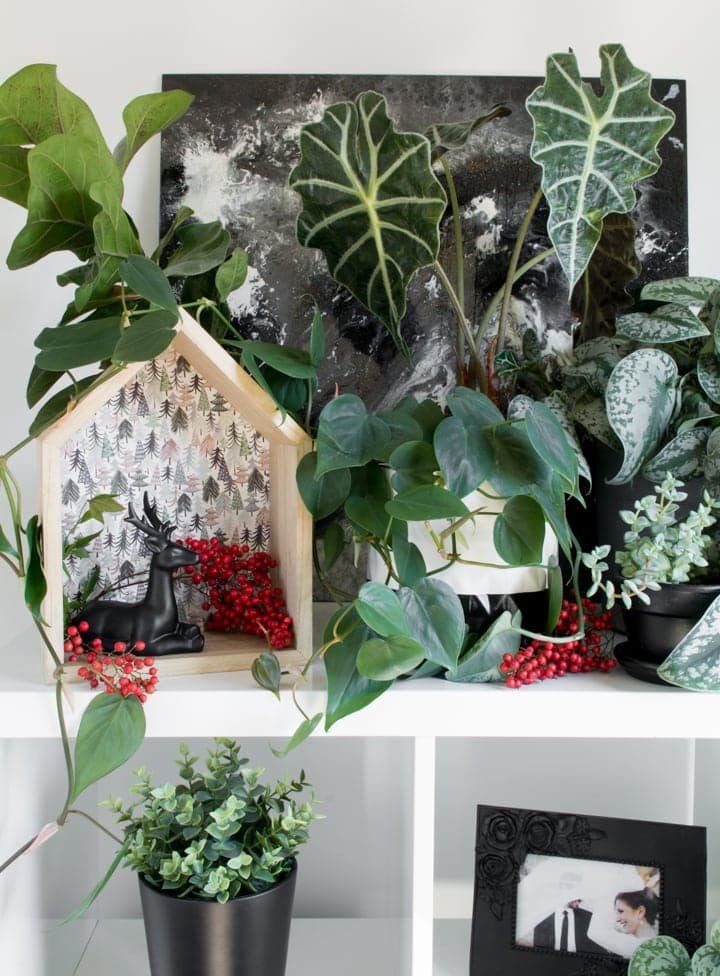
As a bonus, this cute house makes a great little piece for my heart-leaf philodendron to climb all over in this planter corner. It’s probably the extent of the holiday decorating I’ll do upstairs…and it’s just enough. 🙂
I used my EasyPress for my project (see my full guide to using the EasyPress), but I know not everyone has one. Here are the instructions for using a household iron to transfer Cricut patterned iron-on.
- 1: Weed the negative material from your design, leaving the clear liner intact
- 2: Using your iron set to the cotton setting with the steam turned off, preheat the transfer area on your base material for 15 seconds.
- 3: Position your design liner side up onto the base material and apply heat with the iron for 50 seconds. If the design is larger than the iron, make sure you don’t overlap sections too much while applying heat.
- 4: Apply pressure from the back for 15 seconds. Let cool for 2 minutes and peel off the clear liner.
Note: You’ll probably get the best results with an EasyPress 2 and heat transfer pad used on a table. However, if you’re using a household iron, try laying a low-pill towel down over your table and doing the transfer over that.
Share my tips about how to use patterned iron-on vinyl with wood!


0 Comments