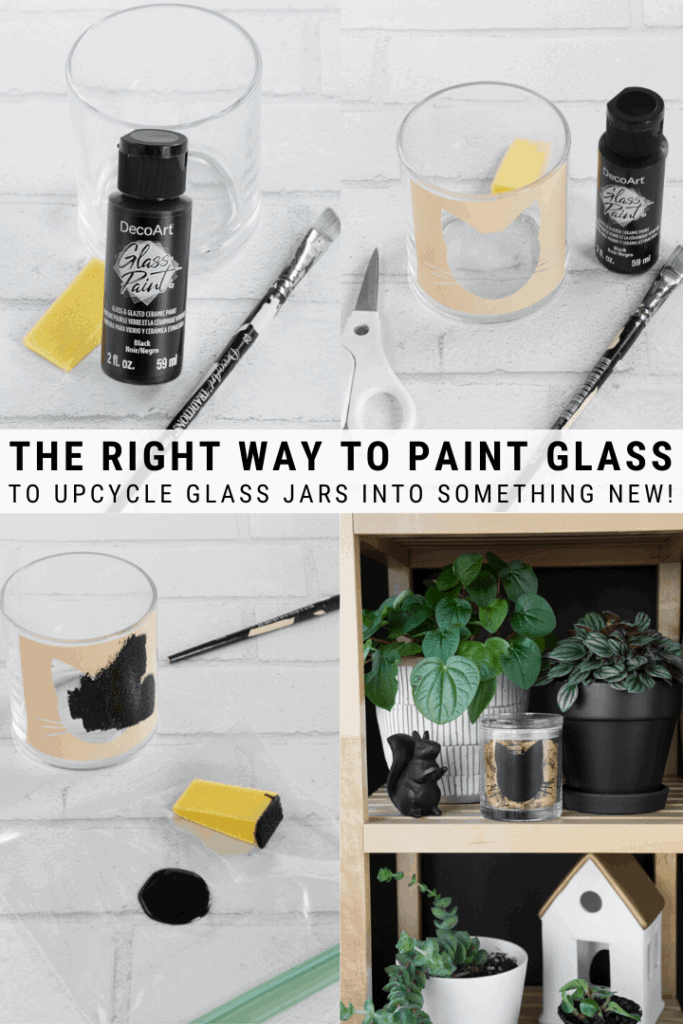
Wondering if you can paint glass with acrylic paint? This post shares all about painting glass jars using the brand new DecoArt Glass Paint, including how to paint glass jars and baking painted glass. This post was sponsored by DecoArt and originally appeared on bybrittanygoldwyn.com.
Alright painting pals, I’ve got another DecoArt project for you guys today! I’m really exciting to be trying out their brand new glass acrylic paint to paint glass jars!
It’s now available at Michaels, which I know you guys are already visiting on a weekly basis anyway. No judgment.
I usually use spray paint to paint glass, which works well enough—but DecoArt Glass Paint is really where it’s at. While spray paint can scratch (and has some strong fumes, limiting where you can use it to craft), DecoArt’s glass paint gives you a strong, durable finish and fill not gas you out of your craft room. 🙂 (Sorry, spray paint. DecoArt Glass Paint wins that round.)
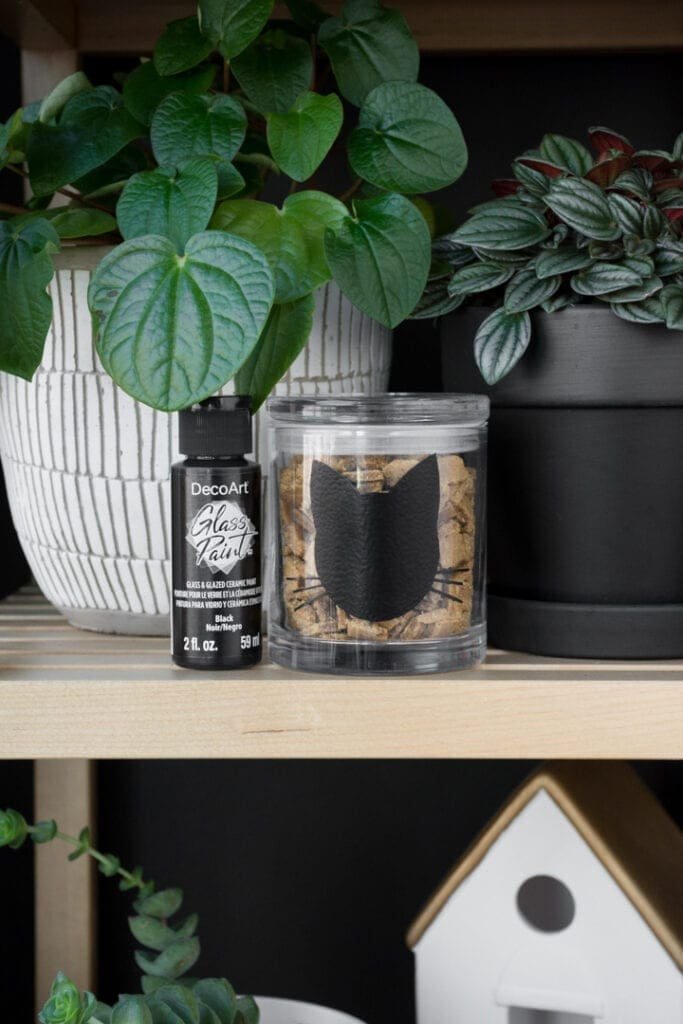
I’ll be upcycling an old glass jar today using the paint and turning it into a cute little cat treat jar. If you’re new around here, you should know that I love my cats. I also love reusing old items and repurposing things around the home.
With glass decor items so easily available at your local craft store, a thrift store, or maybe even your own kitchen, it’s safe to say that you can put this new paint to good use.
Like I am, I know a lot of you guys are busy with jobs or kids or both. And like I do, you probably like to unwind with a good crafting therapy session. (My favorite kind of therapy session. Also cheaper than real therapy.)
So let’s talk a bit about this paint. Glass paint can be particularly challenging to use, and there are not many accessible glass paints with an opaque finish available on the crafting market.
DecoArt Glass Paint fills that void—it has fab coverage and durability and comes in 10 rich, satin-finish colors and three shimmering metallics.
This paint is ideal for glass and glazed ceramics. It’s easy to brush on with a simple soft brush, so you don’t have to worry about being an experienced crafter.
You can also achieve a professional-looking finish with minimal brushstrokes because the formula self-levels as it dries. And—critically for working with glass—it doesn’t slide off of slippery surfaces!
Painting not your thing? The formula also comes in a convenient marker form that you can use to draw on glass and glazed ceramics to create custom designs (or write names on wine glasses!).

Alright, so let’s cover a few things about working with DecoArt Glass Paint. It’s easy, but there are a few things to remember. Let’s chat about those.
- This is a water-based acrylic paint, meaning easy soap-and-water cleanup. The paint is permanent. It is now available at Michaels.
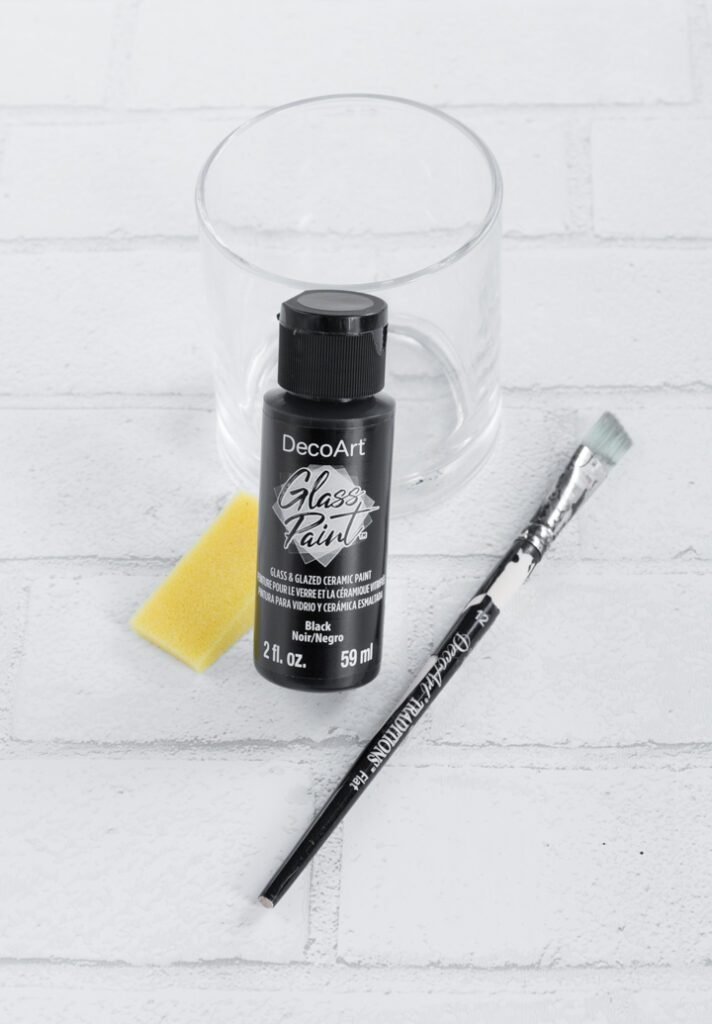
- To get the best results with DecoArt Glass Paint (also perfect for glazed ceramics), use a soft brush or sponge. This will help you achieve one-coat opaque, satin-finish coverage in most colors—two coats for some colors, as with many paints.
- Allow the painted surface to cure for 4 days before using. I know! You have to have patience. Once it dries, it still needs to cure to get that great durable finish.
- For items that you’d like to be top-rack dishwasher-safe, set the item in a cool oven. Then set the oven’s temperature to 275°F and bake for 30 minutes. After 30 minutes, turn the oven off and let the item cool completely with the oven door propped partially open.
- This paint is not for direct contact with food, so use it only on surfaces that won’t touch food or drinks (like the base of a wise glass or the handle on a glass item you put a food or drinks in).
So as I mentioned in the beginning of this post, I decided to upcycle an old glass jar and turn it into a cat treat jar. This is perfect because the candle came with an air-tight lid that will help keep the kitter treats nice and fresh. (Want to make candles? Check out my DIY beeswax and coconut oil candles!)
Painting glass jars is an easy way to dress them up. If you don’t have something to use at home, you can pop over to your local Michaels and browse their variety of glassware. (Keep in mind you can also use this paint on glazed ceramics.)
Or, if you’re trying to mind your waste generation, hit up your local thrift store or a garage sale. They are perfect for once-loved glass goodies.
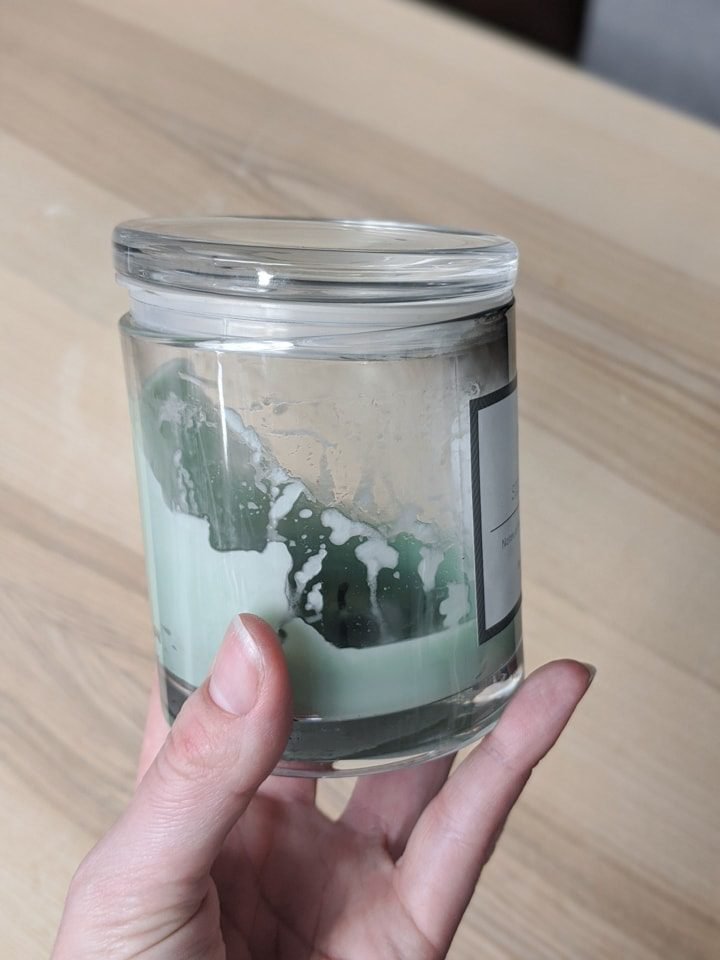
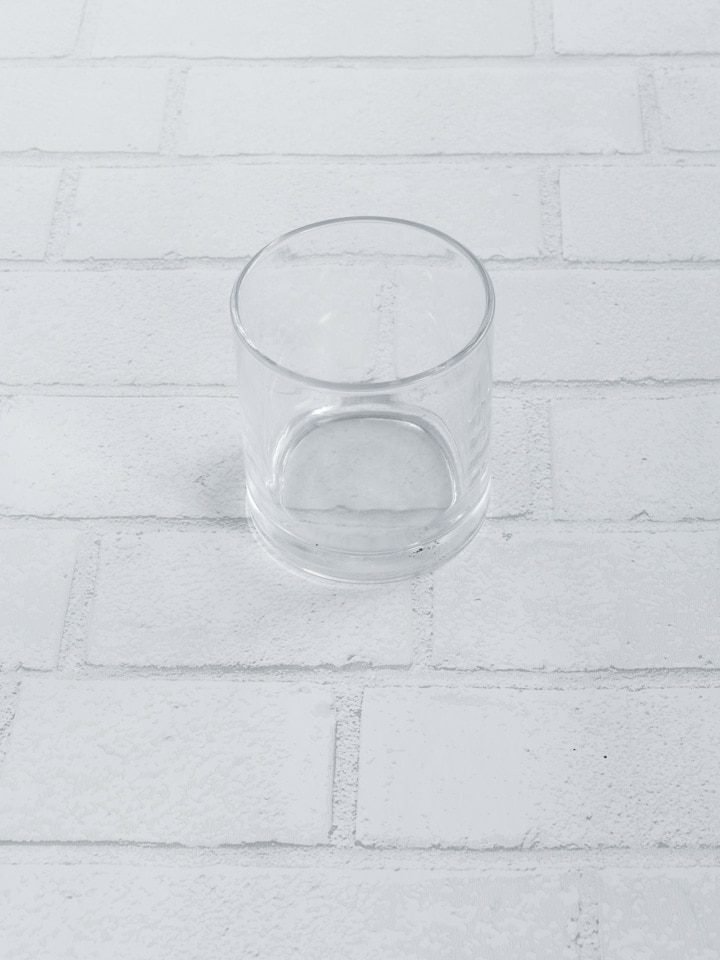
The first step is to clean out the old candle jar. As you burn candles, they can burn unevenly. They’ll also never burn all of the wax completely away, meaning you’ll have some cleanup and polishing to do.
The easiest way to do this is to pop your candle in the freezer. The wax sometimes comes out easily after this. If this doesn’t work for you, however, you can melt the wax down.
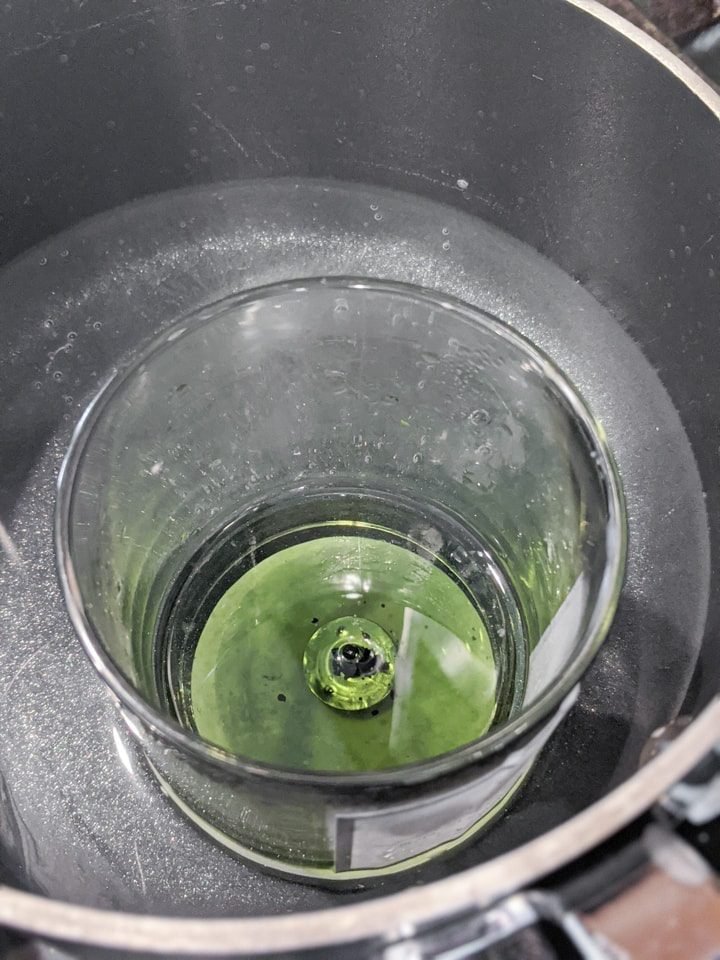
The freezer method didn’t work for me, so I melted mine down using a bit of water in a pot on the stove. I have a whole post on how to clean old wax out of glass candle jars, but here’s an overview.
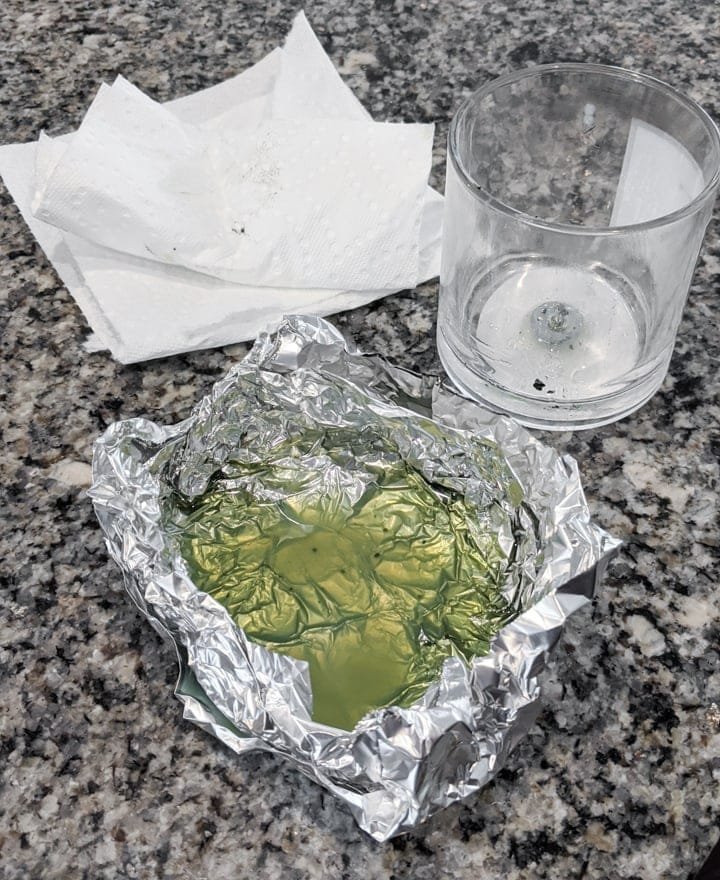
Make sure to use oven mitts since the glass jar gets hot. Obviously only do this method with glass candle holders, too! Once the wax is completely liquid, pour it out. I poured it into some aluminum foil and chucked it. (You could also upcycle it into wax melts.)
Then I removed the wick and wick plate and used dish soap and a scrubber to clean everything out. Once the jar dried, I wiped it down with rubbing alcohol to totally clean off the surface for glass paint.
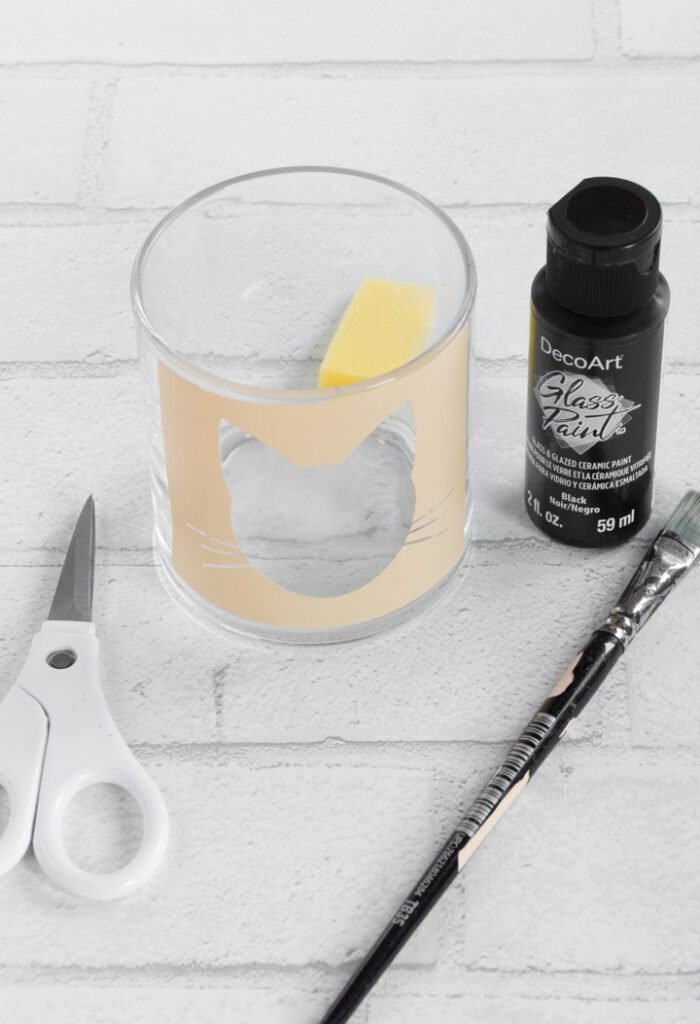
I used my Cricut to create a quick stencil using regular vinyl. I wanted a cute cat shape for the jar and wanted to use black paint for a bold black kitty. 🙂
If you don’t have a Cricut, that’s fine—you can paint by hand, paint off a design using painter’s tape, and paint in a stencil you bought!
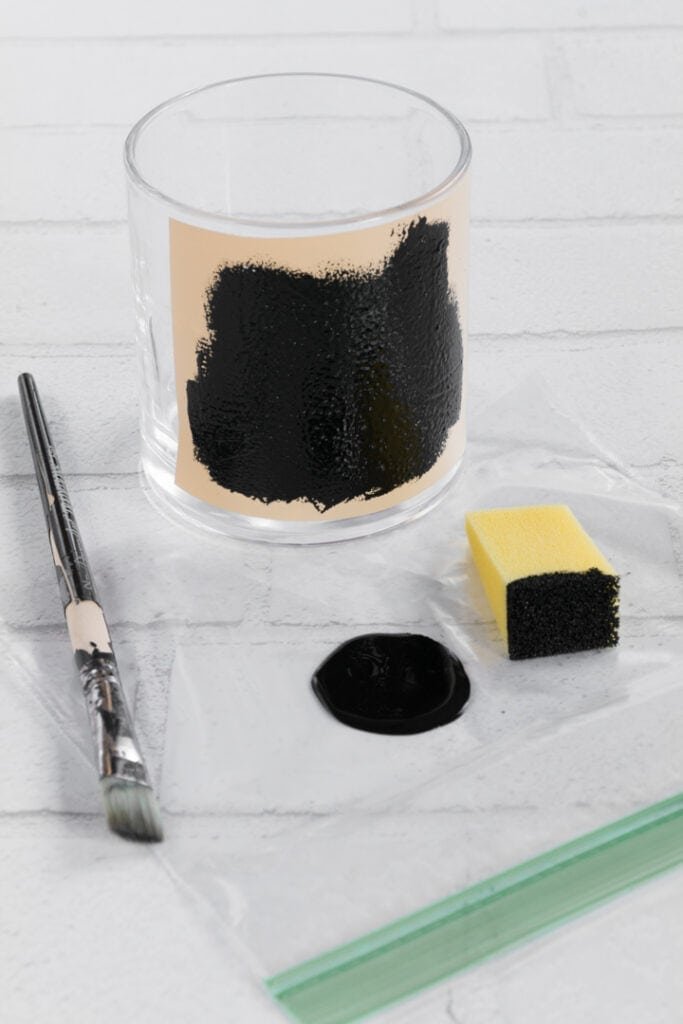
I got out a small soft brush and a small sponge to see which one I liked better. I ended up using the sponge to paint in the design and it worked great. The instructions say you can use either, though.
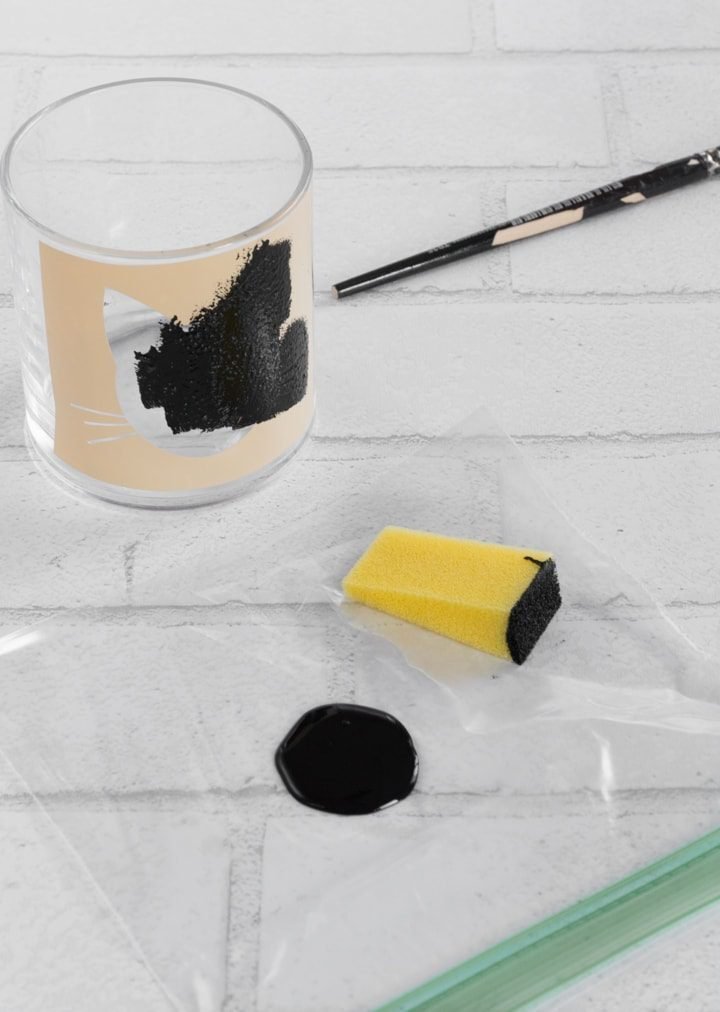
To paint in the design, I just dabbed my sponge in the paint and then blotted it all over the design area. I did it a bit thick since I only wanted to have to do one coat of the paint. (Didn’t want to have to make another stencil!)
When I was done blotting in the cat face area, I gently peeled the vinyl stencil off. If you do this while the paint is still wet, you’ll end up with crisp lines.
You’ll also avoid the vinyl stencil pulling up any of the dried paint on the design (this paint takes about 4 days to fully cure).
If there are any areas where the paint got outside of the stencil, you can dip a Q-tip in some water to clean it up. This is also why it’s a good idea to remove the stencil with the paint is wet. If it were dry, it’d be too late to touch up the design.
I’m not baking mine because I don’t need it to be top-rack dishwasher-safe. However, if you want to make your item dishwasher safe, remember the following steps:
- Put the painted item in a cool oven.
- Set the oven’s temperature to 275°F and bake for 30 minutes.
- After 30 minutes, turn the oven off and let the painted item cool with the oven door propped open.
Isn’t this an adorable little cat treat jar? Sure, I could have just left it plain, but what’s the fun in that? 🙂

For more thrifty paint projects, check out my painted wine bottle upcycled into a bud vase, my upcycled tea tin planter, my post on how to paint thrifted clay pots, and my post about painting art using a feather duster!
Share my tips about using DecoArt glass paint and painting glass jars on Pinterest!


0 Comments