This content may contain affiliate links. See my full disclosure here.
Wondering how to melt crayons? There are a lot of ways to do it. Today I’m talking about using a heat gun for melting crayons in silicone molds. And, bonus: they’re cute unicorn and dinosaur molds.
Hey hey, popping in today to share a quick tip about how to melt crayons! Melting crayons in silicone molds is a great way to upcycle old or broken crayons into a fun thing for kids.
Honestly, these are so cute that they would even make a cute thing to do using new crayons. Especially when you have a 1 year old who has discovered she can break crayons in half…for fun.
I loved making upcycled melted crayons with my mom when I was younger. We used cupcake tins, but when I saw these adorable unicorn and dinosaur silicone molds on sale for two for $5, I jumped at it! All you need for this project is crayons and a silicone mold.

- Crayons
- Silicone molds—I used a unicorn mold and a dinosaur mold I snagged on a great sale at Joann. There are a ton of similar ones out there though.
- Heat gun, oven, microwave, or doubler boiler method—your choice
- Gloves, paper towels, oven mitts
There are a few different ways to melt crayons. First, you could use an oven. If you use an oven to melt your crayons, you can melt them in an oven-safe container for about 10–15 minutes at about 200 degrees Fahrenheit.
Tip for using a silicone mold: They are floppy, so set them on a cookie sheet to protect against spills. You can also use the microwave.
I don’t super love this method because you have to check the crayons every 30 seconds or so while they are melting to make sure they don’t overheat. They should require about 2 minutes total to melt.
Make sure you’re using something microwave safe if you do this method (no metal, obviously). You can melt in a plastic container and then pour the melted wax into your mold, too.
A double-boiler method is possible, but it’s honestly probably more trouble than it’s worth. It’s the method of choice for making candles. I outlined the method in my DIY beeswax and coconut oil candles routine. (You gotta use that method for beeswax because beeswax is flammable and come into direct contact with heat.)
Finally, there’s using a heat gun. You definitely don’t have to do this. I just already had the heat gun and figured I’d try it out to see how effective it was. I’ll talk more about using the heat gun in step 2 below.
Like easy kid crafts? Check out my tips for how to make a glitter sensory bottle and making DIY sidewalk chalk paint. I also have a review of a life-sized colorable cardboard playhouse and 5 different homemade playdough recipes!
Remember to use the proper safety precautions for whichever crayon melting method you choose, including protecting yourself from burns and protecting your workspace from spilled wax.
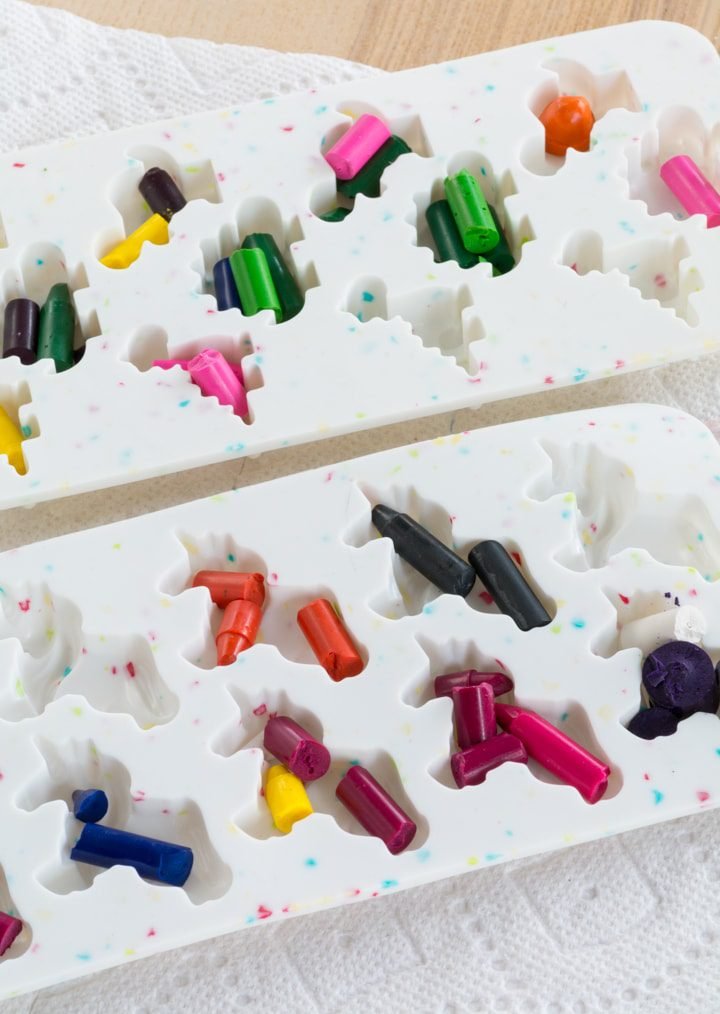
The first thing to do is gather your broken crayons and remove the wrappers from them. Then you can break them down into smaller pieces using either your hands or a small knife. This depends on the size of your mold pieces.
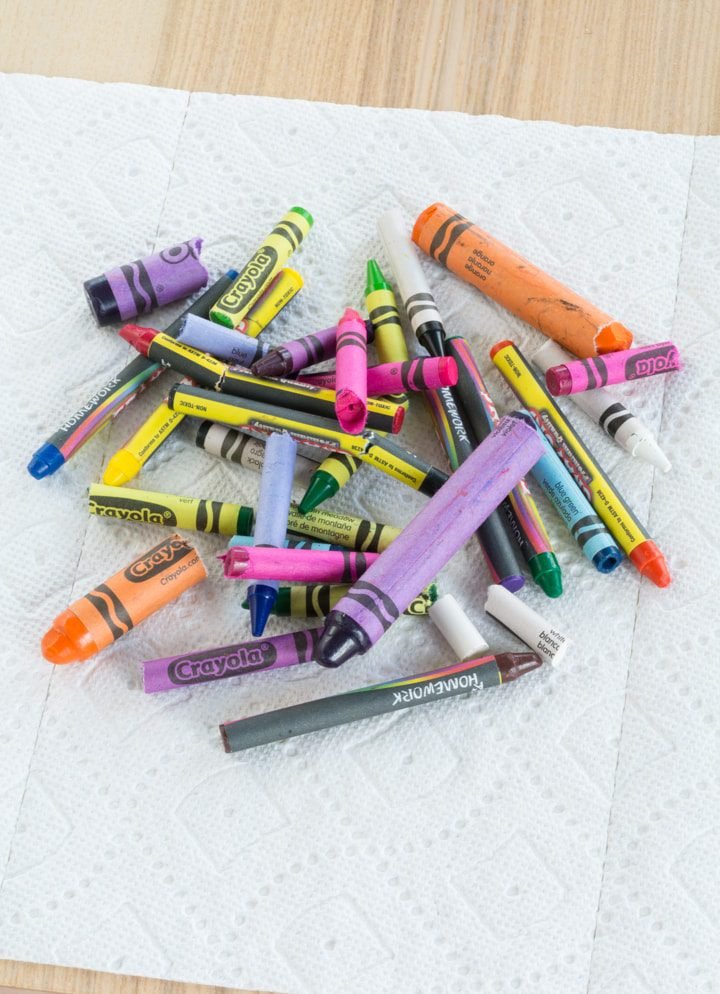
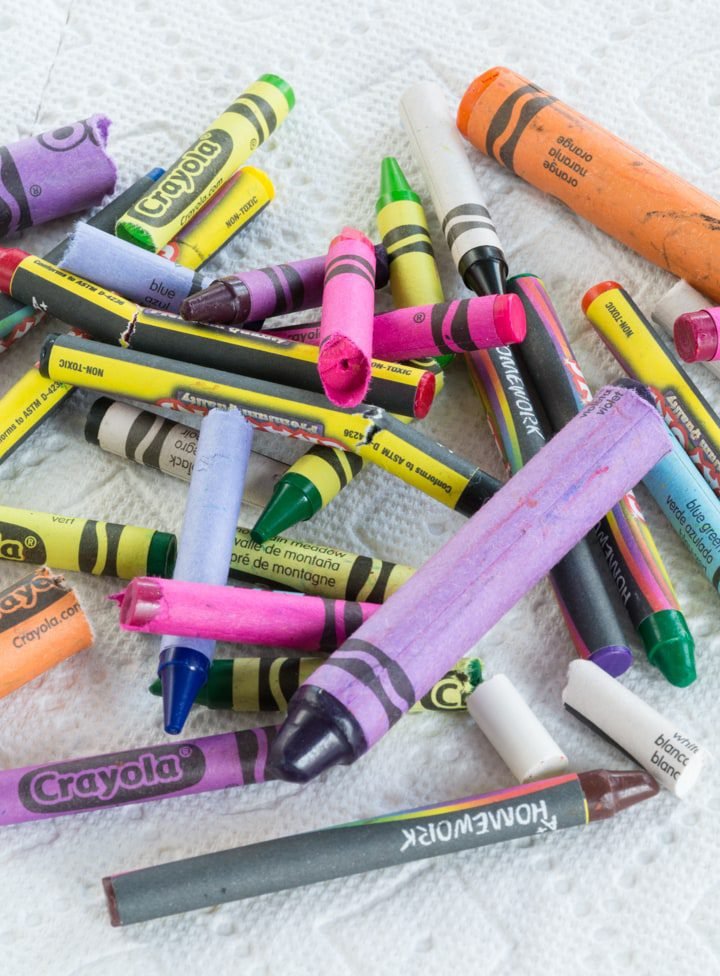
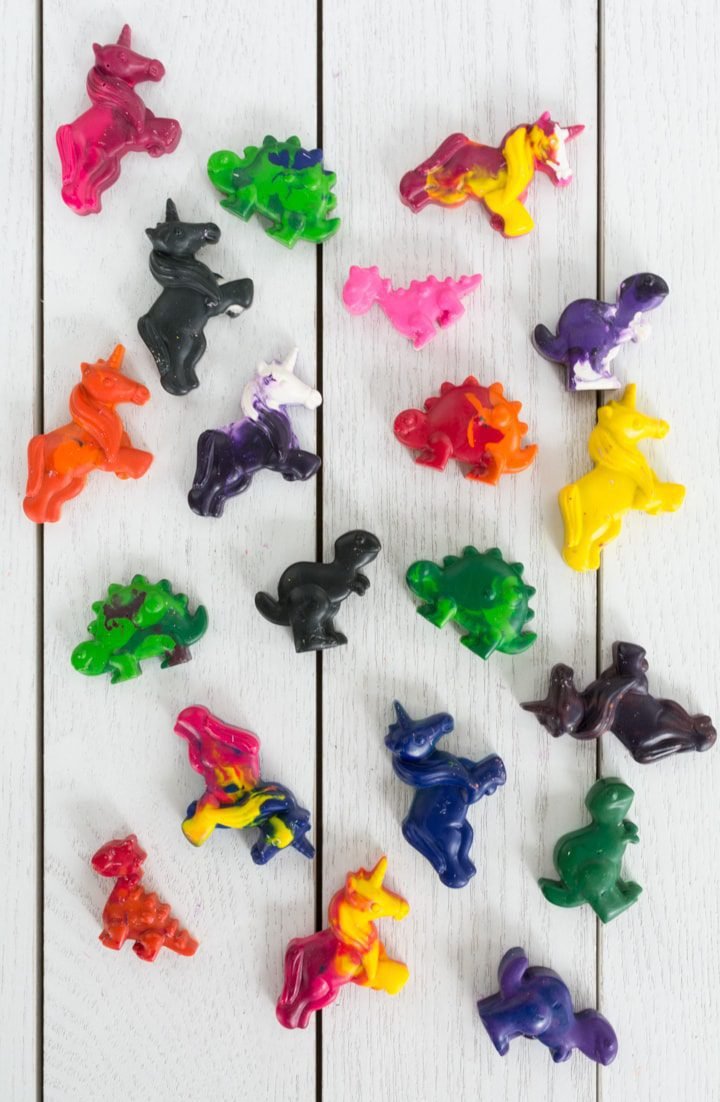
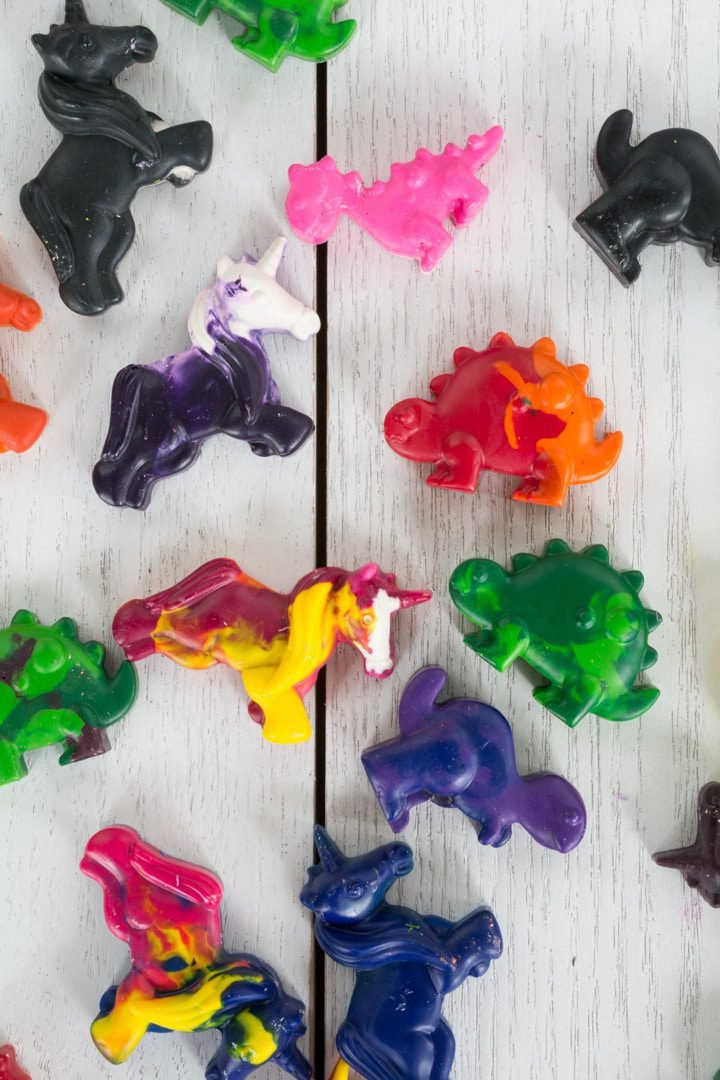
The next thing you’ll need to do is decide on your color patterns. You can do solid colors or mix and match. I did a bit of both. And I tried to avoid traditional gender-norm colors 🙂 Pink and purple for dinos too.

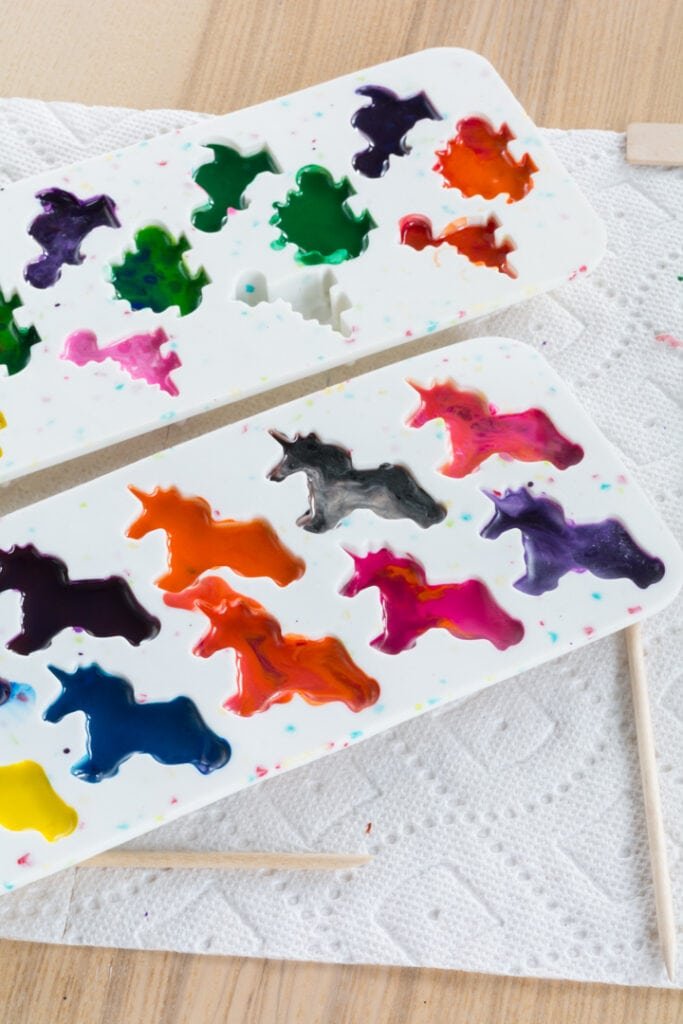
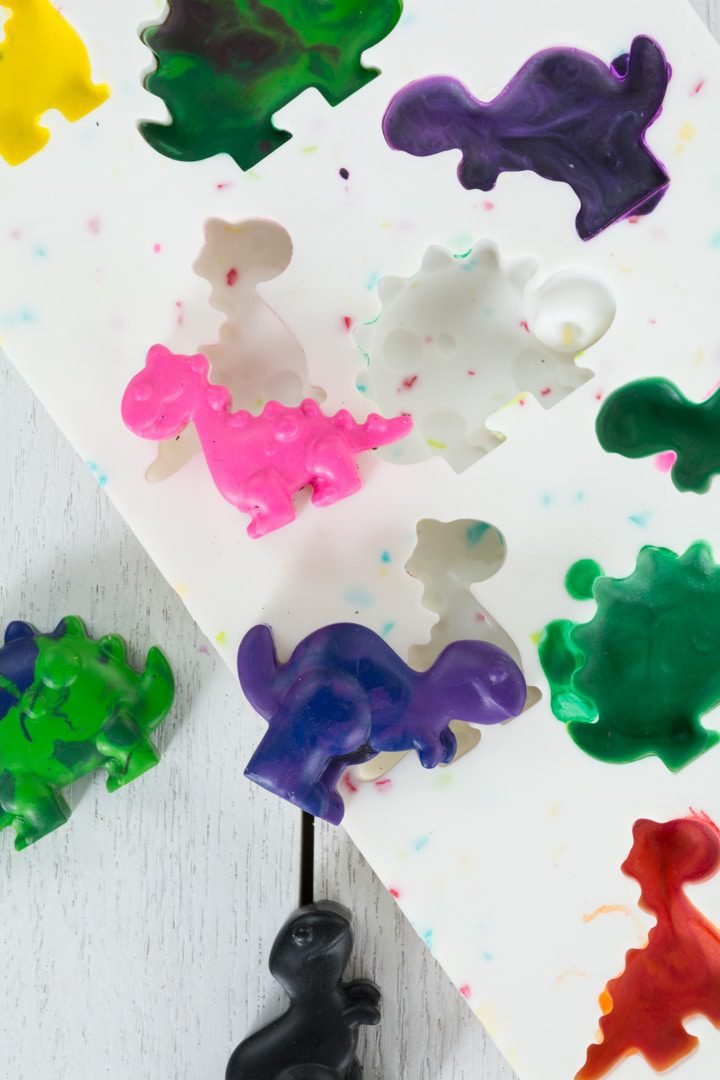
I decided to use my heat gun to melt the crayons in the silicone molds to see how effective it was. I liked how I could easily melt the crayons in the mold on the table and then just let them cool and solidify in place. For molds, I chose a unicorn mold and a dinosaur mold.
But I will be honest—while the heat gun was effective, it took a bit longer than I thought it would. Likely because I was experimenting with heat levels and the two different fan levels.
It would have also been nice to pop these in the oven and go about my business for a few while the crayons were melting. Another thing to keep in mind—a heat gun has a bit of fan on it, so it blew around the colors and mixed them a bit more than the oven would have.
This definitely makes for a cool-looking product, but it isn’t entirely necessary to have a functioning crayon. 🙂


After everything has totally cooled, pop the new crayons out of their molds and get to coloring! These are almost too adorable to color with.


For more kid stuff, check out my DIY door knob hanger, my 10 cute free printable weekly chore charts, and my roundup of cute Cricut projects for kids—including my DIY animal fronts and butts matching game!


0 Comments