This post shares a tutorial for how to layer iron-on vinyl. Layering iron-on vinyl is a great way to great more detailed, dimensional, and professional-looking heat-transfer designs at home! I’m using Cricut vinyl and an EasyPress for mine, but this tutorial can be completed with other vinyl-cutting machines and materials as well.
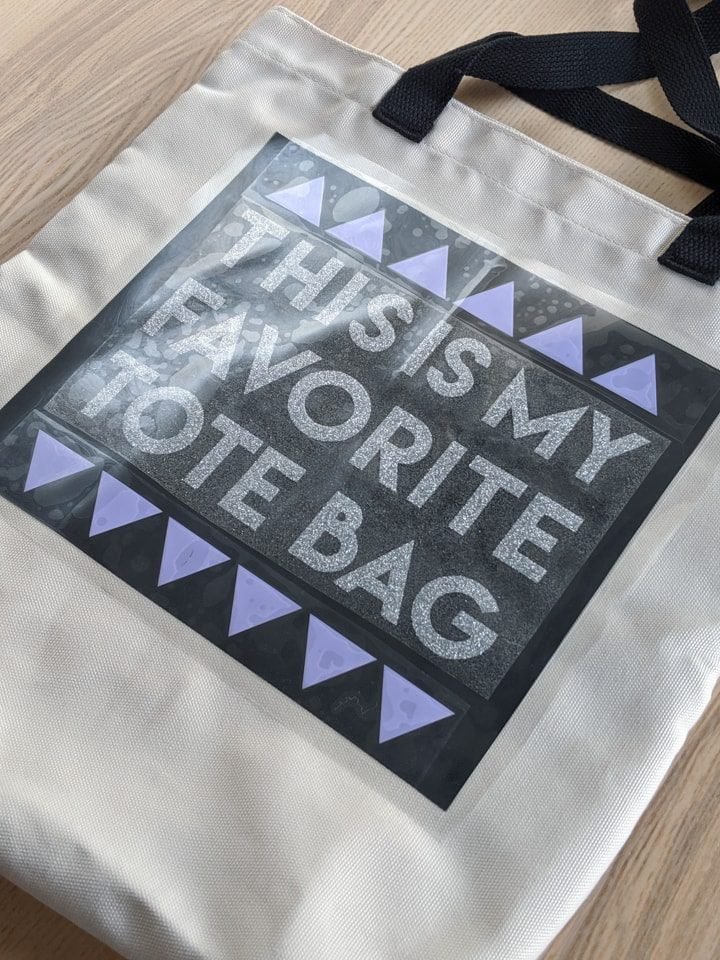
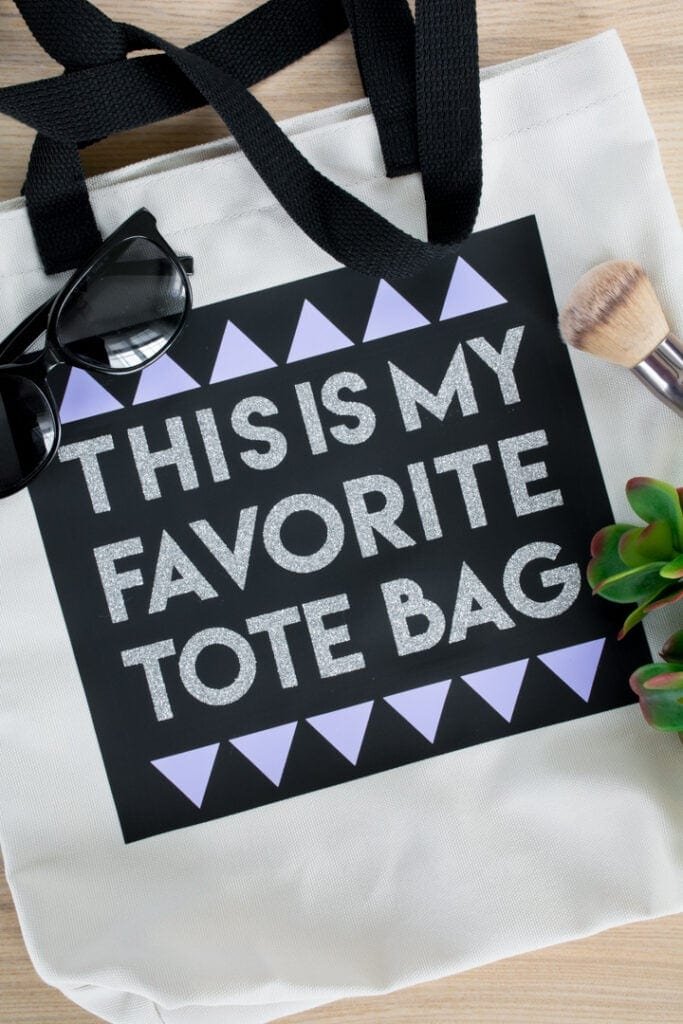
Hey all, today I’m sharing a fun tutorial about how to layer iron-on vinyl! I’m doing this tutorial to cover the uh-oh Infusible Ink transfer fail I had initially when doing this personalized tote bag project. I don’t have it in me to chuck a good reusable tote, so I decided to fix it.
Layering iron-on vinyl was the perfect way to fix it, too. Since Infusible Ink is permanent, I had no choice but to cover it up. Layering made sense, too, because I had to do a bottom later big enough to cover the failed transfer. So I could do that and then put a design on top!
Easy as that. If you’re wondering how to layer iron-on vinyl and are intimidated—don’t be. It’s not bad, and we’re not even doing to get into any of the slice-and-set stuff you may have heard about if you’re a Cricut Design Space user. So let’s get to it.

If you’re new to layering iron-on vinyl, you might also want to check out my tutorial posts on how to use the EasyPress 2, as well as how to use the EasyPress Mini, including on wood!
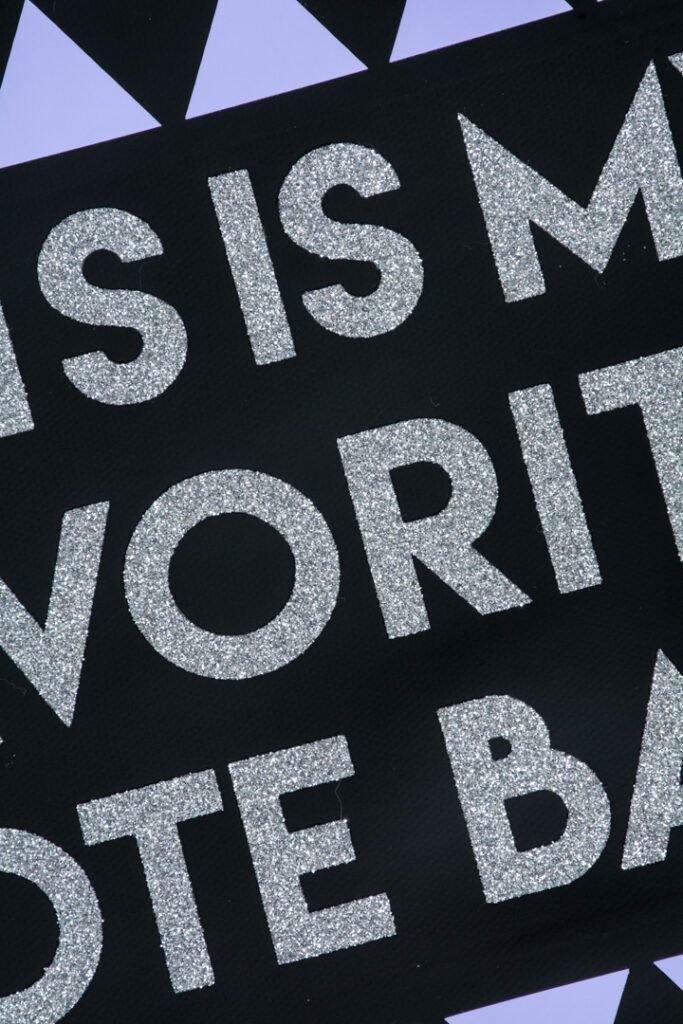
The first thing I did was create my design in Design Space. I used the shape drawing tool to create a square the size necessary to cover the Infusible Ink fail. Then I used that size to determine how big I wanted to make my accent pieces: the text and the triangle top and bottom borders.
I then cut these separately on my Explore Air 2. I managed to cut everything in two rounds: one round for the base square, and one round for the text and the triangles. Since the text and the triangles were cut in different iron-on material, I just cut and placed those on the mat accordingly.
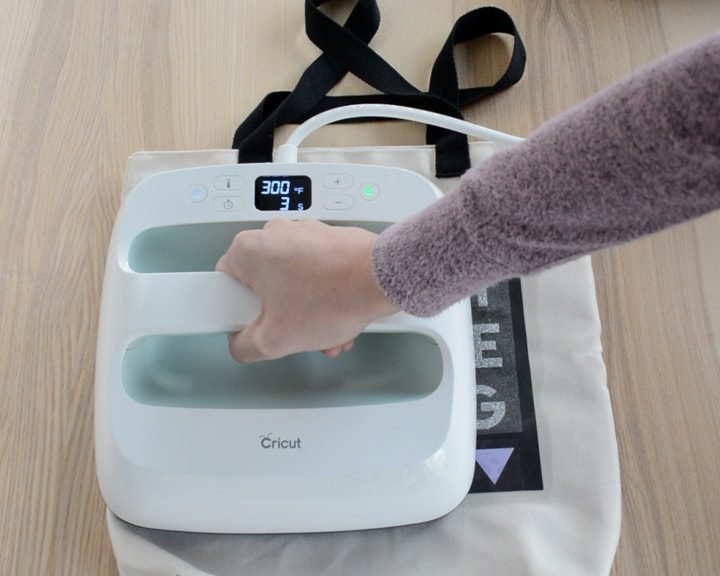
Next I applied the base layer to the tote bag to cover the design. I used the Cricut heat guide reference to preheat the base material. Then I used my EasyPress to press the material firmly for about 3 seconds. It may not seem like enough, but it is!
That’s because you’re not setting it completely. Just enough to keep it from lifting with the clear liner. I removed the liner very carefully to ensure the piece stayed on the tote bag. Don’t throw this liner away; you’ll need it in the next step.


Interested in learning about different Cricut machines? Check out my overview and comparison guide for the Cricut Joy, Cricut Explore Air 2, and Cricut Maker!
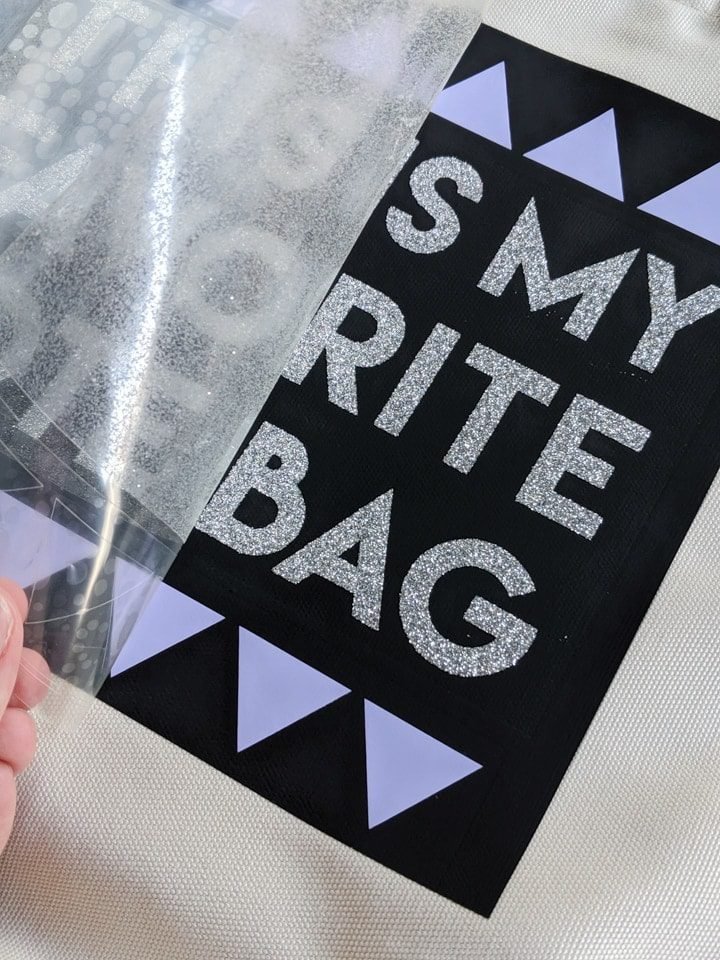
For each additional layer, you just repeat step 2—a firm 3-second press. One thing to keep in mind, though—you never want to let your EasyPress’s heat plate touch any of the iron-on. It should touch only the clear liners.
That’s why you should save the clear liner from the first layer, which is likely the largest. Just reuse that by putting it on top of everything each time you apply another layer and 3 seconds of heat.I had two more elements to do, but I was able to do them both at the same time, my second layer was technically my final layer.


For more Cricut material tutorials, see my tips for working with holographic iron-on vinyl, my Infusible Ink coasters project, my ultimate guide to using Infusible Ink with the Cricut Mug Press, and my tips for cutting wood with the Cricut Maker.
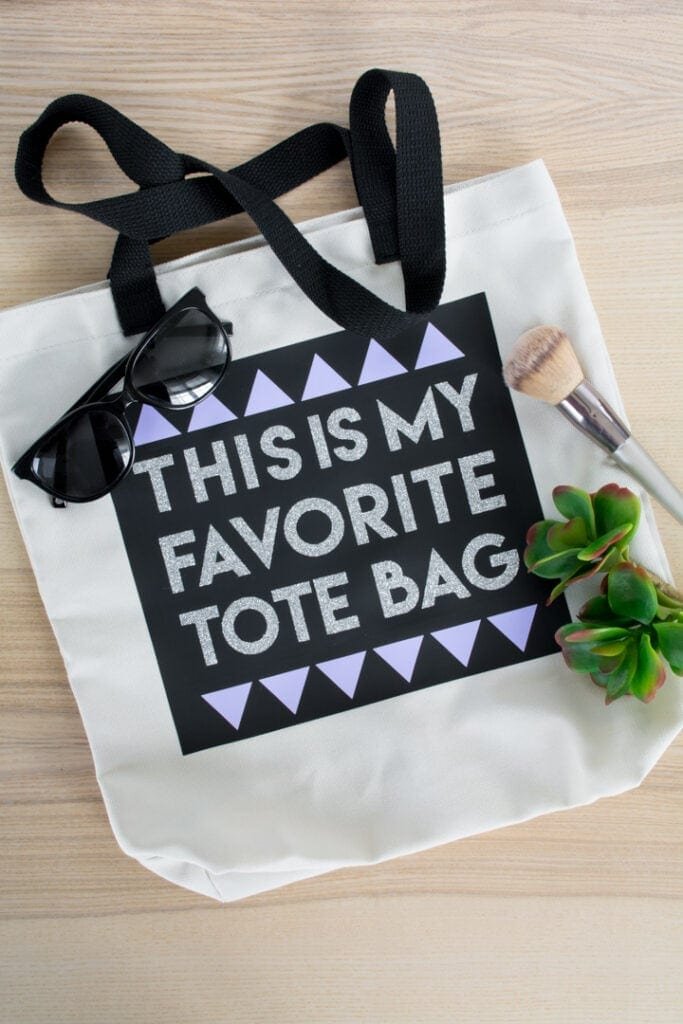
Since my second layer was also my final layer, instead of adding the remaining layers and doing 3 second of firm heat, I did 15 seconds of firm pressure to set everything in place. Remember to use your biggest clear line to protect your design!
Once you’re done with the front, flip your design over and apply 15 seconds of heat from the back. No need to a liner here. Flip over and do a warm peel.


Tip: Try to keep your design to no more than 4 layers. Each additional layer will lead to your design becoming a bit more stiff. If foil iron-on is your top layer, apply only 10 seconds of heat to set it, not 15. Then apply heat from the back for 15 seconds.
What types of Cricut Iron-On Can I Use for Layered Designs?
You can use all of Cricut’s iron-on products for layered designs. Some, however, can only be used as a top layer—those are foil, glitter, holographic, and holographic sparkle iron-on material. Too much heat on foil iron-on can cause a funky texture.
Similarly, you should layer SportFlex Iron-On only on top of other SportFlex Iron-On colors and patterns. That’s because it has a different consistency.
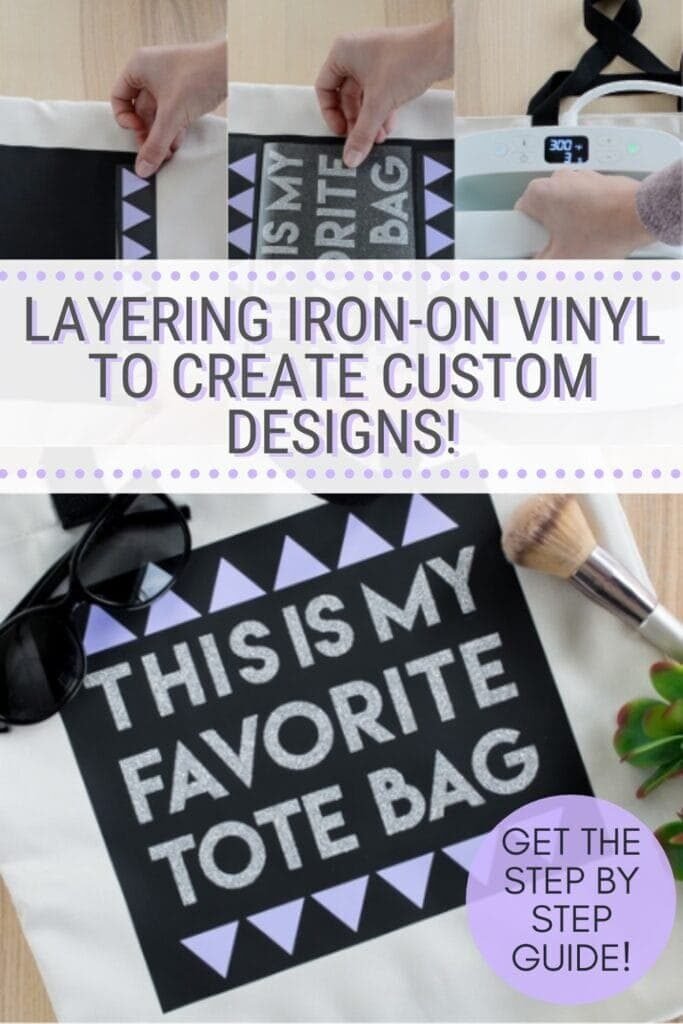
Share my tips about How to Layer Iron-On Vinyl on Pinterest!


0 Comments