💜 How to Revive Faded Black Clothes (Personal Guide + Expert Tips)
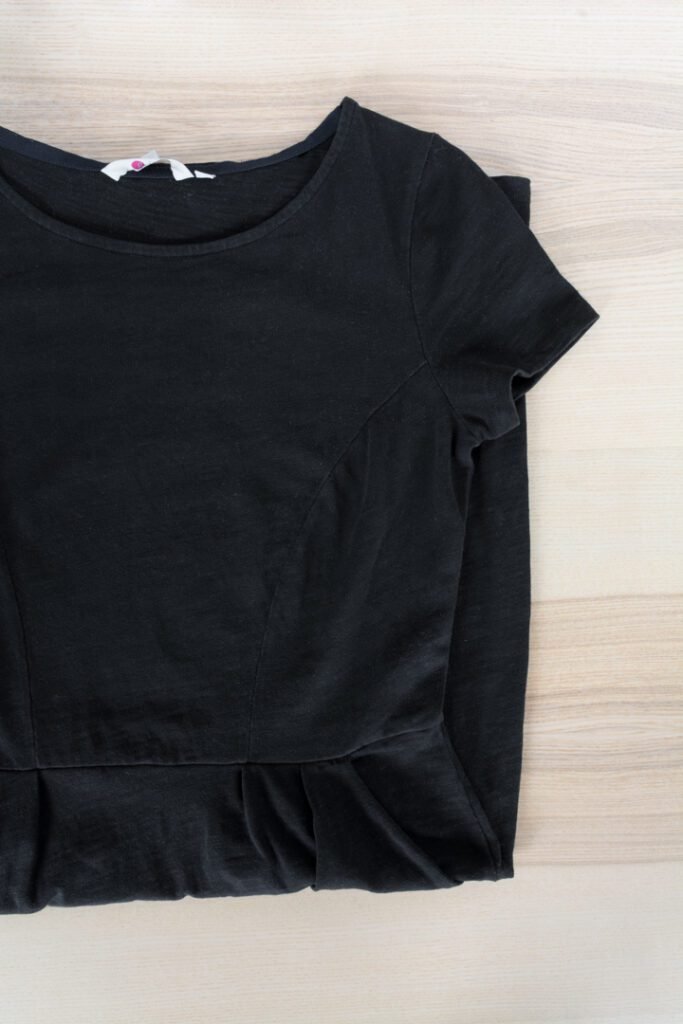
Hey there! Today, I’m finally getting around to a project I’ve been meaning to do for months – bringing my favorite black dress back to life. You know how it goes… you love a piece, wear it constantly, and one day realize it looks more charcoal than black. That was the case with my go-to Boden dress. It fits perfectly, it’s comfy, and I wear it weekly – but it was so faded.
I wanted to share exactly how I revived it, step by step, and give you everything you need to dye your own faded black clothes at home. Let’s get into it!
🛠️ What You’ll Need
Here’s what I used to revive my dress:
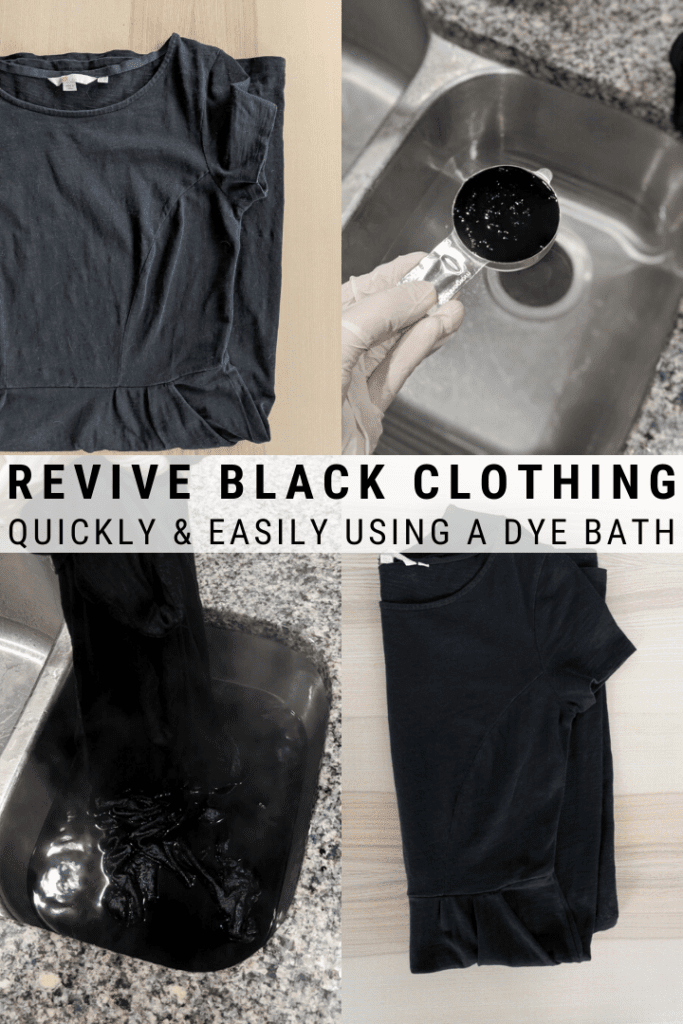
- Rit All-Purpose Liquid Dye (Black) – perfect for natural fabrics like cotton
- Rit ColorStay Dye Fixative – locks in color, reduces fading
- Stainless steel sink – don’t use porcelain or fiberglass
- Rubber gloves – protect those hands
- Dish soap – just a little helps even out the color
- Salt – helps color bond better with cotton
- A stirrer or spoon – for mixing and dyeing
- Measuring cups – you’ll want accuracy!
🪑 Prep and Plan
Check your fabric label! My dress is 100% cotton, so the All-Purpose dye worked great. If your garment has more than 35% synthetic fibers (like polyester or acrylic), use Rit DyeMore instead.
I started by heating water on the stove – hotter than what comes from the tap, but not boiling. I filled the sink with a mix of tap and stove-heated water.
For my project, I used 2 oz of dye (about 1/4 cup) with 24 cups (1.5 gallons) of hot water. Add 1 tsp dish soap and a dash of salt.
👕 Time to Dye!
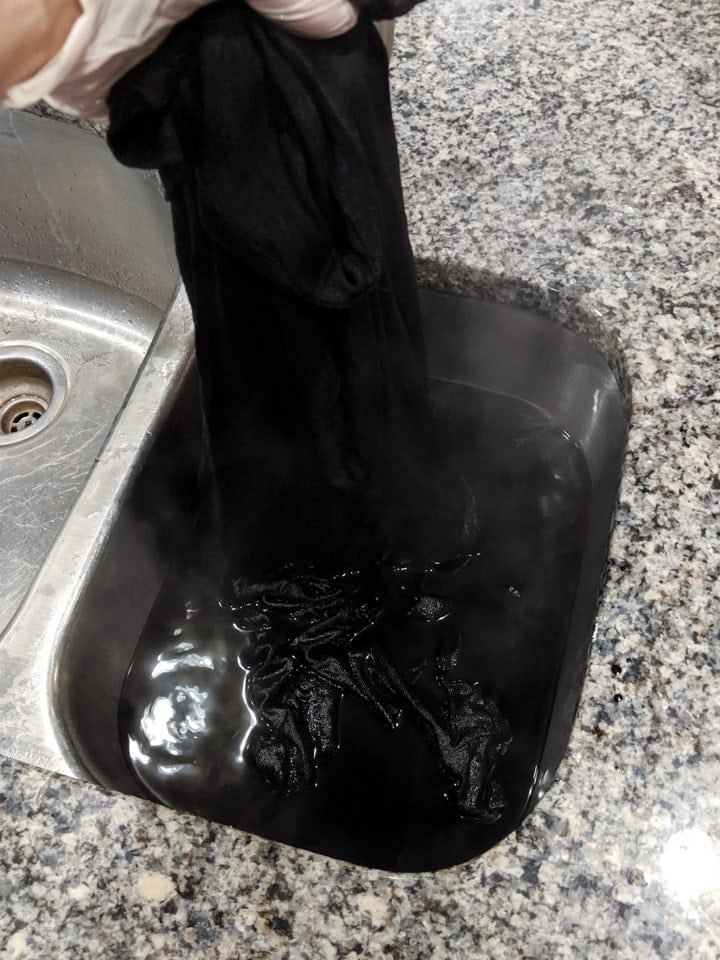
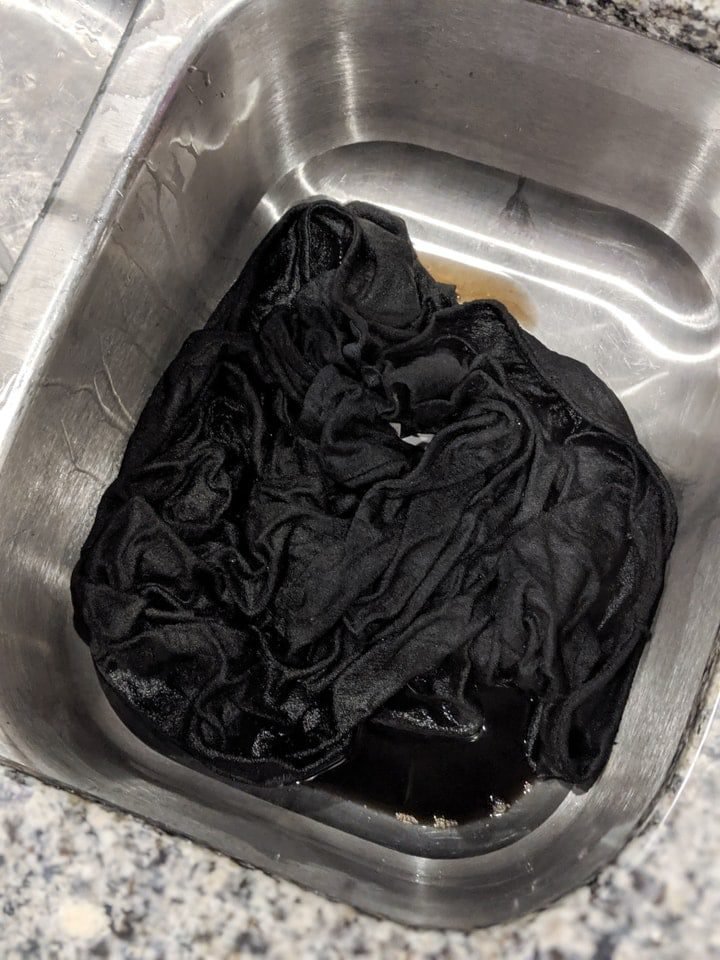
I soaked the dress in water first so it would absorb the dye evenly. Then I submerged it fully into the dye bath.
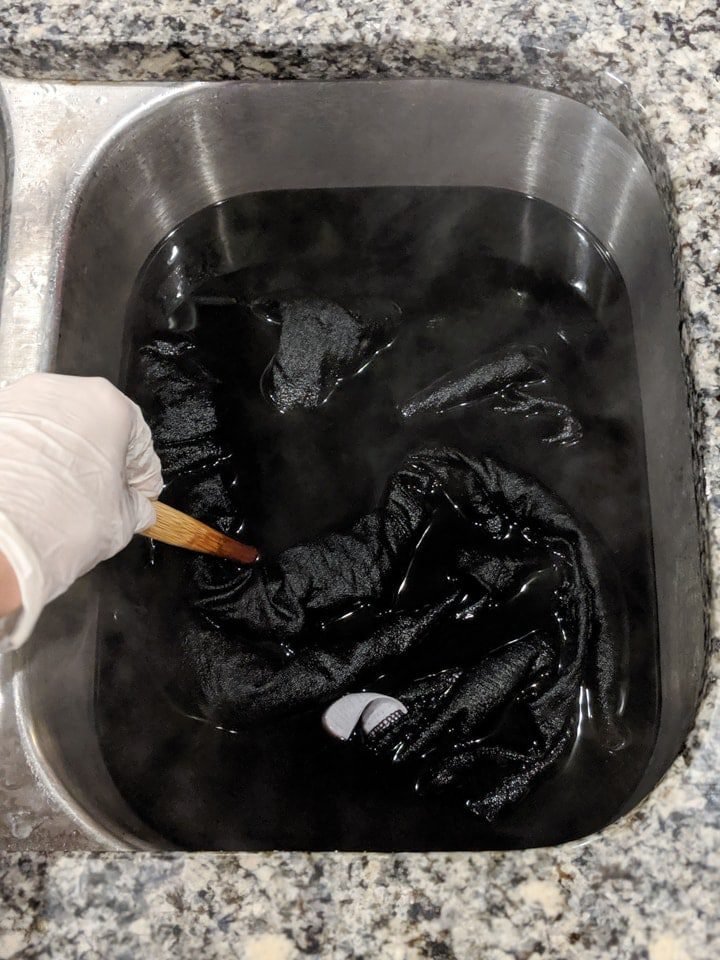
I stirred continuously for the first 10 minutes. The water was HOT, so gloves and a stir stick were must-haves. After the initial 10 minutes, I stirred it every 5 minutes or so and let it sit for about 40 minutes total. You could go up to 60 minutes if dyeing a lighter color to black.
❄️ Rinse and Set the Color
Once done, I drained the sink and rinsed the dress in cool water until the water ran almost clear. Then it was time for the magic touch: Rit ColorStay Dye Fixative.
I refilled the sink with hot water, added 4 oz of the fixative (again, measure for your water volume), and stirred the dress in the fixative bath for about 15-20 minutes.
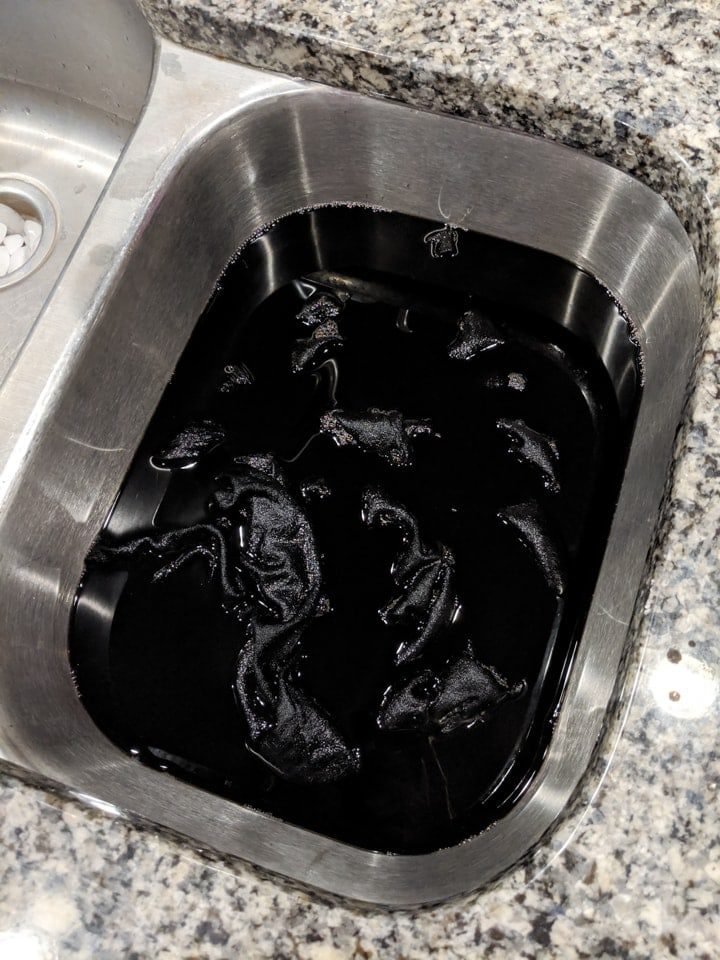
You might notice the water getting darker again – that’s just excess dye coming off. Totally normal!
🪚 Final Wash & Dry
After using the fixative, I rinsed again (there wasn’t much dye left to rinse out!). Then I washed the dress in cold water with other dark items and hung it up to dry.
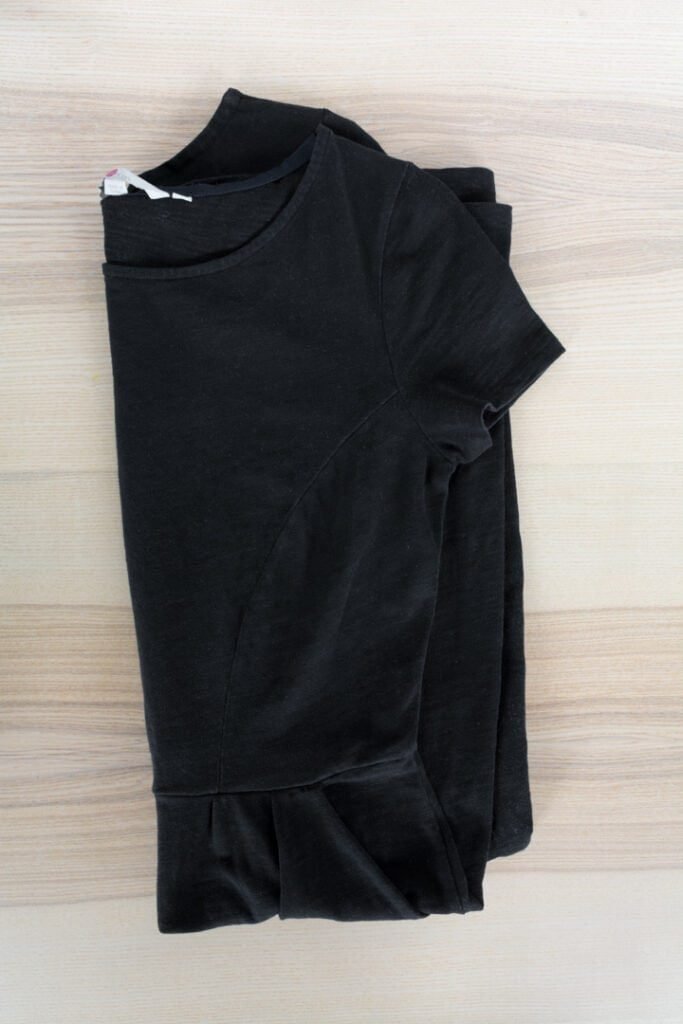
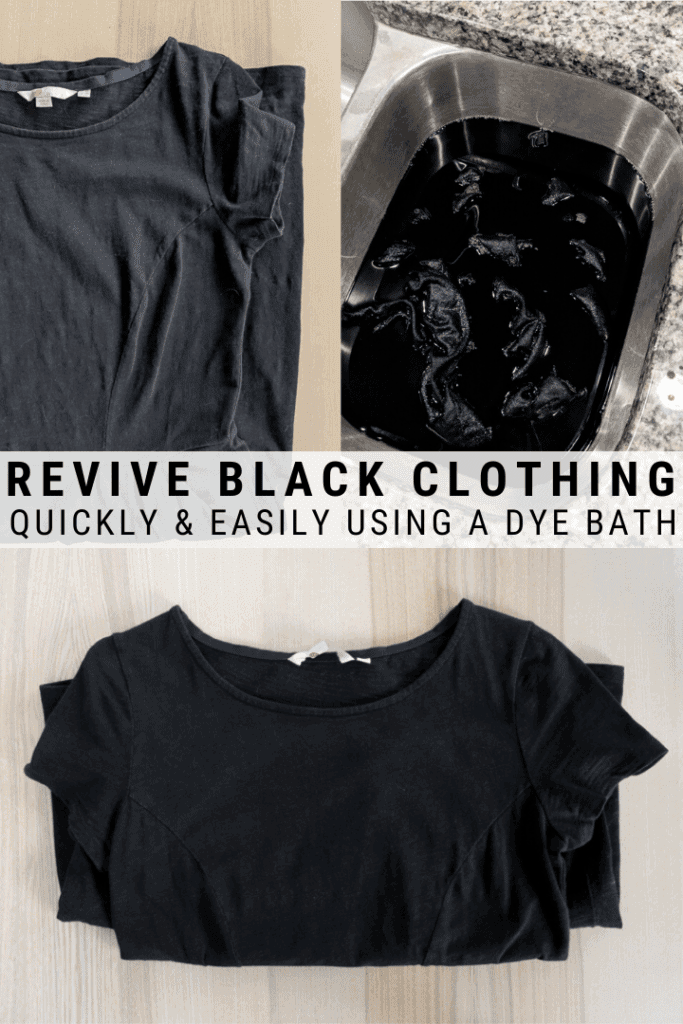
And let me tell you – it looks amazing. Like new! Deep, rich black. No more fading. It was so worth the effort.
📊 Tips for Best Results
- Always check your fabric blend before choosing your dye
- Use rubber gloves and protect your sink from stains
- Stir often in the first 10 minutes for even coloring
- Use fixative right after dyeing to prevent future fading
- Let the piece air dry or use low heat only
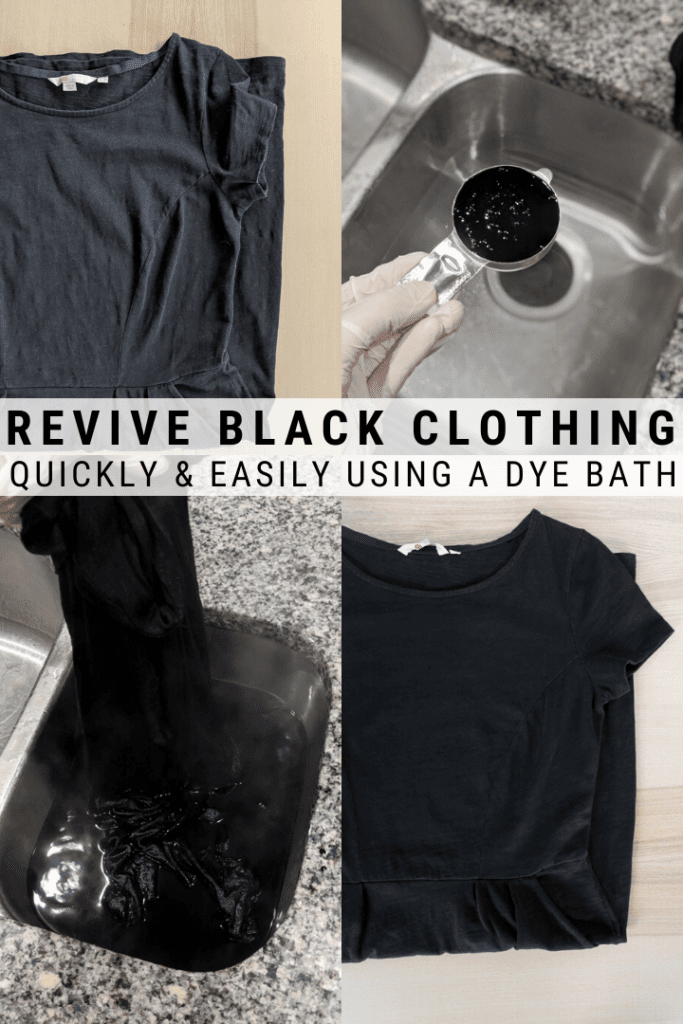
🔄 Before & After Results
My Boden dress went from dull, washed-out black to looking brand new again. I’ll absolutely be using this method for more pieces in my closet.
If you’ve got a favorite black item that looks tired, don’t toss it – try dyeing it first. You might be surprised how easy (and satisfying) it is!
Thanks for hanging out while I shared my dyeing project. If you try this method, tag me or drop a comment. I’d love to see your before-and-after results!
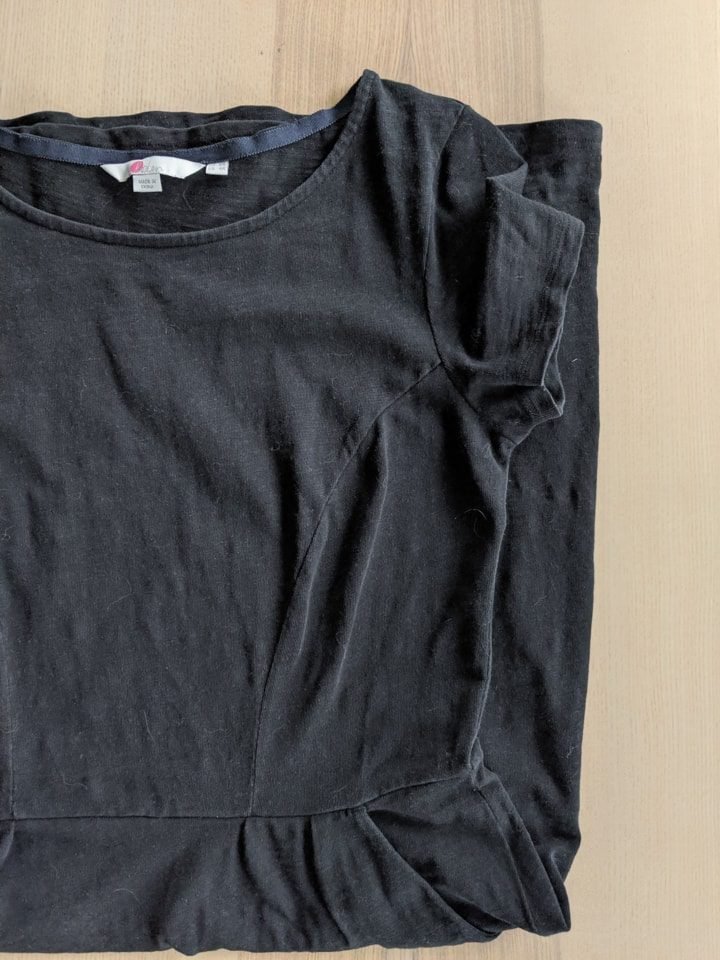 Faded black dress before dyeing

Note: Rit recommends using 1 cup of salt to enhance color when dyeing cotton, rayon, ramie, or linen fabrics and 1 cup of vinegar when dyeing nylon, silk, or wool fabrics. They also recommend adding 1 tsp of dish soap to promote level dyeing.
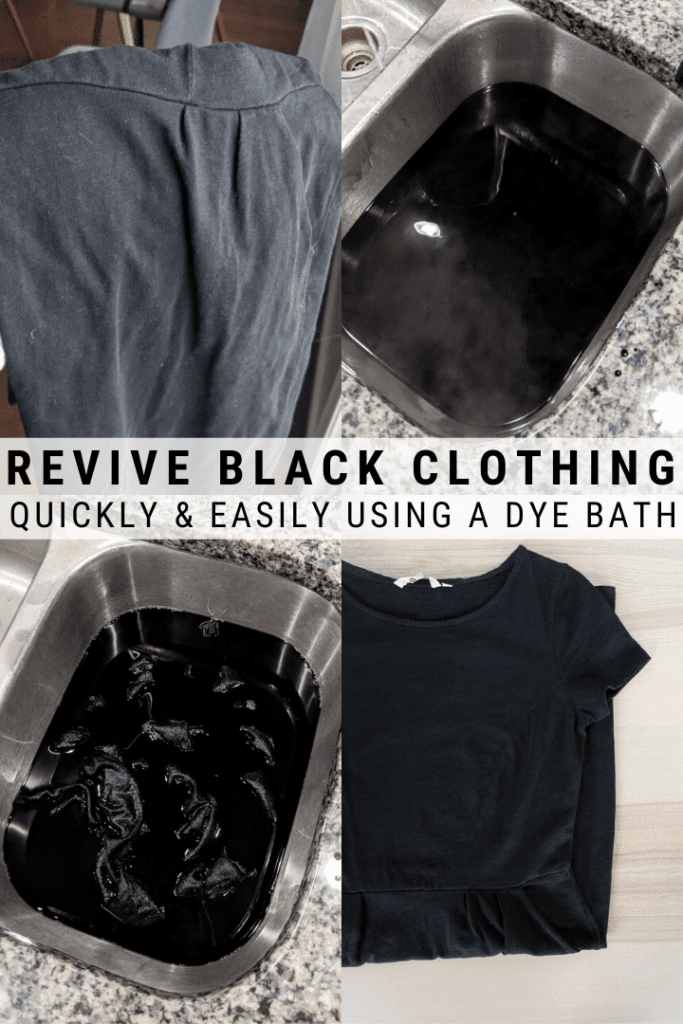
After about 40 minutes, I drained the sink and began running cold water to rinse the dress out. I did this for about 5 minutes, constantly soaking the dress and then squeezing out the water to see how dark it was. During this step, I also got another pot of about 12 cups of water heating on the stove.
Once the water was running mostly clear, I repeated the dye bath step again where I added 12 cups of hot tap water with 12 cups of water heated on the stove (but not boiling).
I added ColorStay Dye Fixative to help lock in color, set it, and prevent bleeding. The ColorStay Dye Fixative ratio is 4 ounces of fixative for every 3 gallons of water.
Also make sure to use this fixative in a plastic container you don’t care about getting stained or a stainless steel sink. I just used the same sink I dyed the dress in. Wear rubber gloves just like when you’re dyeing.
I stirred the dress in this bath continuously every 5 minutes or so. Don’t freak out if the water begins darkening. This is just the stray dye coming off the item. It’s a good thing—it’s not bleeding into your other clothing!


Note: This dye fixative reduces bleeding and fading and enhances. It works on cotton, linen, silk, wool, ramie, and rayon. For best results, use immediately after dyeing, before rinsing completely and laundering.
After this, I drained the sink again and began rinsing the dress out. Honestly, there wasn’t much to rinse. I think the ColorStay Dye Fixative does an awesome job of setting the dye.
The water was running completely clear almost immediately. When I was sure it was running clear, I ran the dress on a cold water laundry cycle with other dark items just to be sure.
Then I hung to dry as normal. I think this is the perfect faded black clothes dye! The dress looks awesome, totally revived to its former glory.
For more fun craft projects, check out my upcycled tea tin planter, my adventures in dyeing shibori style, my DIY resin and wood serving tray, and my tips on how to make resin jewelry using molds!
Pin my tips about Faded Black Clothes Dye and how to revive faded black clothes!


0 Comments