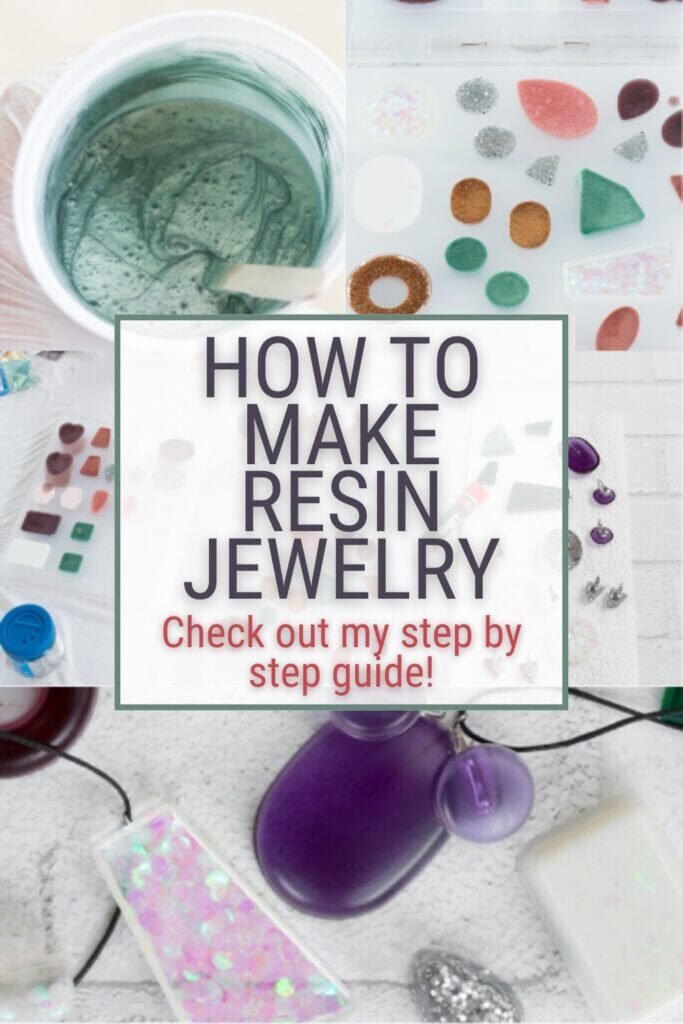
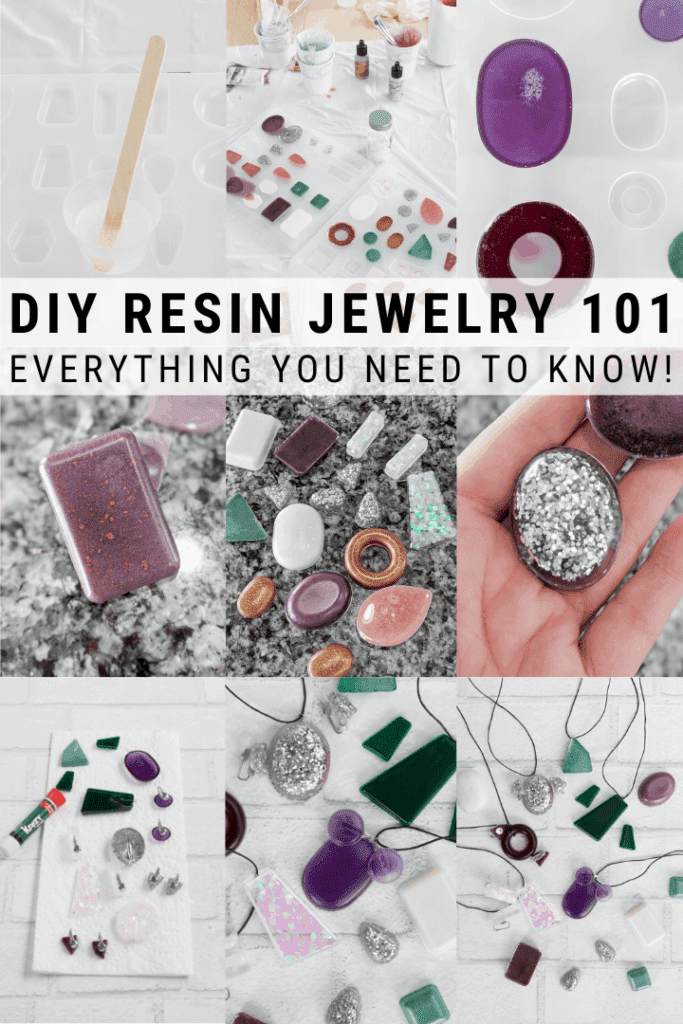
How to Make Resin Jewelry: A Complete Beginner’s Guide
Making resin jewelry is a fun and creative way to personalize accessories. Whether you’re crafting keepsake pendants, playful pieces for kids, or bold custom jewelry, this guide walks you through the process step-by-step.
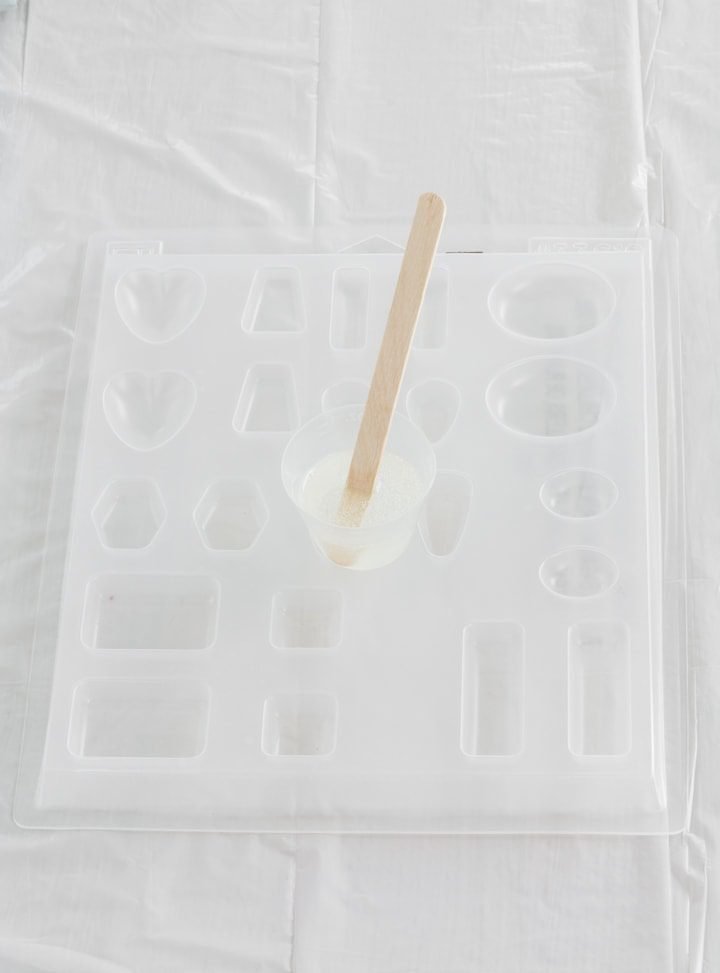
🧰 Getting Started With Resin Jewelry
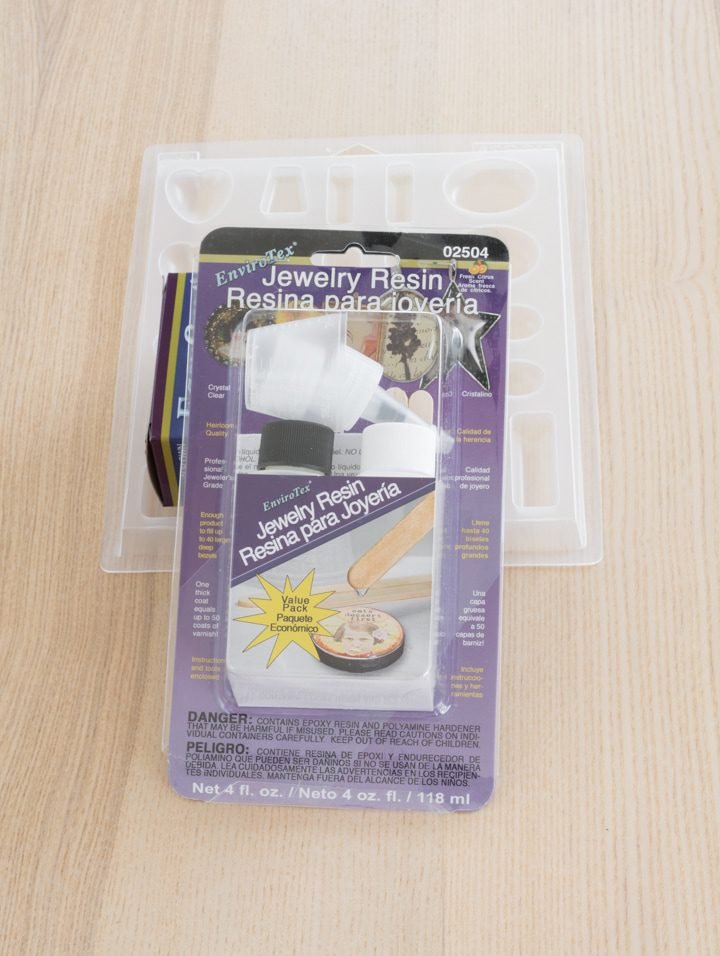
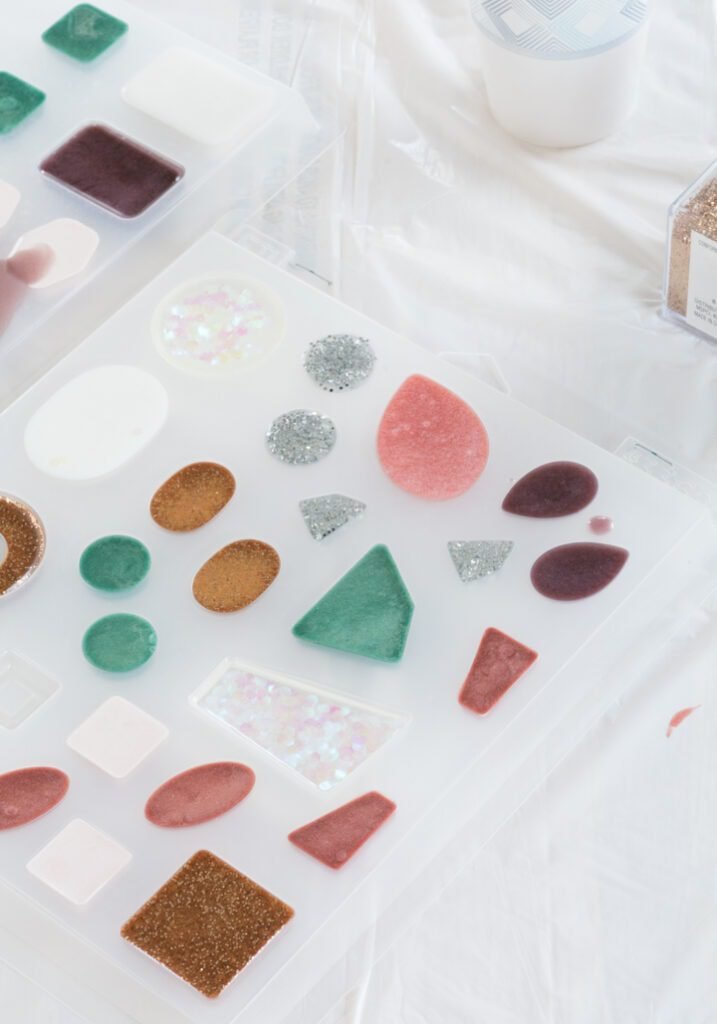
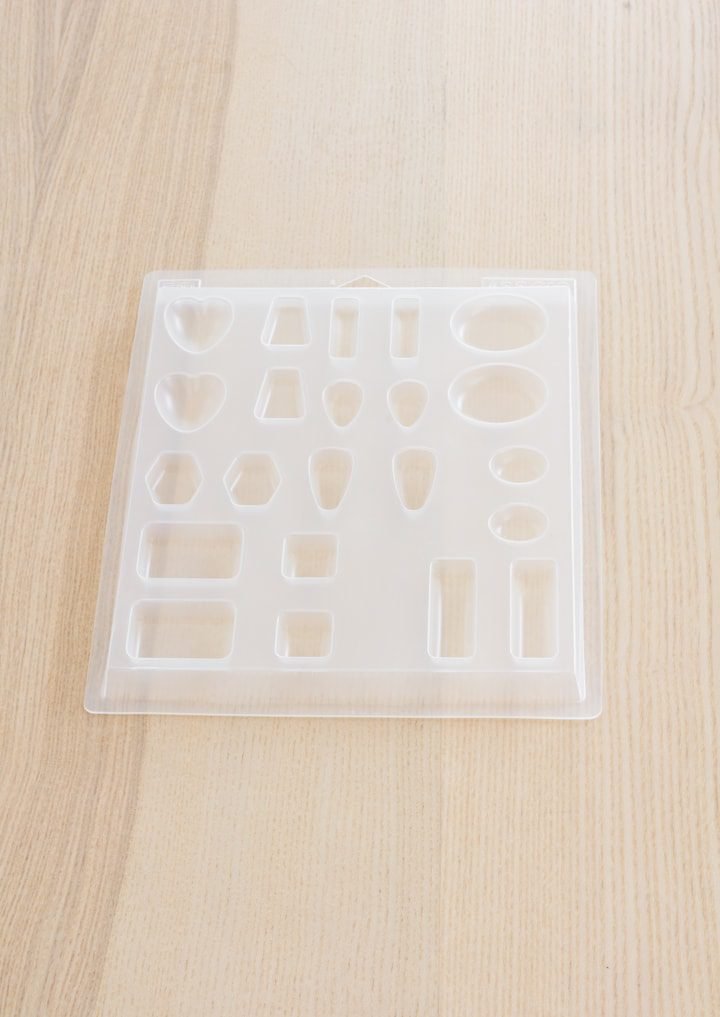
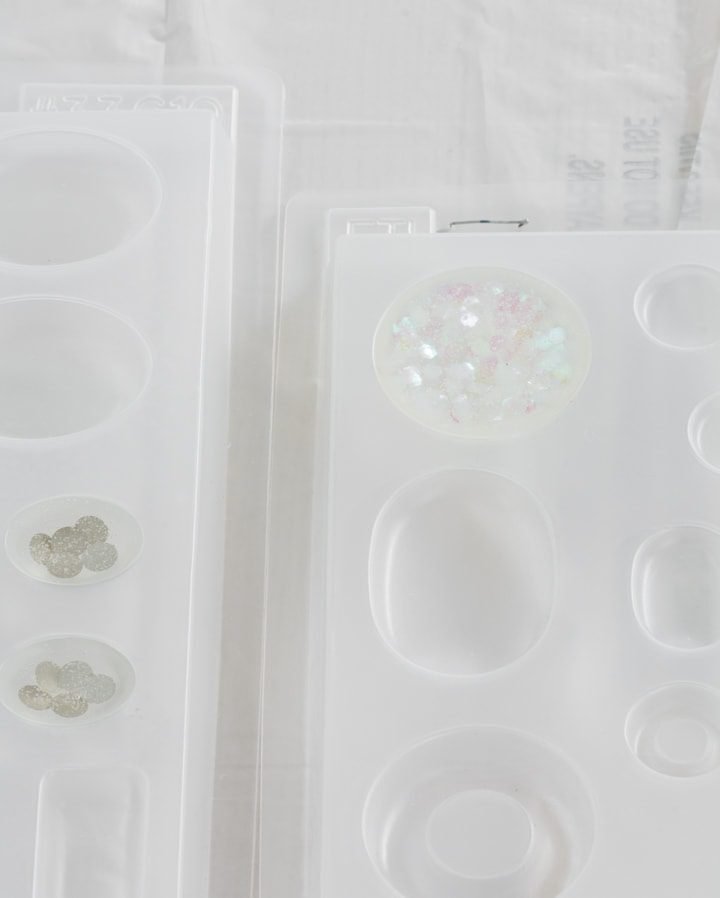
To begin, gather your materials. For this project, I used smooth polypropylene resin molds which are reusable and perfect for beginners. Resin kits typically include two parts: resin and hardener. They cure into a crystal-clear finish that’s durable, waterproof, and UV-resistant.
Ideal Working Conditions
- Room temperature: 70–80°F (21–27°C)
- Low humidity preferred
- Good ventilation is a must
📊 Supplies You Need
- 2-part epoxy resin (resin + hardener)
- Jewelry molds (silicone or polypropylene)
- Measuring cups and mixing sticks
- Gloves and safety glasses
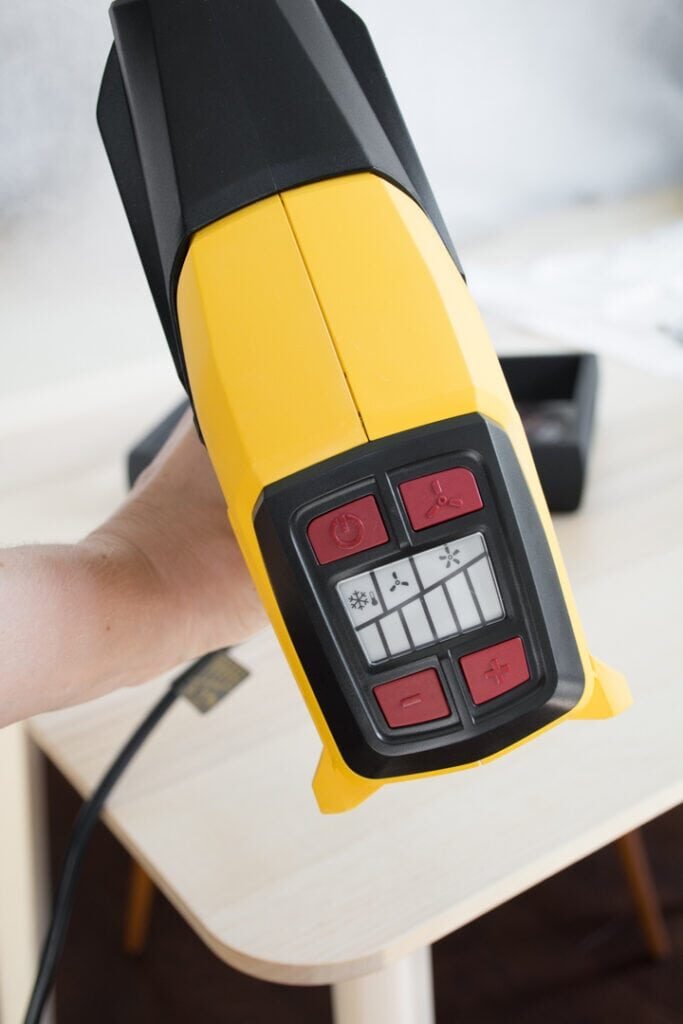
- Toothpick or heat gun (for bubble removal)
- Alcohol inks, mica powder, or pigments
- Tweezers for placing objects
- Found objects (flowers, shells, glitter, beads)
🎓 Planning Ahead
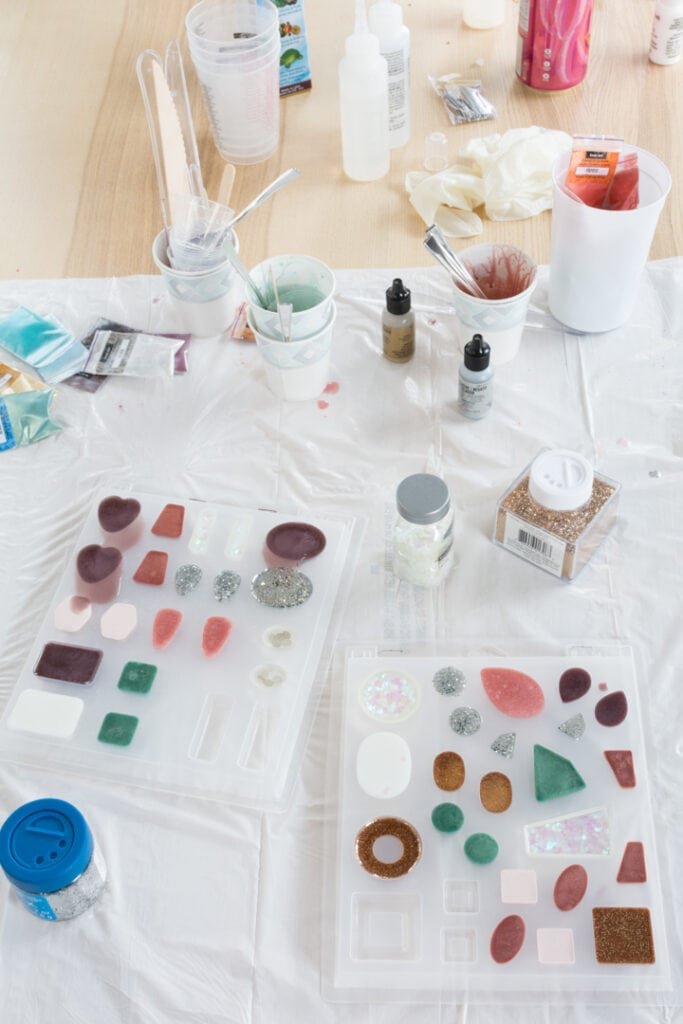
Resin cures fast, so prep everything before you start:
- Lay out molds, cups, dyes, and gloves
- Decide if you want clear pieces or colored ones
- Pick out any tiny items to embed
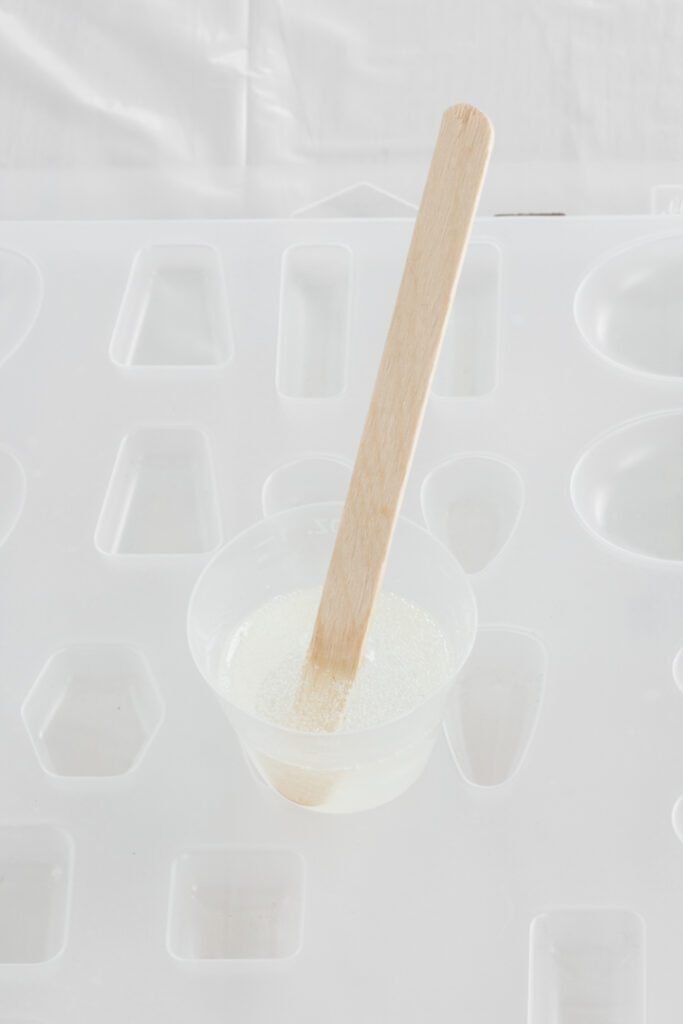
🌿 How to Mix Resin Properly
- Measure resin and hardener in a 1:1 ratio.
- Stir for 2 minutes in one cup, scraping the sides.
- Pour into a second clean cup and stir for 1 more minute.
Tip: Warming the resin bottles in warm water helps prevent a cloudy finish.
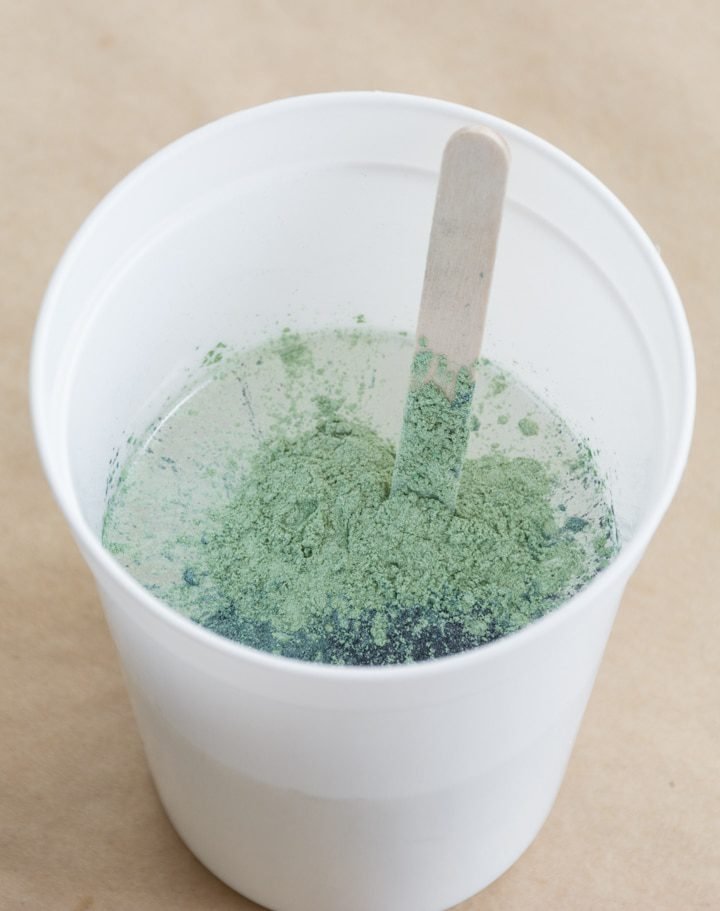
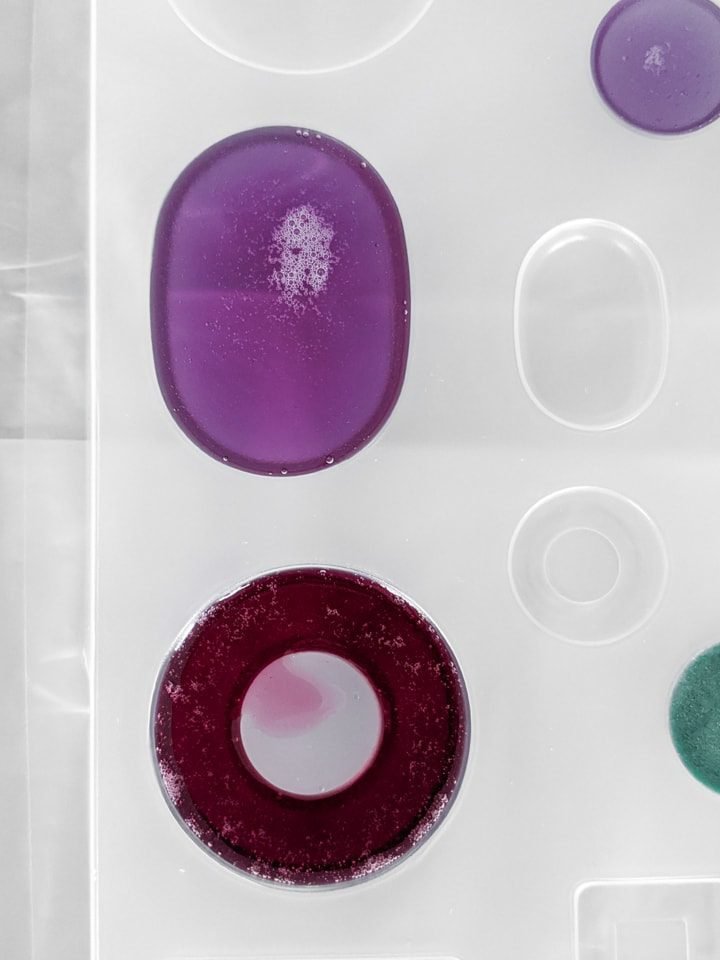
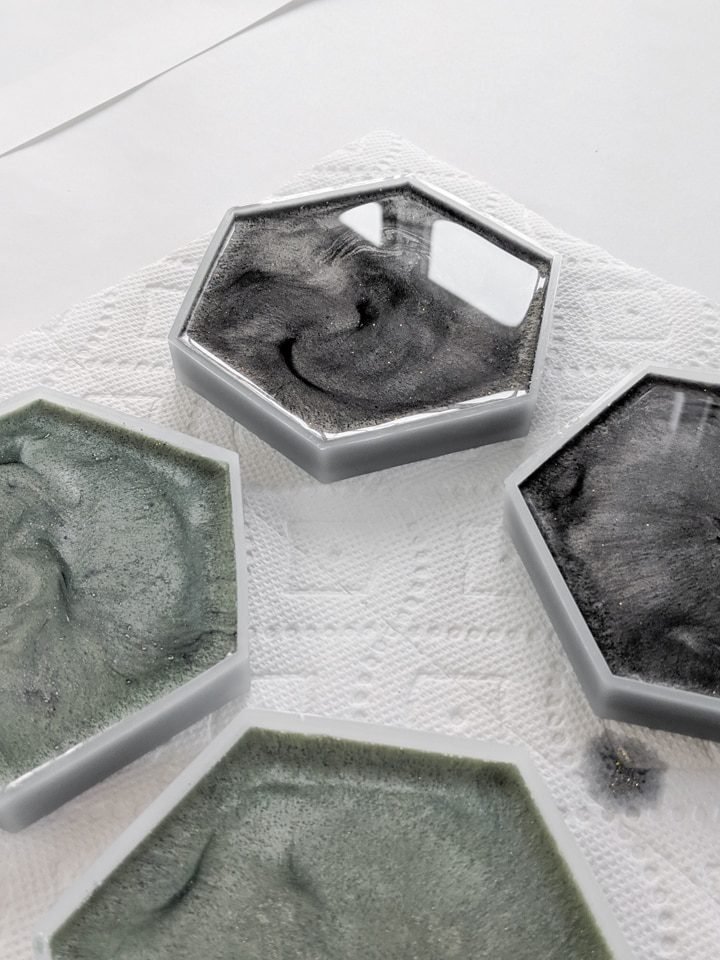
🎨 Coloring and Customizing Resin
There are many ways to add color:
- Use resin-safe pigments or mica powders
- Alcohol inks for transparent looks
- Avoid too much acrylic paint as it affects curing
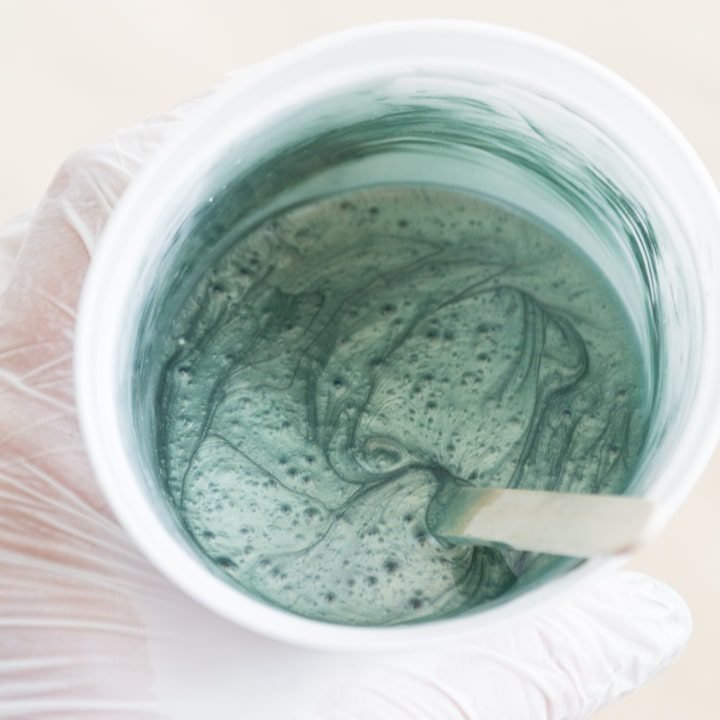
Divide your resin into smaller cups and add your chosen colors. Stir gently.
🪨 Pouring the Resin
- Pour a shallow layer (about 1/4 depth of mold) and let sit
- Pop any bubbles with a toothpick, straw, or heat gun
- Place found items using tweezers
- Fill the rest of the mold with colored or clear resin
🪧 Removing Bubbles
- Gently use a straw, heat gun, or torch on low
- Don’t overheat or you’ll damage the resin surface
⏱ Curing the Resin
- Let your resin cure undisturbed for 24–48 hours
- Cover to protect from dust
- Ideal temperature: 70–80°F
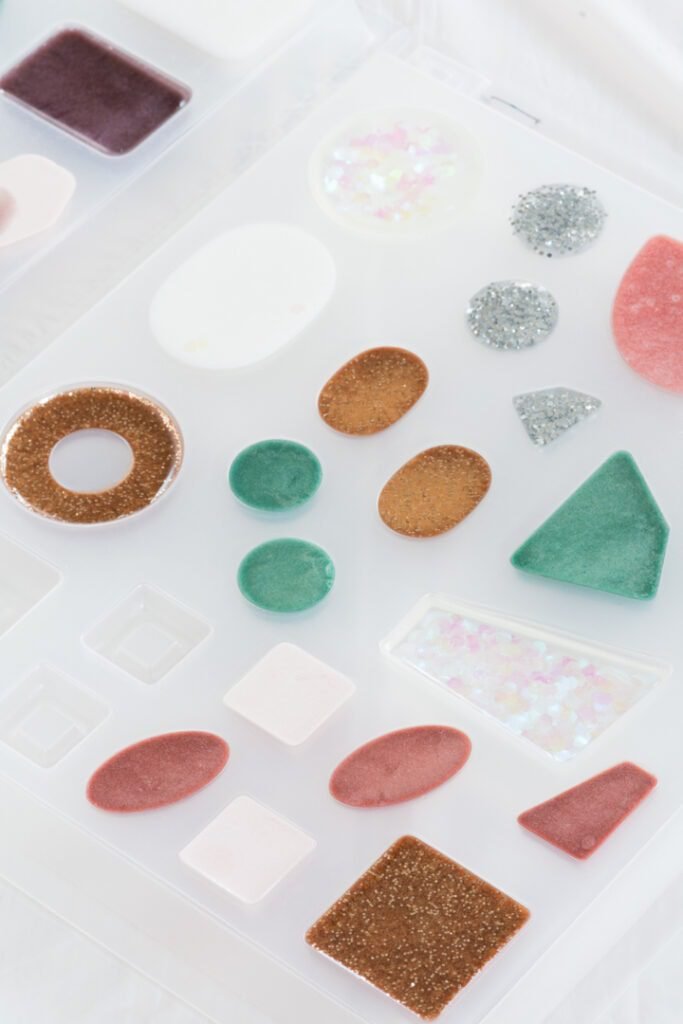
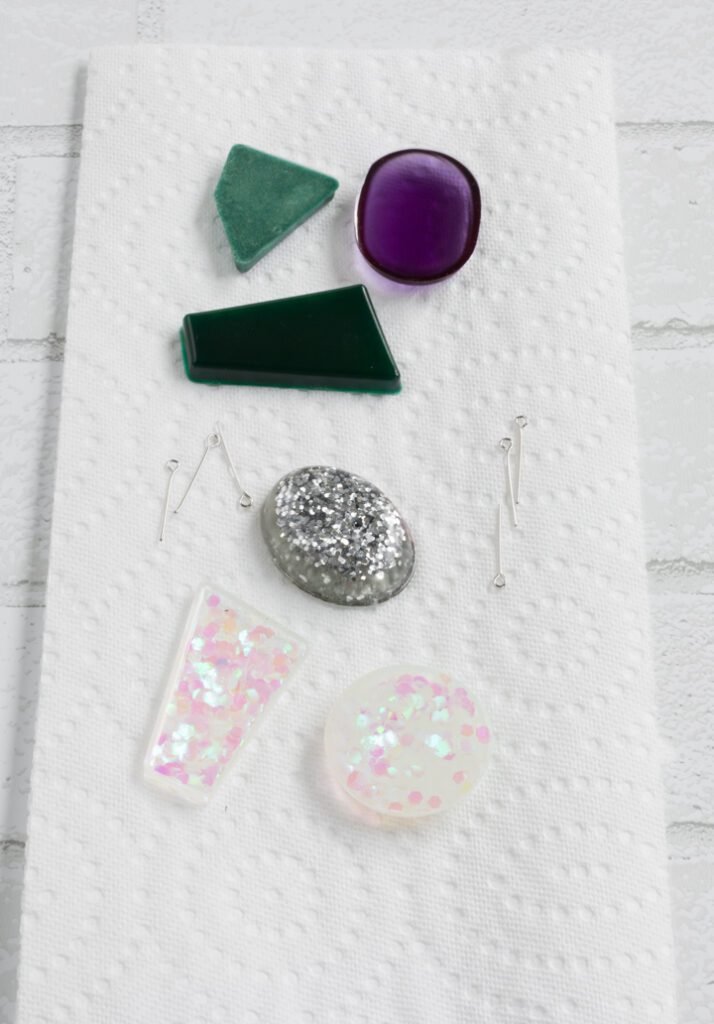
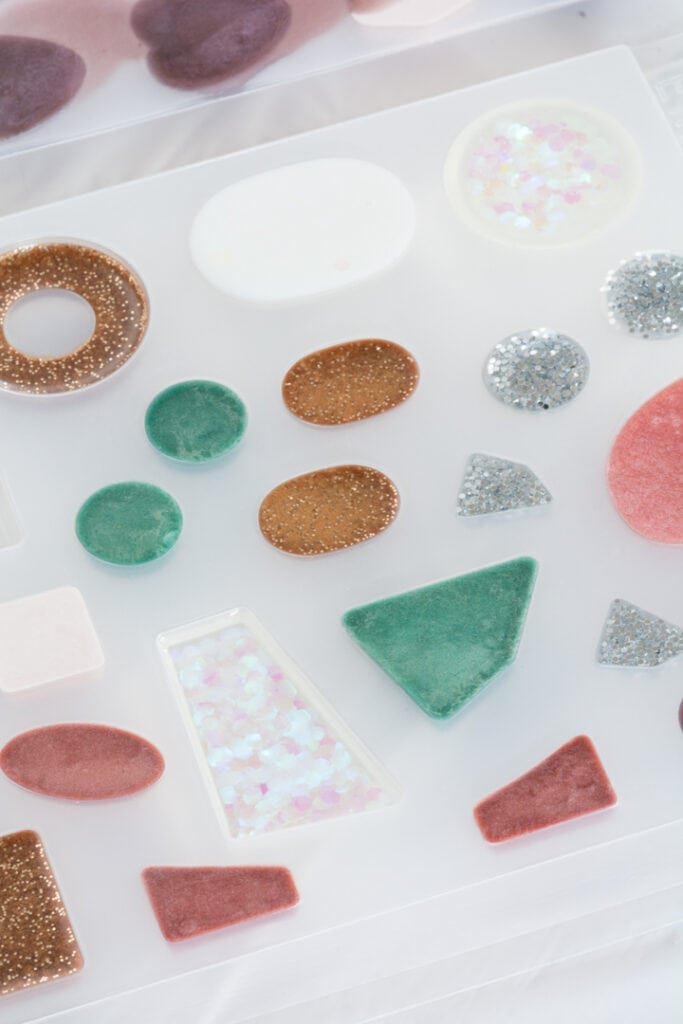
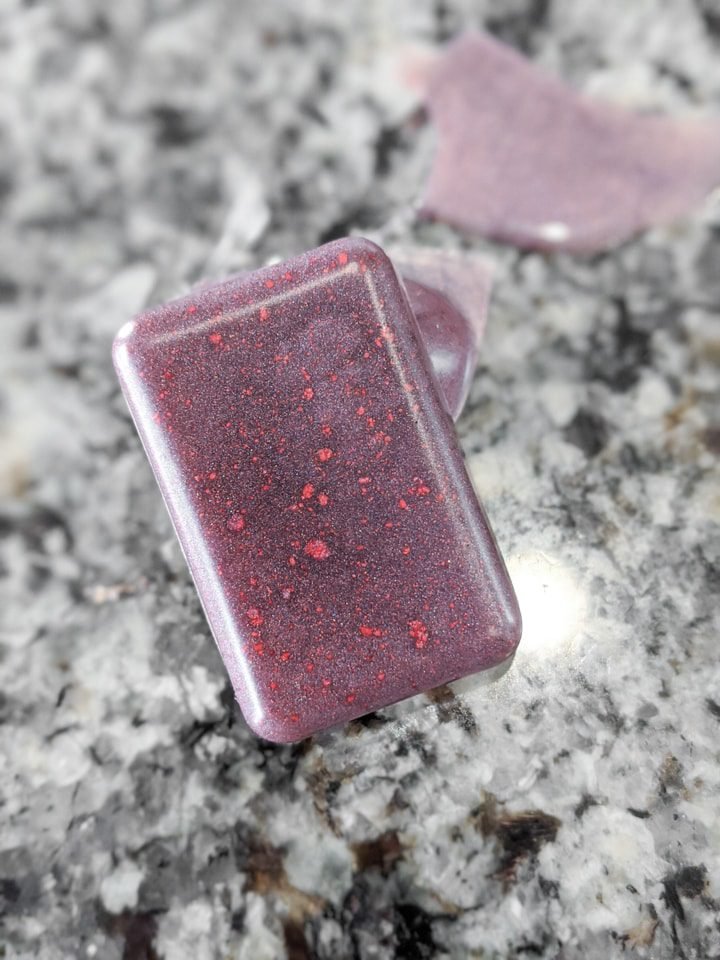
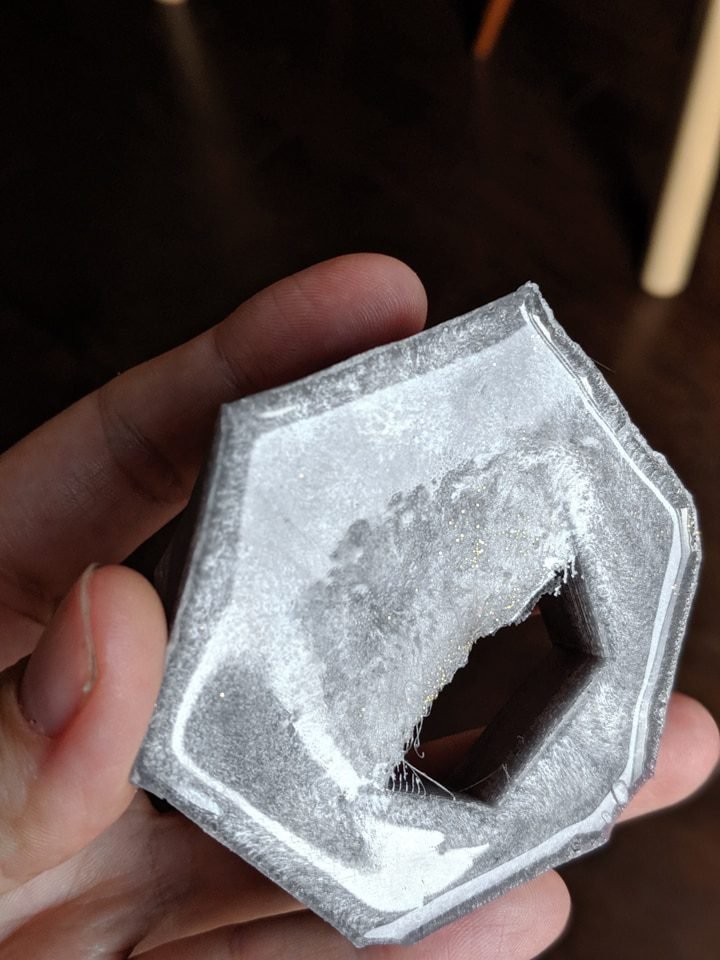
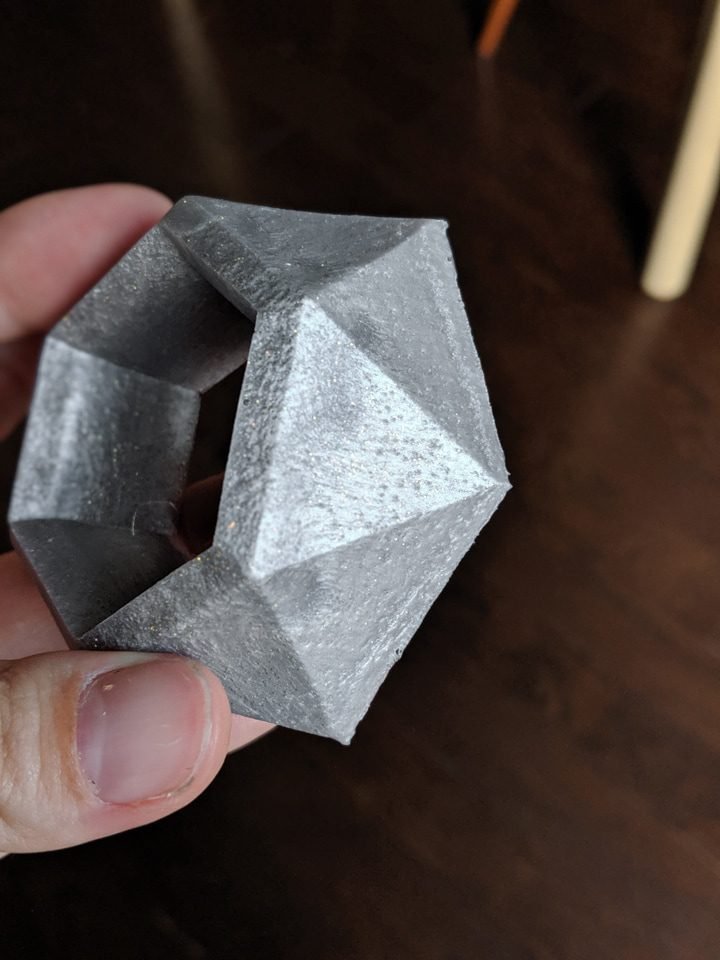
💎 Unmolding and Finishing
- Gently remove pieces from the mold
- Sand edges with fine-grit sandpaper if needed
- Polish or coat with a resin sealer for shine
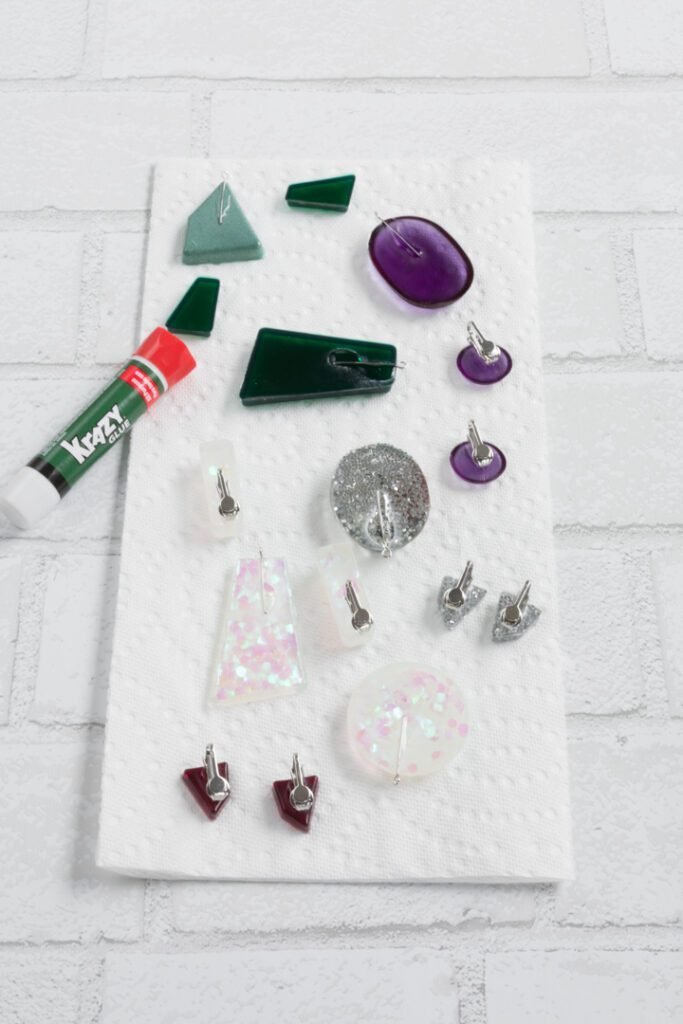
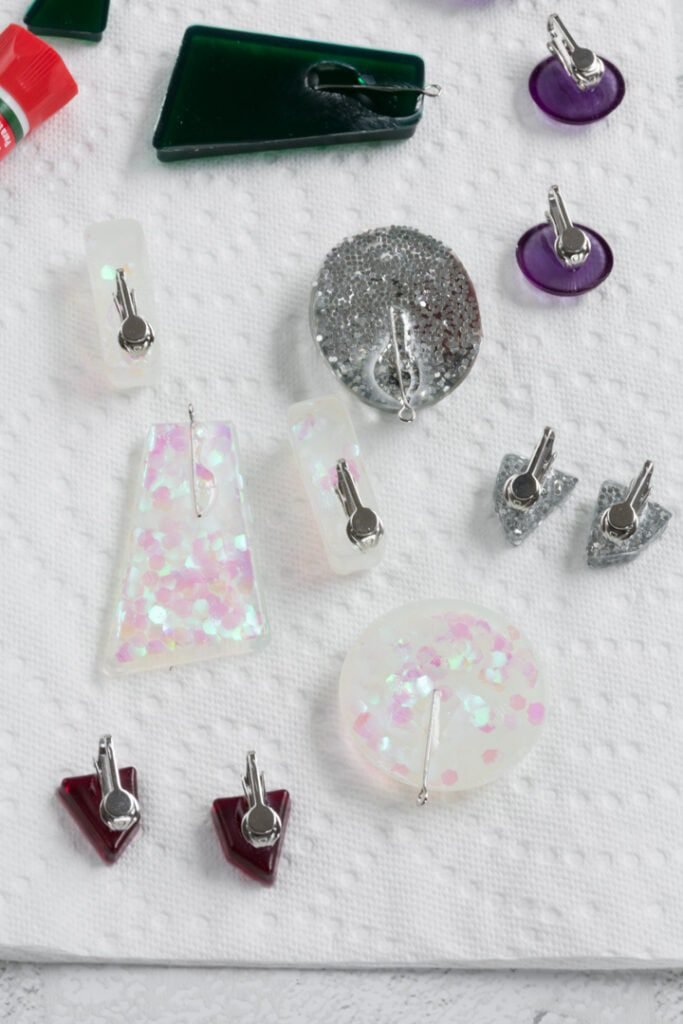
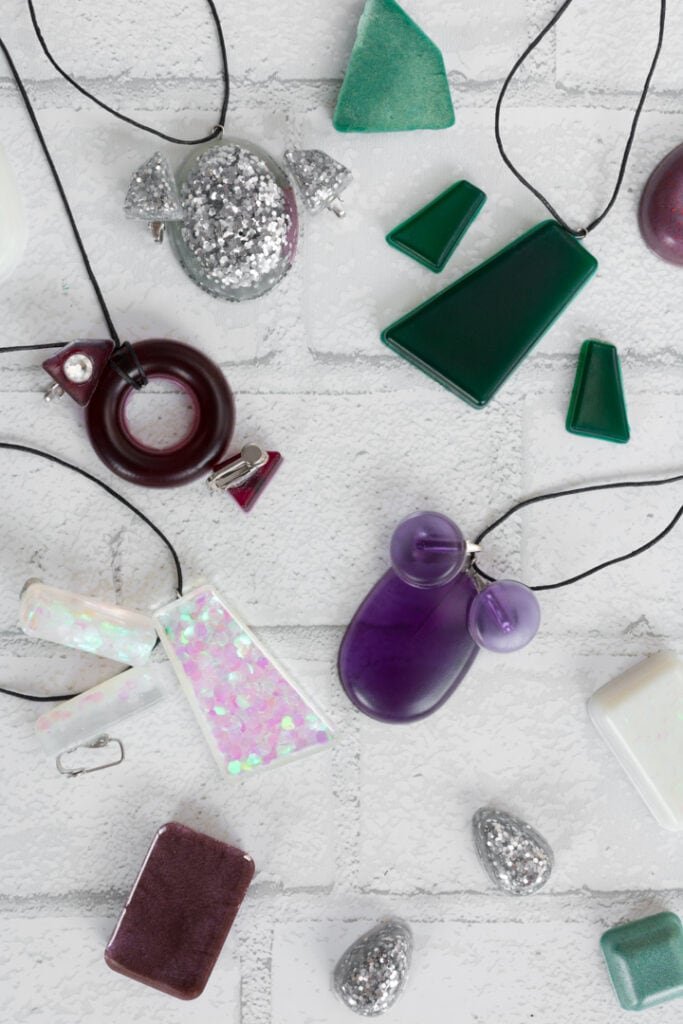
🧵 Adding Jewelry Hardware
- Use jewelry glue to attach earring posts, rings, or bails
- Connect to chains or findings using jump rings
- Let glue cure fully before wearing
🧪 Common Resin Issues and Fixes
- Cloudy Finish: Warm up resin bottles before mixing
- Sticky or Soft Cures: Ensure accurate 1:1 mix and double-cup method
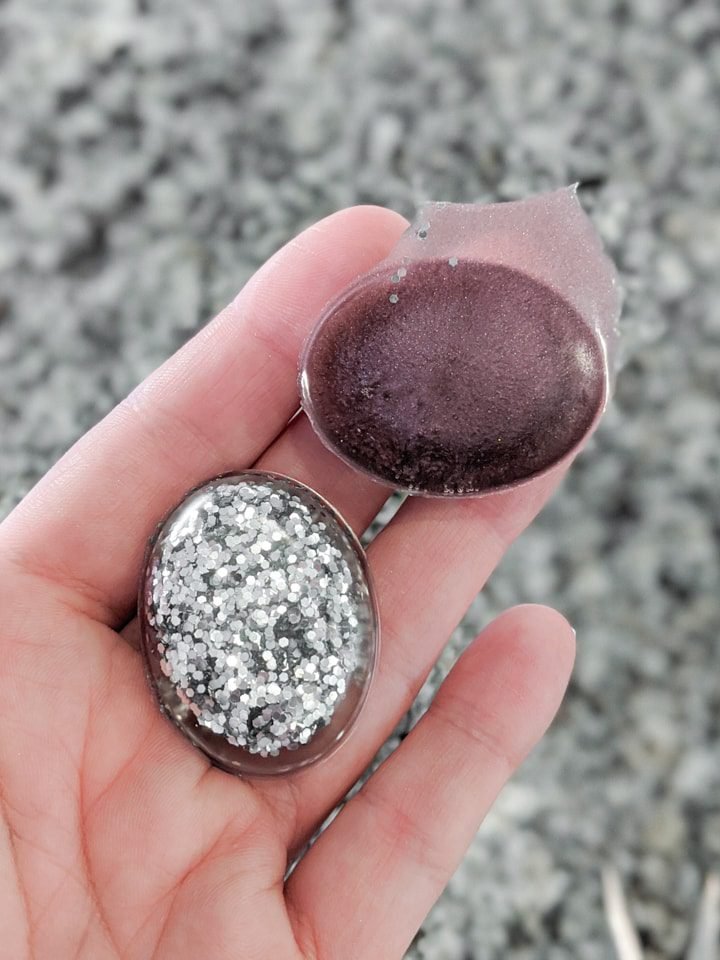
- Overpouring: Let soft cure for 12 hours, then trim with scissors
- Trapped Bubbles: Stir slowly and pop early
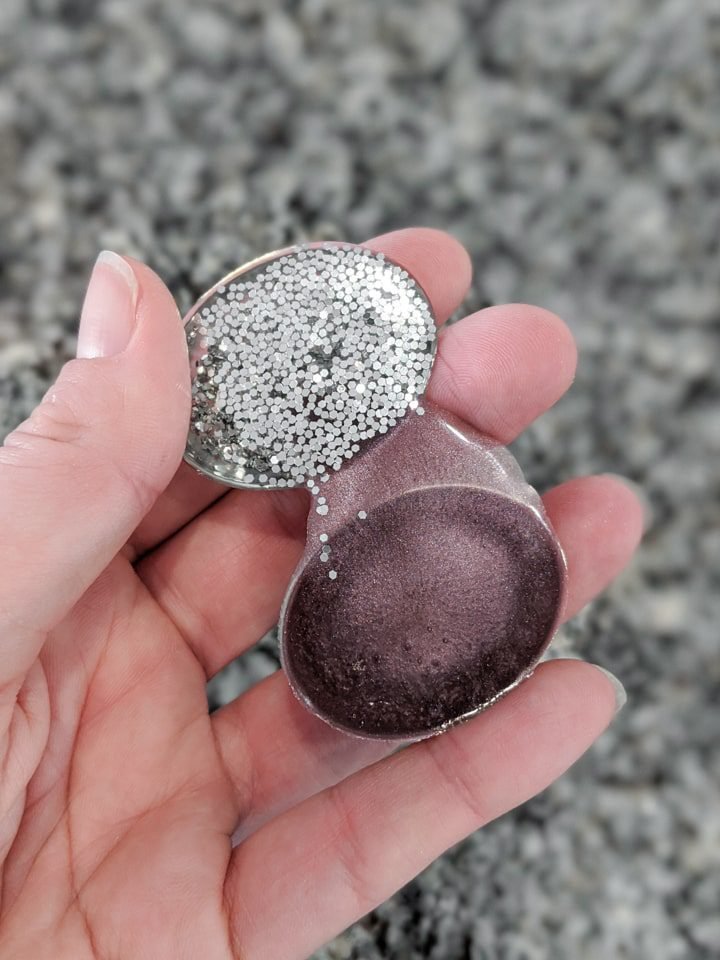
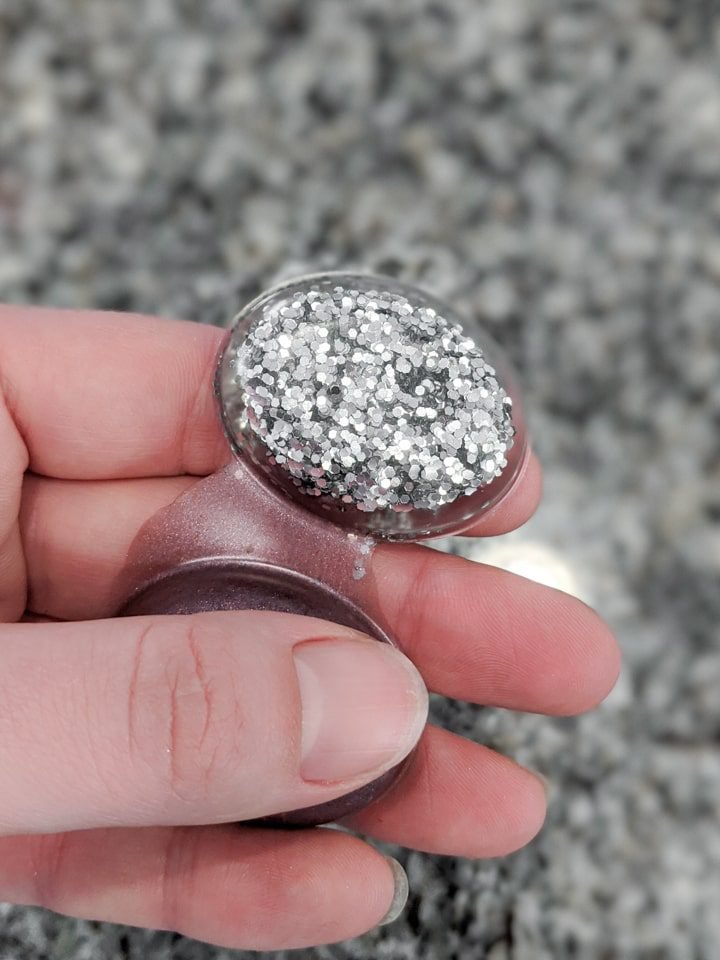
- Sinking Glitter: Pour in layers and wait 20 mins before adding
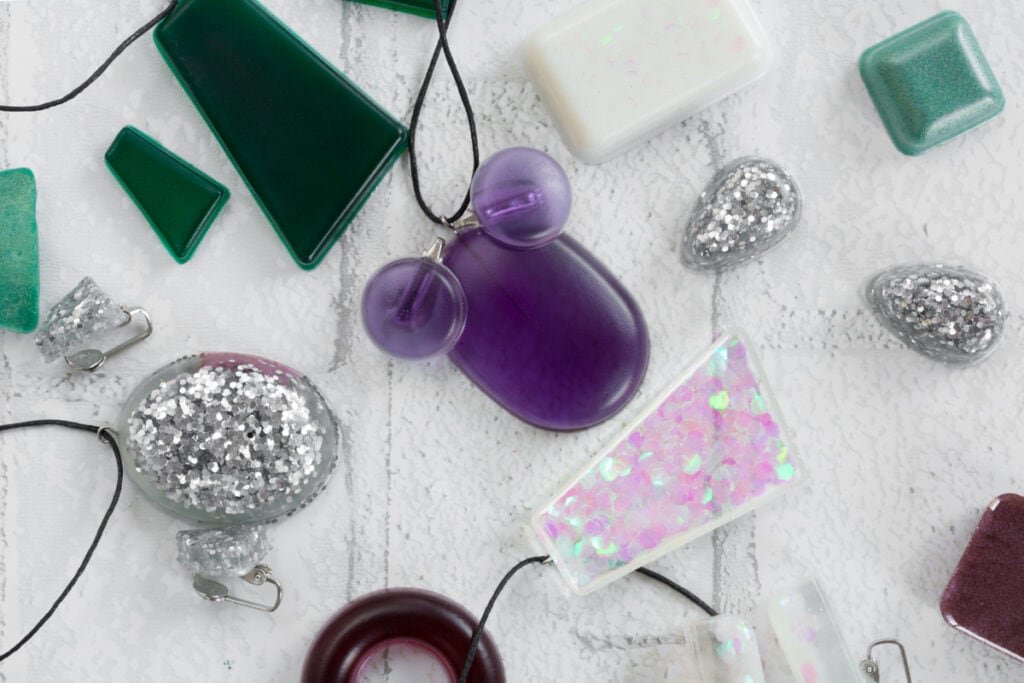
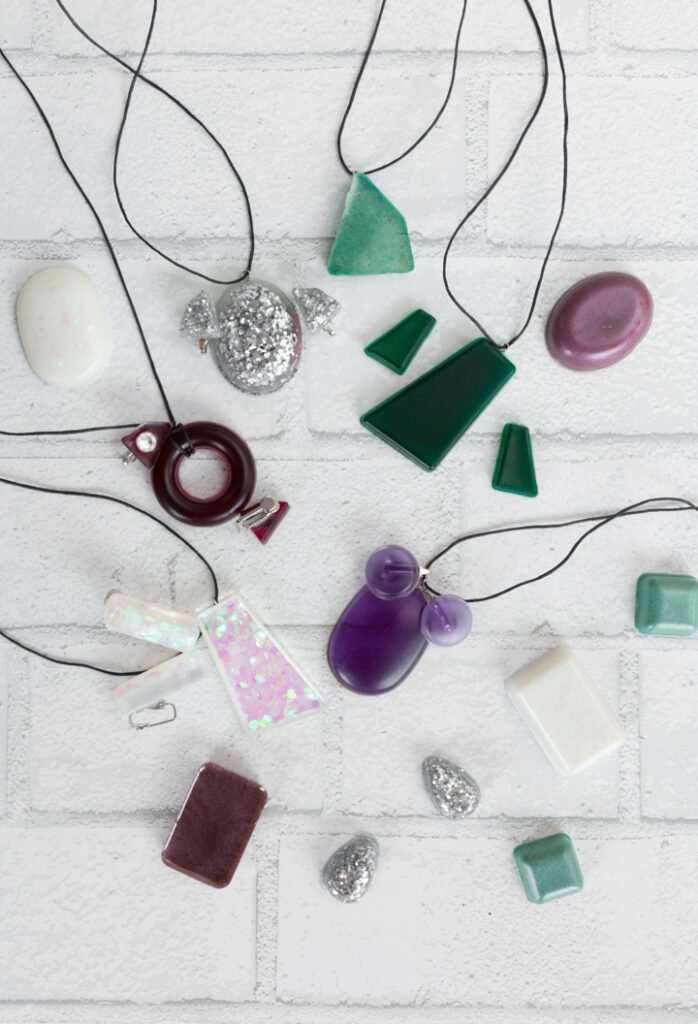
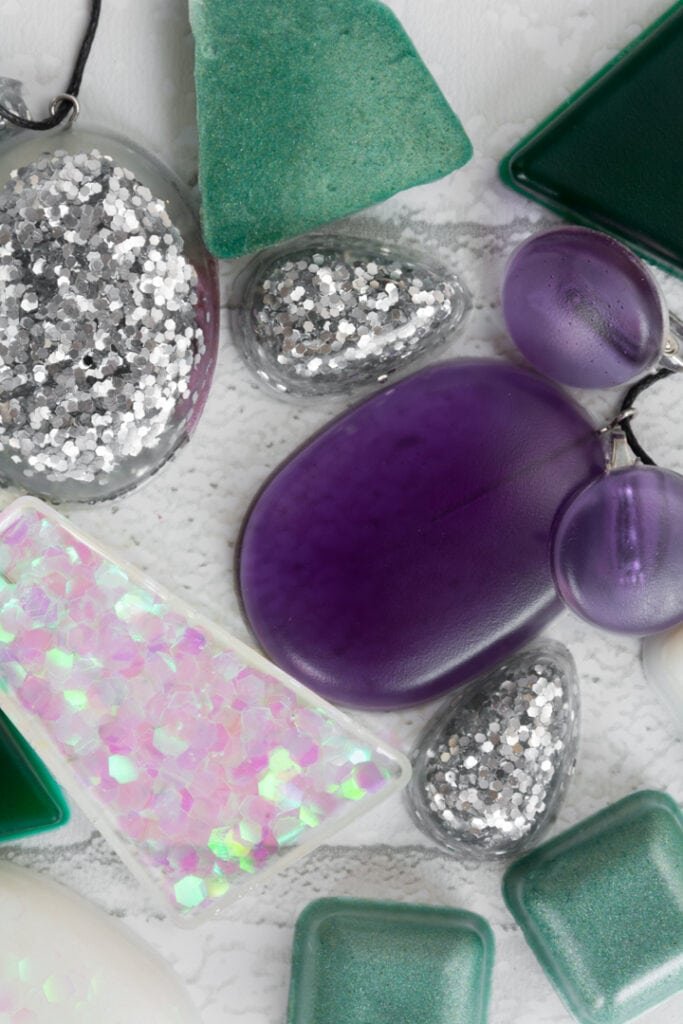
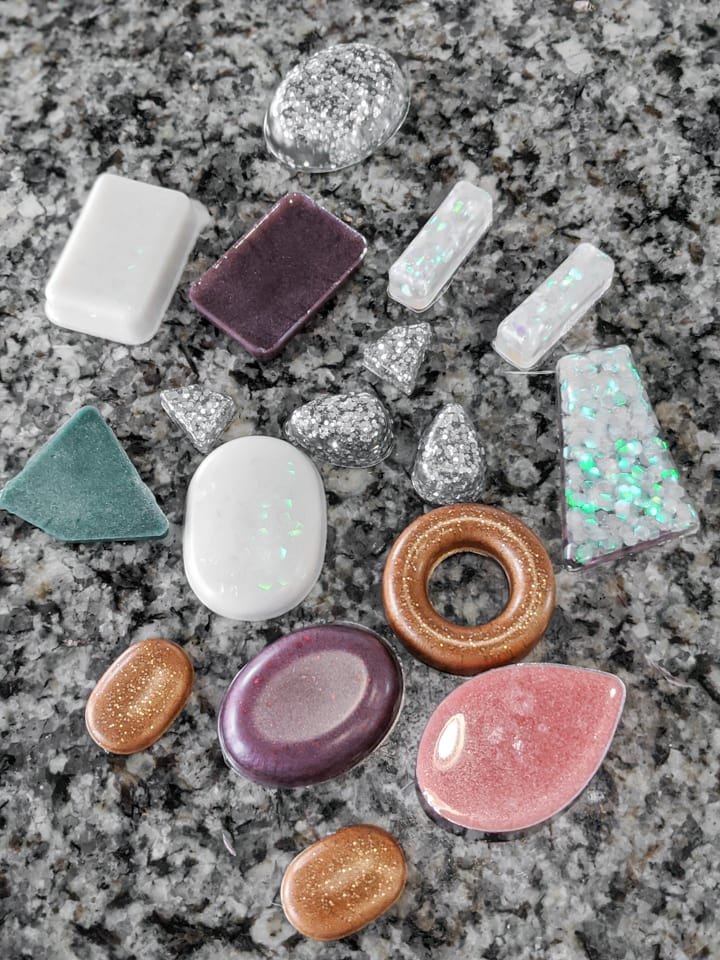
🎡 Resin Jewelry Ideas to Try
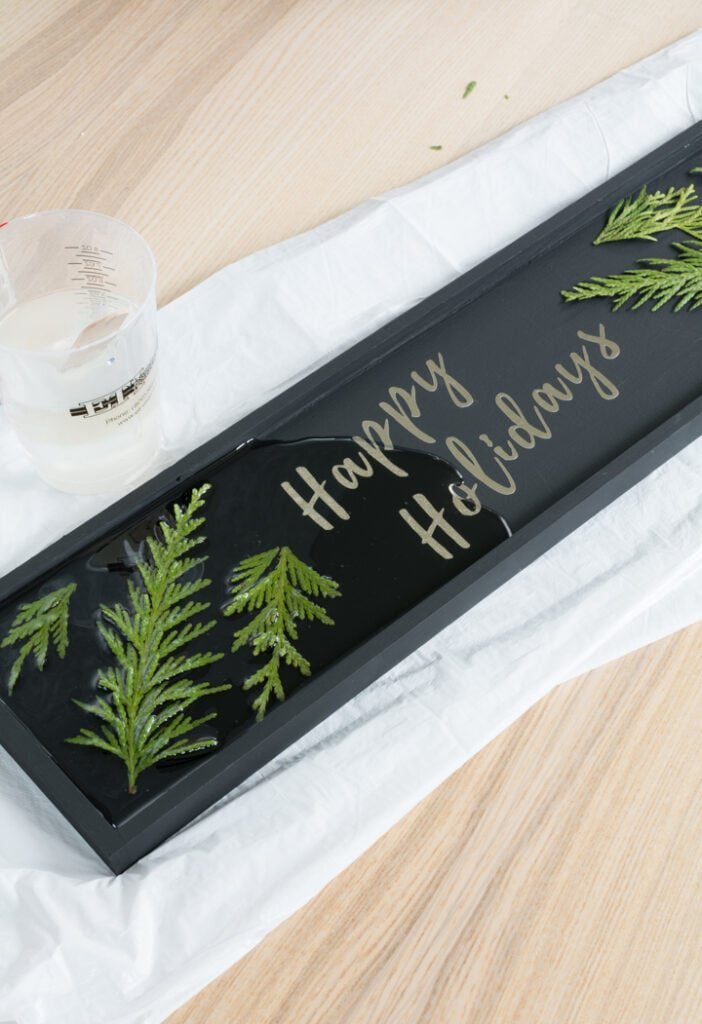
- Pressed flower pendants
- Glitter-filled kids necklaces
- Color swirl earrings with mica dye
- Mini object-inclusions like shells or beads
🔄 Final Thoughts
Making resin jewelry is not only creative but super satisfying. From custom gifts to colorful play accessories for kids, resin crafting opens up a world of possibilities. Plan your workspace, mix carefully, and let your imagination run wild.
Have fun creating!
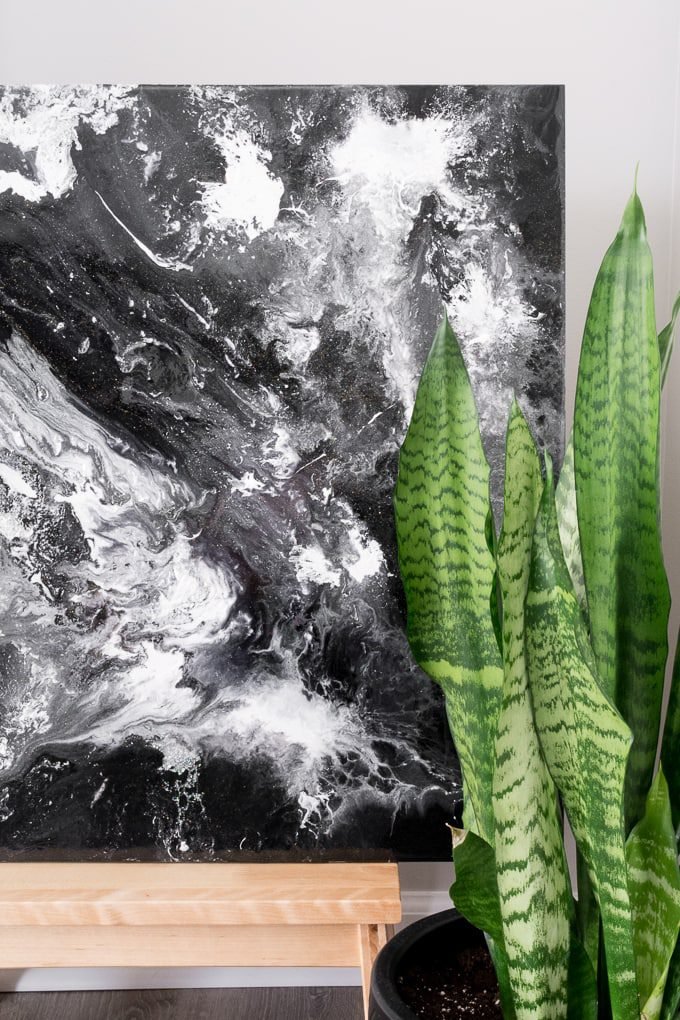
There are many different ways to color resin. I used mostly acrylic paint on the galaxy-inspired paint pour resin art I did. But you have to be really careful when using paint. If you add too much, it can interfere with how the resin cures.
The best bets, in my opinion, are using pigments designed for resin (like the Castin’ Craft pigments, which come in both transparent and opaque options), highly pigmented dye powders, or alcohol ink. I’ll be using the Castin’ Craft pigments and shimmery mica dye powders for my tutorial today!


0 Comments