Looking for tips for working with Cricut’s holographic mosaic iron-on? I’m sharing my experience using it, including my fails, as well as troubleshooting tips for if you’re mosaic iron-on isn’t sticking to your base material.
Hey there! Today I am sharing a project that I had not one…but two fails on while trying to figure out how to apply Cricut’s holographic mosaic iron-on material. I really love the final piece—my daughter looks so cute in it! And the holographic material is beautiful.
But man, this stuff wasn’t exactly a walk in the park to work with. So let’s walk through what Cricut says you should do, what I did and didn’t do, and what sort of product each approach led to. If you’re finding this post after frantically googling “why isn’t my mosaic iron-on material sticking” or “why is the mosaic iron-on liner pulling up my material with it”…welcome! Let’s talk. 🙂
New to Cricut? You might want to check out my detailed Cricut machine overview post that covers the Cricut Joy, Cricut Explore Air 2, and Cricut Maker machines! Also check out my complete guide to using the Cricut EasyPress 2.
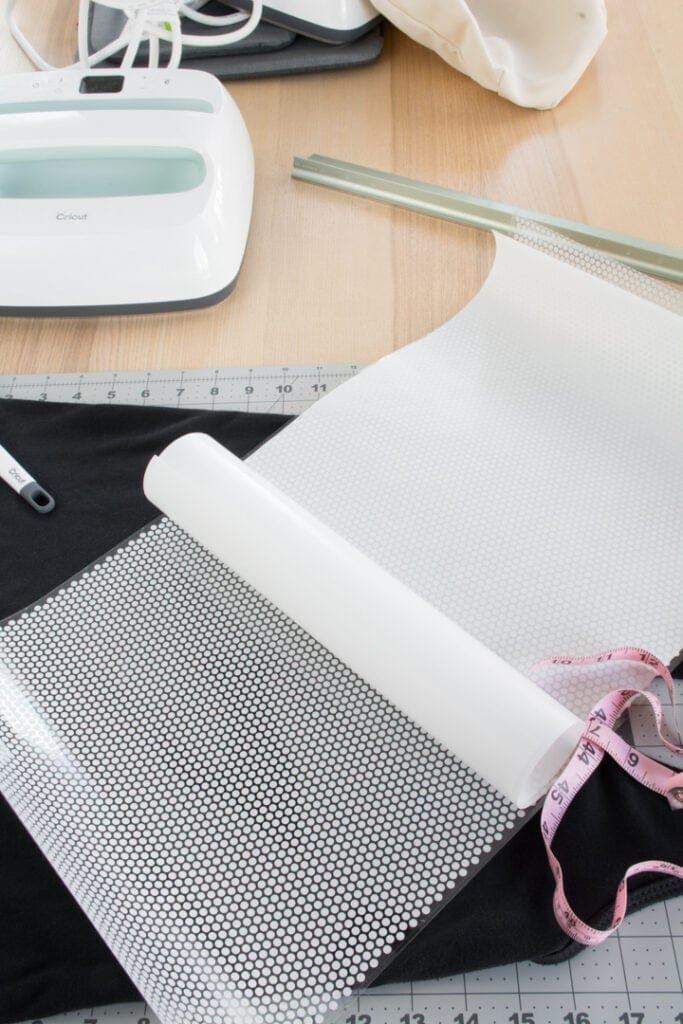
Cricut’s mosaic iron-on comes in a few different finishes—solid flat color, metallic, holographic, holographic sparkle—and two different mosaic shapes: square and circle.
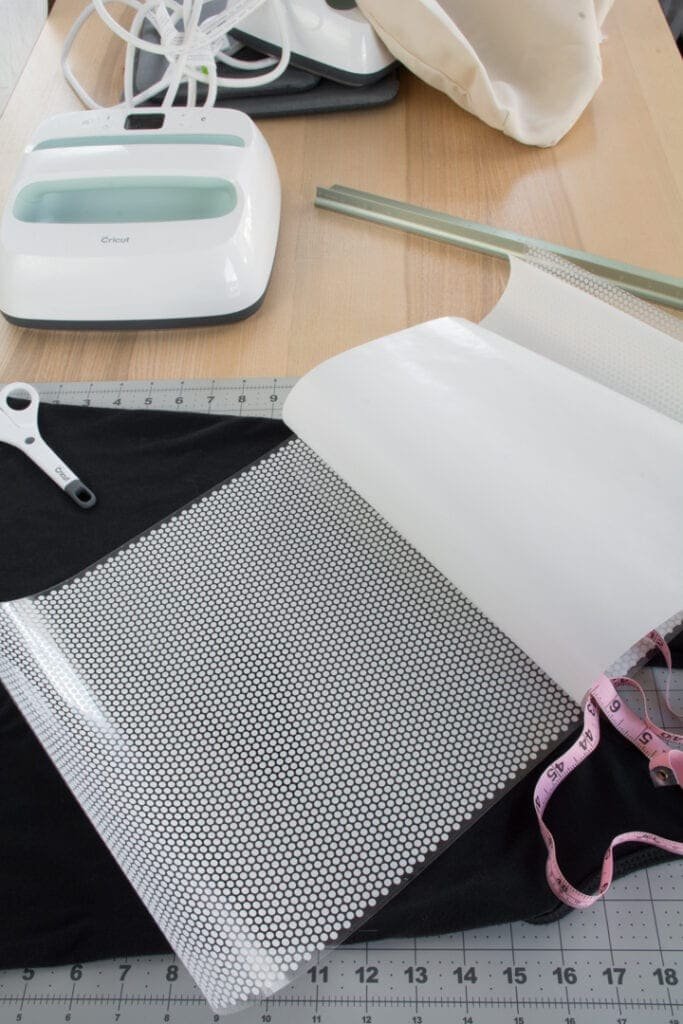
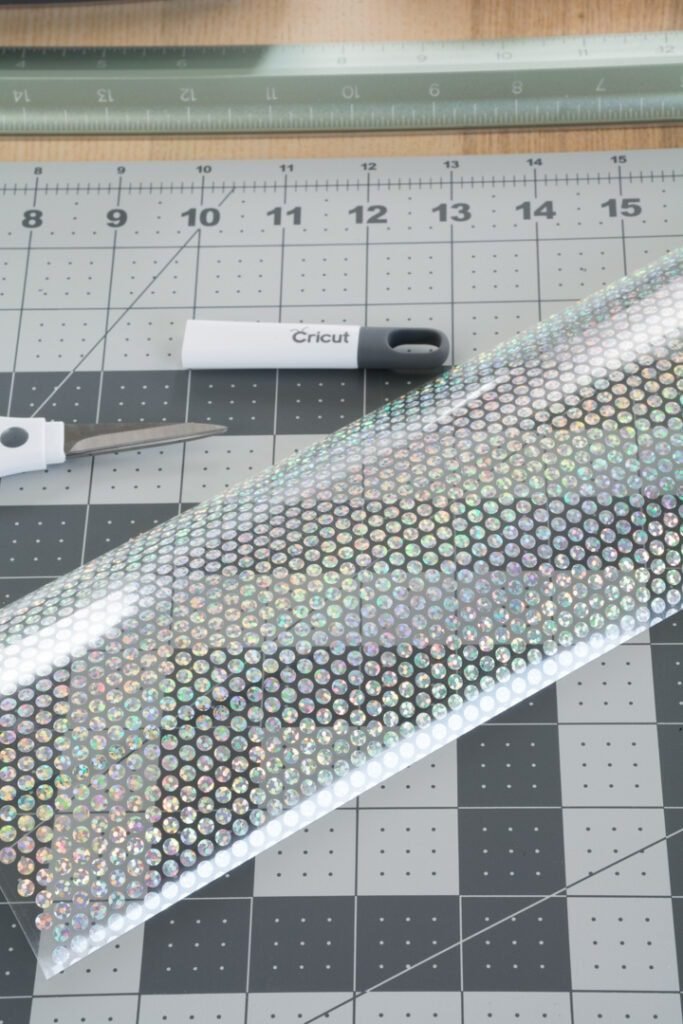
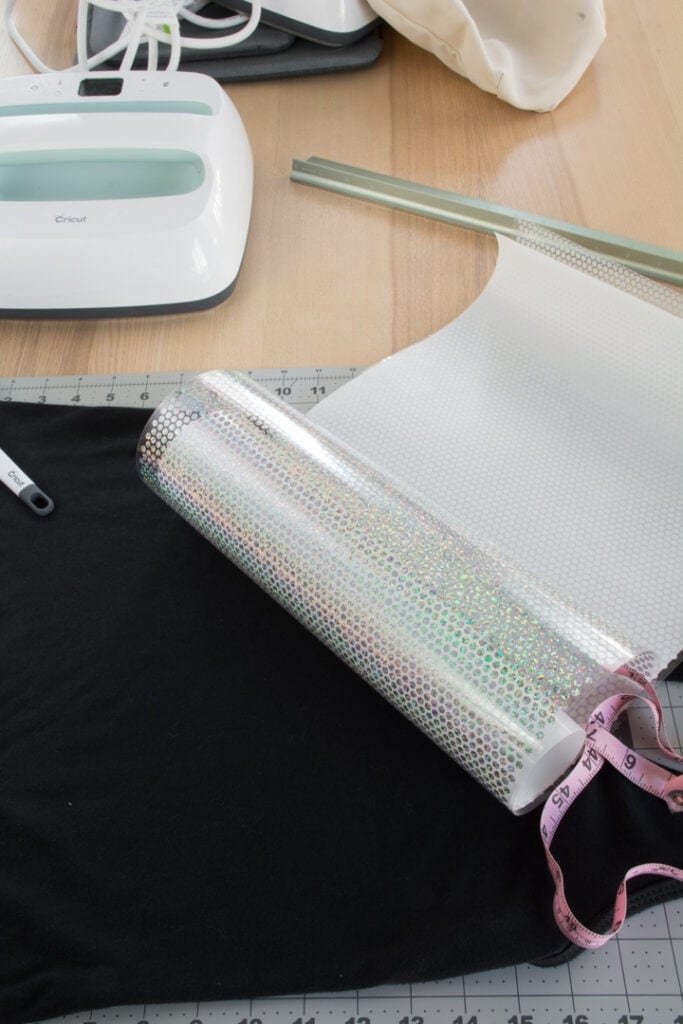
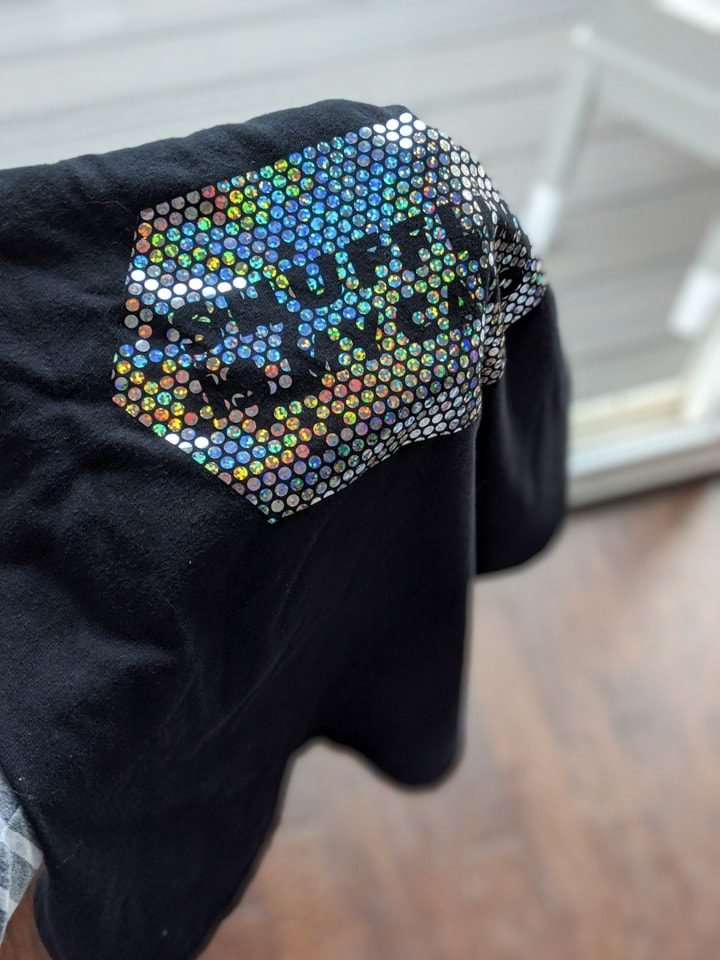
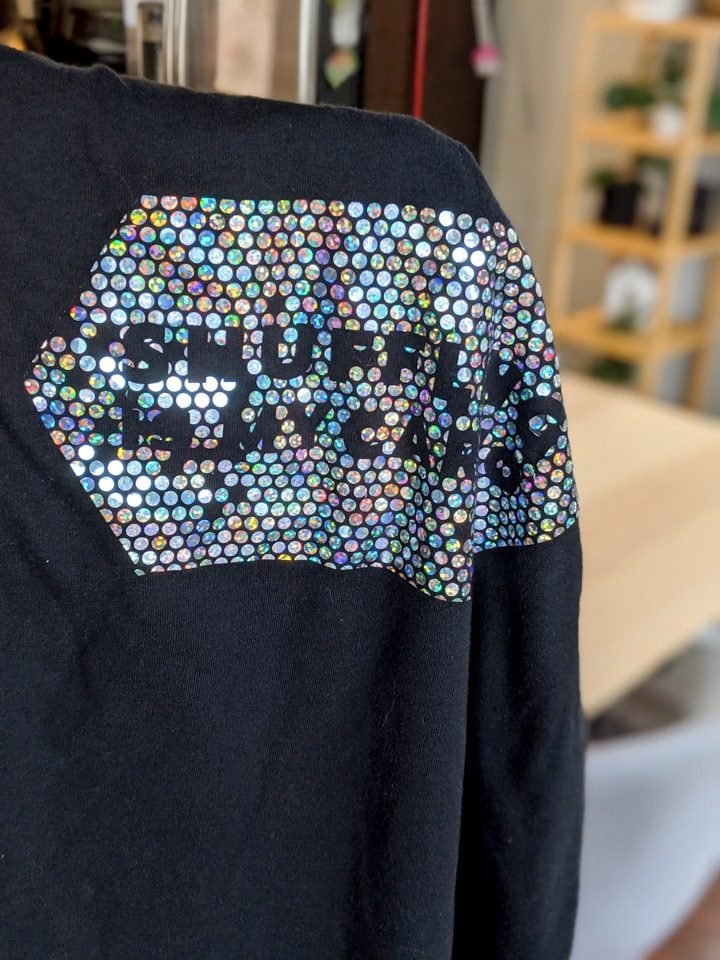
For this project, I’m working with the Holographic Sparkle Iron-On Mosaic Circles in silver. The finish is stunning on the roll and even more so once transferred. Both the holographic finish and the mosaic pattern definitely help give a different more eye-catching look when compared to traditional iron-on.

If you’d like to incorporate layers on your project, the only kind of iron-on mosaic you can layer on top of is the Everyday Iron-On Mosaic. It can be a bottom or middle layer, but keep in mind that the mosaic pattern may transfer up to the next layer. You can use any of the holographic, holographic sparkle, or metallic mosaic iron-on options as a top layer.
The first thing to know is that you don’t need to weed the individual dots. Please don’t do that. It’s extremely time-consuming and you’ll feel like an idiot when you realize there is a second liner that makes weeding super easy.
Do you know how I know you’ll feel like that? Because I weeded each individual dot for my first design. Yep, resident not-follower-of-directions here. Do you know how I know you’ll feel like that? Because I weeded each individual dot for my first design. Yep, resident not-follower-of-directions here. I honestly couldn’t figure out how to get the second liner off, so I gave up. Not smart. Super tedious. Not recommended.
Instead, Cricut says you’re supposed to weed away the liner that carries the dots, leaving two liners only in the spots you want to transfer (the positive space). Then that’s the piece you use to transfer your design. I have some mixed feelings on this guidance that I’ll share in the tutorial steps below…but always use Cricut’s official method first.
As with all iron-on projects, I prepped my base material by making sure it was freshly washed. 100% cotton tends to shrink as we all know, so I’d hate to transfer a beautiful design and then have it look all funky after washing and shrinking the piece for the first time.
Make sure to use a regular detergent, and don’t use any fabric softener or dryer sheets. Those can leave a residue on clothes that can interfere with the heat transfer process.
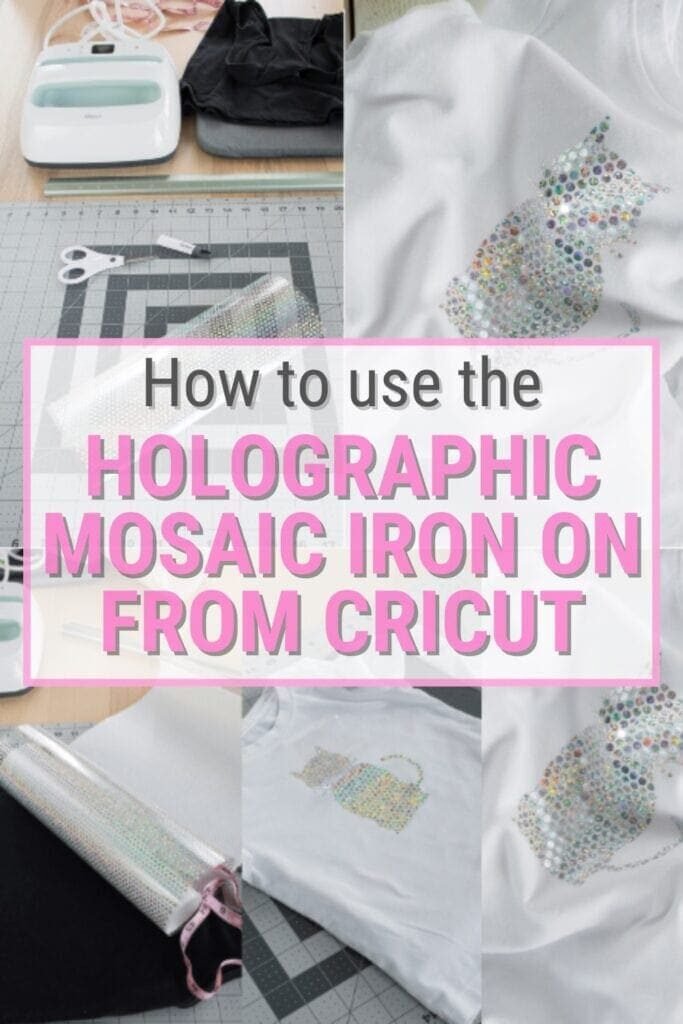
For the first try, I used a design I made with a saying on it. For the second and third attempts, I used a free cat image from Canva. The first try was using the outside of the picture with the cat shape as the negative space. Then I tried using the cat file.
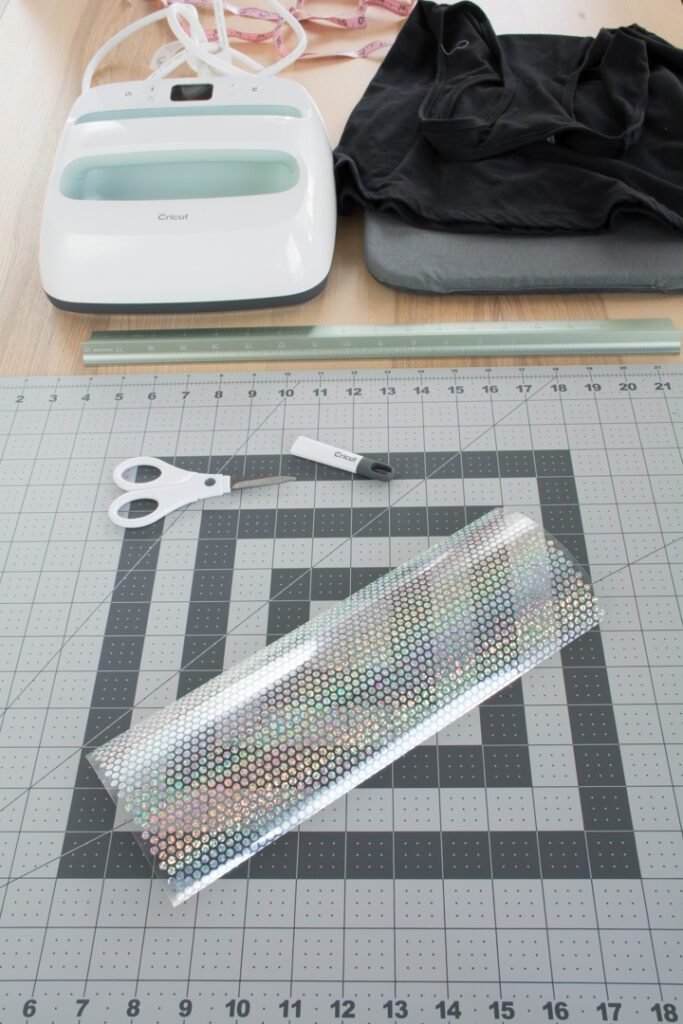
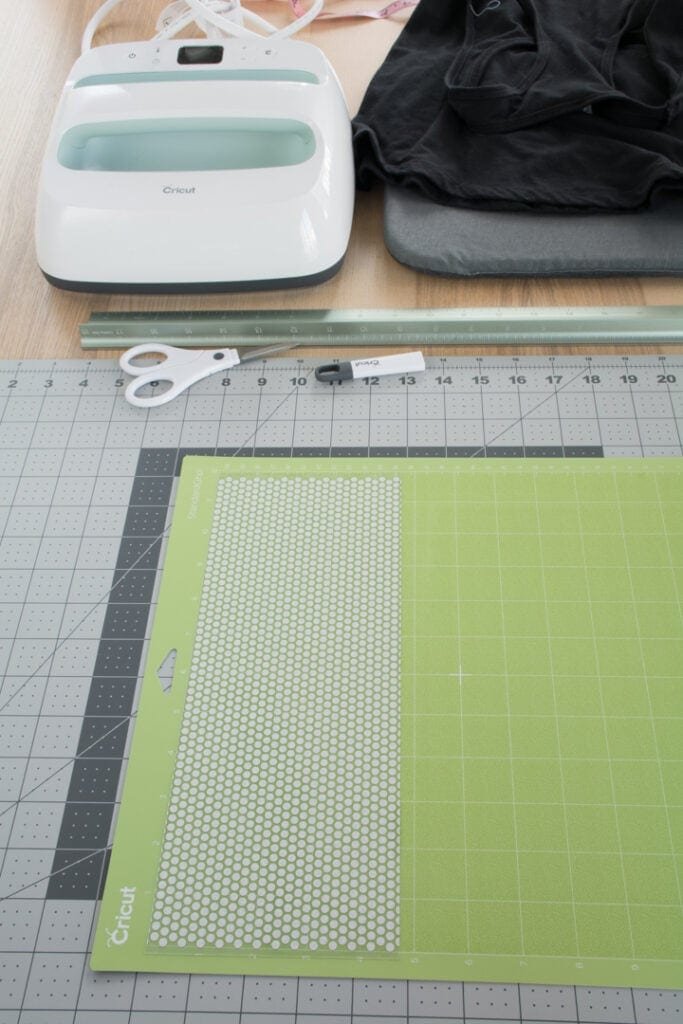
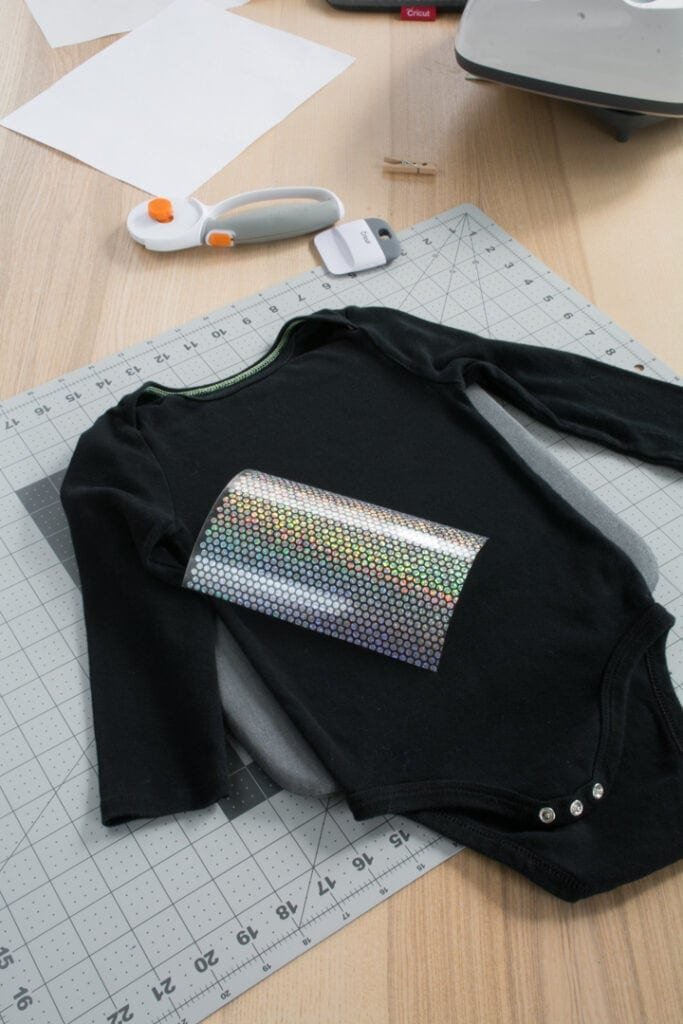
As with all iron-on applications, make sure to mirror your design before cutting it! And use a regular green standard grip mat. The mosaic iron-on should be facing down, meaning the back of it—the adhesive side—should be facing you (or up).
When you’re ready to cut, if you’re cutting on a Maker, select the type of mosaic iron-on you’re using. If you’re cutting on an Explore machine, turn your dial to custom. You’ll then see more options to select in Design Space.
So this is where things got tricky for me. Since the weeding process for mosaic iron-on is different from standard iron-on, I was in new territory. As I said above, the mosaic iron-on actually has two liners, not just one. It has a thinner liner that holds the mosaic pieces (circles or squares). Then, on top of that, it has another layer.
Cricut’s instructions say to weed away the negative spots on your design by removing only the layer that holds the dots. Not the layer on top of that. Keep that layer intact. After my first huge flub trying to weed away the individual dots (FML), I followed the instructions and removed them all at once using the liner.
Except…it wasn’t that easy. In fact, I found the weeding process to be super difficult. The material kept ripping and wouldn’t remove evenly along the design’s cut lines. So I’d have to go in with a tool or two to grab the free edge and begin weeding again. So although the process was much faster than weeding individual dots (again, FML), it definitely wasn’t as fast of a process as regular iron-on.
Want to learn about other Cricut materials? Check out my posts on how to use glitter iron-on with wood, my guide to layering iron-on vinyl, and my intro post on using Cricut’s Infusible Ink!
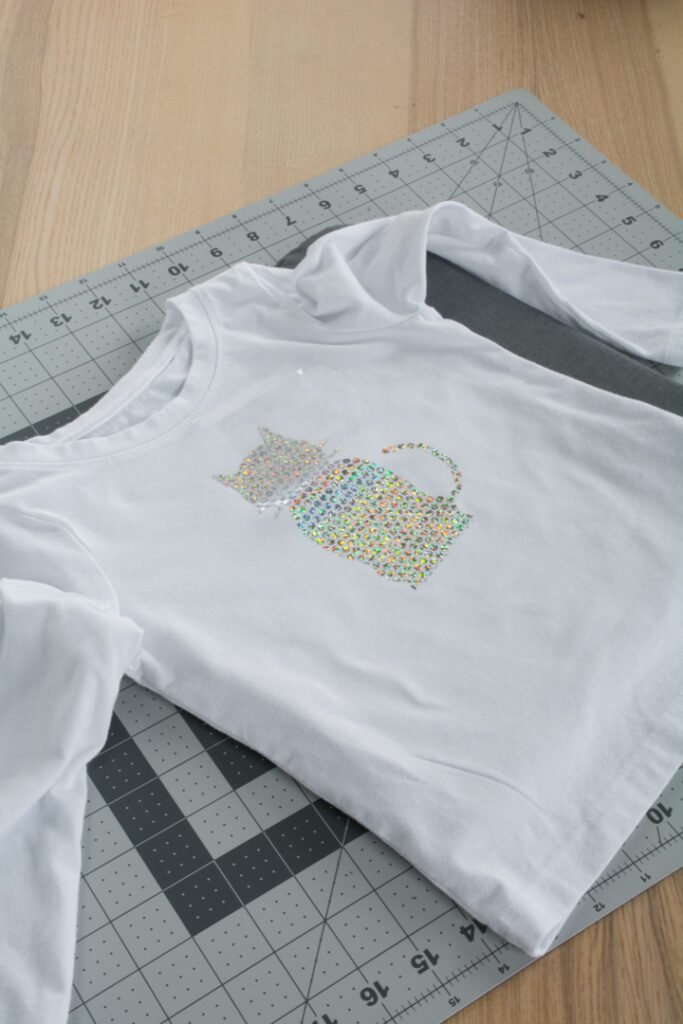
I used my EasyPress and the recommended heat settings from the Circut website to transfer my design, including a preheat. After that, I placed the design on the tank top with the adhesive side down, liner/shiny side up and pressed. Then from the back, as instructed.
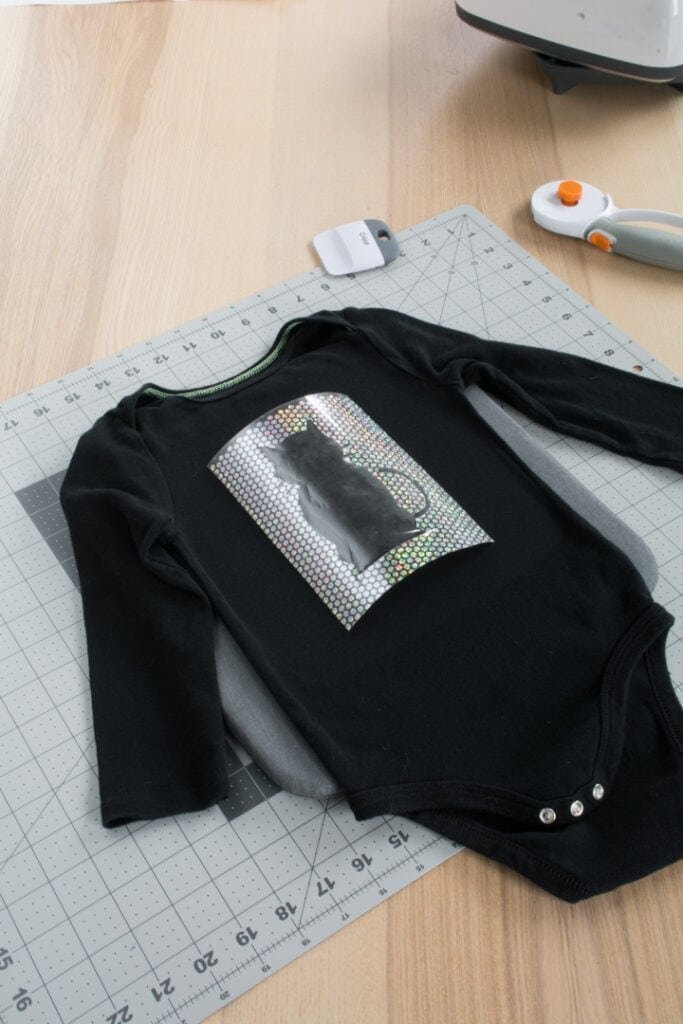
I removed the top liner—the first of two—with ease. OMG, it was going to look so good! Except…it wasn’t, because I couldn’t get the damn second liner off! The heat guide said to use a warm peel, but I couldn’t get the liner to pull off without pulling up most of the mosaic dots with me. Grrrr.
Cricut recommends that if you see a mosaic piece begin to come up with the liner, to put the liner back down, put the first liner back on top of the design, and apply heat for another 10–15 seconds. This led to more mosaic pieces sticking, but still not all. I was afraid of applying more heat and messing with the glorious holographic sparkle finish, so I decided on another route.

I decided to leave the liner in place and try it with a cool peel (going against Cricut’s instructions). So I set it aside and began working on another project while it cooled. When it cooled, I was able to pull the second liner off, but you have to use a bit of muscle to get it off. And honestly…I did pull up a few pieces. 🙁 So sad!
Alright, so sadly we left off this tutorial with a bummer of a project. Obviously not ideal. So I decided to do a bit of troubleshooting and turn this post into a help guide of sorts for folks dealing with similar transfer issues.
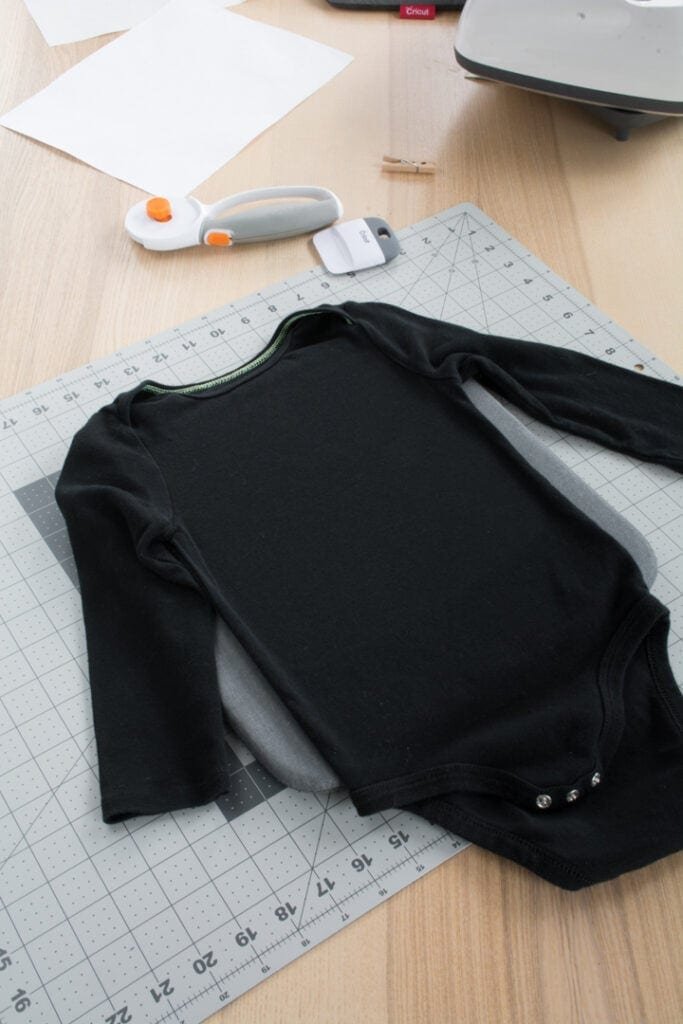
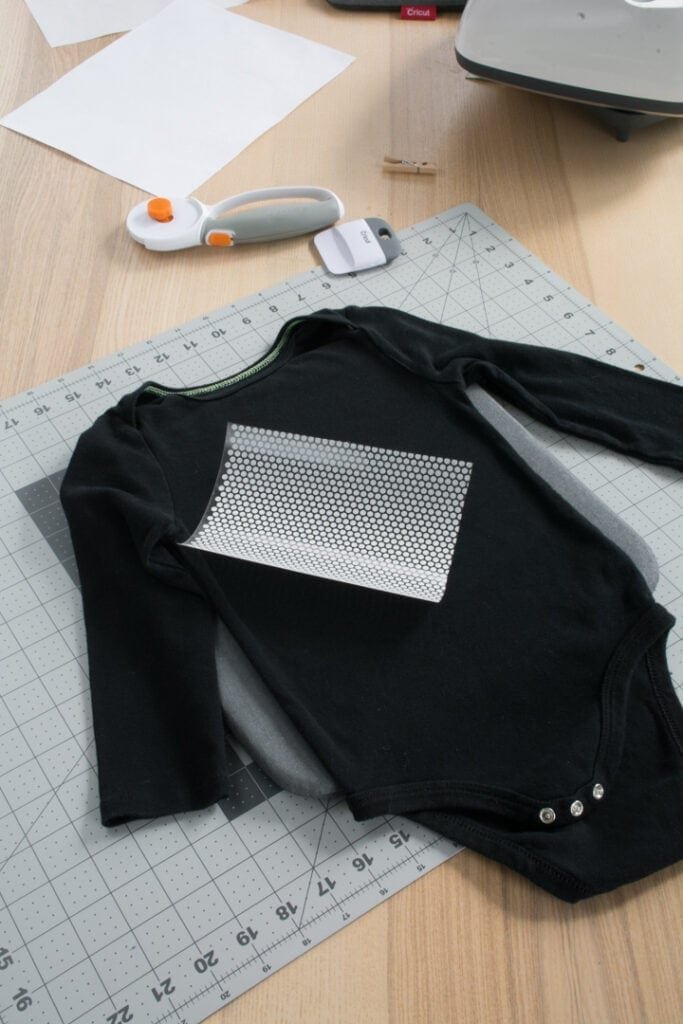
I grabbed a spare old bodysuit of R’s to test another design on. This time I followed Cricut’s instructions *exactly* to see what happened. I applied the recommended preheat, applied heat for the recommended time and pressure, peeled the top liner, and then did a warm peel (instead of a cool peel) on the second liner.

When the dots came up, I replaced everything and tried again for an addition 15 seconds. After removing the second liner, this was the monstrosity I ended up with. CRITICAL HIGH YIKES. That’s even worse than the cool peel!!
I was beginning to wonder if I was an idiot, if this was a bad batch, or both. I read and re-read the instructions. Then I watched Cricut’s tutorial video—was this woman a magician? A witch? We’ll never know. (She’s probably not a witch. Verdict is still out on magician.)
For more fun Cricut projects for kids, check out my “girls can do anything” Infusible Ink t-shirt, my DIY wall decals in a modern kids room, my customized toddler chair using the Cricut Joy, and my monster art supplies caddy.
And then I decided to do something totally different. Honestly, I was ready to give up, but the holographic sparkle finish on this material was so pretty that I wanted to press on. Also, I’m a bit hardheaded.
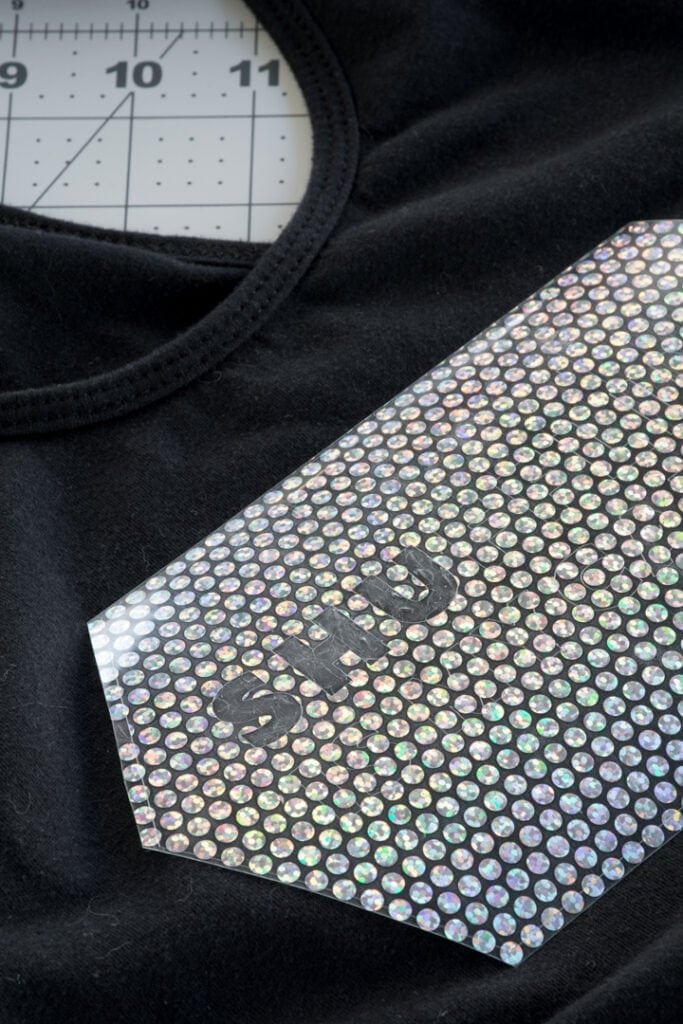
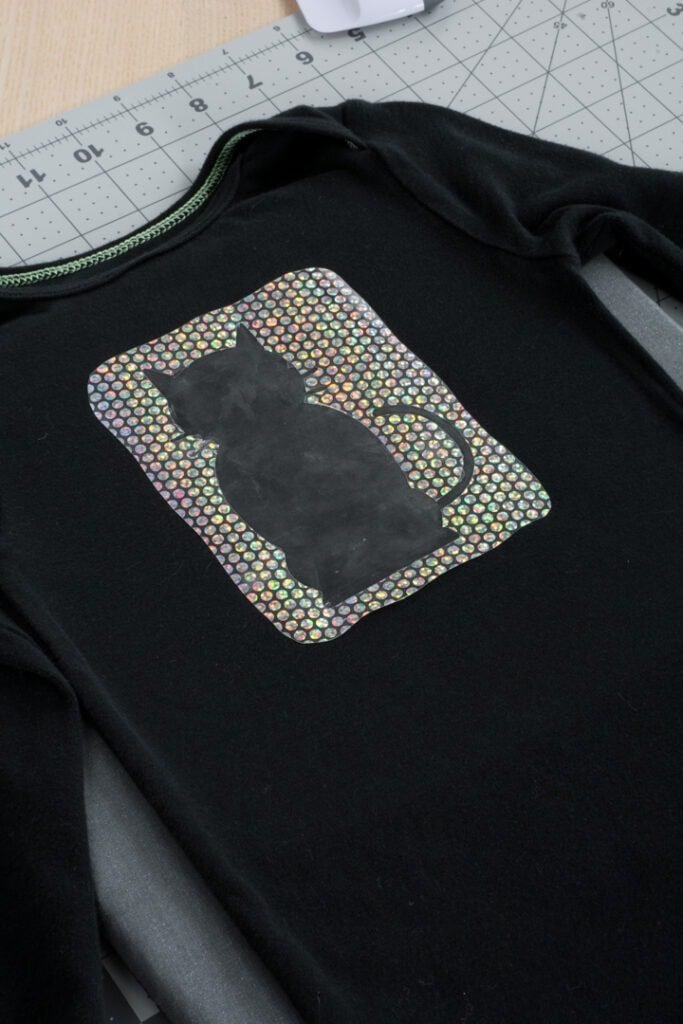
So instead of peeling the liner that carries the dots off and then applying heat to the double layers, adjusted course. I removed the liner that carried the dots, leaving the design I wanted to transfer. The cat shape. And then I removed the second liner from this.
It seemed obvious to me that I was not getting enough heat for my project, and I wondered if removing that top layer would fix the problem. Why not try it? So I did. I used Cricut’s recommended heat settings for if I were transferring it using both liners, and…IT WORKED!
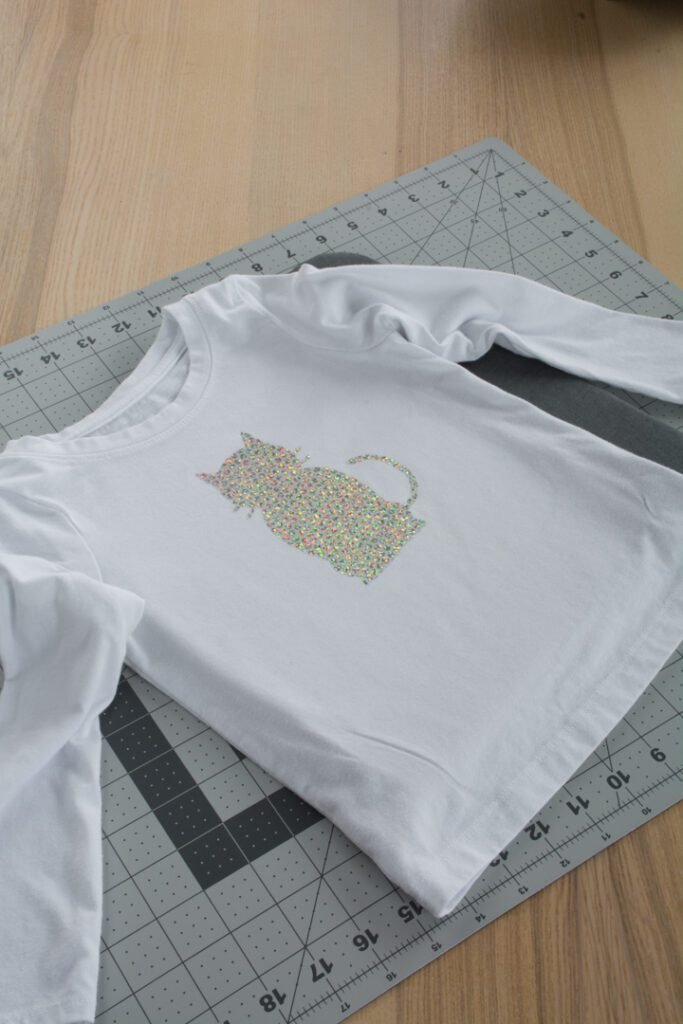

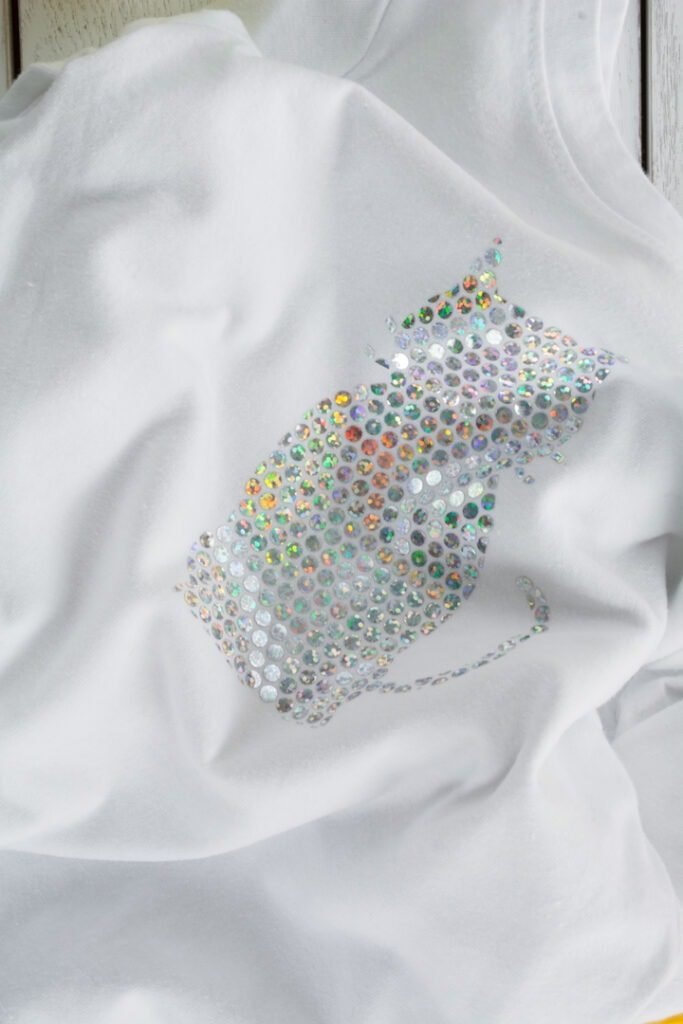
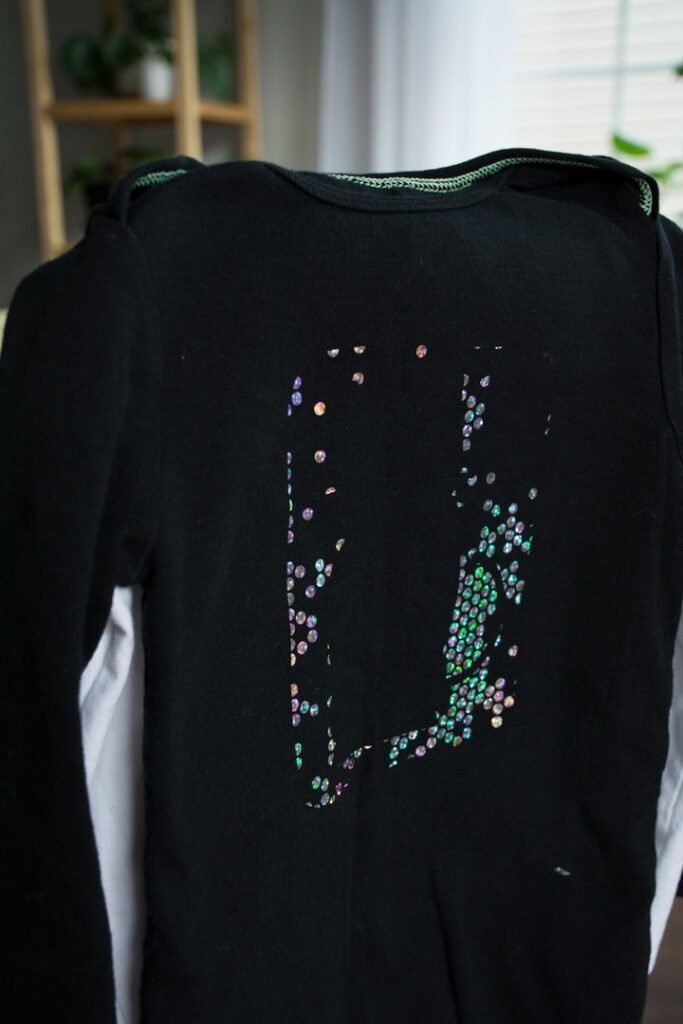
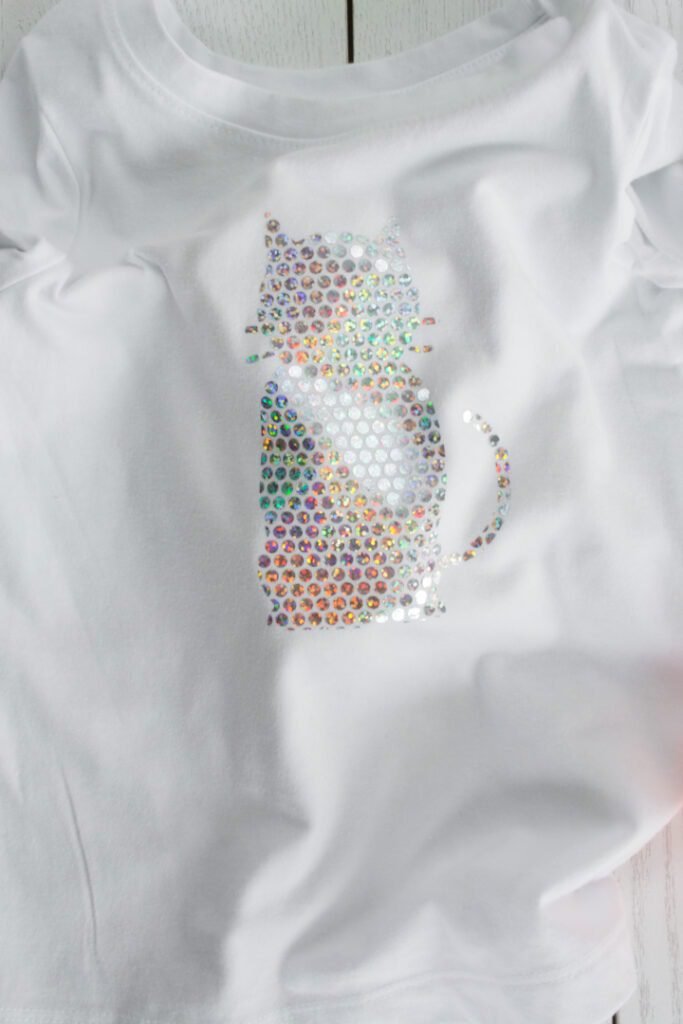
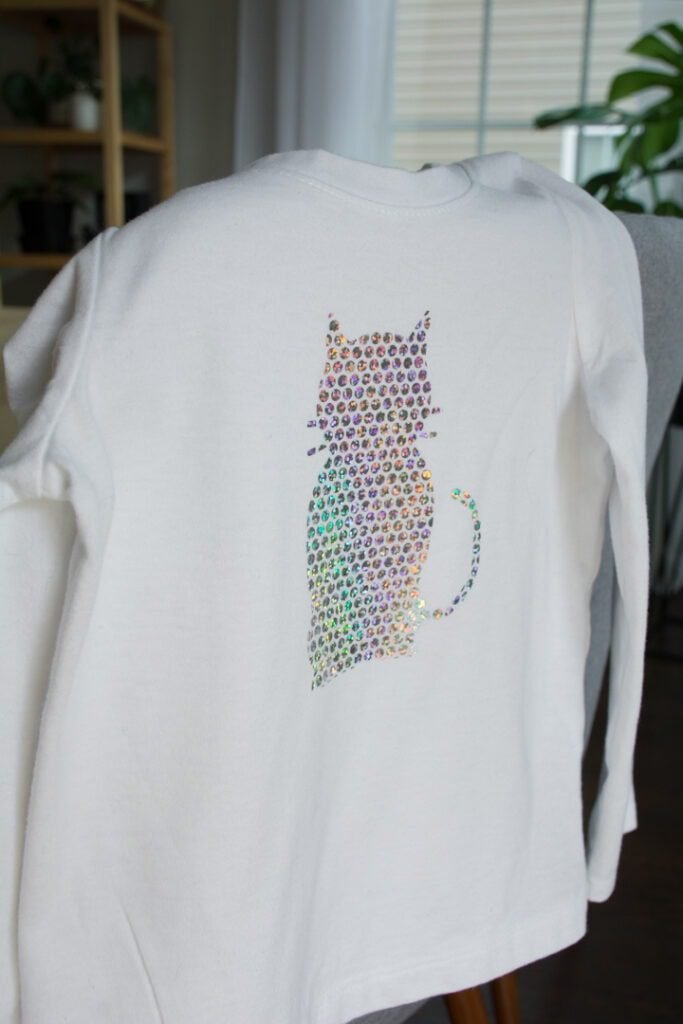
I nearly cheered when I was able to successfully peel off the liner that carried the dots, leaving just the beautiful holographic sparkle finish on the shirt. (This would have looked stunning on black, too, but it’s still lovely on white!) I tried to capture a few different angles so you can really see how pretty the finish is in real life.
So, that’s how I went about this project. I hope that you’ll follow Cricut’s instructions first, and then if they don’t work and you’re googling “cricut mosaic iron-on wtf why won’t it stick,” then you’ll end up here. 😉
Pin my tips for Working With Holographic Mosaic Iron On!


0 Comments