Learn how to make a glitter sensory bottle at home. It’s the perfect project that kids can complete themselves with a little help and then enjoy afterward!
Hey everyone, today my post is about a total mom craft. I am definitely not the first person to make glitter sensory bottles, but I wanted to share a recipe we did a few weekends ago that worked out really well!
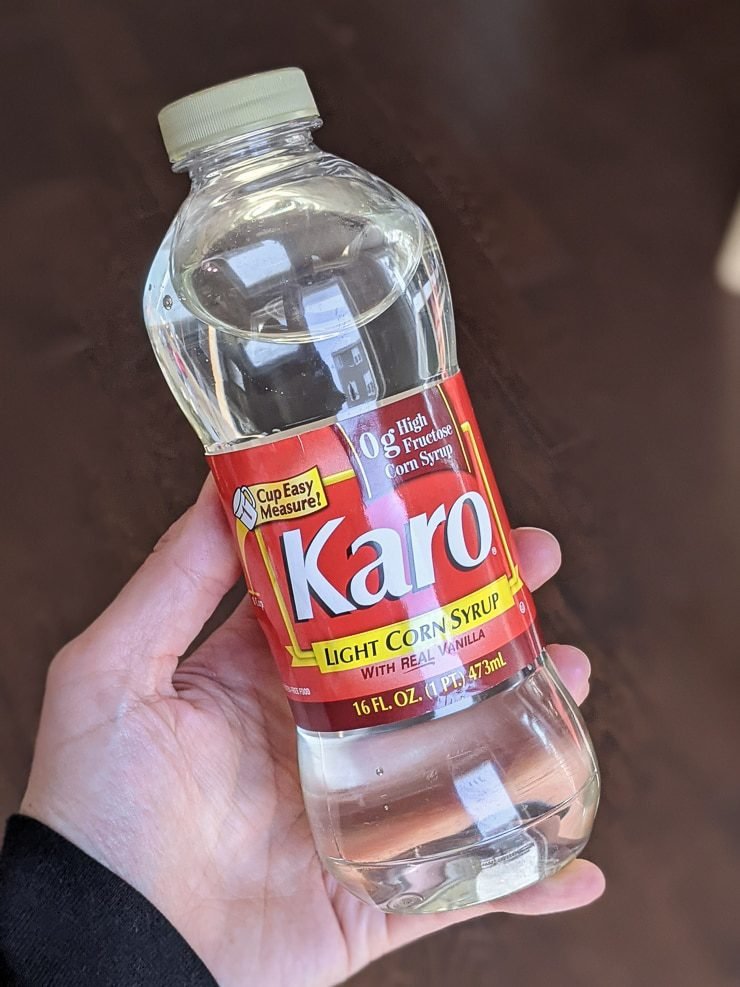
It’s easy, too—and it doesn’t require any glitter glue. We had a failure bottle a while ago that used glue, so I will steer you away from the recipe we used and toward a corn syrup recipe.
Corn syrup is also cheap and easy to find, so it’s the perfect thing to use for a DIY glitter bottle. So if you’re wondering how to make a glitter sensory bottle, grab the following supplies.
Like easy kid crafts? Check out my tips for melting broken crayons in silicone molds and making DIY sidewalk chalk paint. I also have a review of a life-sized colorable cardboard playhouse your little ones will love.
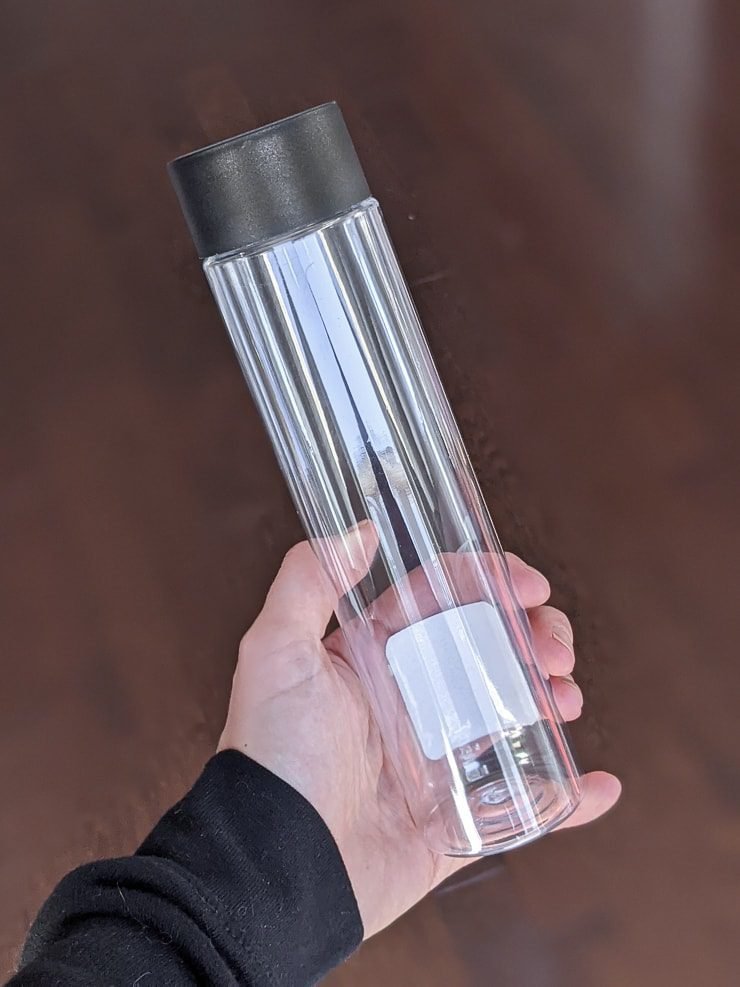
We picked up two cheap ArtMinds plastic bottles from Michaels. They are up in the front of the store near the registers. You know, in the gauntlet of low-priced stuff you didn’t know you needed until you see it. Super handy though 🙂
You could also upcycle a plastic bottle you already have. We didn’t have any, though. Whatever you choose, make sure it’s plastic and not glass. Kids + glass = not a good idea.

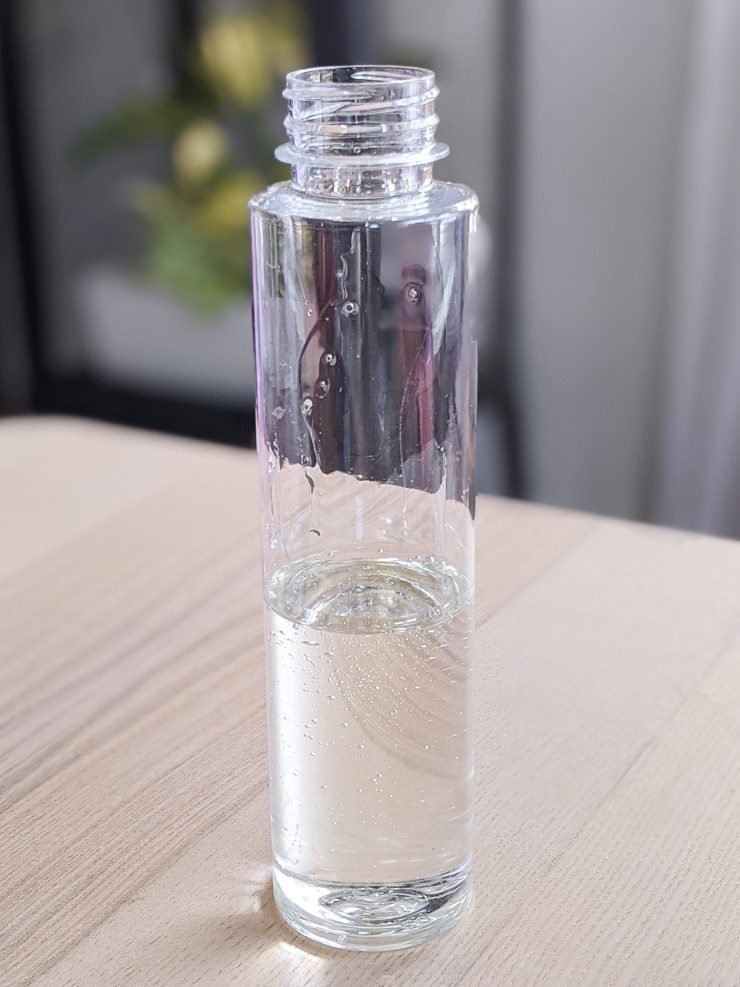
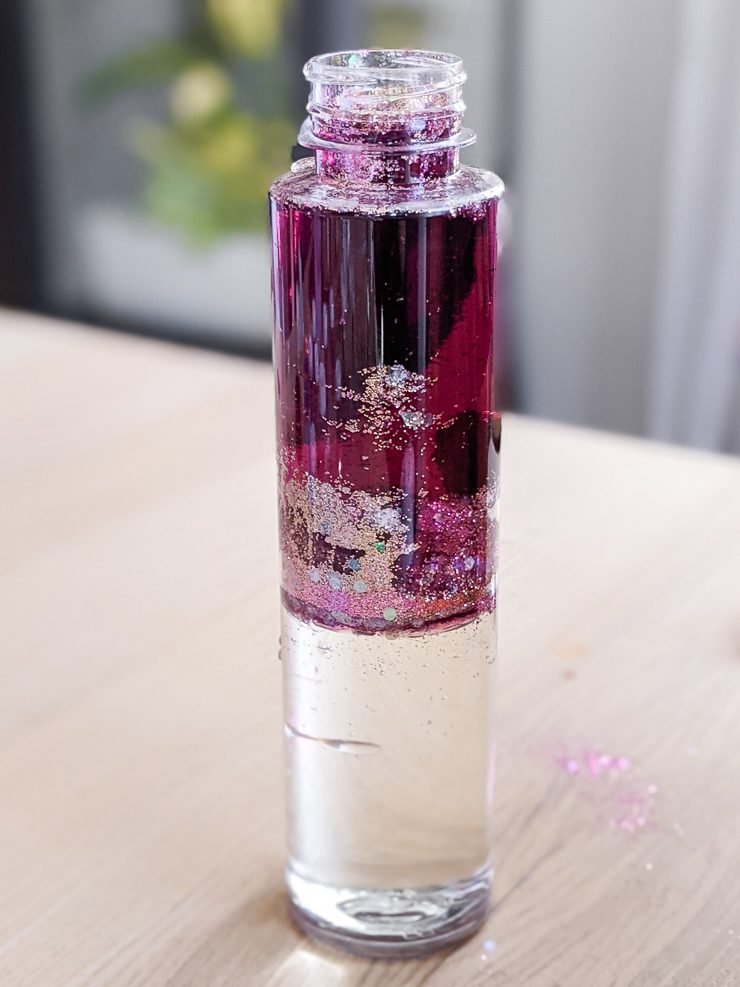
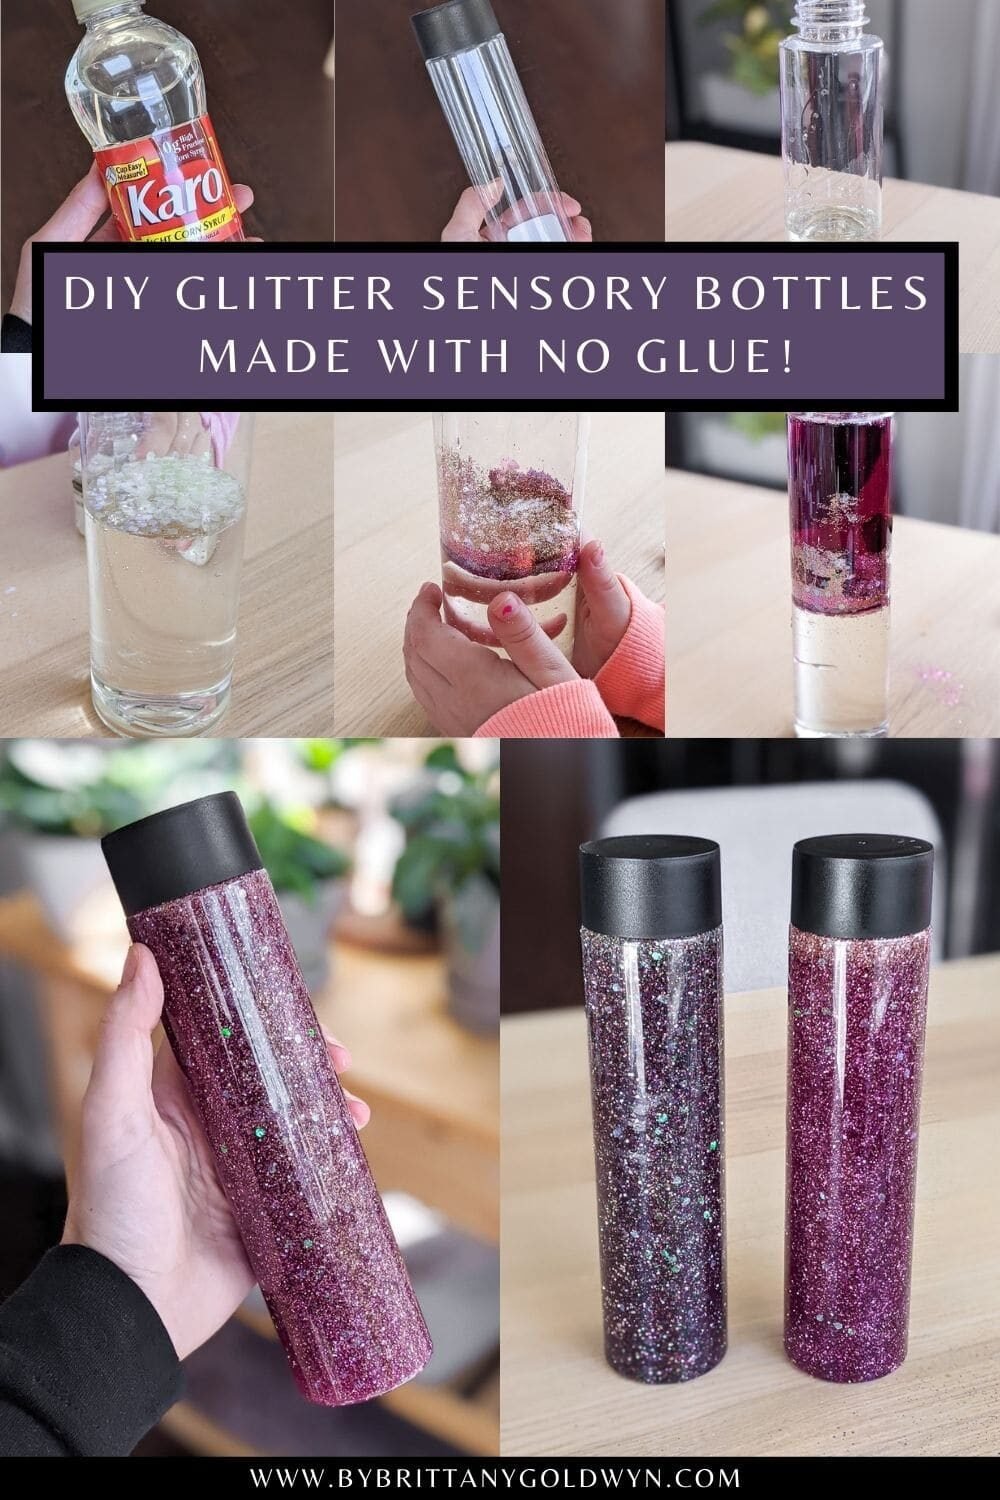
Next pour corn syrup into the bottle. The ratio is 50:50 corn syrup to water. Don’t worry if you can’t get this totally exact, though. I eyeballed it, and our bottle of corn syrup was just enough to fill up half of each bottle. Perfect.
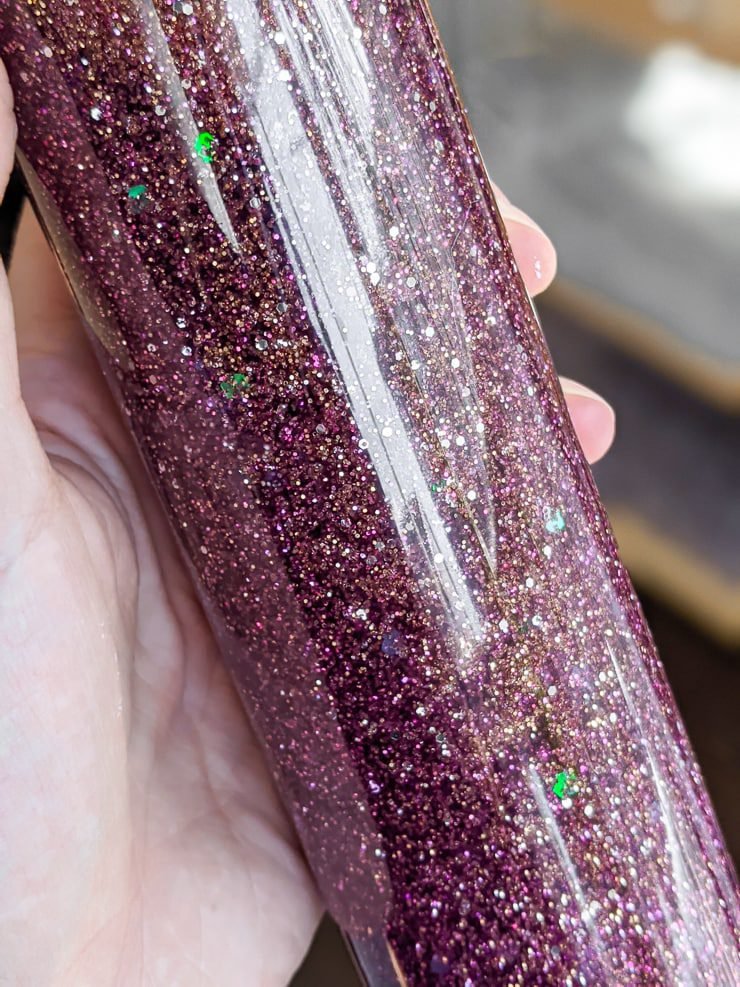
The corn syrup thickens the water and prevents the glitter from completely settling. It creates that “shimmering” effect you get from slowly falling glitter.
If you’ve ever used just water and glitter in a bottle, you know that you definitely don’t get the same shimmering effect. The glitter just totally separates and looks like crap.

For more kid crafts, check out my DIY wall decals, how to make a matching game, 5 homemade slime recipes, and our adventures in testing homemade playdough!
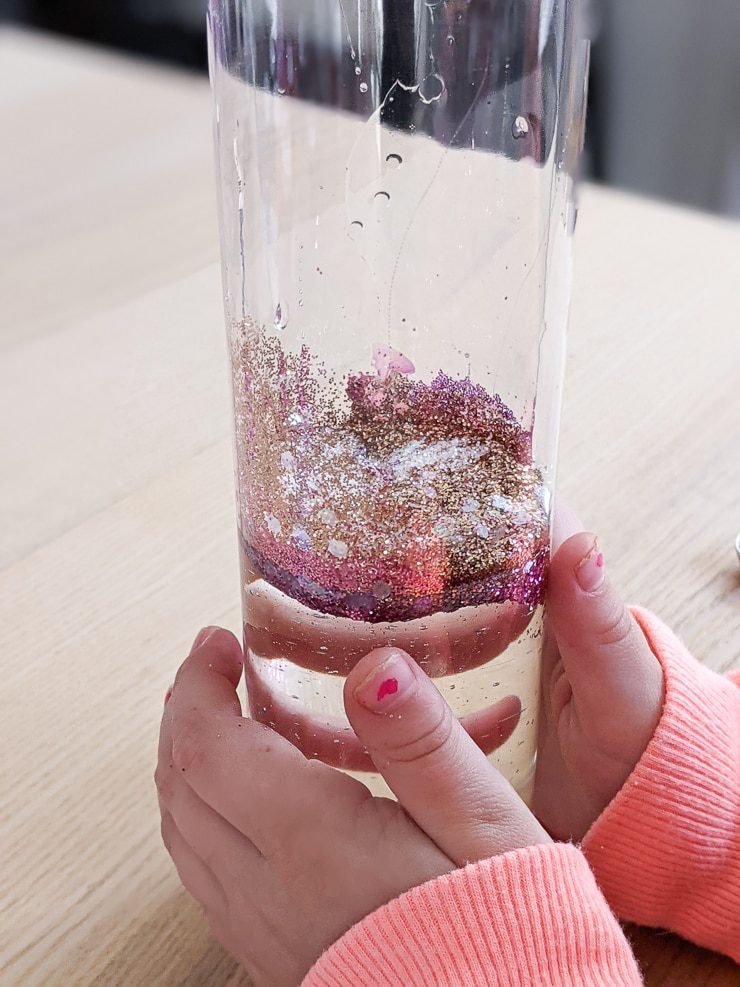
Now for the fun and messy part. If you can work outside, definitely do that! We did one outside, one inside. Now we’ll have glitter in the kitchen for months.
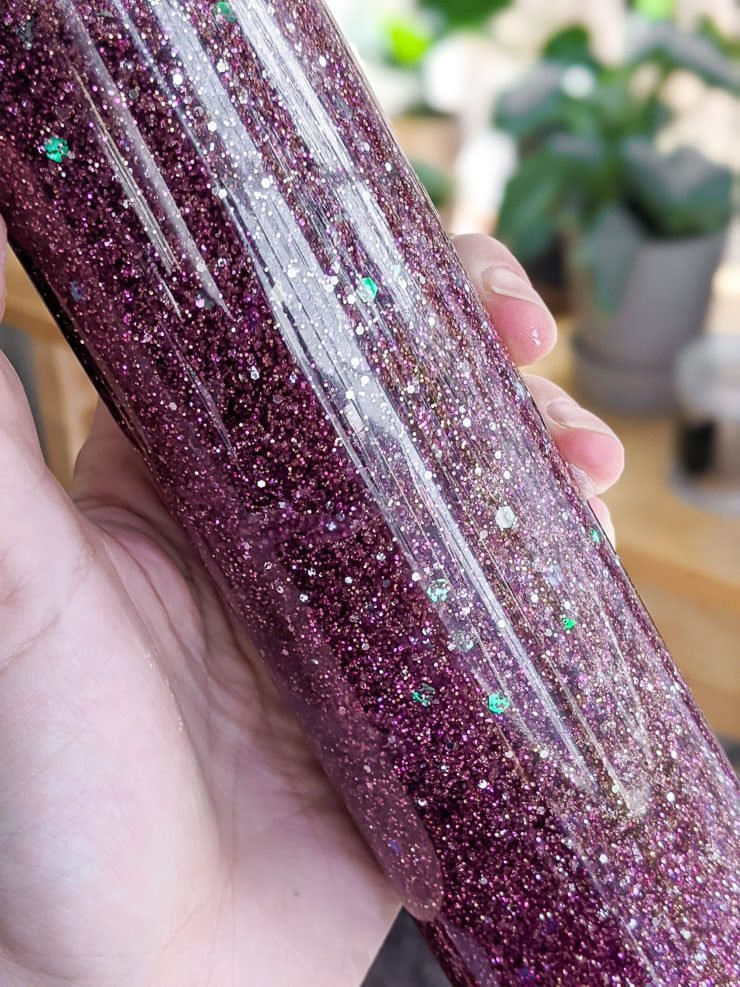
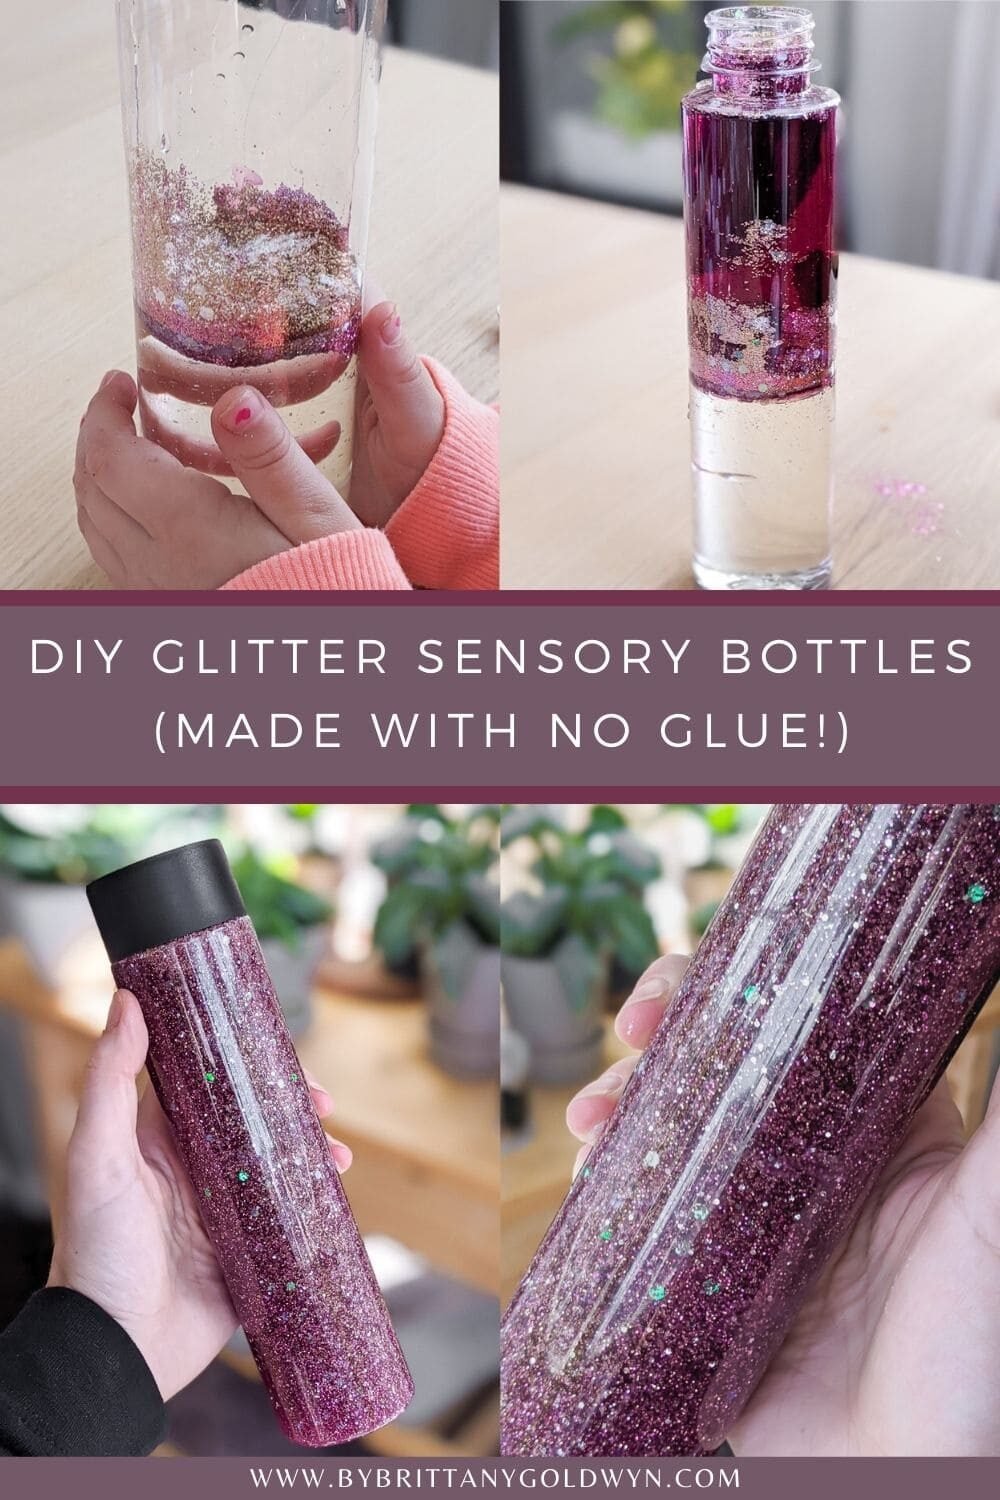
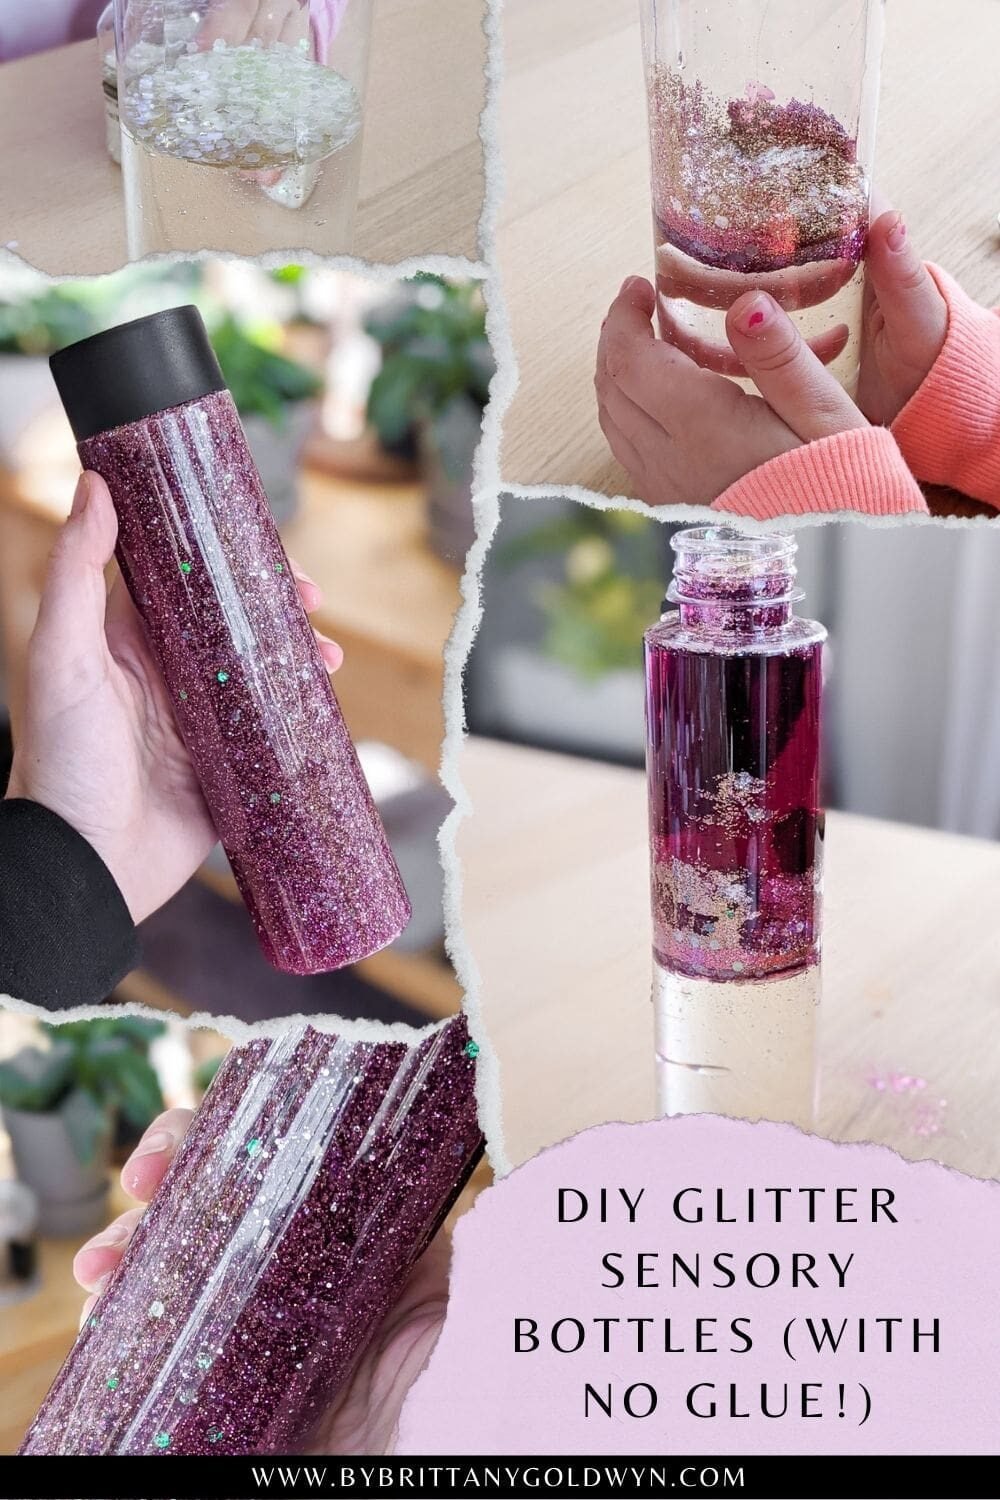
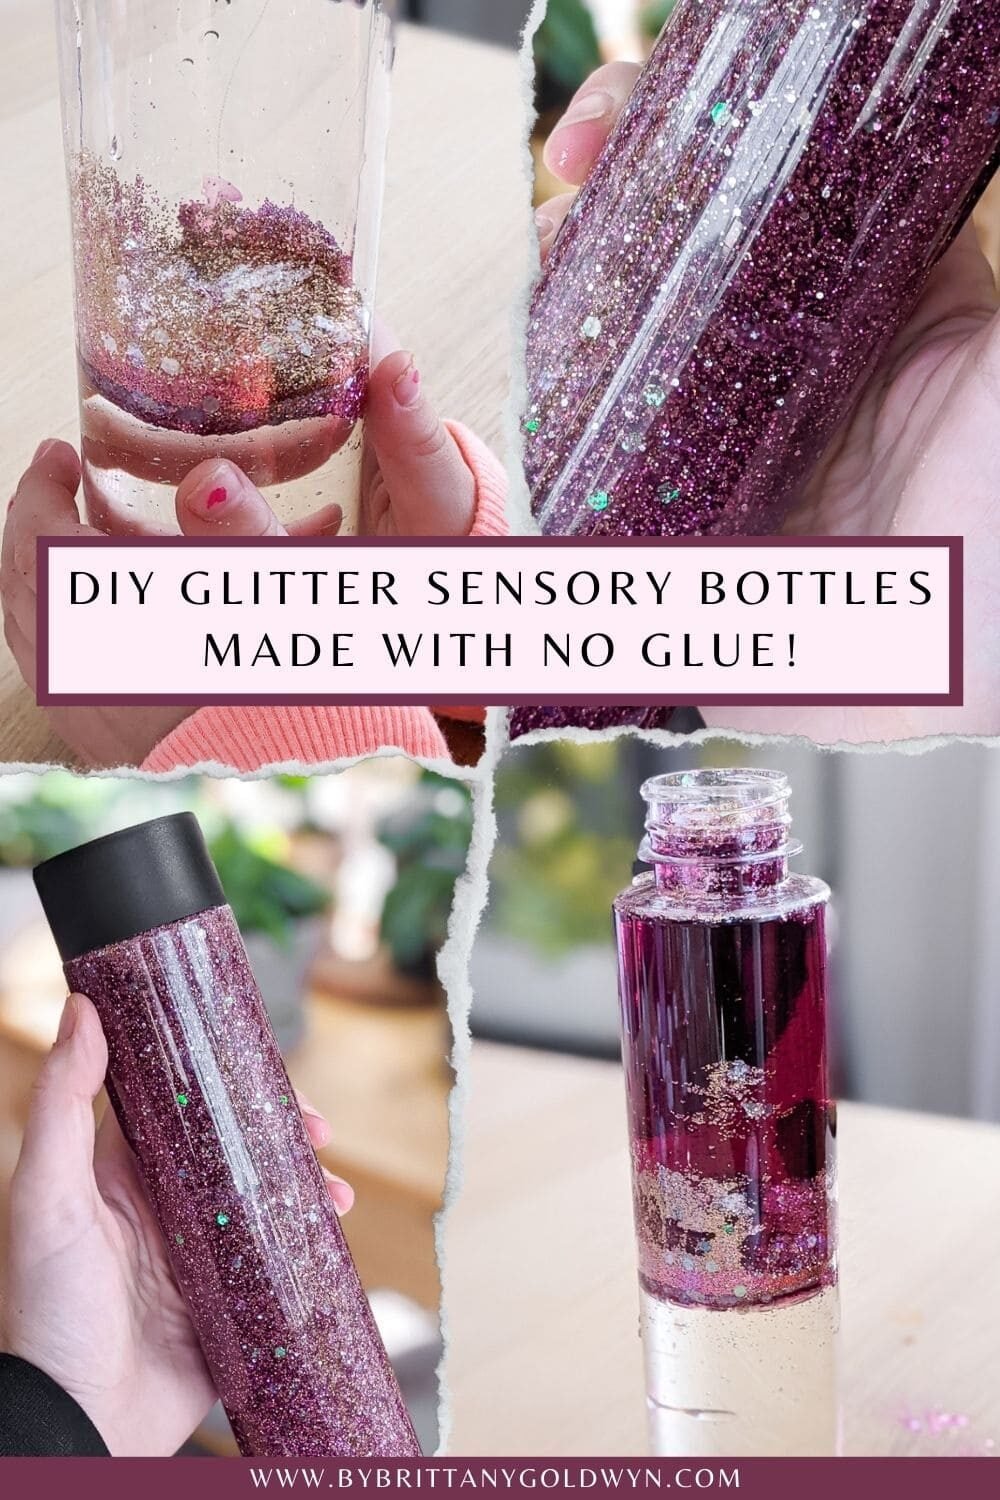
The amount of glitter depends, but you can see about how much we used. It looks like a lot more than it really is when you shake the jar up! Adding a bit of food coloring also helps to create dimension in the glitter bottle.
We added a few drops of pink in one and a few drops of a dark purple in another. You can add other tiny things in the bottle if you want, too. But we just opted for fine and chunky glitter, as well as a few confetti-type glitter pieces that are iridescent.
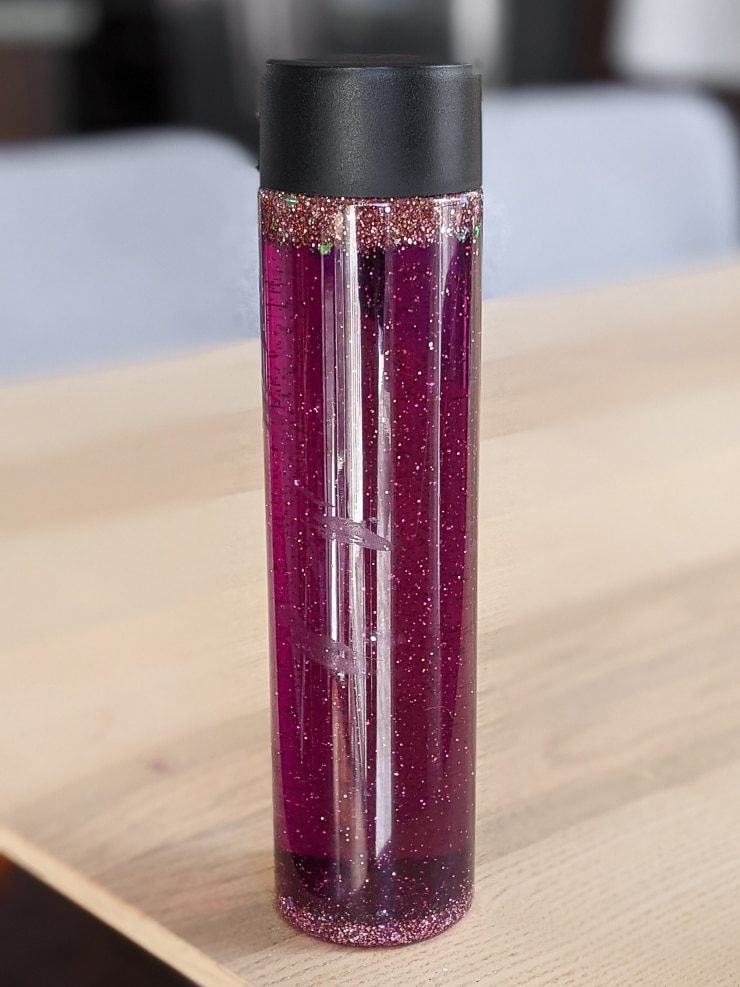
Fill the rest of the DIY glitter jar up with water, screw the cap on, and shake the jar up. If you want to add more glitter or food coloring, open the jar back up and do so.
For more kid stuff, check out my DIY door knob hanger, my 10 cute free printable weekly chore charts, and my roundup of cute Cricut projects for kids—including my DIY animal fronts and butts matching game!
When you’re happy with it, apply a very strong glue all around the threads on the inside of the cap. Screw back on tightly and let it dry. You DEFINITELY do not want your kid taking the top off of this thing.
So make sure you use a strong glue and apply it liberally! Corn syrup is super sticky, and I cannot imagine the cleaning up a glittery sticky corn syrup mess. Big yikes.
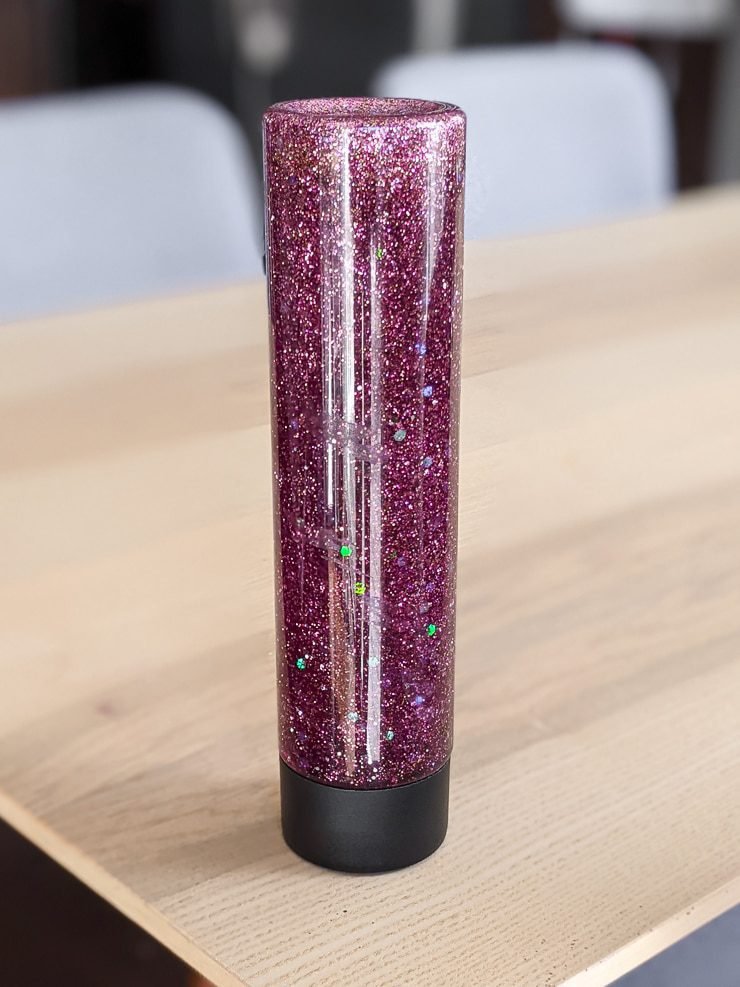
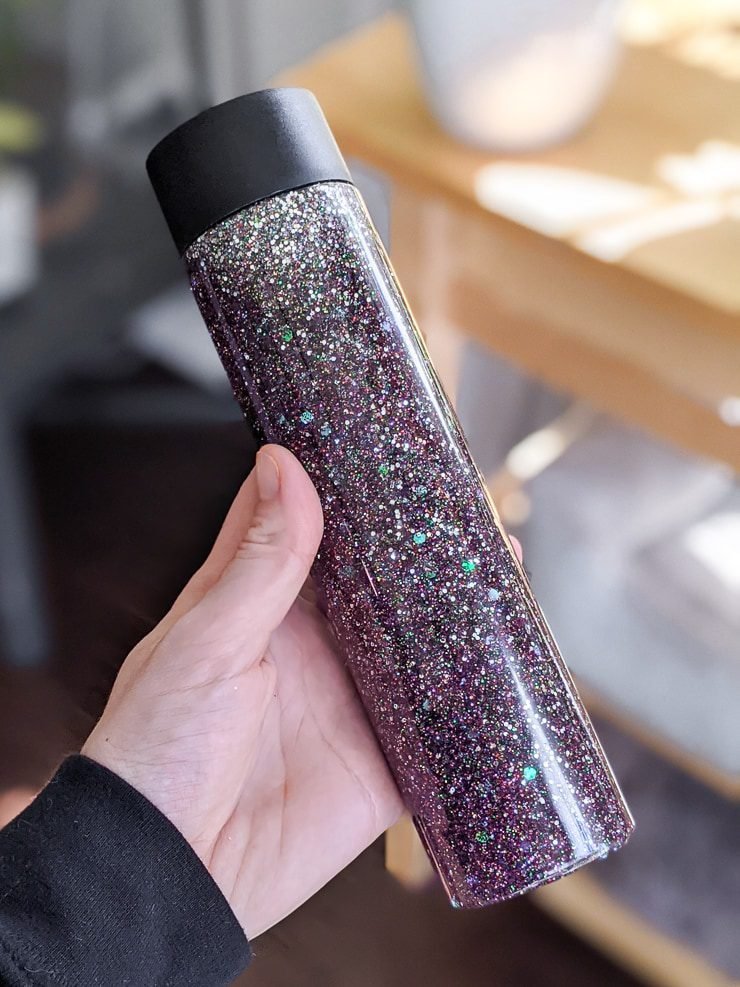
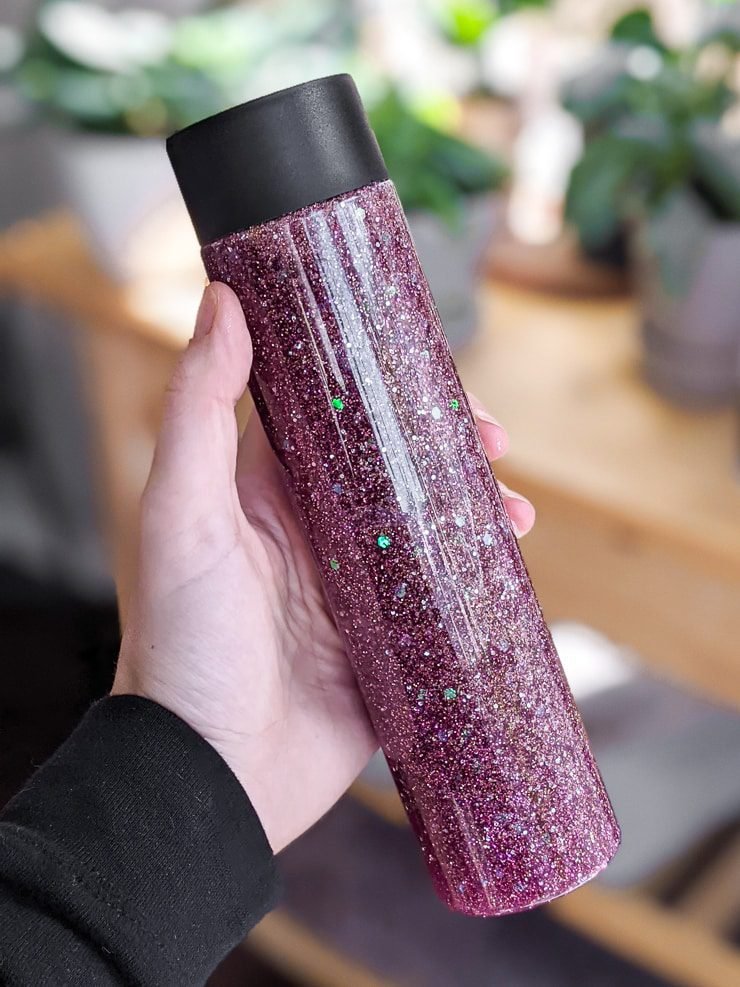
And then you have your finished bottles! They are so beautiful and fun to play with. R sat in her bed during quiet time a few days ago just turning it upside down and right-side up watching the glitter. Perfect. 🙂
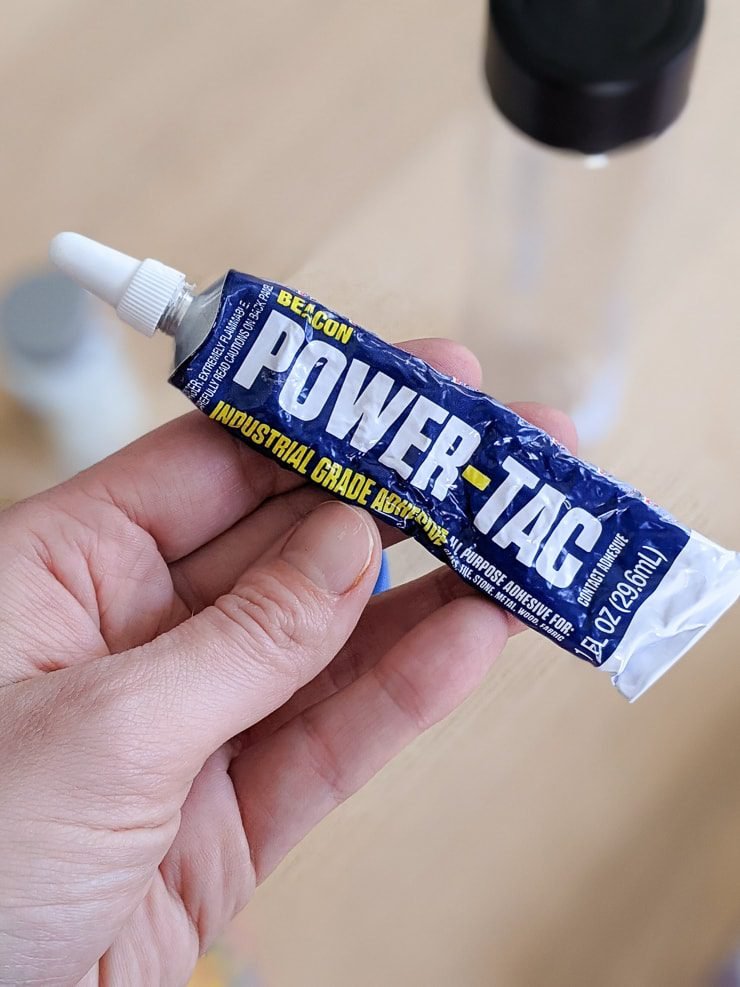 Use a strong glue like this one or Gorilla Glue!
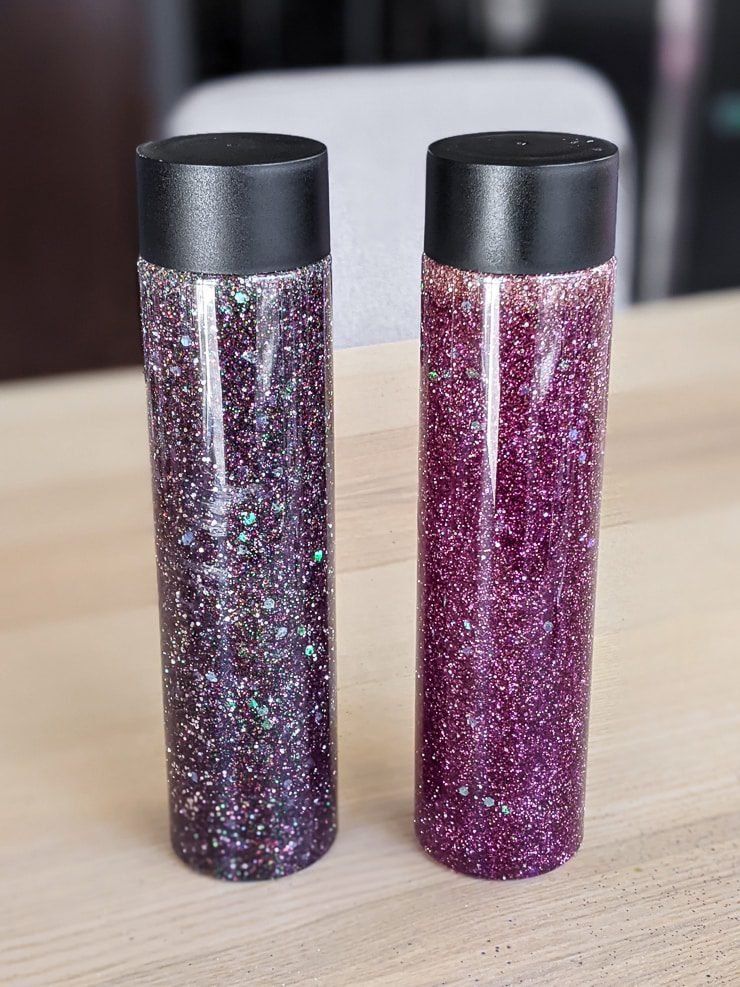
Pin my post about how to make a glitter sensory bottle!


0 Comments