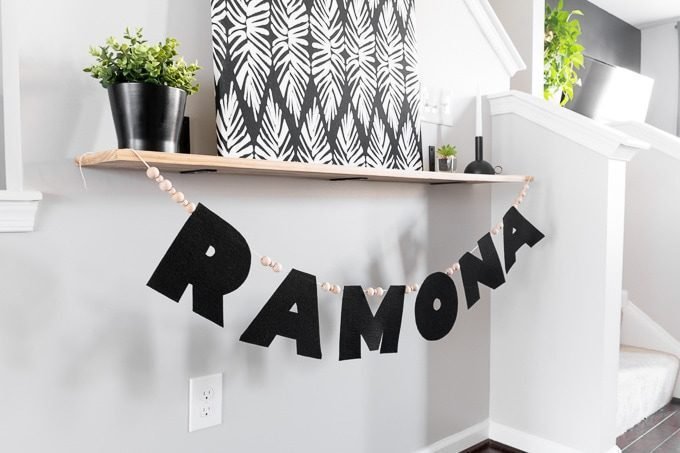
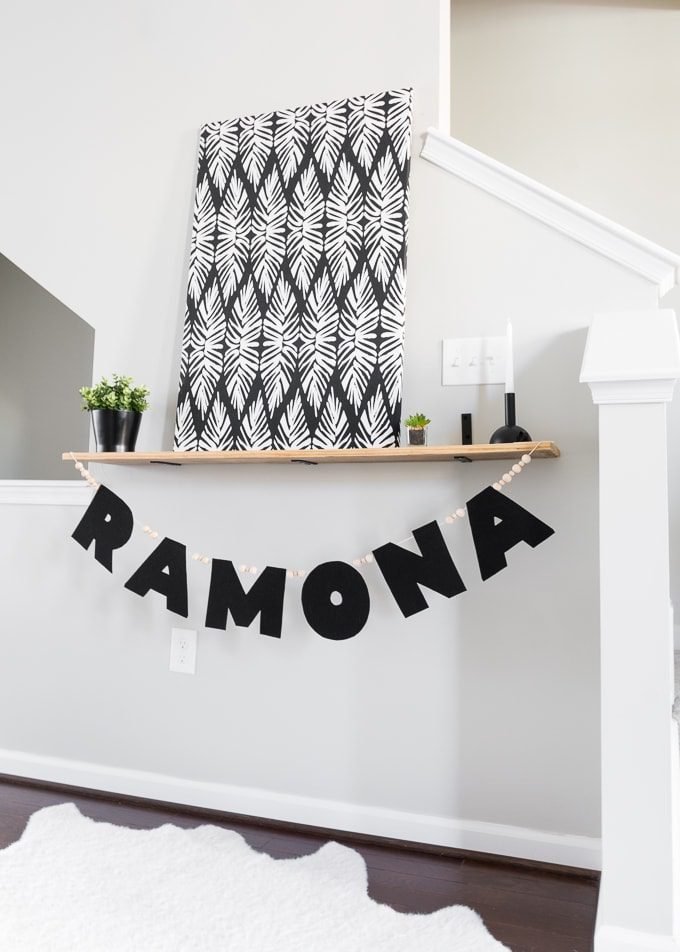
Looking for a charming, handmade touch for your nursery, kids’ room, or party setup? This no-sew felt name garland is a perfect DIY project. It’s simple, budget-friendly, and highly customizable. Whether you’re making it for a baby shower, birthday party, or holiday, this tutorial walks you through every step—no sewing machine needed.
🎨 What You’ll Need
- Stiff felt (variety of colors, or one color scheme)
- Printed letter patterns (one letter per 8.5 x 11″ sheet)
- Sharp fabric scissors or rotary cutter
- Natural wood beads (optional but stylish)
- Twine or sturdy string
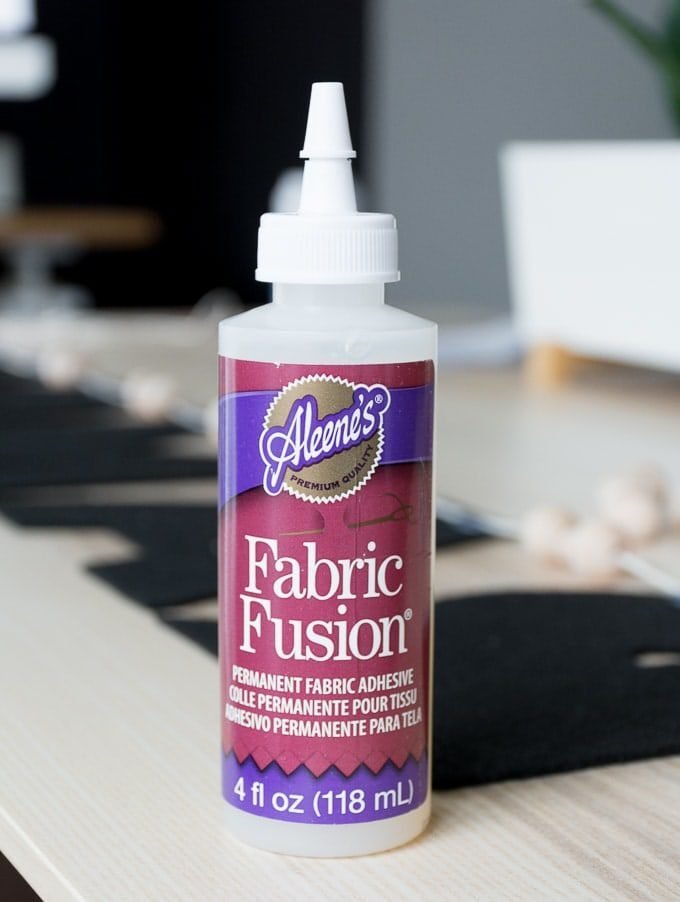
- Fabric glue (Aleene’s or similar)
- Paper scissors
✂️ Step-by-Step Instructions
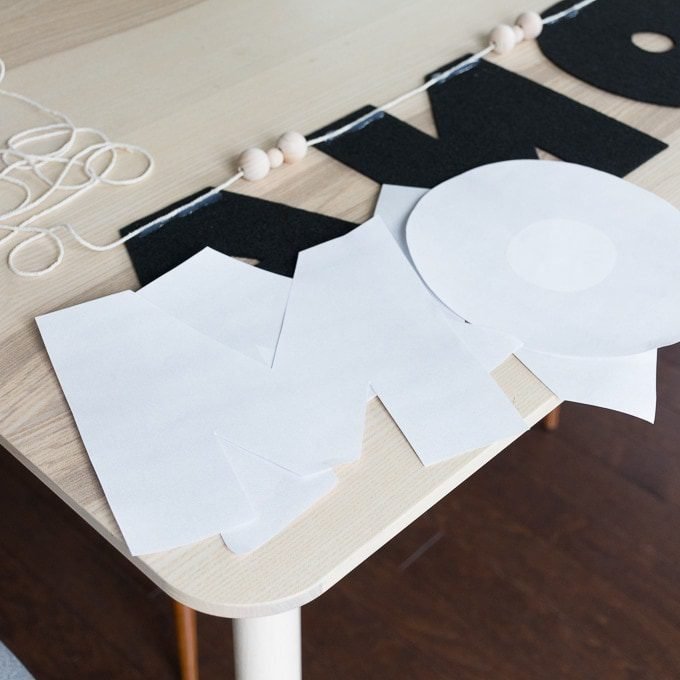
Step 1: Prepare Your Letter Templates
Download or create your letter templates. Print each letter on a full-size paper sheet. These will act as your cutting guides.
Pro Tip: Use bold block fonts for easy cutting and better visibility from a distance.
Step 2: Cut Out the Felt Letters
Place each paper template over your chosen felt color. Carefully cut the felt letters using fabric scissors or a rotary cutter for cleaner edges. Stiff felt is ideal for structure, but regular felt can work with a bit of extra care.
Avoid using dull paper scissors—they won’t slice cleanly through felt.
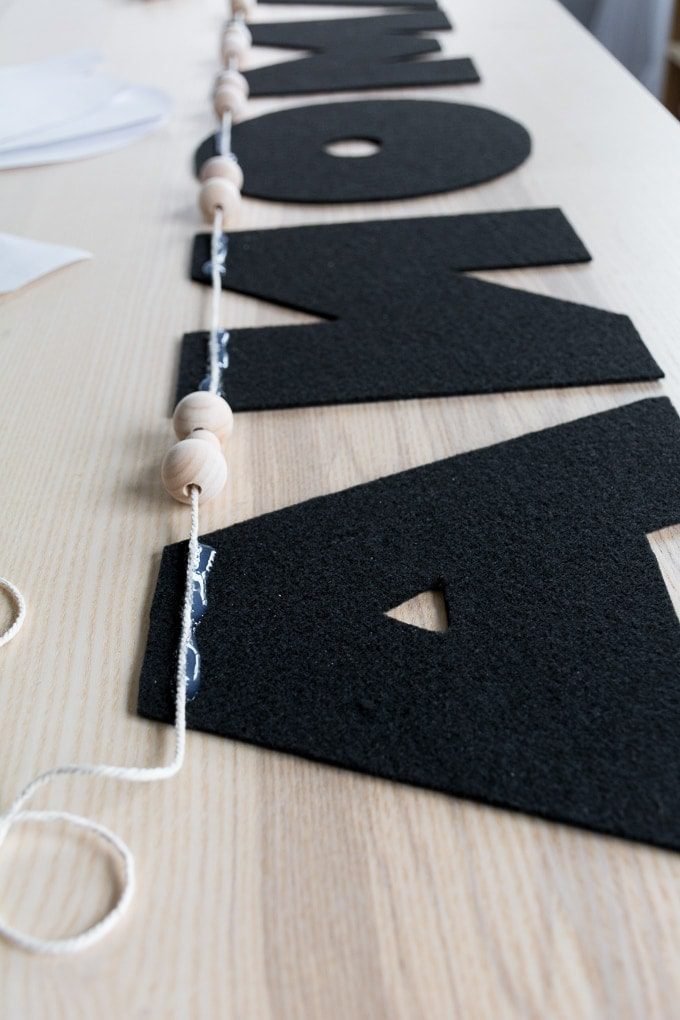
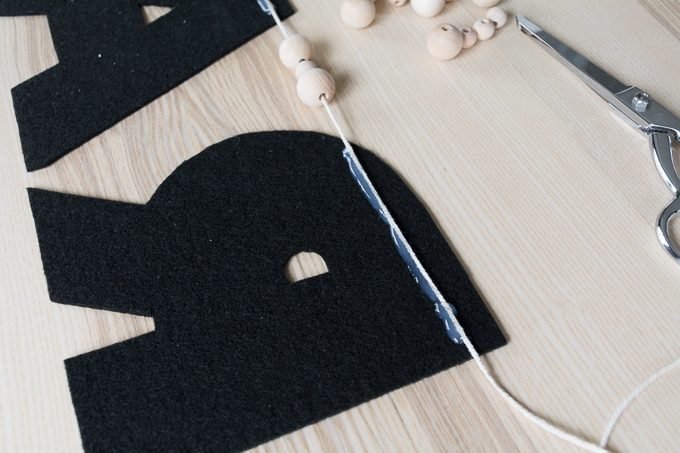
Step 3: Layout & Bead Placement
Lay the felt letters face down in the correct order. Cut your length of twine, leaving a few inches on each end.
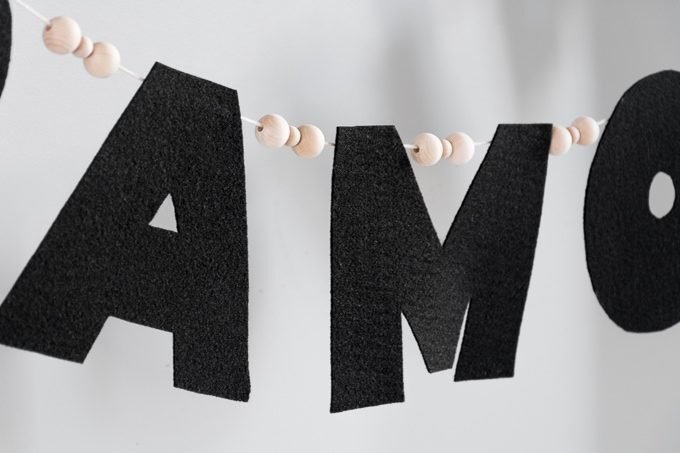
Pre-place your wood beads along the twine where you’d like them between letters for decorative spacing.
Step 4: Glue the Letters to Twine
Apply a strip of fabric glue across the back top of each letter. Press the twine into the glue and allow it to dry flat for 20–30 minutes. Keep the beads in place as you go.
Use a ruler or flat edge to keep spacing consistent and letters aligned.
Step 5: Finishing Touches
Once dry, trim any excess twine. Tie loops on both ends for easy hanging.
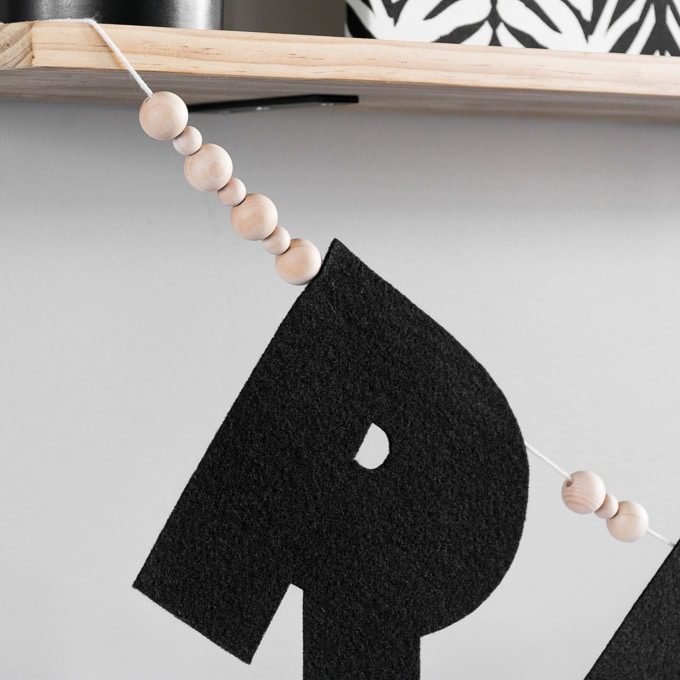
Hang your garland above a crib, along a wall, across a mantel, or at a party table—it’s lightweight and easy to mount with small hooks or washi tape.
🎈 Ideas for Customization
- Seasonal Messages: “MERRY”, “JOY”, “LOVE”
- Event Themes: “WELCOME BABY”, “GRAD 2025”
- Kids’ Rooms: First names, nicknames, initials
- Classroom Decor: “READING NOOK”, “BE KIND”
Mix felt textures and colors for added flair. Try patterned felt or glitter letters for sparkle!
🧠 Tips for Best Results
- Always test your glue on a scrap first
- Work on a lint-free surface to avoid felt fuzz
- Keep spacing even for a polished finish
- Let glue fully cure before hanging
❤️ Final Thoughts
This no-sew felt name garland is proof that you don’t need fancy tools to create beautiful, memorable decor. Whether you’re making it for a loved one or yourself, it adds a personal, handmade touch that store-bought items just can’t match.
Ready to get crafting? This beginner-friendly project might just be your new favorite way to personalize your space!


0 Comments