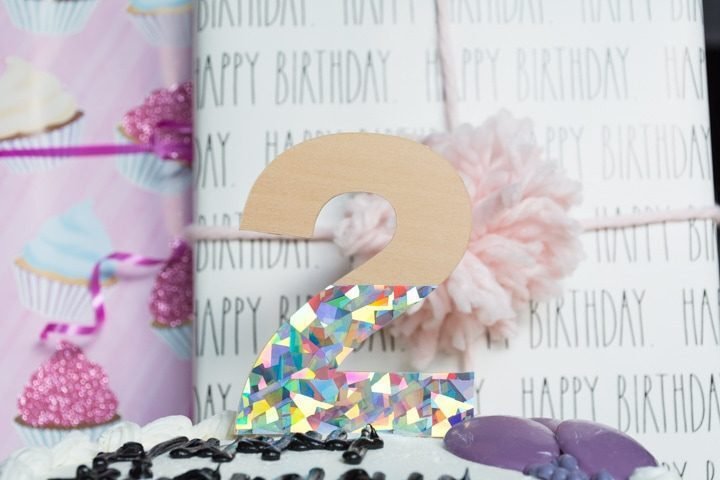
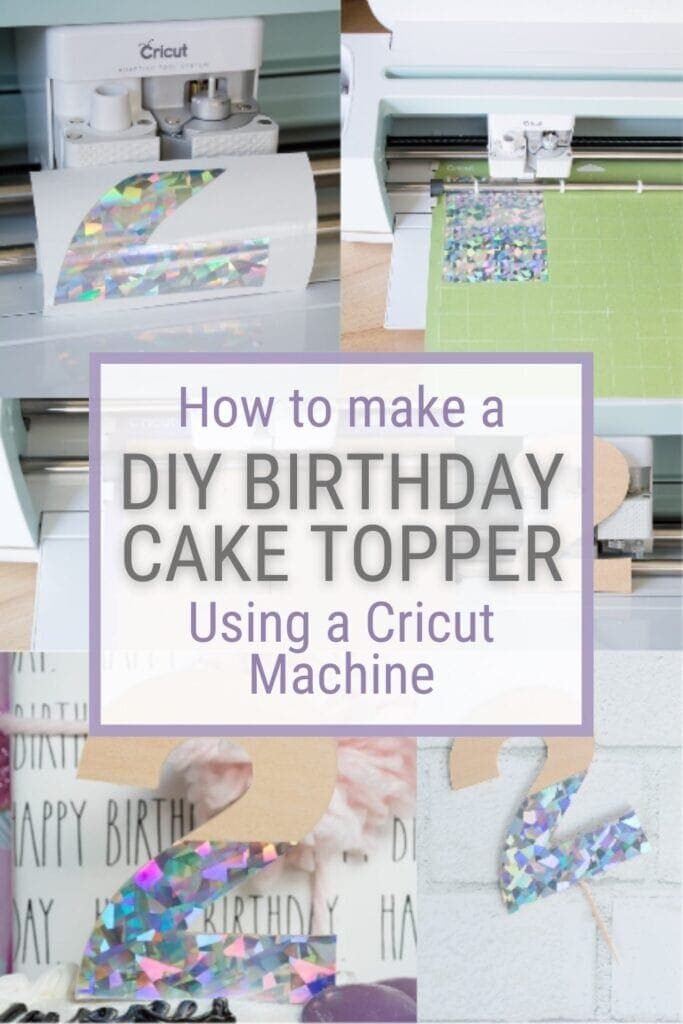
Today I’m sharing all about how to make a cake topper with Cricut supplies! You can use any sturdy material for this cake topper tutorial, but I’m making mine out of basswood and holographic vinyl.
Hey all! A little birthday party tutorial today about how to make a cake topper with Cricut supplies! Last year for R’s first birthday, I went all out. I made a balloon garland, painted a number 1 for the cake topper, made scrapbook paper and pom pom party hats, and shared a bunch of pictures of everything. We got Chipotle and had our family over—it was fab.
This year her second birthday falls the day before Thanksgiving. So we made the decision to have our family over and host Thanksgiving. But do a pseudo second birthday party while we were at it. Because the days were so close, we didn’t want to have to harass everyone to come twice. That’d be annoying.
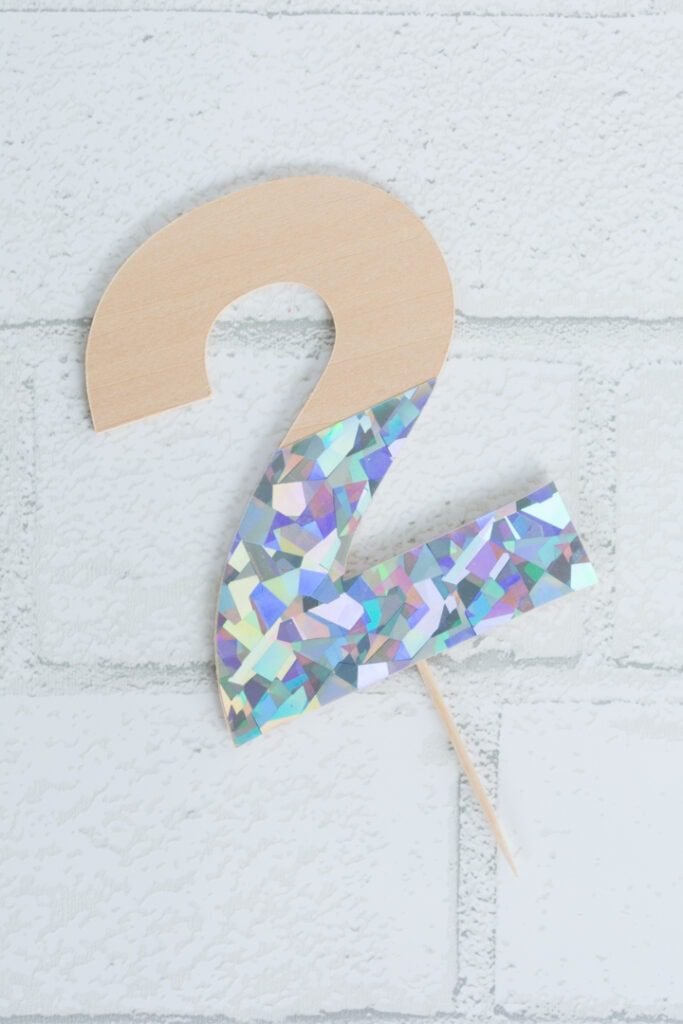
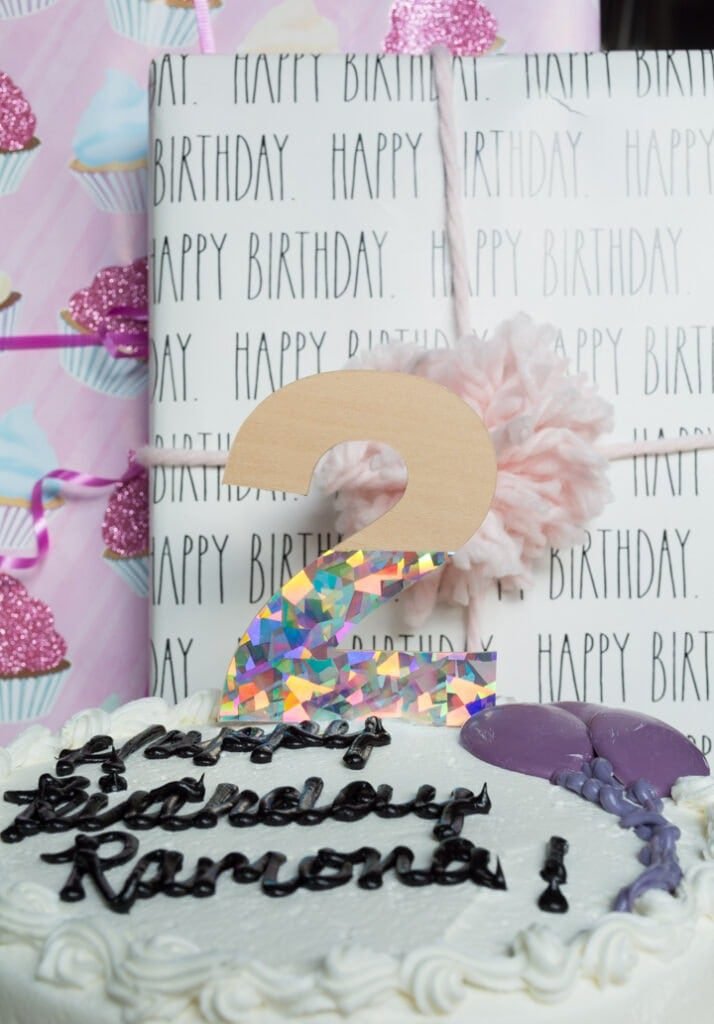
Since it was Thanksgiving and the house would be pretty crowded, I didn’t do much decorating. Just wrapped her presents, got some balloons, and of course had a cake. I couldn’t resist one DIY, though—a cute little number 2 cake topper. Here’s how I made it.
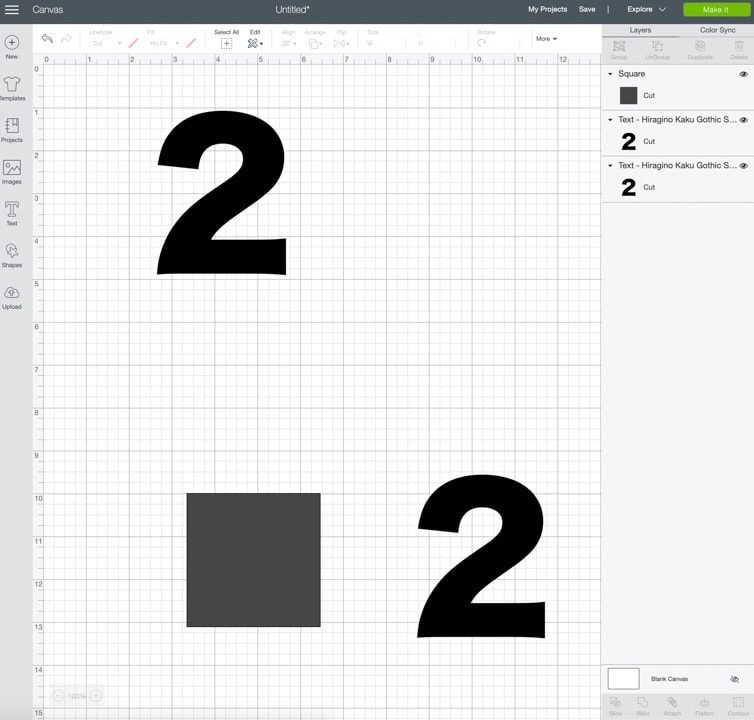
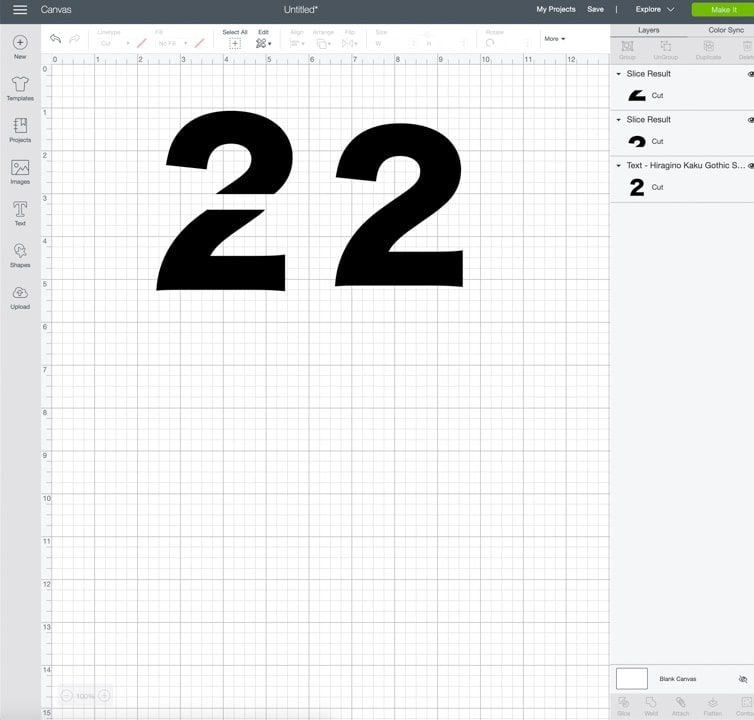
I picked a free system font for the number 2. I just tried a few until I found one I liked. Then I scaled it up to the size I wanted the topper to be. You can make this with any number.
Once you’ve decided on the size of your number, make a copy of it so you have two. Then create a rectangle using the shape option and put it over one of the 2s—leave the other one alone.
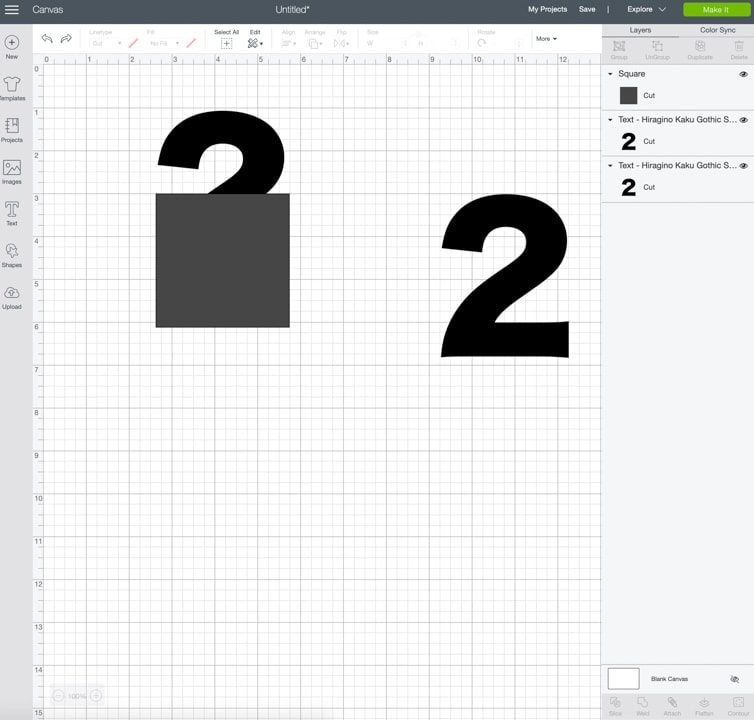
Next you’re going to use the Design Space slice tool; I have an in-depth post you can read about how to slice in Cricut Design Space. So why are we slicing? Well, in addition to cutting my number “2,” I also want to cut some holographic vinyl for the topper. However, I only want it to be on the bottom of the 2 for a “dipped” effect.
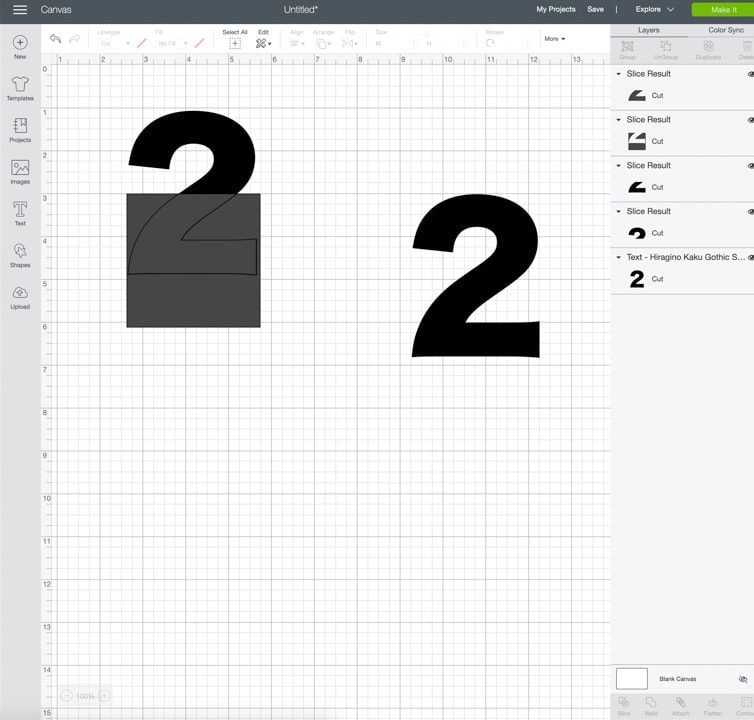
Slicing splits two overlapping objects into different parts. It creates new cut lines from the two objects, resulting in several additional images that will show up in your Design Space layers panel. You can delete the new layers you don’t want and keep what you do want.
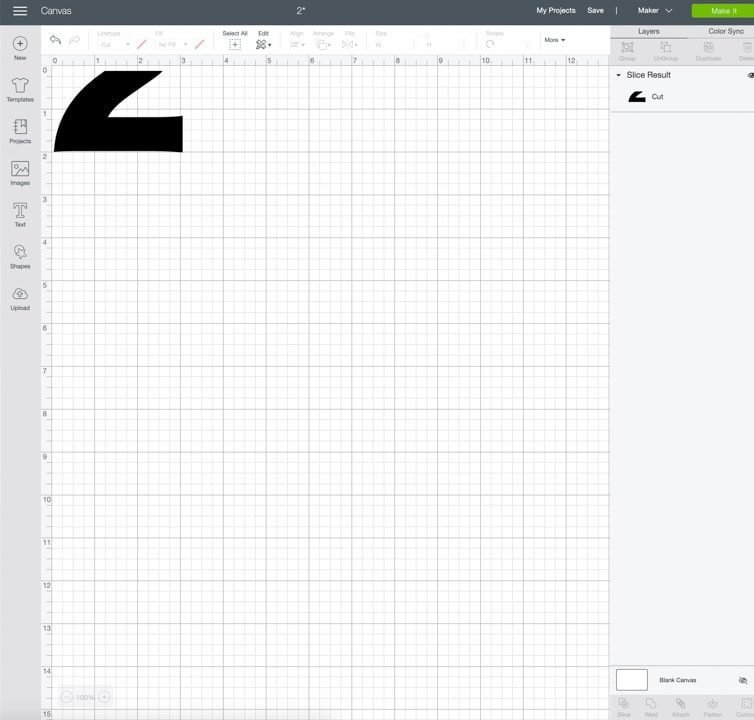
In my case, I selected the rectangle and the 2 it was overtop of. Then I hit “slice.” This created a few more cut paths, including the part of the 2 that was under the rectangle. See what I mean? That’s exactly the area I want to cut on the holographic vinyl!
Delete anything you don’t want to keep and cut. In my case, I kept the full 2 to cut in wood and the half of the 2 I got from slicing. (Tip: You can only slice two objects at once, so if you have more than two things to slice, you have to do it in a few more steps.)

For more Cricut, check out my comprehensive guide “Which Cricut Should I Buy,” which outlines the differences between the Joy, Explore Air 2, and Maker. Then check out my overview of the Cricut Mug Press!
Since you will be cutting two different materials using two different blades, you must cut one thing at a time. This is important—use your keyboard to highlight the half 2, copy it by pressing CTRL+C or CMD+C on a Mac, and then delete it. Do not copy anything else—make sure it stays copied on your clipboard!
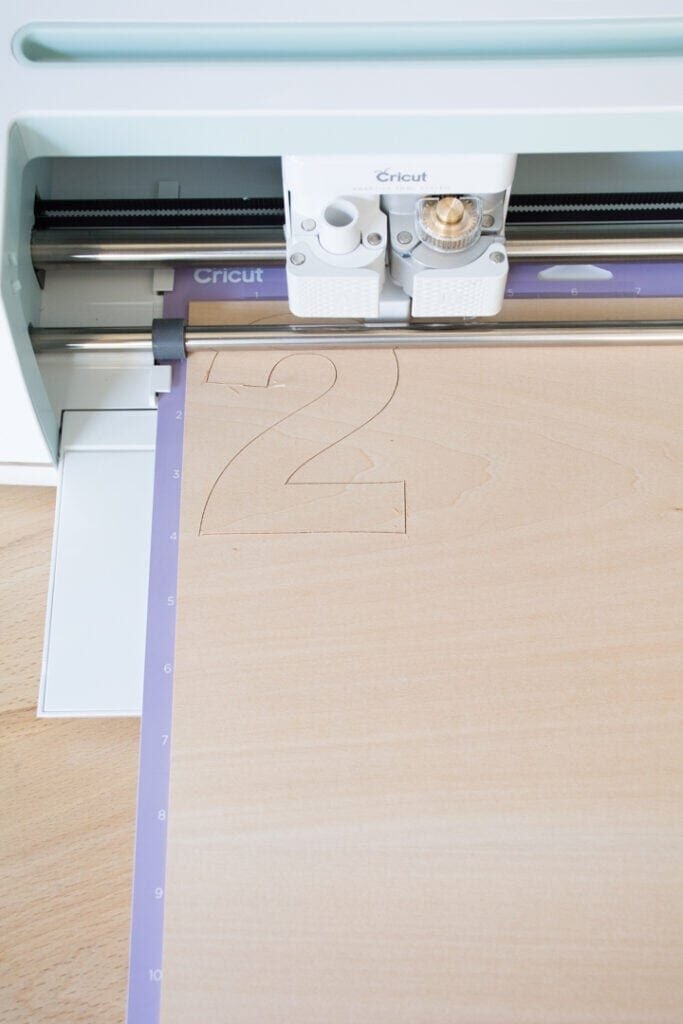
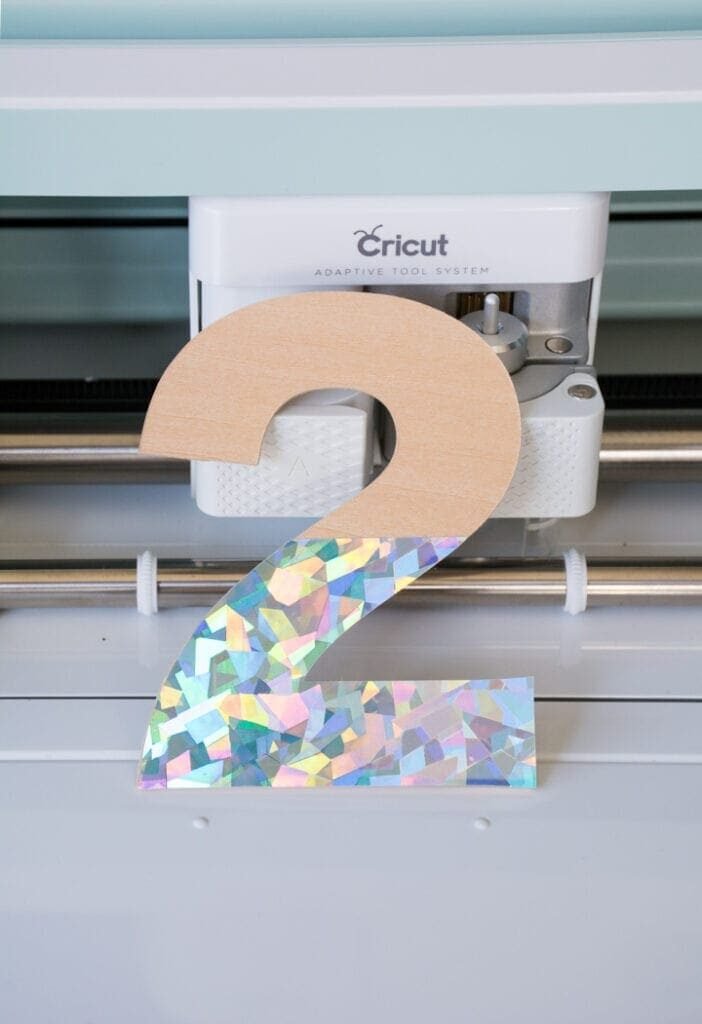
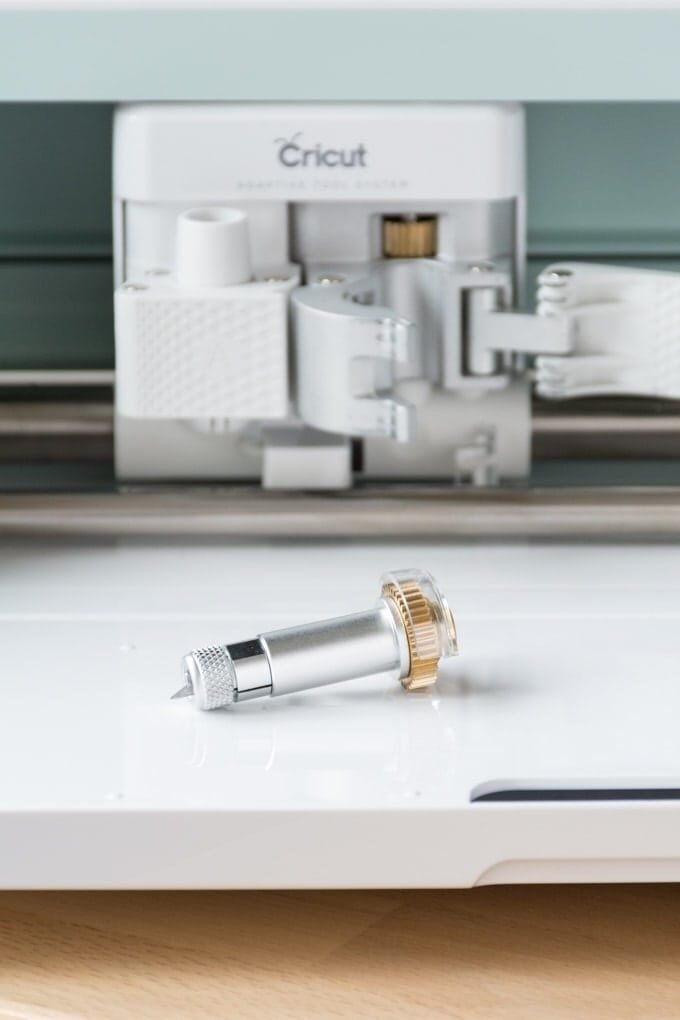
Then cut the full 2 using your Cricut Maker and knife blade. Remember that the knife blade takes a while to cut because it has to make several passes. Mine was an estimated 14 passes. When it’s finished cutting, check to make sure your Cricut cut all the way through. Add an additional pass if needed. Otherwise, pop it out!


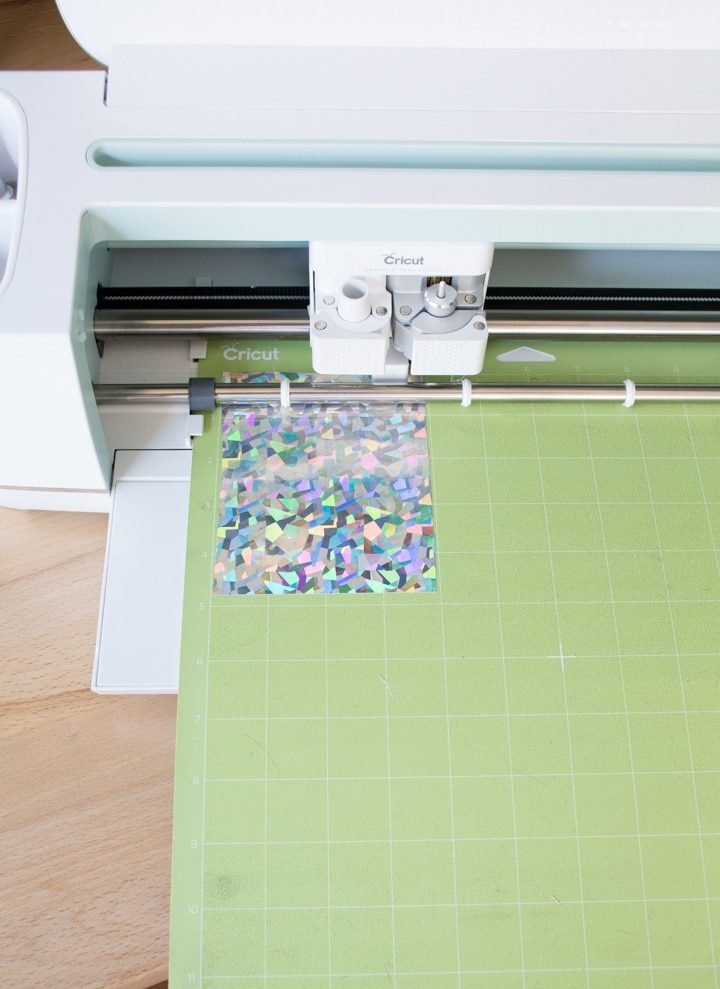
Then go back to Design Space and delete the full 2. Press CTRL+V or CMD+V on a Mac to paste the half two you previously copied to your clipboard. Make sure you’ve swapped out your knife blade for a fine-point tip and cut the half two in adhesive vinyl. Easy as that!
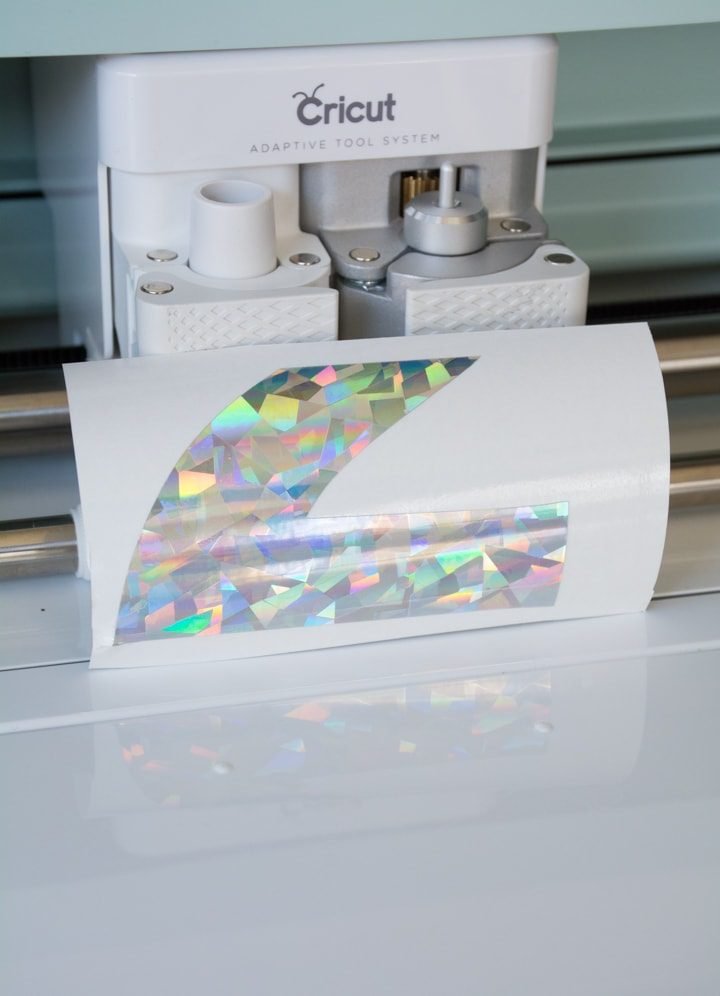
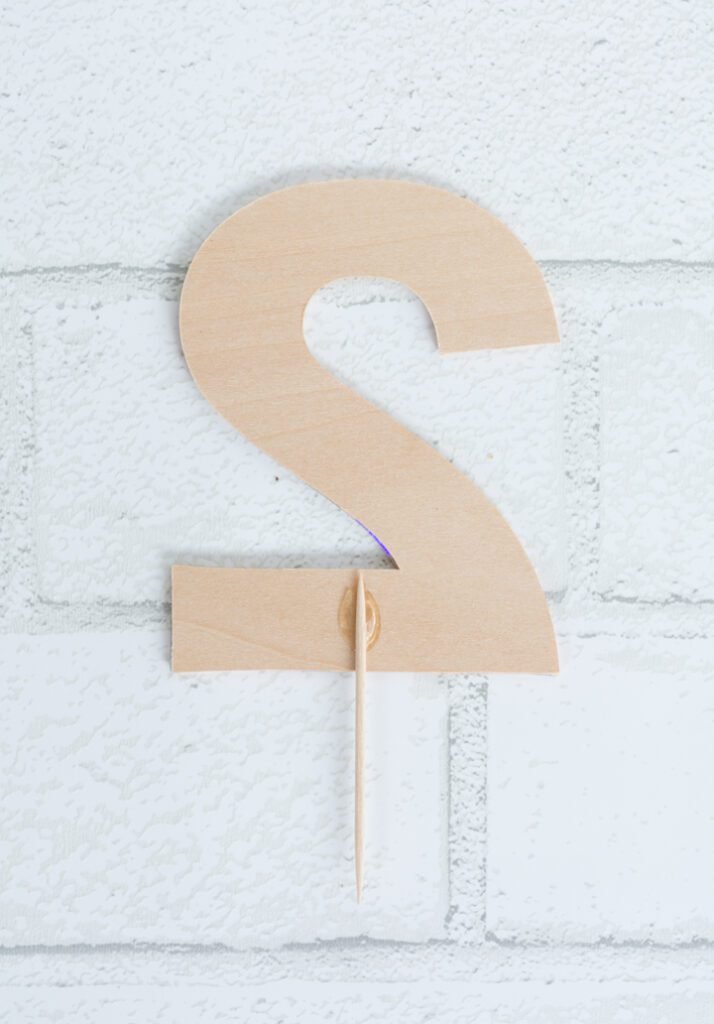
Once you’ve popped the full 2 off the mat, you can peel the half 2 holographic vinyl off and carefully stick it onto the wood. I used a bit of glue and a toothpick to make the part that will stick down into the cake. Perfect.
Want to dive in to Cricut Infusible Ink? Check out my tutorials for using Infusible Ink on coasters, on a personalized tote bag, on a women’s t-shirt, and on a cosmetic bag and pillowcase!
A few things to know about what material you should use. The Cricut Maker’s knife blade can cut a few different types of wood: balsa wood in thicknesses of 1/32in, 1/16in, and 3/32in, and basswood in thicknesses of 1/32in and 1/16in. I used the Cricut brand basswood.
The knife blade is ideal for cuts with simple to moderate detail. The thin wood is very fragile, so you shouldn’t cut any intricate details. All cuts should be no smaller than ¾ in. Anything smaller than ¾ in will be really fragile and could separate, fall apart, or be crushed due during or after the cutting process.
So what does all of this mean for your cake topper? Well, if you want it to say a word or have multiple numbers, you might not want to use wood. That’s because if you’re using a series of more than one number or letter, you’ll have to use the weld tool in Design Space to attach each object to one another, like cursive writing.
And those welded attachment areas are probably going to be thinner than ¾ in, making them really fragile. It would probably be better to use another one of Cricut’s sturdier materials, like a heavy cardstock or even chipboard.
Share my post about How to Make a Cake Topper With Cricut Supplies on Pinterest!


0 Comments